5
6

Delete article

Deleted articles cannot be recovered.

Draft of this article would be also deleted.

Are you sure you want to delete this article?

More than 5 years have passed since last update.

RaspberryPi 2で外付けHDD

Posted at

概要

RaspberryPiに転がっているUSBメモリーを増設します。
やるたびにググっている自分向けの備忘録です

手順

  1. フォーマット用のコマンドをつかえるようにする
    すでに施してある場合は不要。
    $sudo apt-get install ntfs-3g

  2. ラズパイにUSBメモリーを挿す

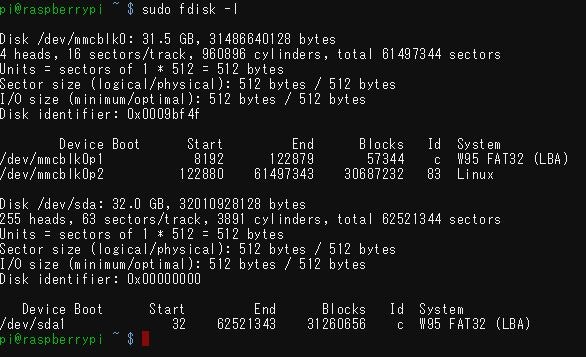
  3. 挿したUSBメモリーのデバイス名を確認
    sudo fdisk -l
    WS000000.JPG
    おそらく/dev/sda1

  4. フォーマットコマンドを発行する
    sudo mkntfs /dev/sda1
    しばし待つ
    …おせぇ

  5. マウントする

$sudo mkdir /mnt/usbhdd
$sudo mount -t  /dev/sda1 /mnt/usbhdd

$df -h でマウントされていることを確認できます

  1. 再起動時に自動マウントするように設定する
/dev/sda1 /mnt/usbhdd/ ntfs-3g defaults 1 1  
5
6
0

Register as a new user and use Qiita more conveniently

  1. You get articles that match your needs
  2. You can efficiently read back useful information
  3. You can use dark theme
What you can do with signing up
5
6

Delete article

Deleted articles cannot be recovered.

Draft of this article would be also deleted.

Are you sure you want to delete this article?