今回はmacにrubyをインストールしていきたいと思います。macに開発者ツールをいろいろダウンロードするのによく使うツールがHomebrewです。Homebrewはgithubなどと連携して、開発者ツールをダウンロード、管理してくれるツールになります。Homebrewの公式ホームページはこちら
Homebrewのページにいきbrewコマンドを使えるようにするためにはrubyが必要です。
/usr/bin/ruby -e "$(curl -fsSL https://raw.githubusercontent.com/Homebrew/install/master/install)"
つまりHomebrewでrubyをダウンロードしたいのにrubyを先にダウンロードしないとHomebrewをmacにインストールできないという、初心者には「ちょっと待って?」と言いたくなるような状態です。
Homebrewをインストール
Homebrewをダウンロードするためにmacが標準で用意してる開発者ツール全般をダウンロードして、rubyを入れていきましょう。
xcode-select --install
続いてこちらのコマンドhomebrewをダウンロードしてましょう
/usr/bin/ruby -e "$(curl -fsSL https://raw.githubusercontent.com/Homebrew/install/master/install)"
homebrewがインストールできて、brewコマンドが使用可能になったのでmacが用意していない必要なパッケージをインストールしていきます。
brew install wget
インストールが完了したら、rubyのダウンロードにうつりましょう。
homebrewでrbenvをインストール
brewで直接rubyをダウンロードすることも可能ですが、rubyはバージョンのアップデートが頻繁だったり、プロジェクトごとにrubyのバージョンが違ったりするので、バージョン管理ツールのrbenvを使用しましょう。ちなみにpythonのバージョン管理ツールはpyenvと言います。envがつくをバージョン管理ツールなんだと覚えておけばいいですね。
brew install rbenv
brew install ruby-build
rbenvがインストールできたら、パスを通します。パス通すとはコマンドでアプリをインストールできるようにするための設定のことです。
echo 'export PATH="$HOME/.rbenv/bin:$PATH"' >> ~/.bash_profile
echo 'if which rbenv > /dev/null; then eval "$(rbenv init -)"; fi' >> ~/.bash_profile
source ~/.bash_profile
rbenvがインストールできたら、いよいよrubyのバージョンをインストールしていきます。
rbenv install --list    # => インストール可能なバージョン一覧の表示
rbenv install 2.6.1 # => rubyのインストール
rbenv rehash             # => rbenv の再読み込み
rbenv global 2.6.1  # => defaultで使うrubyのバージョン
これでrubyの2.6.1のバージョンがダウンロードできたのか確認してみます。
ruby -v
rubyのバージョンが2.6.1ではなかったら、pashが通っていない可能性があるのでbash_profileを確認してみてください。次にrubyのwebフレームワークであるrailsとgemを管理するためのツールであるbundlerをダウンロードしていきましょう。
gem install bundler
gem install rails
これでrailsが使用可能になったのでrailsでアプリの作成が可能になりました。rails newでアプリの開発を始めていきましょう。
rails new my_app
cd my_app
rails s
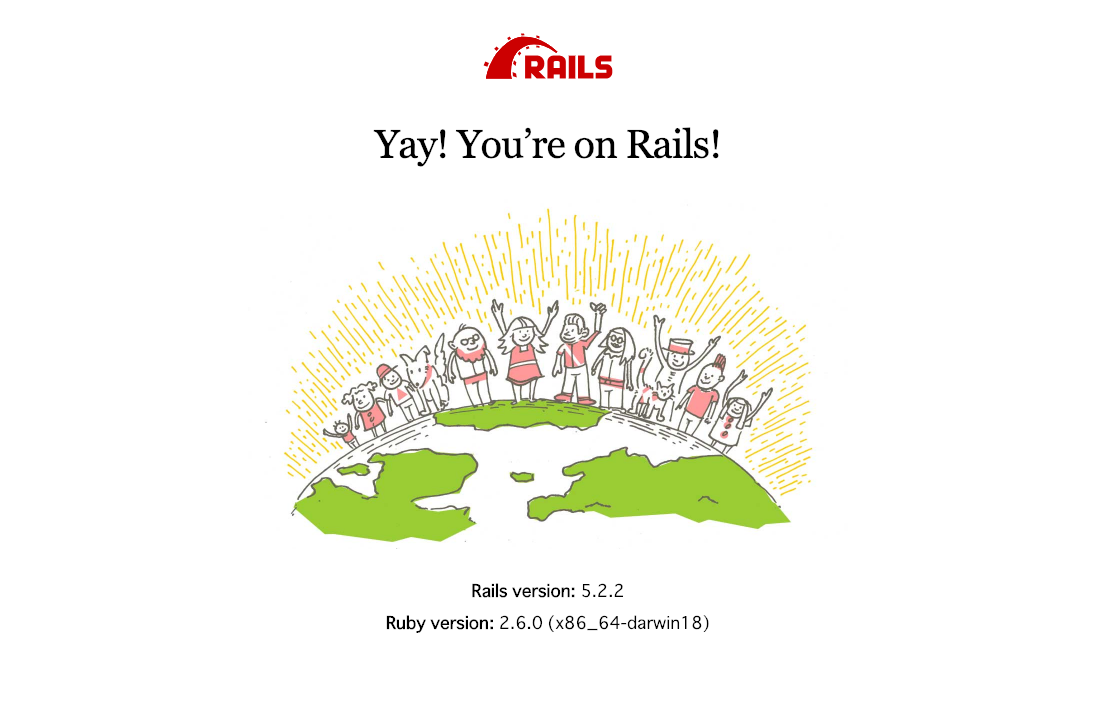
rails sはrailsでサーバー起動するためのコマンドになります。デフォルトではポート番号が3000に設定されているのでlocalhost:3000にsafariかgoogle chomeでアクセスしましょう。
