Android拡張の開発を行う際に、いちいちAndroid Studioでビルドした結果をUnityに移動してビルドするという手順を踏むのは煩雑であると感じたので、Unityに移動する手順を極力省いて、Android Studioだけで高速にデバッグ開発を行う手段を検討した。
注意点
本エントリは現行のUnity5.4に対応した情報です。
次期バージョンのUnity5.5からはGradleに正式対応するので手順が変わることが想定されます。
[ 追記 ]
Gradleに対応させた記事を書きました。 → こちらへ
また、この記事の内容は、Unityからエクスポートしたデータをバージョン管理対象にしている為、チーム開発ではすぐにコンフリクトしてしまい効率が良くないです。Unity5.4の方も上記の新しい記事を参考にした方が良いと思います。
動作確認環境
- Unity 5.4.3f1
- Android Studio 2.2.2
サンプルプロジェクト置き場
GitHub: UnityAndroidPluginSample
プロジェクト全体の構成
├── UnityAndroidPluginSample
│   └── UnityProject           // Unityプロジェクト
│   └── AndroidPluginFactory   // プラグイン開発用プロジェクト
│   │   └── app                // プラグインの実行モジュール
│   │   └── androidplugin      // プラグイン生成モジュール
│   │
│   └── merge_unity_export.bat // Unity変更データのマージツール
│   └── exclude.list           // マージ除外リスト
│
├── UnityExport // ※バージョン管理外
Android拡張プラグインの開発手順
- Unityでプロジェクトを作成
-
UnityProject/Assets/Plugins/Androidの下にAndroidManifest.xmlを配置
Activity名はUnityPlayerActivityの拡張クラスを想定している。
尚、このXMLはUnityがビルド時に必要な情報とマージ処理を行う為、拡張したい箇所だけ記載しておけば良いAndroidManifest.xml<manifest xmlns:android="http://schemas.android.com/apk/res/android"> <application> <activity android:name="com.sample.androidplugin.SampleActivity" android:label="@string/app_name"> <intent-filter> <action android:name="android.intent.action.MAIN" /> <category android:name="android.intent.category.LAUNCHER" /> </intent-filter> </activity> </application> </manifest> -
Androidのプロジェクトとしてエクスポート
Development Build: これにチェックを入れないとAndroid Studioでステップ実行できないので注意

-
出力されるプロジェクトはAndroid Studioの形式ではないので、バージョン管理外の
UnityExportディレクトリに一旦書き出す -
Android Studioを開いて、エクスポートしたプロジェクトをインポートする

-
インポート先に
AndroidPluginFactoryを選択する、これがプラグイン開発用のプロジェクトとなる


-
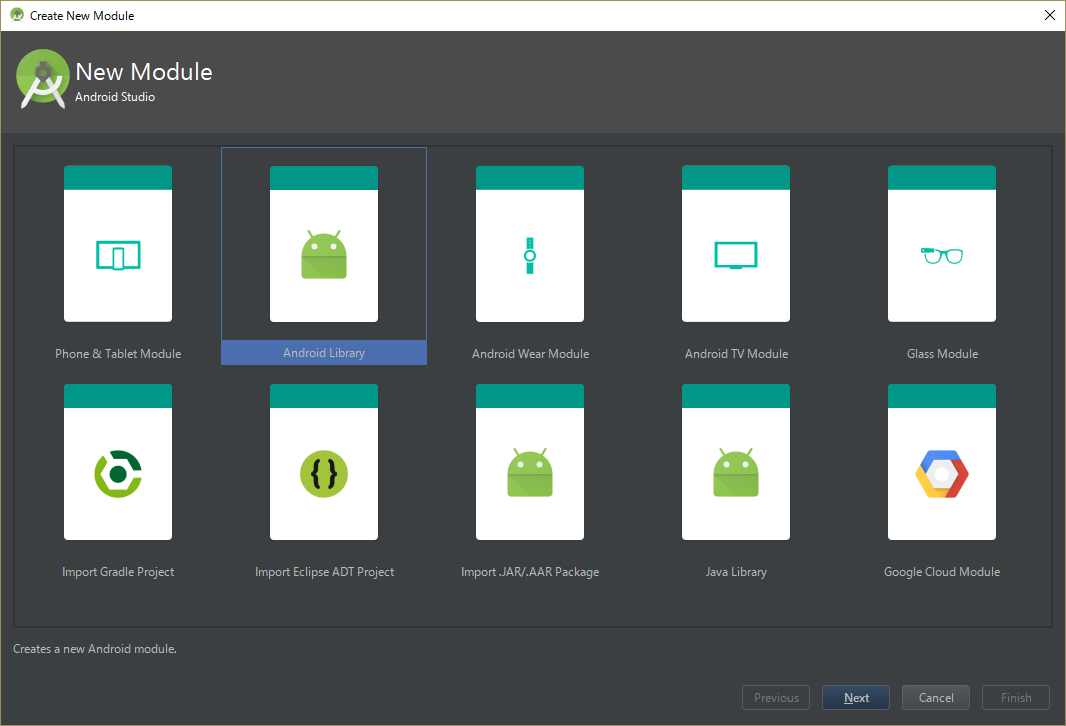
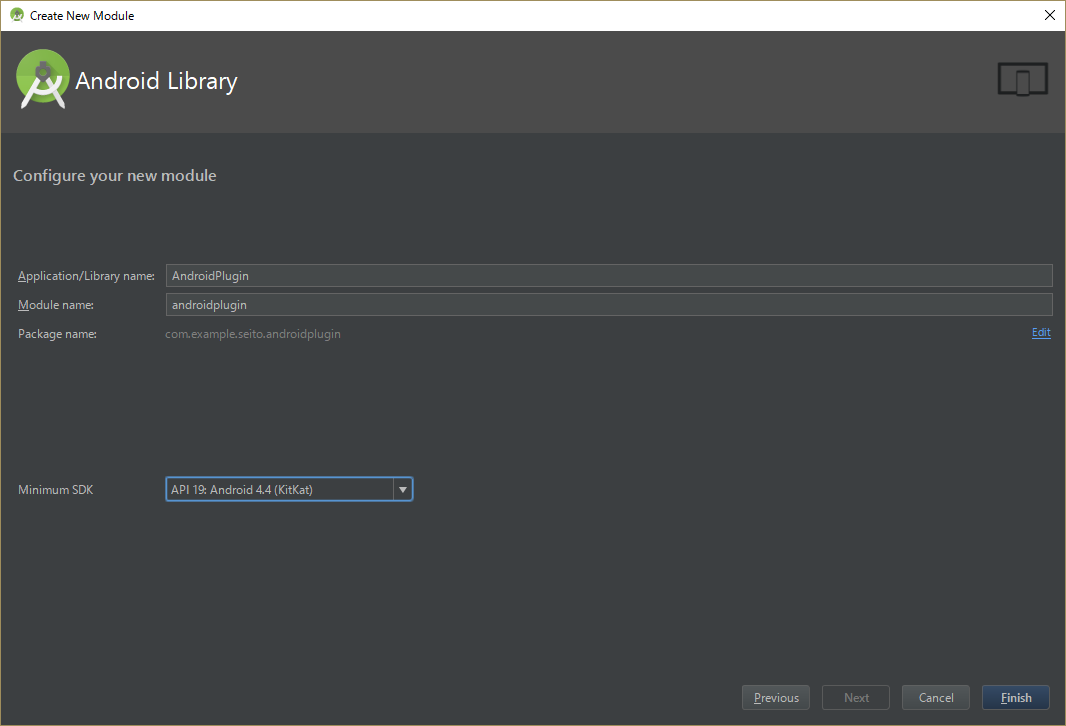
プラグイン開発用の新規モジュールを追加する
-
UnityPlayerActivityを拡張したクラスを作成する(AndroidManifest.xmlに記載したクラス名にする)SampleActivity.javapublic class SampleActivity extends UnityPlayerActivity { @Override protected void onCreate(Bundle savedInstanceState) { super.onCreate(savedInstanceState); // 拡張に成功したら"Android拡張成功!"とToast表示 Toast.makeText(this, R.string.complete_message, Toast.LENGTH_LONG).show(); } } -
参照エラーになるので、
appとandroidpluginのお互いの依存関係を解決する


-
これで
appモジュールを実行することでデバッグ開発が行えるようになる、拡張に関してはandroidpluginモジュールに対してのみ行う運用にする
作成したプラグインをUnityへ適用する手順
-
androidplugin/build.gradleにAARの作成と転送のタスクを追加(JARだとstrings.xml等のリソースを含めることができない為AARにする)androidplugin/build.gradle// Unityビルド時のunity-classes.jarと重複しないように除外する android.libraryVariants.all { variant -> variant.outputs.each { output -> output.packageLibrary.exclude('libs/unity-classes.jar') } } def AAR_NAME='androidplugin.aar' task makeAndExportAar(type: Copy) { from('build/outputs/aar/') into('../../UnityProject/Assets/Plugins/Android/') include('androidplugin-release.aar') rename('androidplugin-release.aar', AAR_NAME) } makeAndExportAar.dependsOn(build)
- 右ペインから
makeAndExportAarを実行することで、UnityProject/Assets/Plugins/Androidの下にandroidplugin.aarが転送される

- Unityでビルド実行を行うと、Android拡張済みの状態で実行される
Unityの変更をプラグイン開発環境に反映したい場合
- Unityにて
File > BuildSettingsを選択
-
Google Android Project及びDevelopment Buildにチェック - Exportを選択
-
UnityExport配下のデータを全て削除し、UnityExportのディレクトリを選択 -
merge_unity_export.batを実行することで、Unityで変更した内容のみを自動でコピーする -
AndroidPluginFactoryで通常通りプラグイン開発を行う