はじめに
Ionic+Firebaseでユーザ認証が簡単に実装できたので、IonicやFirebaseを使ったことが無い方でも実装できるように紹介します。
今回はメールアドレスとパスワードによるユーザ認証を実装します。
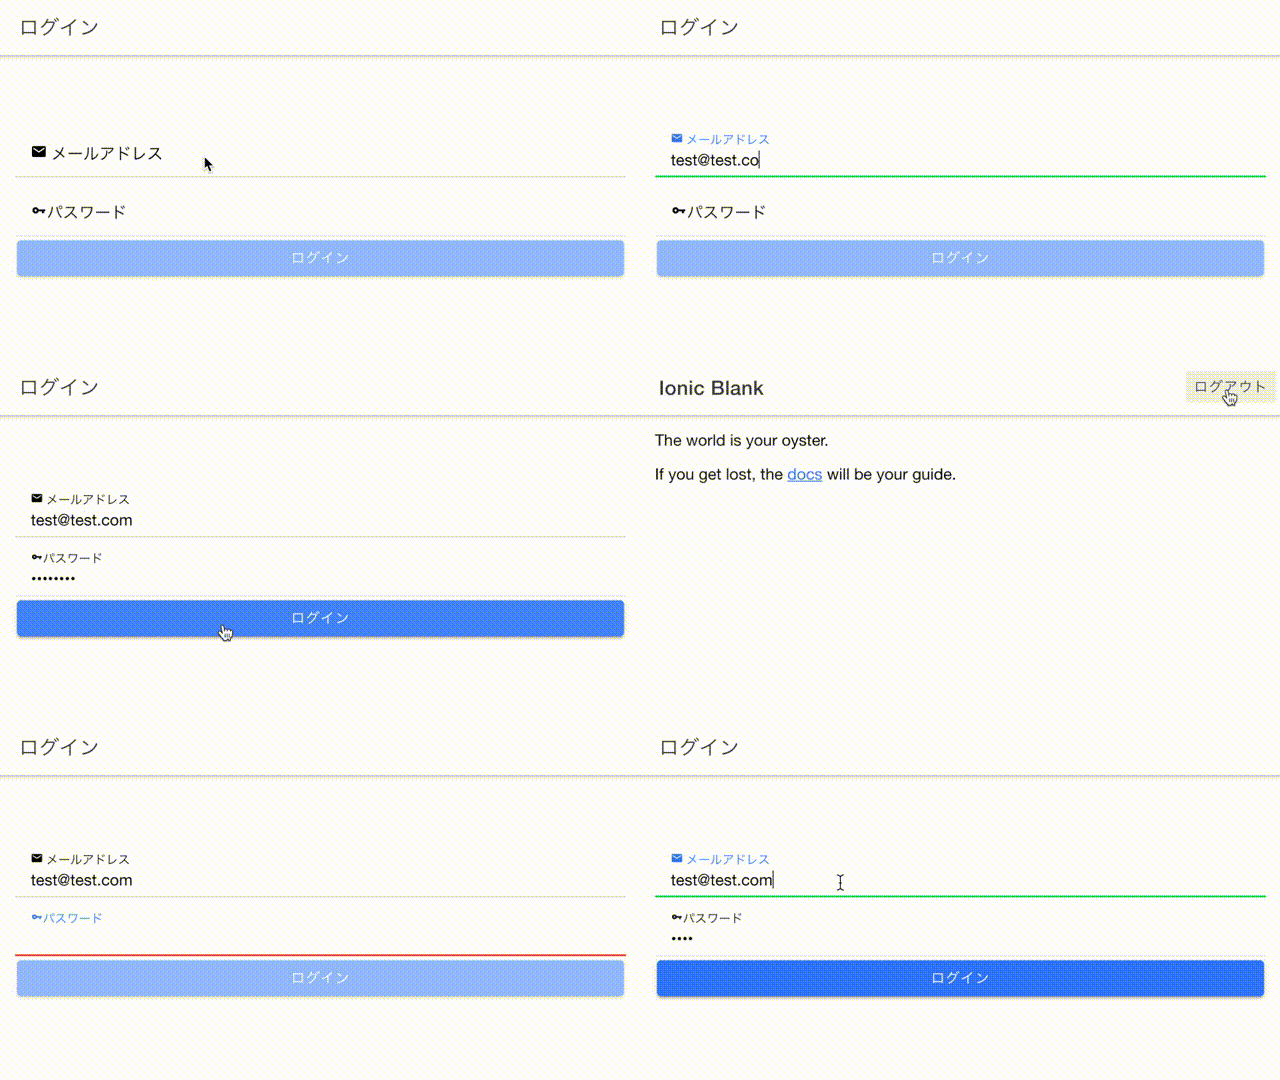
以下のようなログイン・ログアウト画面が実装できます。

Ionicとは
Ionic Frameworkは、Webテクノロジー(HTML、CSS、JavaScript)を使って、高性能かつ高品質なモバイルとデスクトップアプリケーションをつくるためのオープンソースのUIフレームワークです。
Ionicは、どんなプラットフォーム向けに開発を行う場合でも簡単に開発できるように構築されています。まさにクロスプラットフォームに対応したフレームワークです。つまり、Android、iOS、Electron、Progressive Web App(PWA)として実行することができ、すべてシングルコードで実装可能です。
開発環境
$ node -v
v12.1.0
$ npm -v
6.9.0
$ ionic --version
5.1.0
Ionicのインストール
ターミナルで以下のコマンドを実行してインストール
$ sudo npm install -g ionic cordova
Ionicプロジェクトを作成
開発用のディレクトリを作成し、Ionicプロジェクトを作成
$ cd
$ mkdir ionic
$ cd ./ionic
$ ionic start testAuth blank --type=angular
プロジェクト名:testAuth
テンプレート:blank
Ionicアプリを動かす
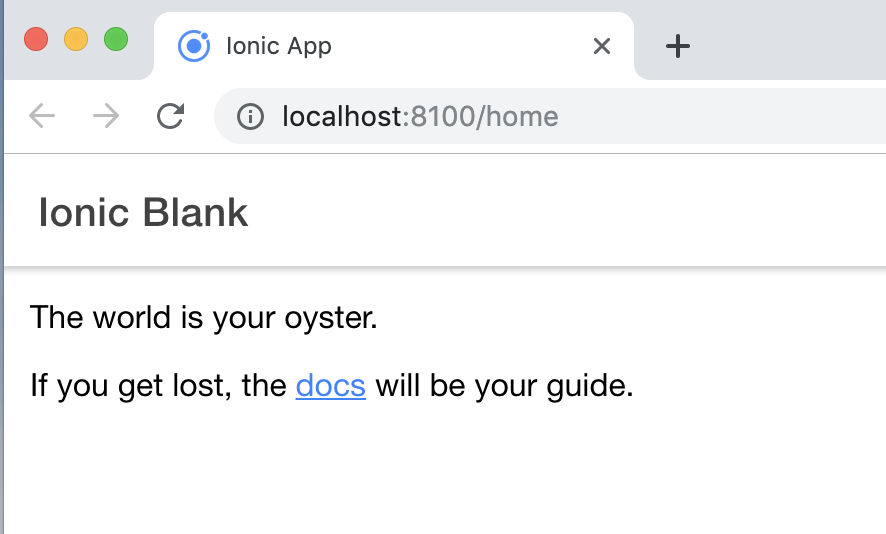
ionic serve でIonicアプリが起動する
$ cd testAuth
$ ionic serve
Firebaseのセットアップ
1.Firebaseのサイトにアクセス
https://firebase.google.com/?hl=ja
2.Googleアカウントでログイン
3.「プロジェクトを追加」をクリック
4.以下のように設定して「プロジェクトを作成」をクリック

FirebaseでAuthenticationの設定
1.「Authentication」をクリック
2.「ログイン方法を設定」をクリック
3.今回はメール/パスワードでの認証方法を利用する
4.「有効にする」にチェックして保存
5.「ユーザーを追加する」をクリックしてテスト用のユーザを作成する

6.「Project Overview」をクリックし、以下の赤枠をクリック

7.クリックすると、Firebaseプロジェクトを利用するために必要な情報が表示されるのでコピーする
IonicでFirebaseを使えるようにする
1.Firebaseの機能を利用するためのパッケージをインストール
$ cd ~/ionic/testAuth
$ npm install firebase @angular/fire --save
2./src/environments/enviroments.tsにコピーした情報を貼り付ける
export const environment = {
  production: false,
  firebase:{
    apiKey: "*******************************",
    authDomain: "******************************",
    databaseURL: "*******************************",
    projectId: "**************",
    storageBucket: "",
    messagingSenderId: "*********"
  }
};
3./src/app/app.module.tsを以下のように変更してFirebaseを使えるように設定
import { NgModule } from '@angular/core';
import { BrowserModule } from '@angular/platform-browser';
import { RouteReuseStrategy } from '@angular/router';

import { IonicModule, IonicRouteStrategy } from '@ionic/angular';
import { SplashScreen } from '@ionic-native/splash-screen/ngx';
import { StatusBar } from '@ionic-native/status-bar/ngx';

import { AppComponent } from './app.component';
import { AppRoutingModule } from './app-routing.module';

//Firebase設定情報ファイルをインポート
import { environment } from '../environments/environment';

//Firebaseを利用するためのモジュール
import { AngularFireModule } from '@angular/fire';
import { AngularFireAuthModule } from '@angular/fire/auth';

@NgModule({
  declarations: [AppComponent],
  entryComponents: [],
  imports: [
    BrowserModule,
    IonicModule.forRoot(),
    AppRoutingModule,
    AngularFireModule.initializeApp(environment.firebase),
    AngularFireAuthModule
  ],
  providers: [
    StatusBar,
    SplashScreen,
    { provide: RouteReuseStrategy, useClass: IonicRouteStrategy }
  ],
  bootstrap: [AppComponent]
})
export class AppModule {}
ログイン用のページを作る
1.ログインページ用のファイルを生成
$ ionic g page login
2.ログインページの作成
<ion-header>
  <ion-toolbar>
    <ion-title>ログイン</ion-title>
  </ion-toolbar>
</ion-header>

<ion-content padding>
  <ion-item class="loginHeader" lines="none" text-center>
  </ion-item>
  <form #f="ngForm" class="loginForm">
    <ion-item class="formItem">
      <ion-label position="floating">
        <ion-icon name="mail"></ion-icon>
        メールアドレス
      </ion-label>
      <ion-input
        required
        email
        [(ngModel)]="login.email"
        type="email"
        name="login.email"
      ></ion-input>
    </ion-item>

    <ion-item class="formItem">
      <ion-label position="floating">
        <ion-icon name="key" padding-right></ion-icon>パスワード
      </ion-label>
      <ion-input
        required
        [(ngModel)]="login.password"
        type="password"
        name="login.password"
      ></ion-input>
    </ion-item>

    <ion-button class="submitBtn" [disabled]="!f.form.valid" (click)="userLogin()" seize="large" expand="block">
      ログイン
    </ion-button>
  </form>
</ion-content>
3.ログイン処理を実装
import { Component, OnInit } from '@angular/core';
import { ToastController } from '@ionic/angular';
import { Router } from '@angular/router';

//Firebase
import { AngularFireAuth } from '@angular/fire/auth';

@Component({
  selector: 'app-login',
  templateUrl: './login.page.html',
  styleUrls: ['./login.page.scss']
})
export class LoginPage implements OnInit {
  login: {
    email: string;
    password: string;
  } = {
    email: '',
    password: ''
  };

  constructor(
    private router: Router,
    private afAuth: AngularFireAuth
  ) {}

  ngOnInit() {}

  userLogin() {
    this.afAuth.auth
    .signInWithEmailAndPassword(this.login.email, this.login.password)
    .then(async user => {
      //ログインできたらホームに移動
      this.router.navigate(['/home']);
    })
  }
}
ログアウトを実装する
1.ホームページのヘッダーにログアウトボタンを作成する
<ion-header>
  <ion-toolbar>
    <ion-title>
      Ionic Blank
    </ion-title>

    <ion-buttons slot="end">
      <ion-button (click)="logout()">
        ログアウト
      </ion-button>
    </ion-buttons>
  </ion-toolbar>
</ion-header>

<ion-content>
  <div class="ion-padding">
    The world is your oyster.
    <p>If you get lost, the <a target="_blank" rel="noopener" href="https://ionicframework.com/docs/">docs</a> will be your guide.</p>
  </div>
</ion-content>
2.ログアウト処理を実装
import { Component} from '@angular/core';
import { Router } from '@angular/router';
import { AngularFireAuth } from '@angular/fire/auth';

@Component({
  selector: 'app-home',
  templateUrl: 'home.page.html',
  styleUrls: ['home.page.scss'],
})
export class HomePage {

  constructor(
    private afAuth: AngularFireAuth,
    private router: Router
  ) {}

  // ログアウト処理
  logout() {
    this.afAuth.auth
        .signOut()
        this.router.navigateByUrl('/login');
  }
}
動作確認
以下のリンクから作成したログインページが確認できます。
Firebaseのコンソールで設定したユーザ以外はログインできないことが確認できると思います。
http://localhost:8100/login
おわりに
Ionic+Firebaseで簡単にユーザ認証が実装できました。
インストールなどの待ち時間を除けば、10分もかからずに実装できたのではないでしょうか。
続きはこちら
参考
Ionic Framework - Ionic Framework 日本語ドキュメンテーション
https://qiita.com/lighthouse/items/a08f8405358112fcda1d
