自動運転に必要な画像処理技術シリーズの3回目の後半。前半で作成したモデルを使って、道路標識を認識するアプリを作成します。
手順
モデルのデプロイ
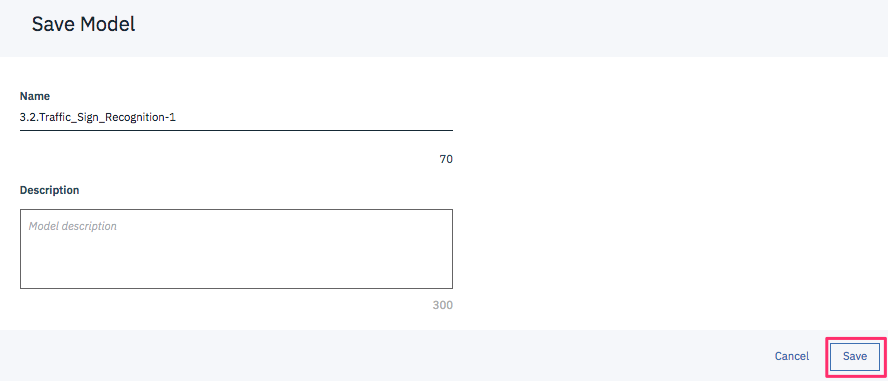
前半で作成したモデルの Actions メニューから Save model を選択します。

プロジェクトのページに戻ると Watson Machine Learning models にモデルが保管されたことが分かるので、モデル名をクリックします。
Deployments タブから Add Deployment をクリックし、適当な名前をつけてSave します。
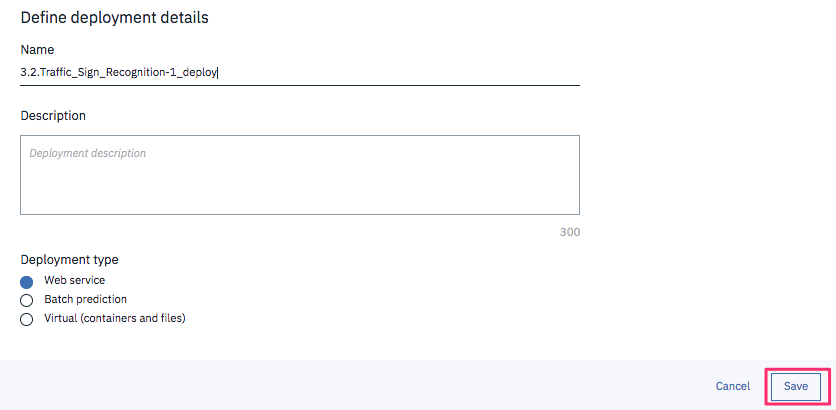
STATUS が DEPLOY_SUCCESS となったらデプロイ完了です。
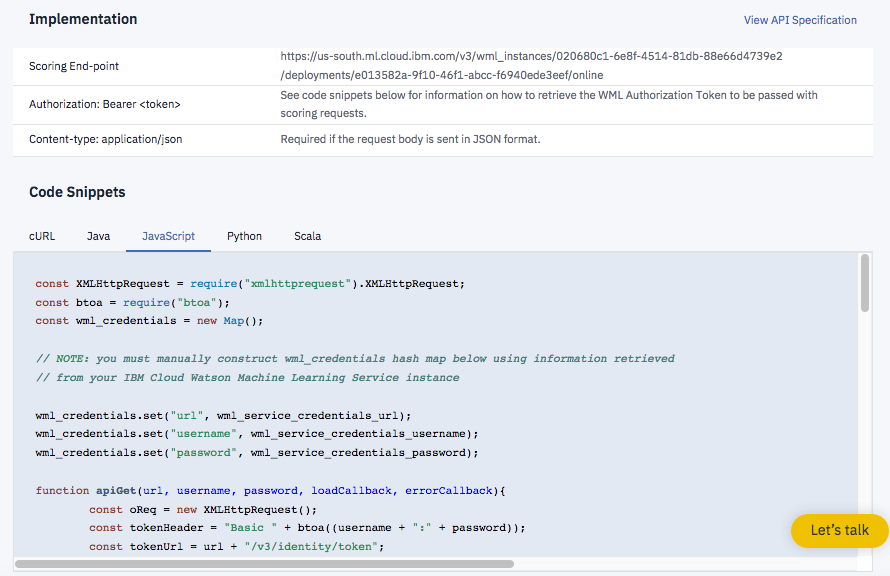
デプロイすると、モデルを呼び出すための Scoring End Point やアプリ作成に使えるコードが生成されます。
アプリの作成
以下に作成したサンプルアプリを公開しています。
https://github.com/schiyoda/TrafficSignRecognition
以下の手順で実行可能です。
1.コードの取得
$ git clone https://github.com/schiyoda/TrafficSignRecognition.git
$ npm install
2.server/routers/main.js で Scoring Endpoint および WML の Credential を設定
3.起動
$ npm start
こちらが作成したアプリになります。
http://trafficsignrecognition.mybluemix.net/
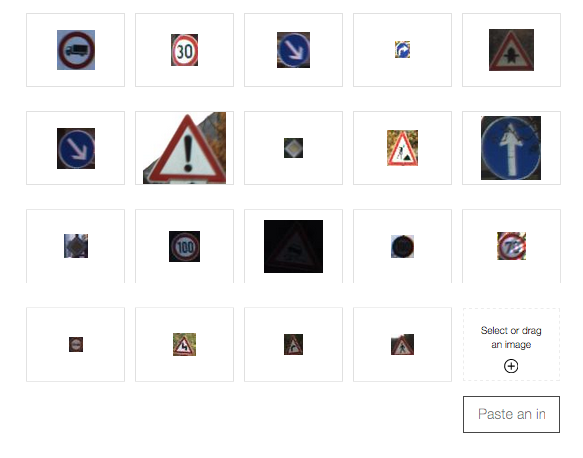
アプリで使用している標識画像は学習時には使用しなかった「Test datasetをこちらから取得しました。
いくつか試してみると、そこそこ良い結果なのではないかと思います。
