
ローカルネットワークへのアクセス制御と外部ネットワークへの接続制御の設定がカオスになってきたので,高機能なルーターを自作することにしました.ネットワーク周りについては素人なので,まずはメジャーなOpsenseをインストールしていきたいと思います.
手順
1.イメージファイルの取得
OPsenseのホームページ上部より,Download OPNsense®ボタンをクリック.
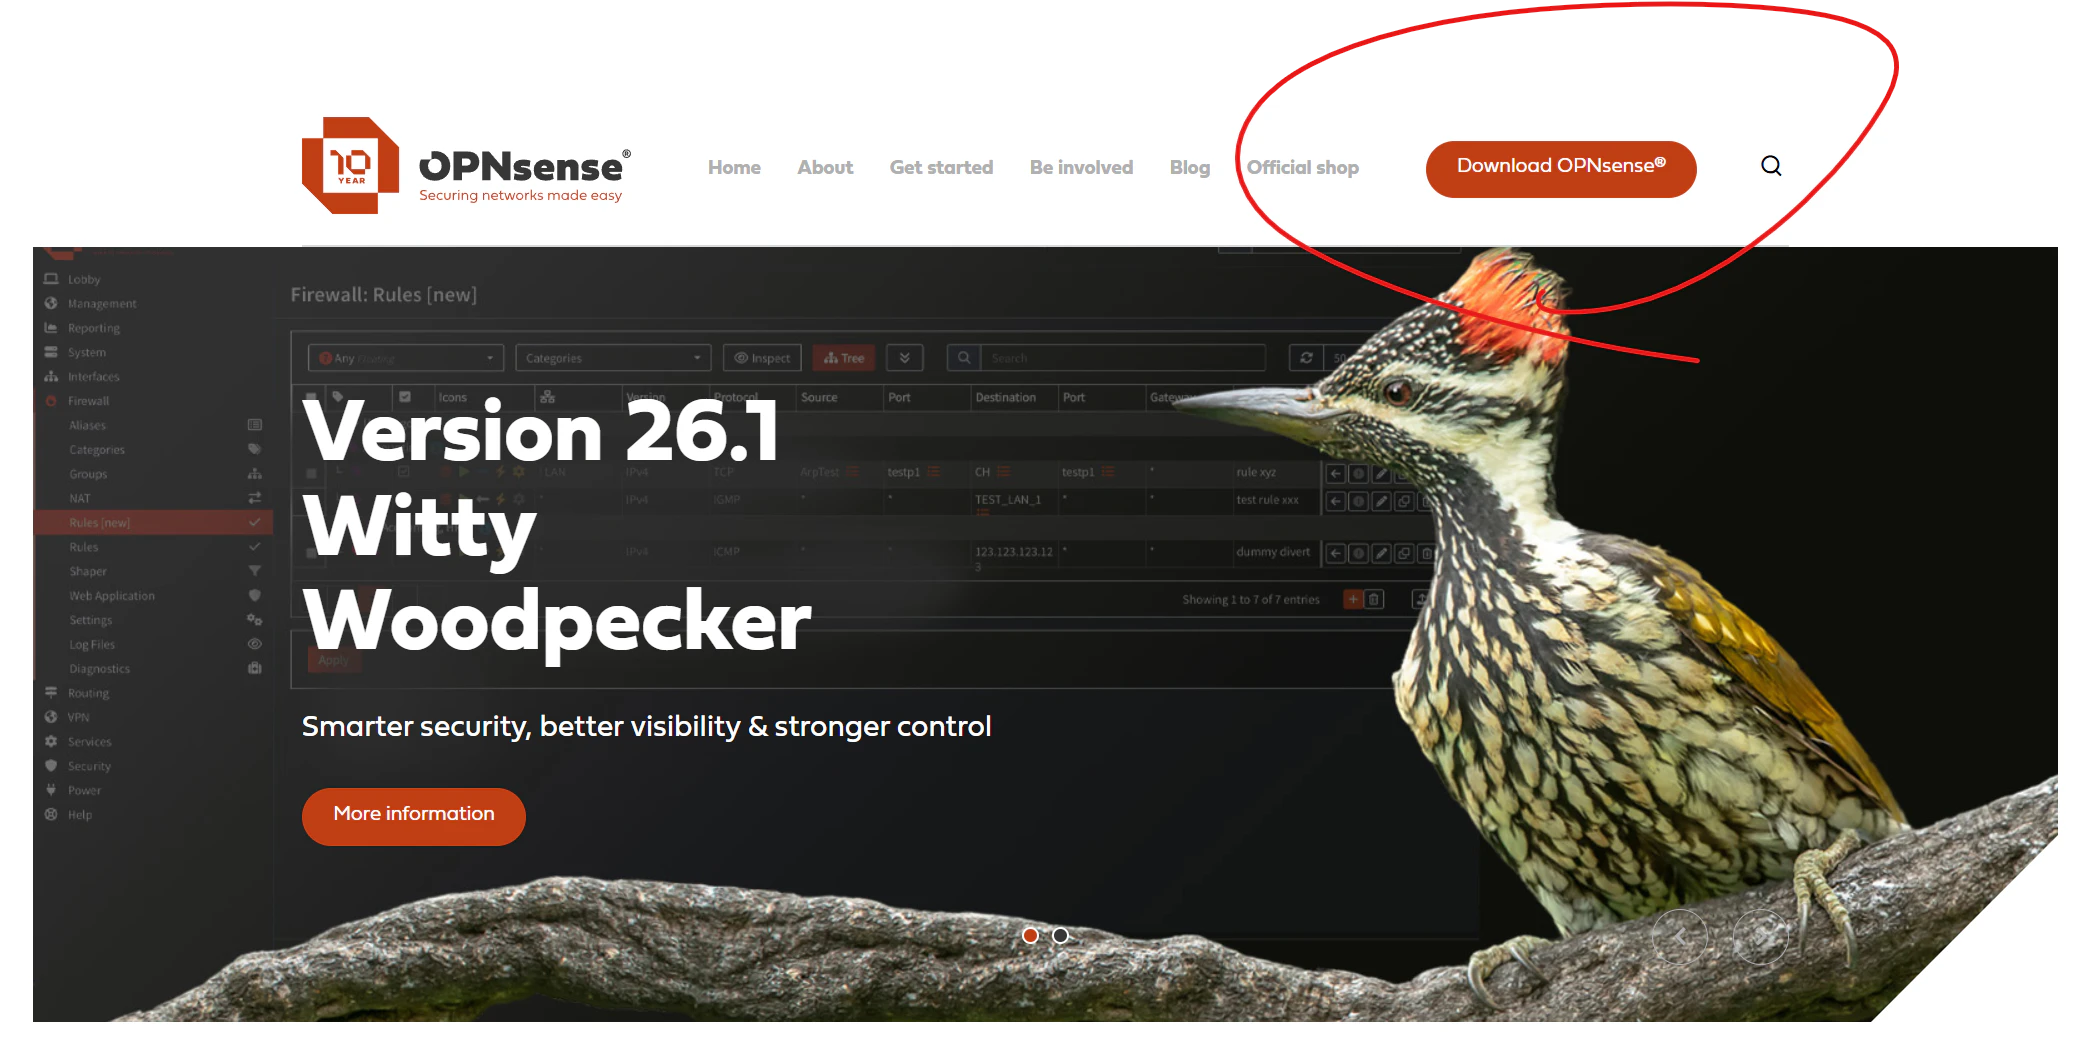
ページ中部より,vgaを選択した状態でドロップダウンの下にあるDownload OPNsense®ボタンをクリック.

ダウンロードが終わるまで散歩でもして待ちます.
2.インストールメディアの作成
rufusのホームページから,rufusをダウンロードします.インストール不要のPortable版がおすすめです.

ダウンロード(Portable版以外はインストールも)できたら起動して,①使用するUSBメモリの選択と②焼き込むイメージファイルの選択を行います.その他の設定は,この2つを選んだ時点で勝手に決定されると思います.USBの中身は完全に消去されるので注意してください!

選択が終わったらスタートをクリックし,イメージをUSBに焼き込みます.
3.インストール
PCに作成したインストール用USBを差し込んで起動します.初回起動時はBIOSを開いて,SATAの動作モードをAHCIに変更,CSMを有効化,ブート順序の変更を忘れずに行ってください.起動時点ではまだUSBから実行されている状態なので,PCのディスクにインストールする必要があります.

4.セットアップ
再度ログインを求められたらを入力し,次の画面に移動します.
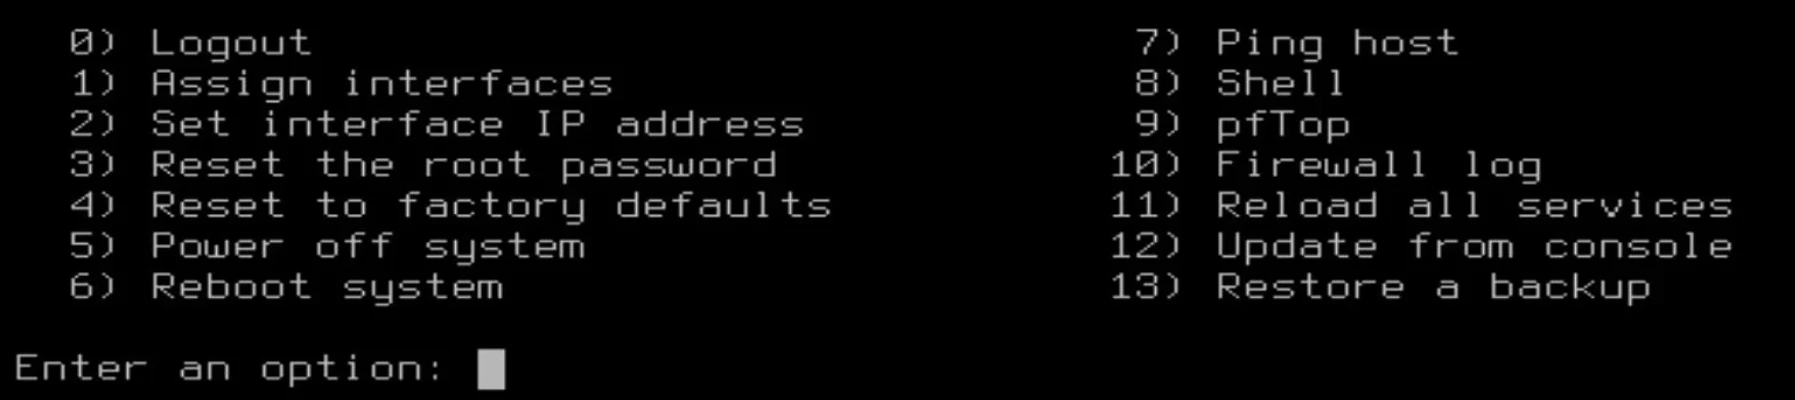
まず,インターフェースの割り当てを行います.
今回は,拡張カードをLAN側(下流),オンボードをWAN側(上流)に
設定しました.
Enter an option: 2としてEnterし,設定を開始します.
Do you want to configure LAGGs now ?
  -> N
Do you want to configure VLANs now ?
  -> N
rl0 拡張カードのMACアドレス
re0 オンボードのMACアドレス
Enter the WAN interface name or 'a' for auto-detection
  -> re0(WANに設定したい方)
Enter the LAN interface name or 'a' for auto-detection
  -> re0(WANに設定したい方)
Enter the optional interface 1 name or 'a' for auto-detection
  -> なにも入力せずにEnter
Do you want to proceed ?
  -> y
次に,DHCPなどのモード設定を行います.
Enter an option: 3としてEnterし,設定を開始します.
Enter the number of the interface to configure
  -> 1(LANを選択)
Configure IPv4 address LAN interface via DHCP?
  -> N
Enter the new LAN IPv4 address
  -> 192.168.1.1
Enter the new LAN IPv4subnet bit count
  -> 24
For a WAN, ... For a LAN, press <ENTER> for none
  -> なにも入力せずにEnter
configure IPv6 address LAN interface via WAN tracking?
  -> n
configure IPv6 address LAN interface via DHCP6?
  -> N
Enter the new LAN IPv6 address
  -> なにも入力せずにEnter
Do you want to enable the DHCP server on LAN?
  -> y
Enter the start address of the IPv4 client address range
  -> 192.168.1.割り当て範囲の最初
Enter the end address of the IPv4 client address range
  -> 192.168.1.割り当て範囲の最後
Do you want to change web GUI protovol from HTTPS to HTTP?
  -> y
Restore web GUI access defaults?]
  -> y
最後に http://192.168.1.1/ と表示されるので,Chromeなどで開いてを入力すれば管理画面にアクセスできます.
発生したトラブル
時間があったらまとめたいと思いますが,デフォルトのdnsmasqによるDHCPサーバーからkeaによるDHCPサーバーに乗り換えたところ,LANに接続しているPCインターネットにアクセスできなくなりました.
原因はDNSサーバーを登録忘れだったので,それ自体はすんなり対応したのですが,どういうわけか8.8.8.8を登録しても接続できないのは変わらず.それなのにLANに接続しているPCからは8.8.8.8に対するpingが通るという状況で,完全に???でしたが,ipconfig /releaseと/renewをしたら解決しました.