はじめに
AWS Advent Calendar 2015 16日目ということで「AWS Mobile Hub」を利用した話です。
AWS Mobile Hubでは画面上で機能を選択すると
AWS側の設定を自動生成してくれて、さらにiOS/Androidでそのまま動かせるファイルを吐き出してくれます。
この動作サンプルが便利!
目の前に実際に動作する物があると、それを動かしながら確認できるので話が早い!w
Amazon側の想定する使い方ではないかもしれませんが
こんな利用の仕方もあり、開発効率を上げるのに便利だった!という話です。
今回は
「自作iOSアプリに、S3利用し画像をアップロード・ダウンロードする機能を追加する場合」
にどんな手順を取ったかの記録です。
Mobile Hubさんに動作するサンプルを生成してもらう
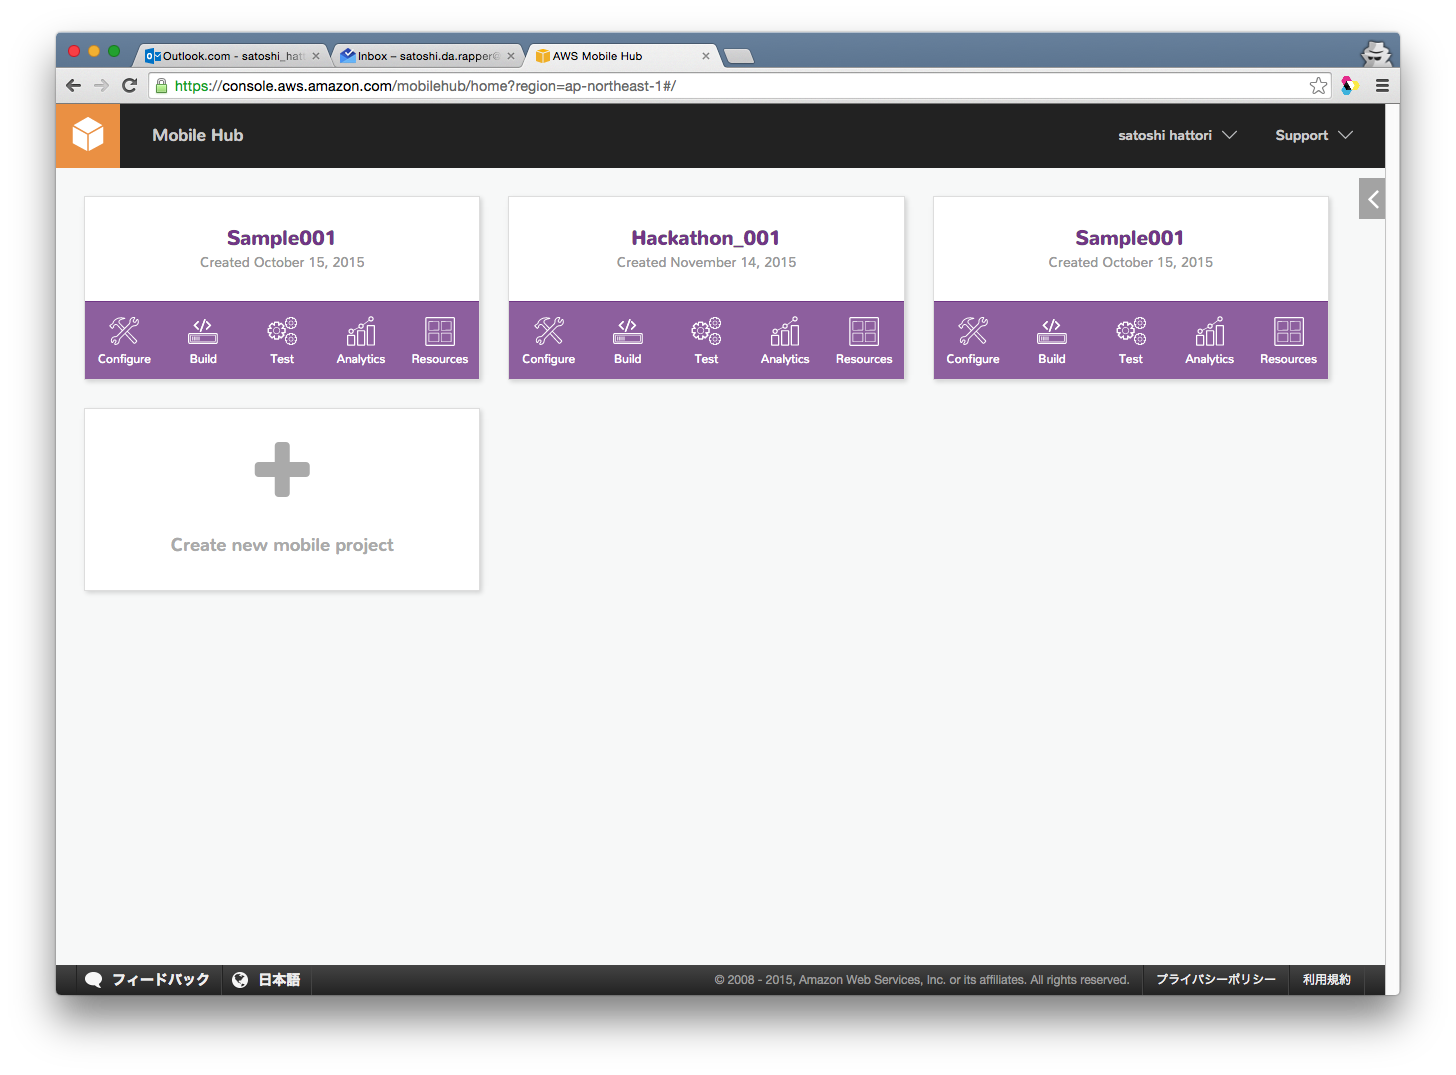
AWSログイン後、Mobile Hub画面にて「Create new mobile project」
プロジェクト名は適当に「Sample20151216」などにしておきましょうか。
で「Create Project」でプロジェクト作成。
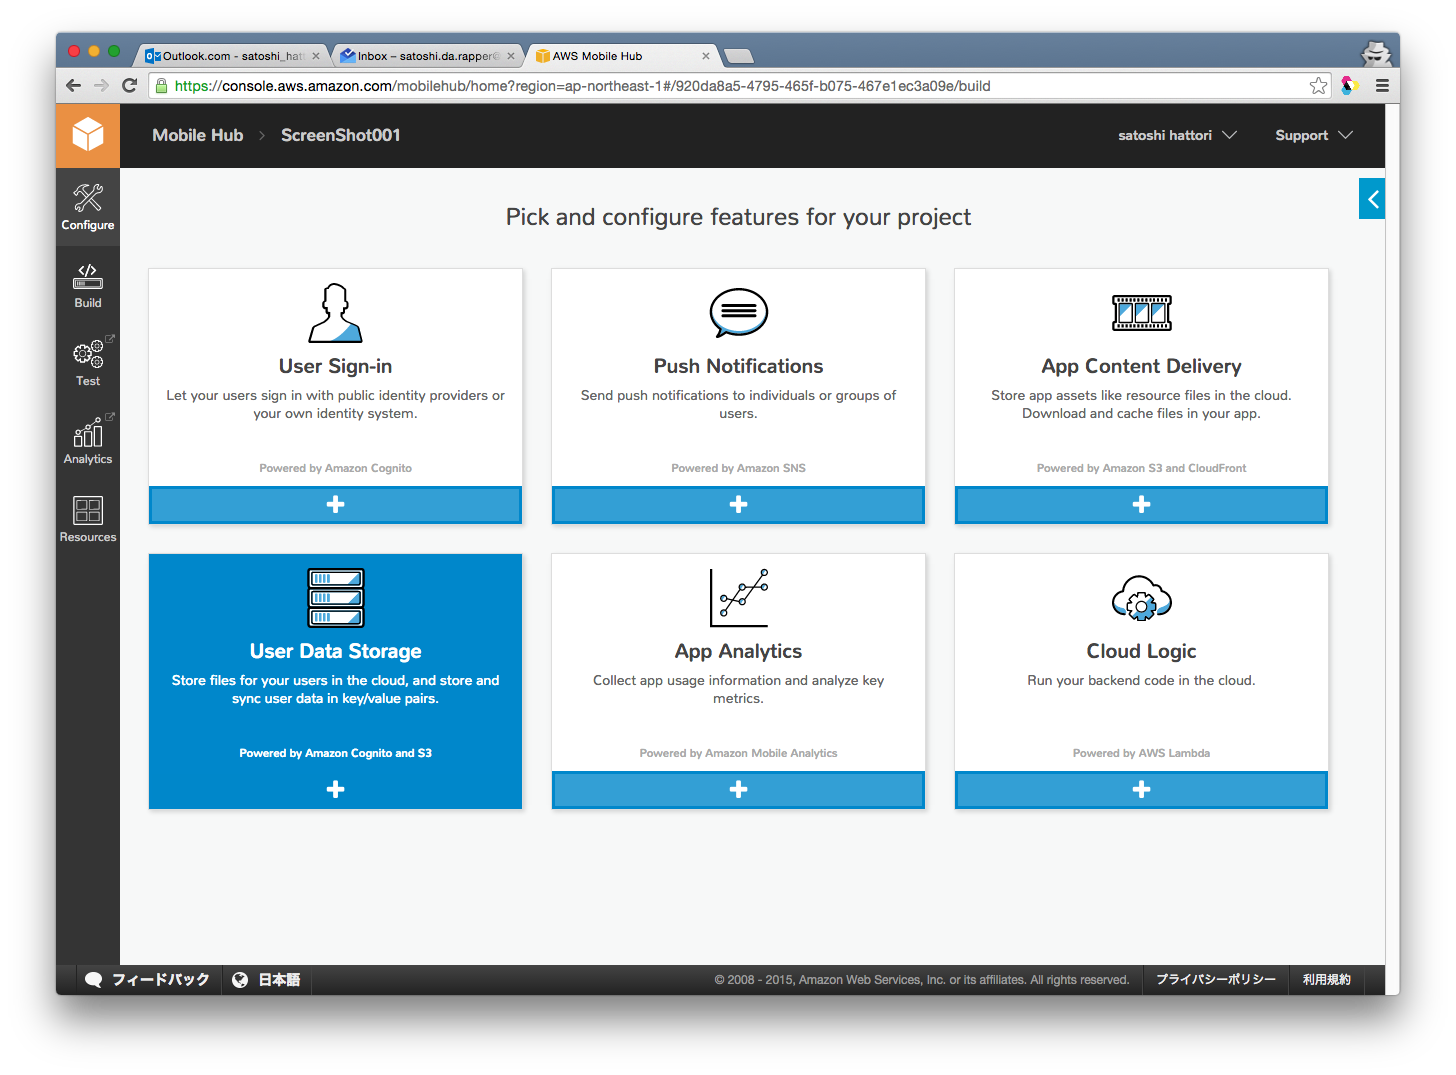
User Data Storageボタン選択。
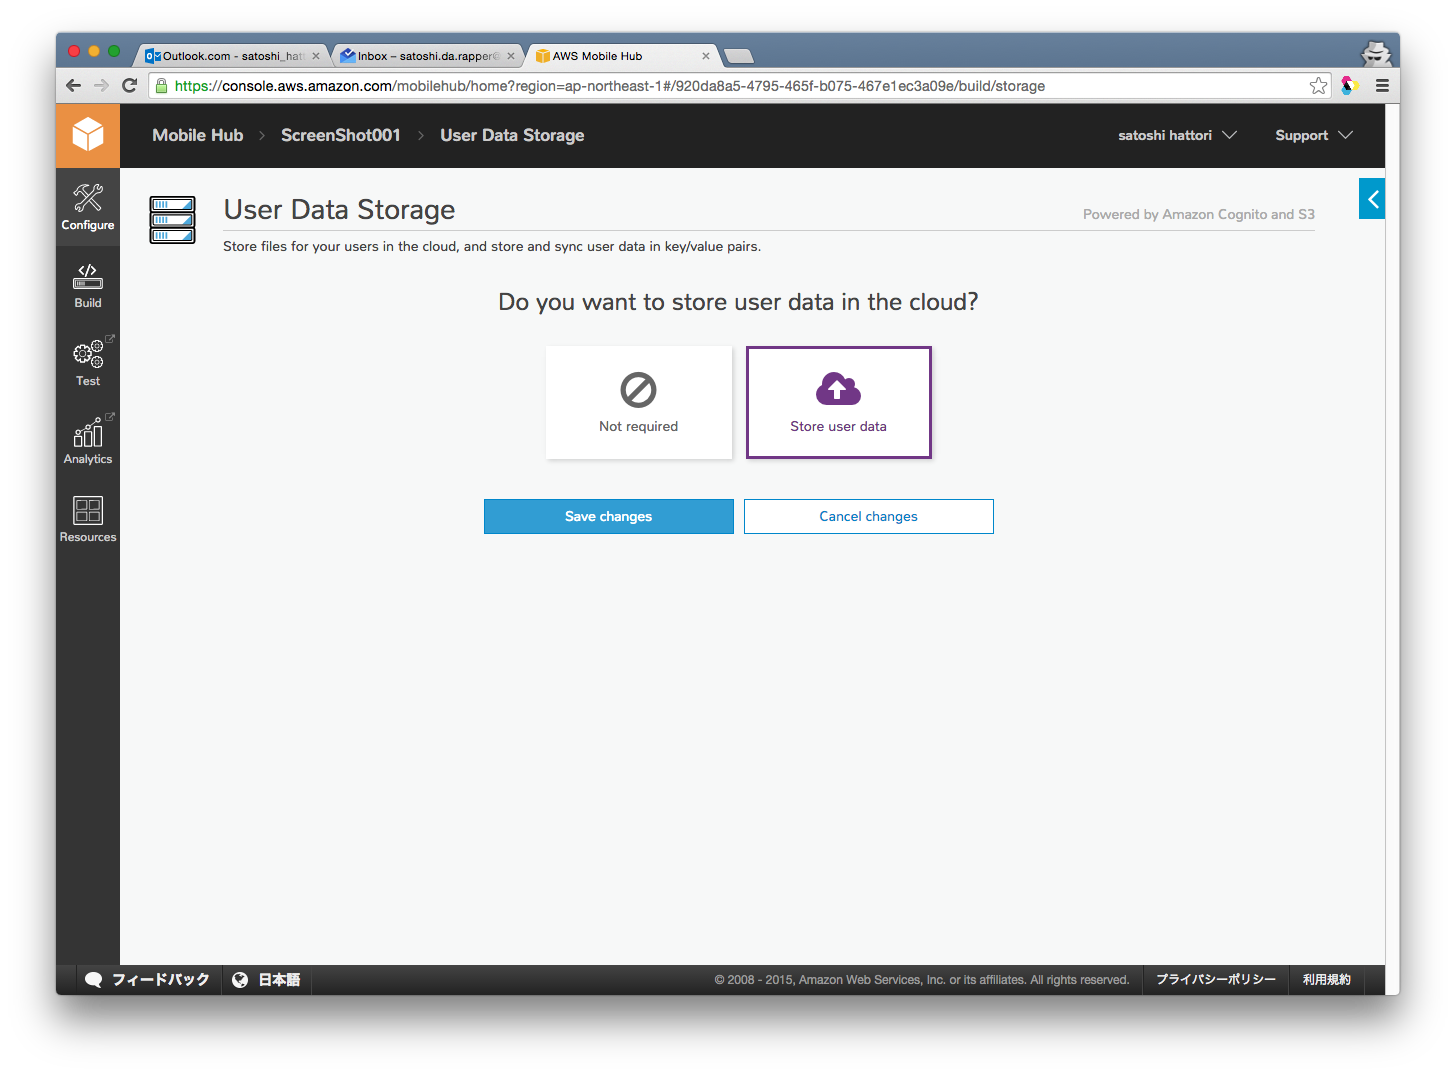
Store user dataを選択した状態で「Save changes」で保存。
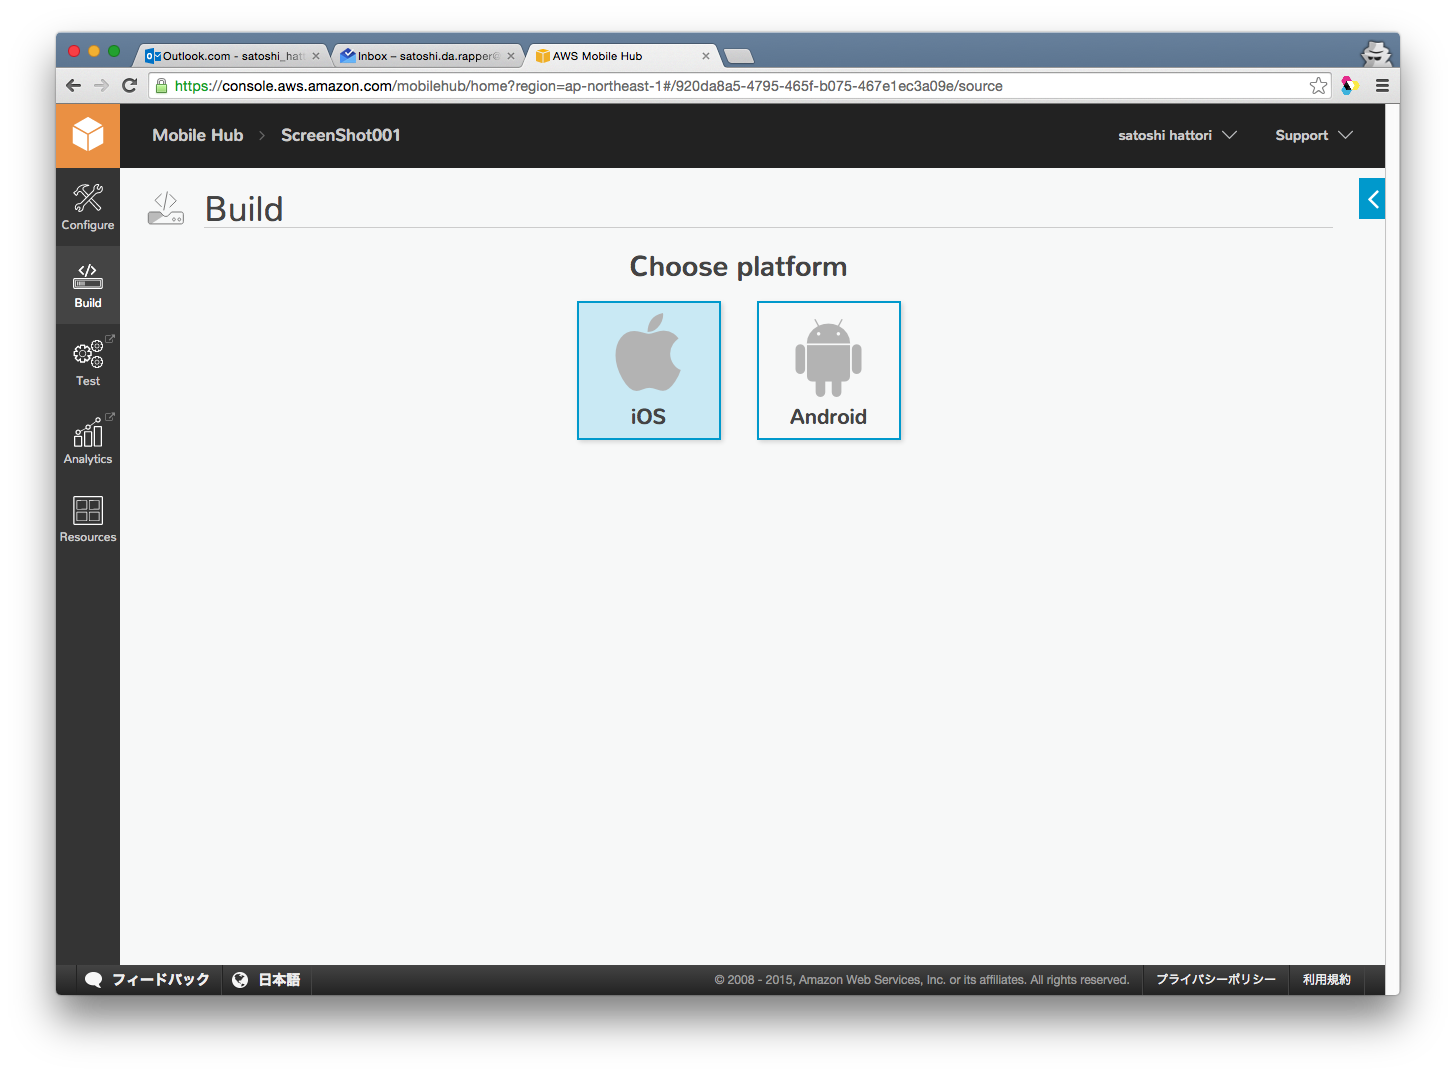
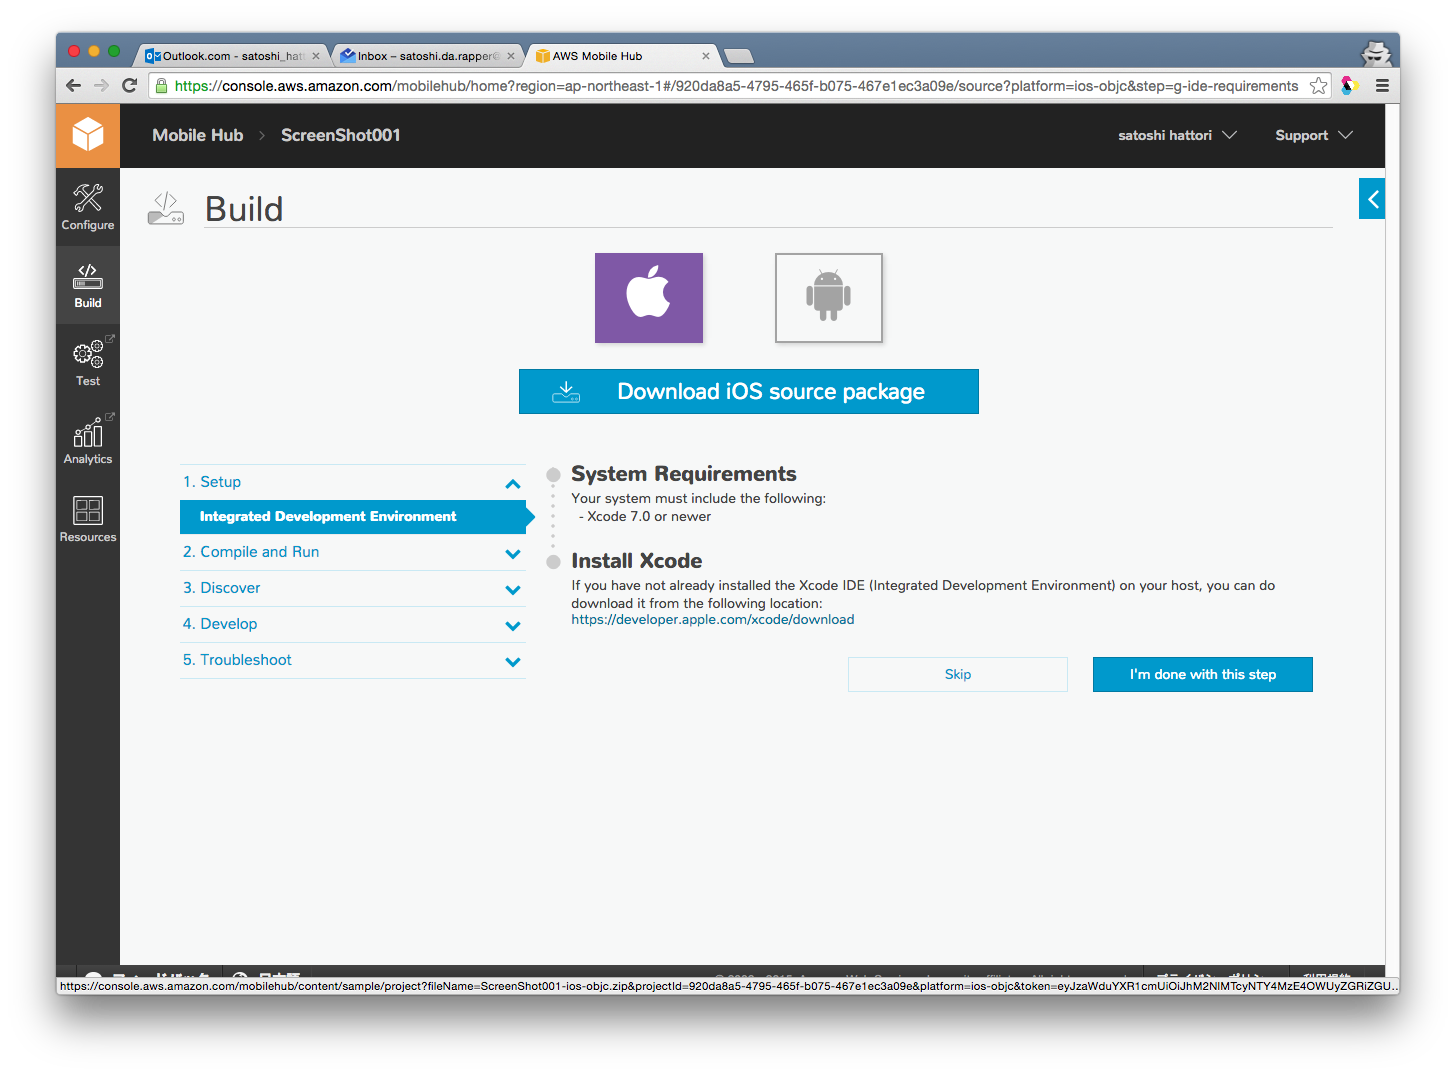
画面左側メニューの「Build」から「iOS」を選択。
しばらくAmazon側の自動生成を待つとダウンロードできるようになります。
(先程実行した時は約1分弱でした)
ダウンロードしたらWeb上でやることは取り敢えず終了です。
自作iOSアプリにそれを組み込み
生成されたMySampleAppプロジェクトを開いて実行し動作することを確認。
そのプロジェクトを参考に、自作アプリのプロジェクトに手を入れていきます。
ライブラリ追加
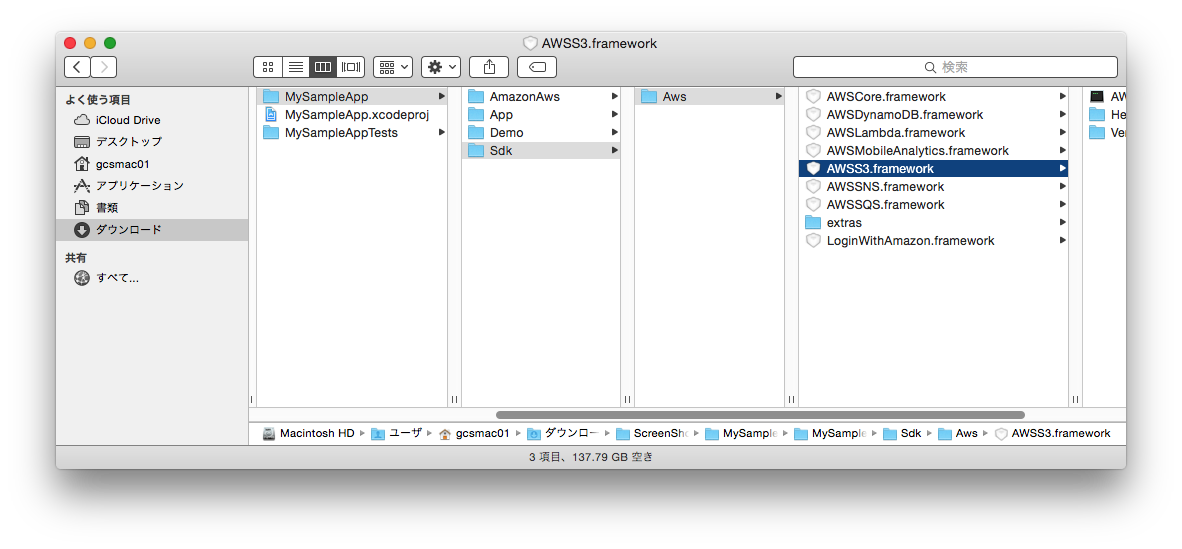
AWS関連FrameworkをMySampleAppから自作プロジェクト配下にコピー。
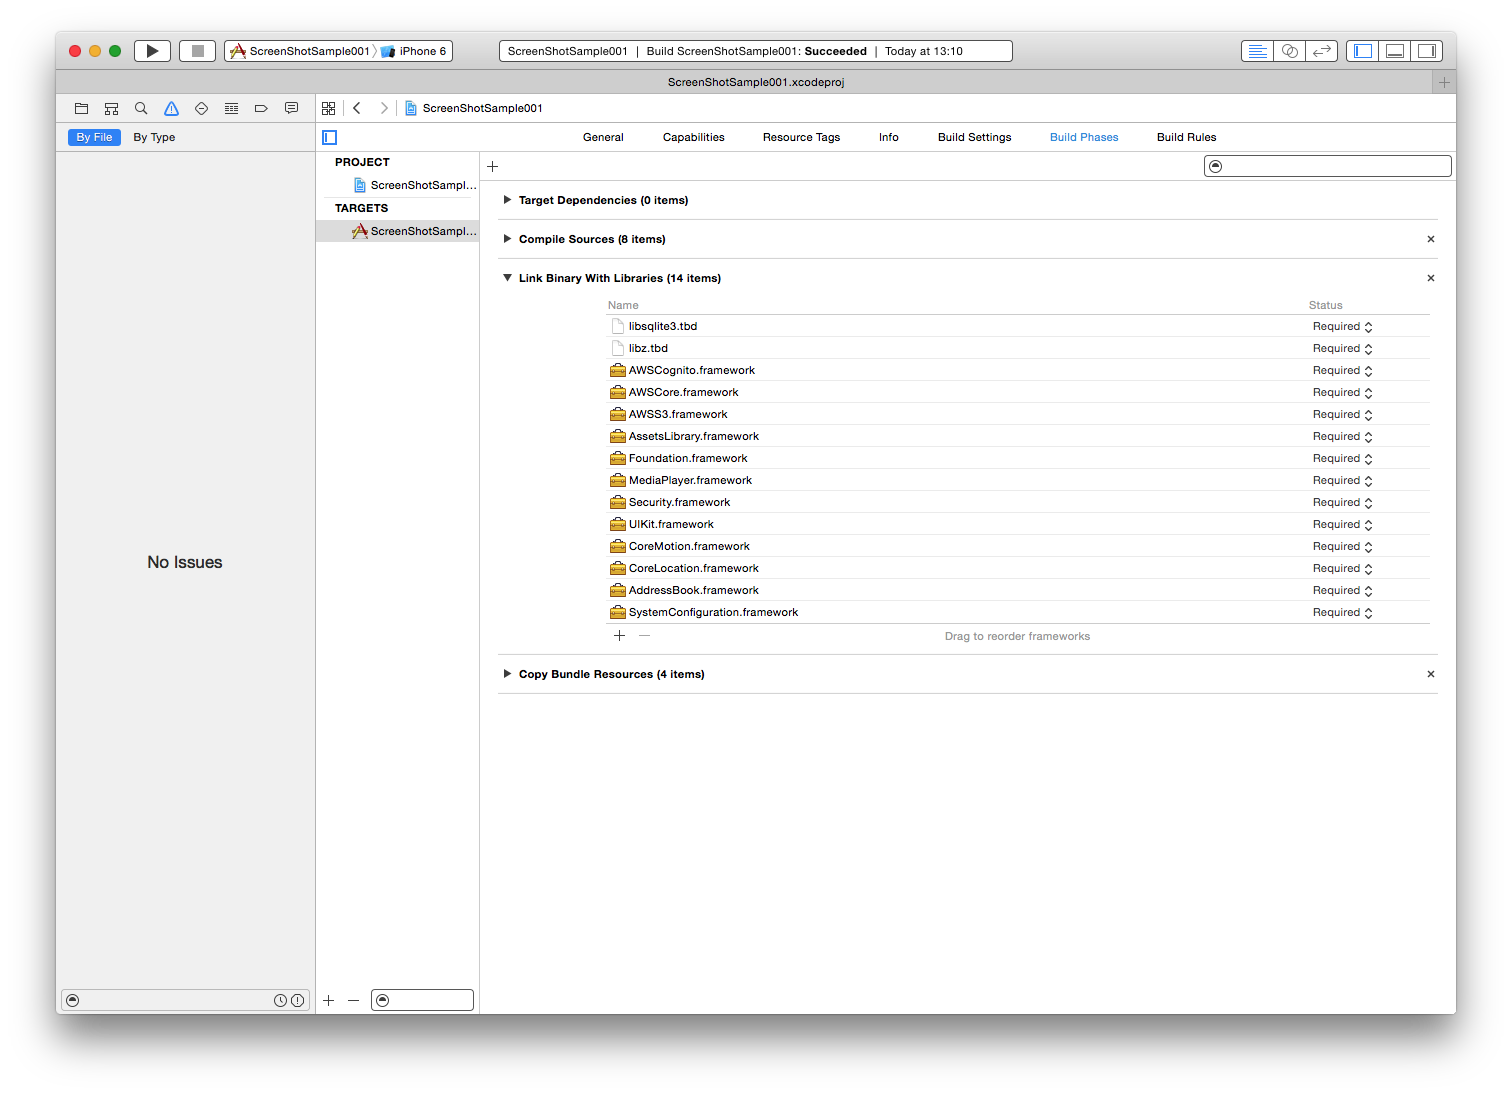
AWS関連に加えてその他のFrameworkも自作プロジェクトに追加。
AWS関連ソース追加
AmazonAwsフォルダを自作プロジェクト配下にコピー。
Add Files to でフォルダごと追加しました。
画像一覧画面追加
UserFilesフォルダを自作プロジェクト配下にコピー。
Add Files to でフォルダごと追加しました。
AppDelegateに追記
# import "AWSMobileClient.h"

- (BOOL)application:(UIApplication *)application didFinishLaunchingWithOptions:(NSDictionary *)launchOptions {
    return [[AWSMobileClient sharedInstance] didFinishLaunching:application withOptions:launchOptions];
}

- (void)applicationDidBecomeActive:(UIApplication *)application {
    [[AWSMobileClient sharedInstance] applicationDidBecomeActive:application];
}
画面周り
動作確認用ボタンは横着してコードで生成してます。
# import "ViewController.h"

@interface ViewController ()

@end

@implementation ViewController

- (void)viewDidLoad
{
    [super viewDidLoad];

    UIButton *btn = [UIButton buttonWithType:UIButtonTypeRoundedRect];
    btn.frame = CGRectMake(20, 200, 280, 30);
    [btn setTitle:@"S3画像一覧表示" forState:UIControlStateNormal];
    [btn addTarget:self action:@selector(btn_action:) forControlEvents:UIControlEventTouchUpInside];
    [self.view addSubview:btn];
}

- (void)btn_action:(UIButton *)sender
{
    UIStoryboard *storyboard = [UIStoryboard storyboardWithName:@"UserFiles" bundle:nil];
    UIViewController *viewController = [storyboard instantiateViewControllerWithIdentifier:@"UserFiles"];

    [self.navigationController pushViewController:viewController animated:YES];
}

@end
余談
Single View Applicationで生成した場合、
初期のViewControllerはnavigationControllerの制御に乗っていません。
なので上記実装では画面が出ません。
以下の手順でnavigationControllerの画面制御に置きます。
- StoryboardでNavigationControllerを追加。
- NavigationControllerの「Is Initial View Controller」にチェック。
- 自動でくっついてきているTableViewControllerを削除。
- NavigationControllerのrootViewControllerにViewControllerを設定。
おわりに
その他の機能も一度Mobile Hubで動く物を生成すれば
自作アプリへの応用の一手目が大分楽になると思います。
