目的
「.NET MAUI」で「sqlite」を使用方法を備忘録として記載。
初投稿のため間違い等あればコメントをもらえると大変ありがたいです。
本記事は参考に記載したサイトから抜粋等したものを表示しています。
実際に確認する際は参考を確認するとわかりやすいかもしれません。
参考
デモコード
下記リポジトリに置いてあります。
環境
- windows11 21H2
- Microsoft Visual Studio Community 2022 (64 ビット) Version 17.3.3
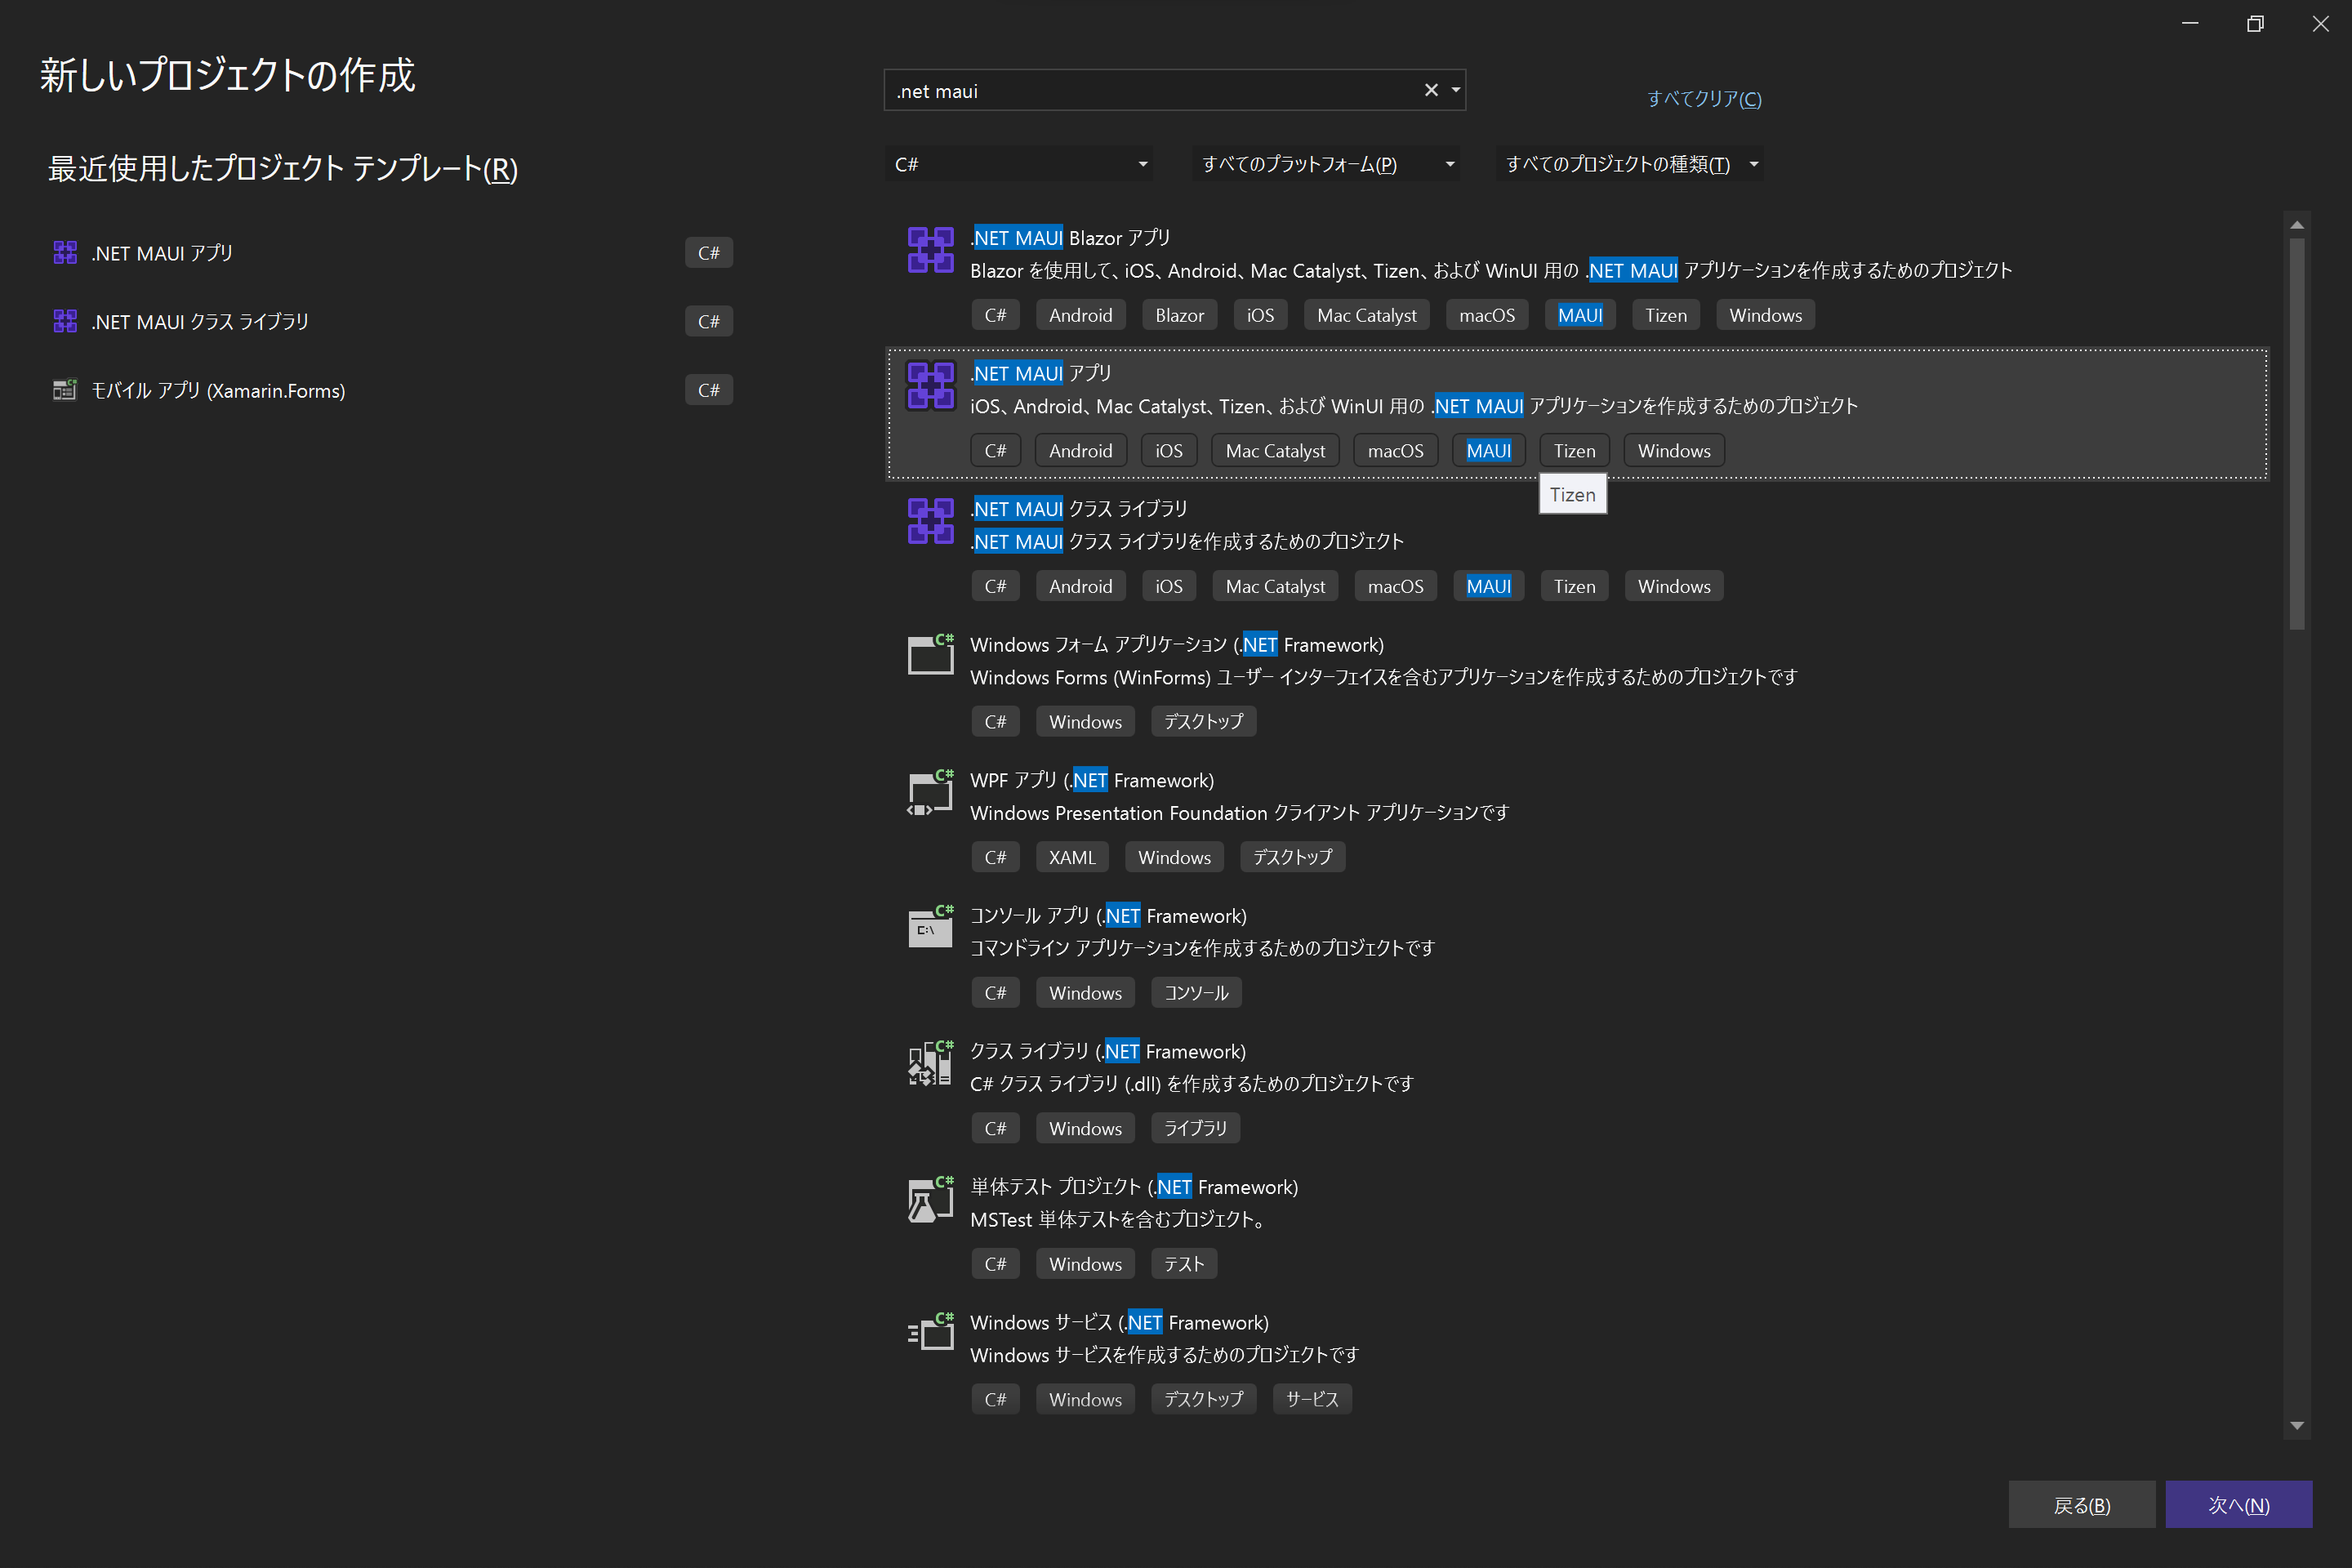
プロジェクトの作成
「.NET MAUI アプリ」を選択。
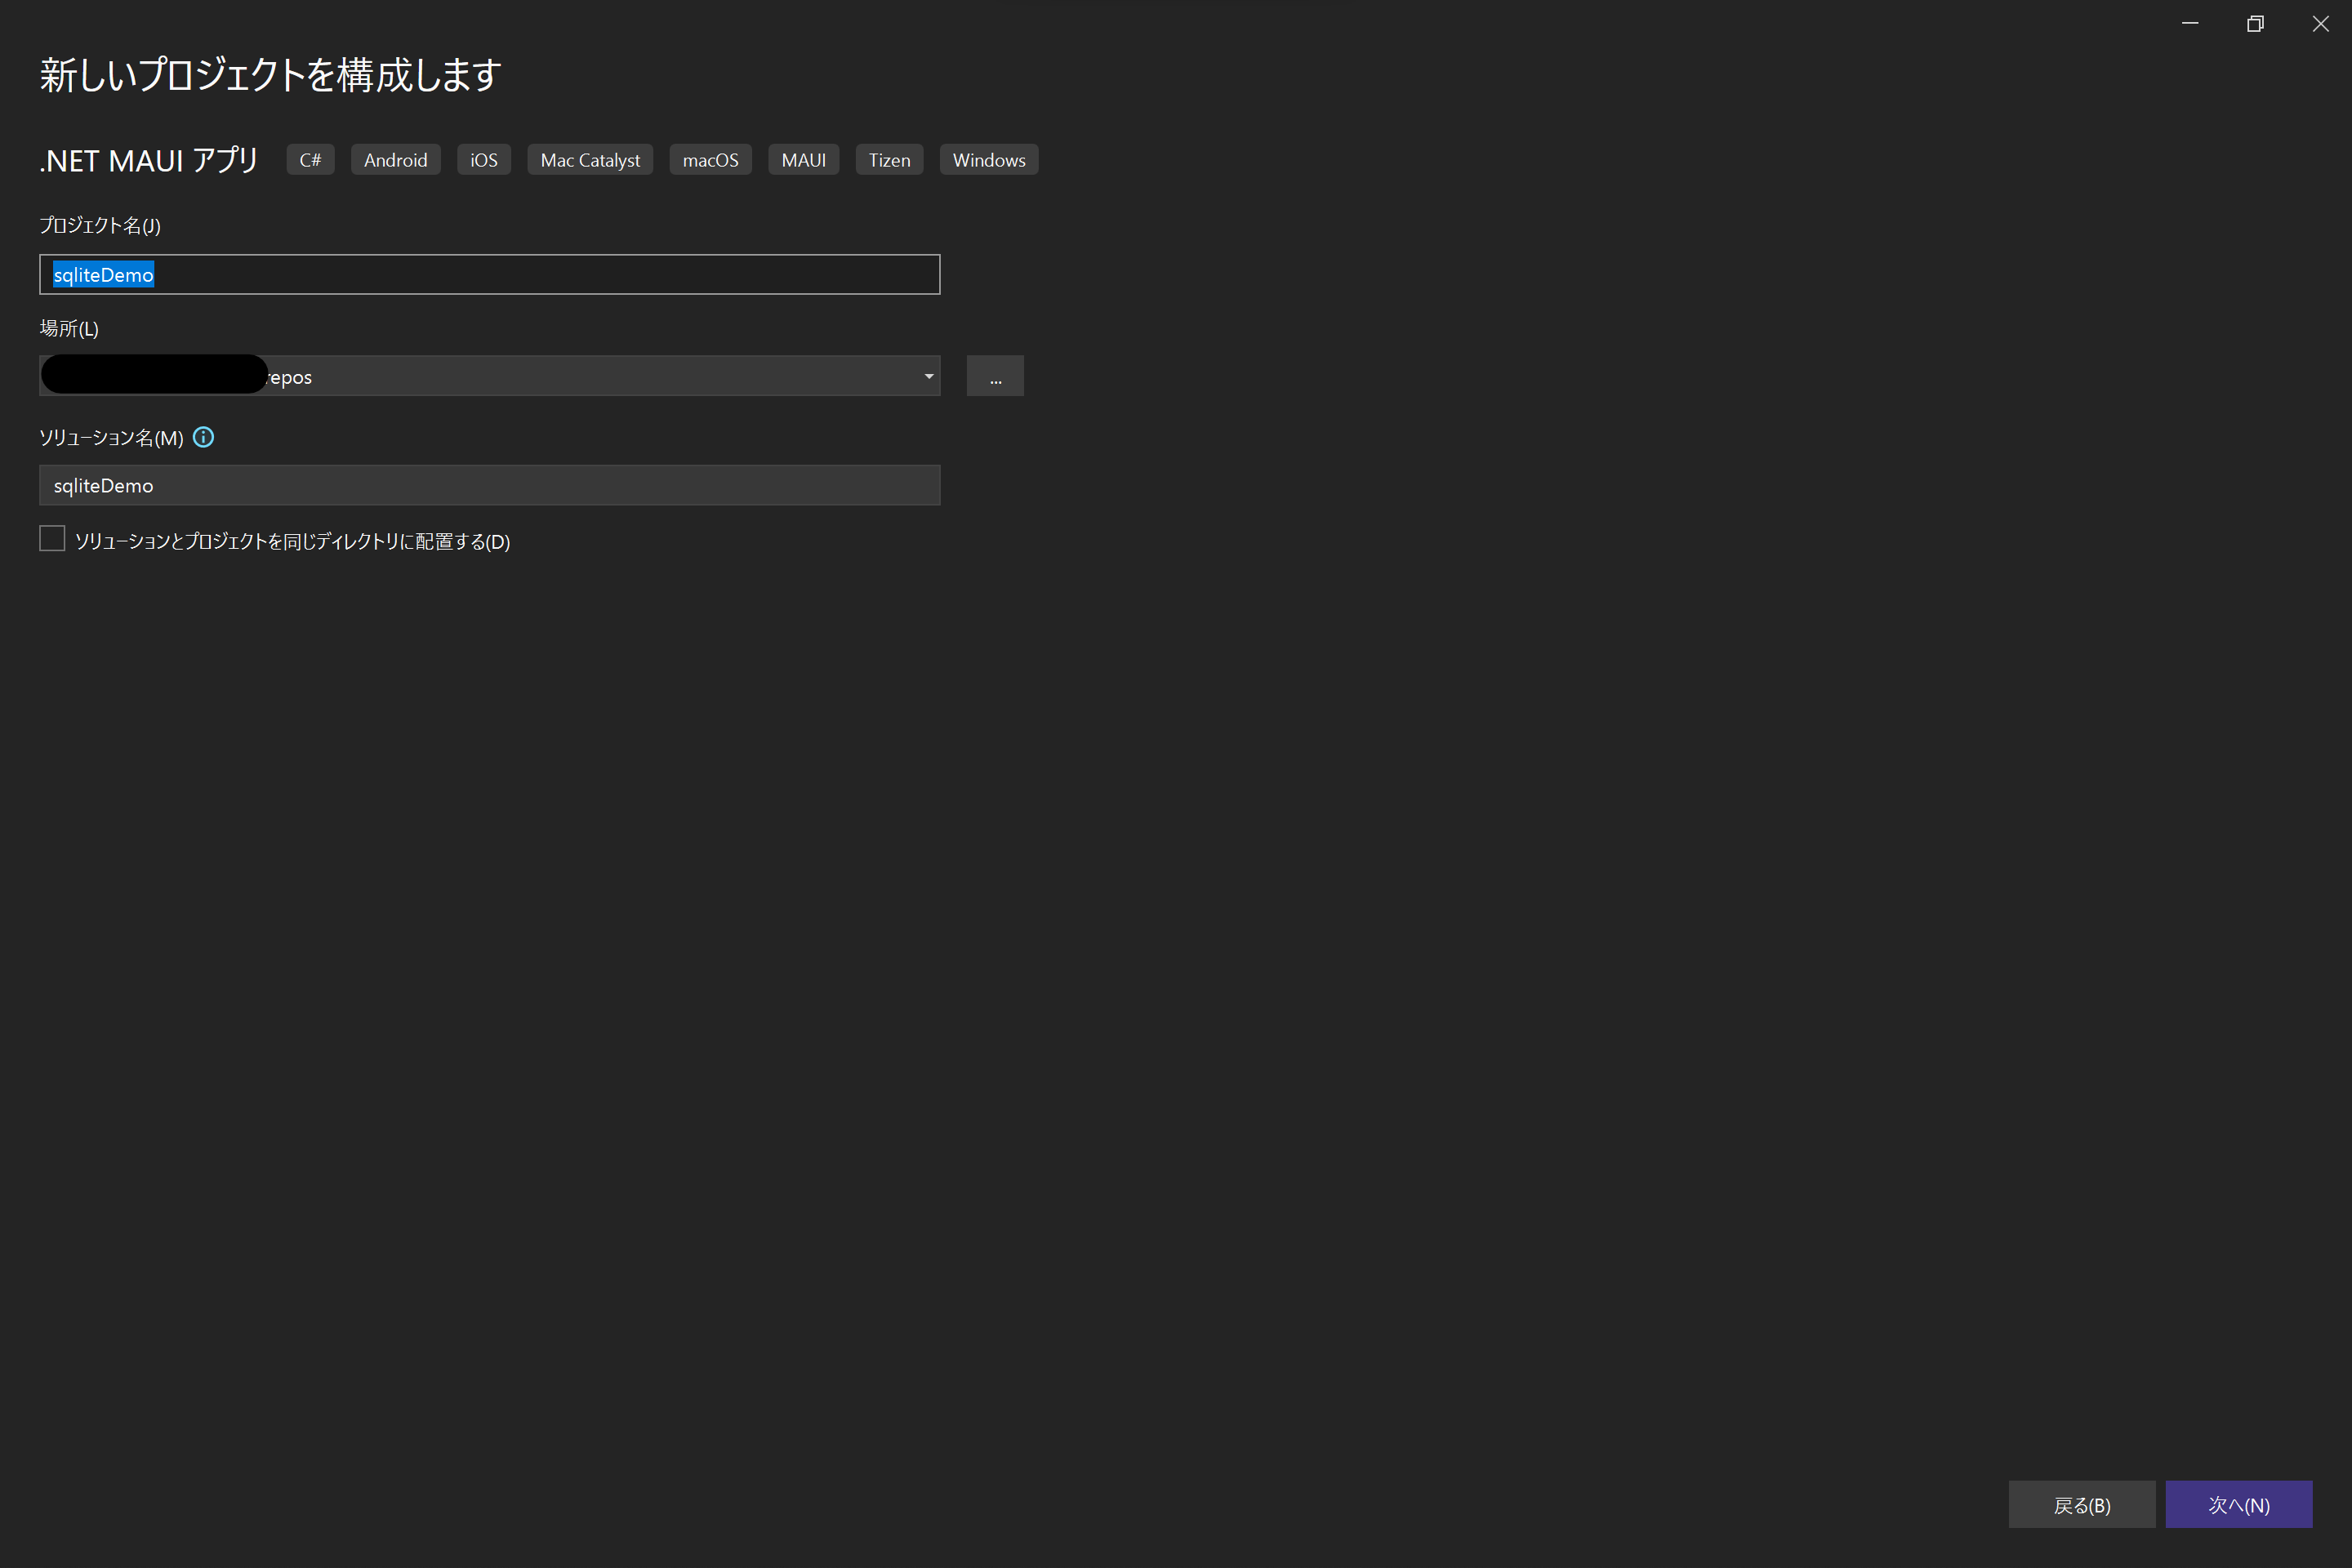
プロジェクト名を設定。
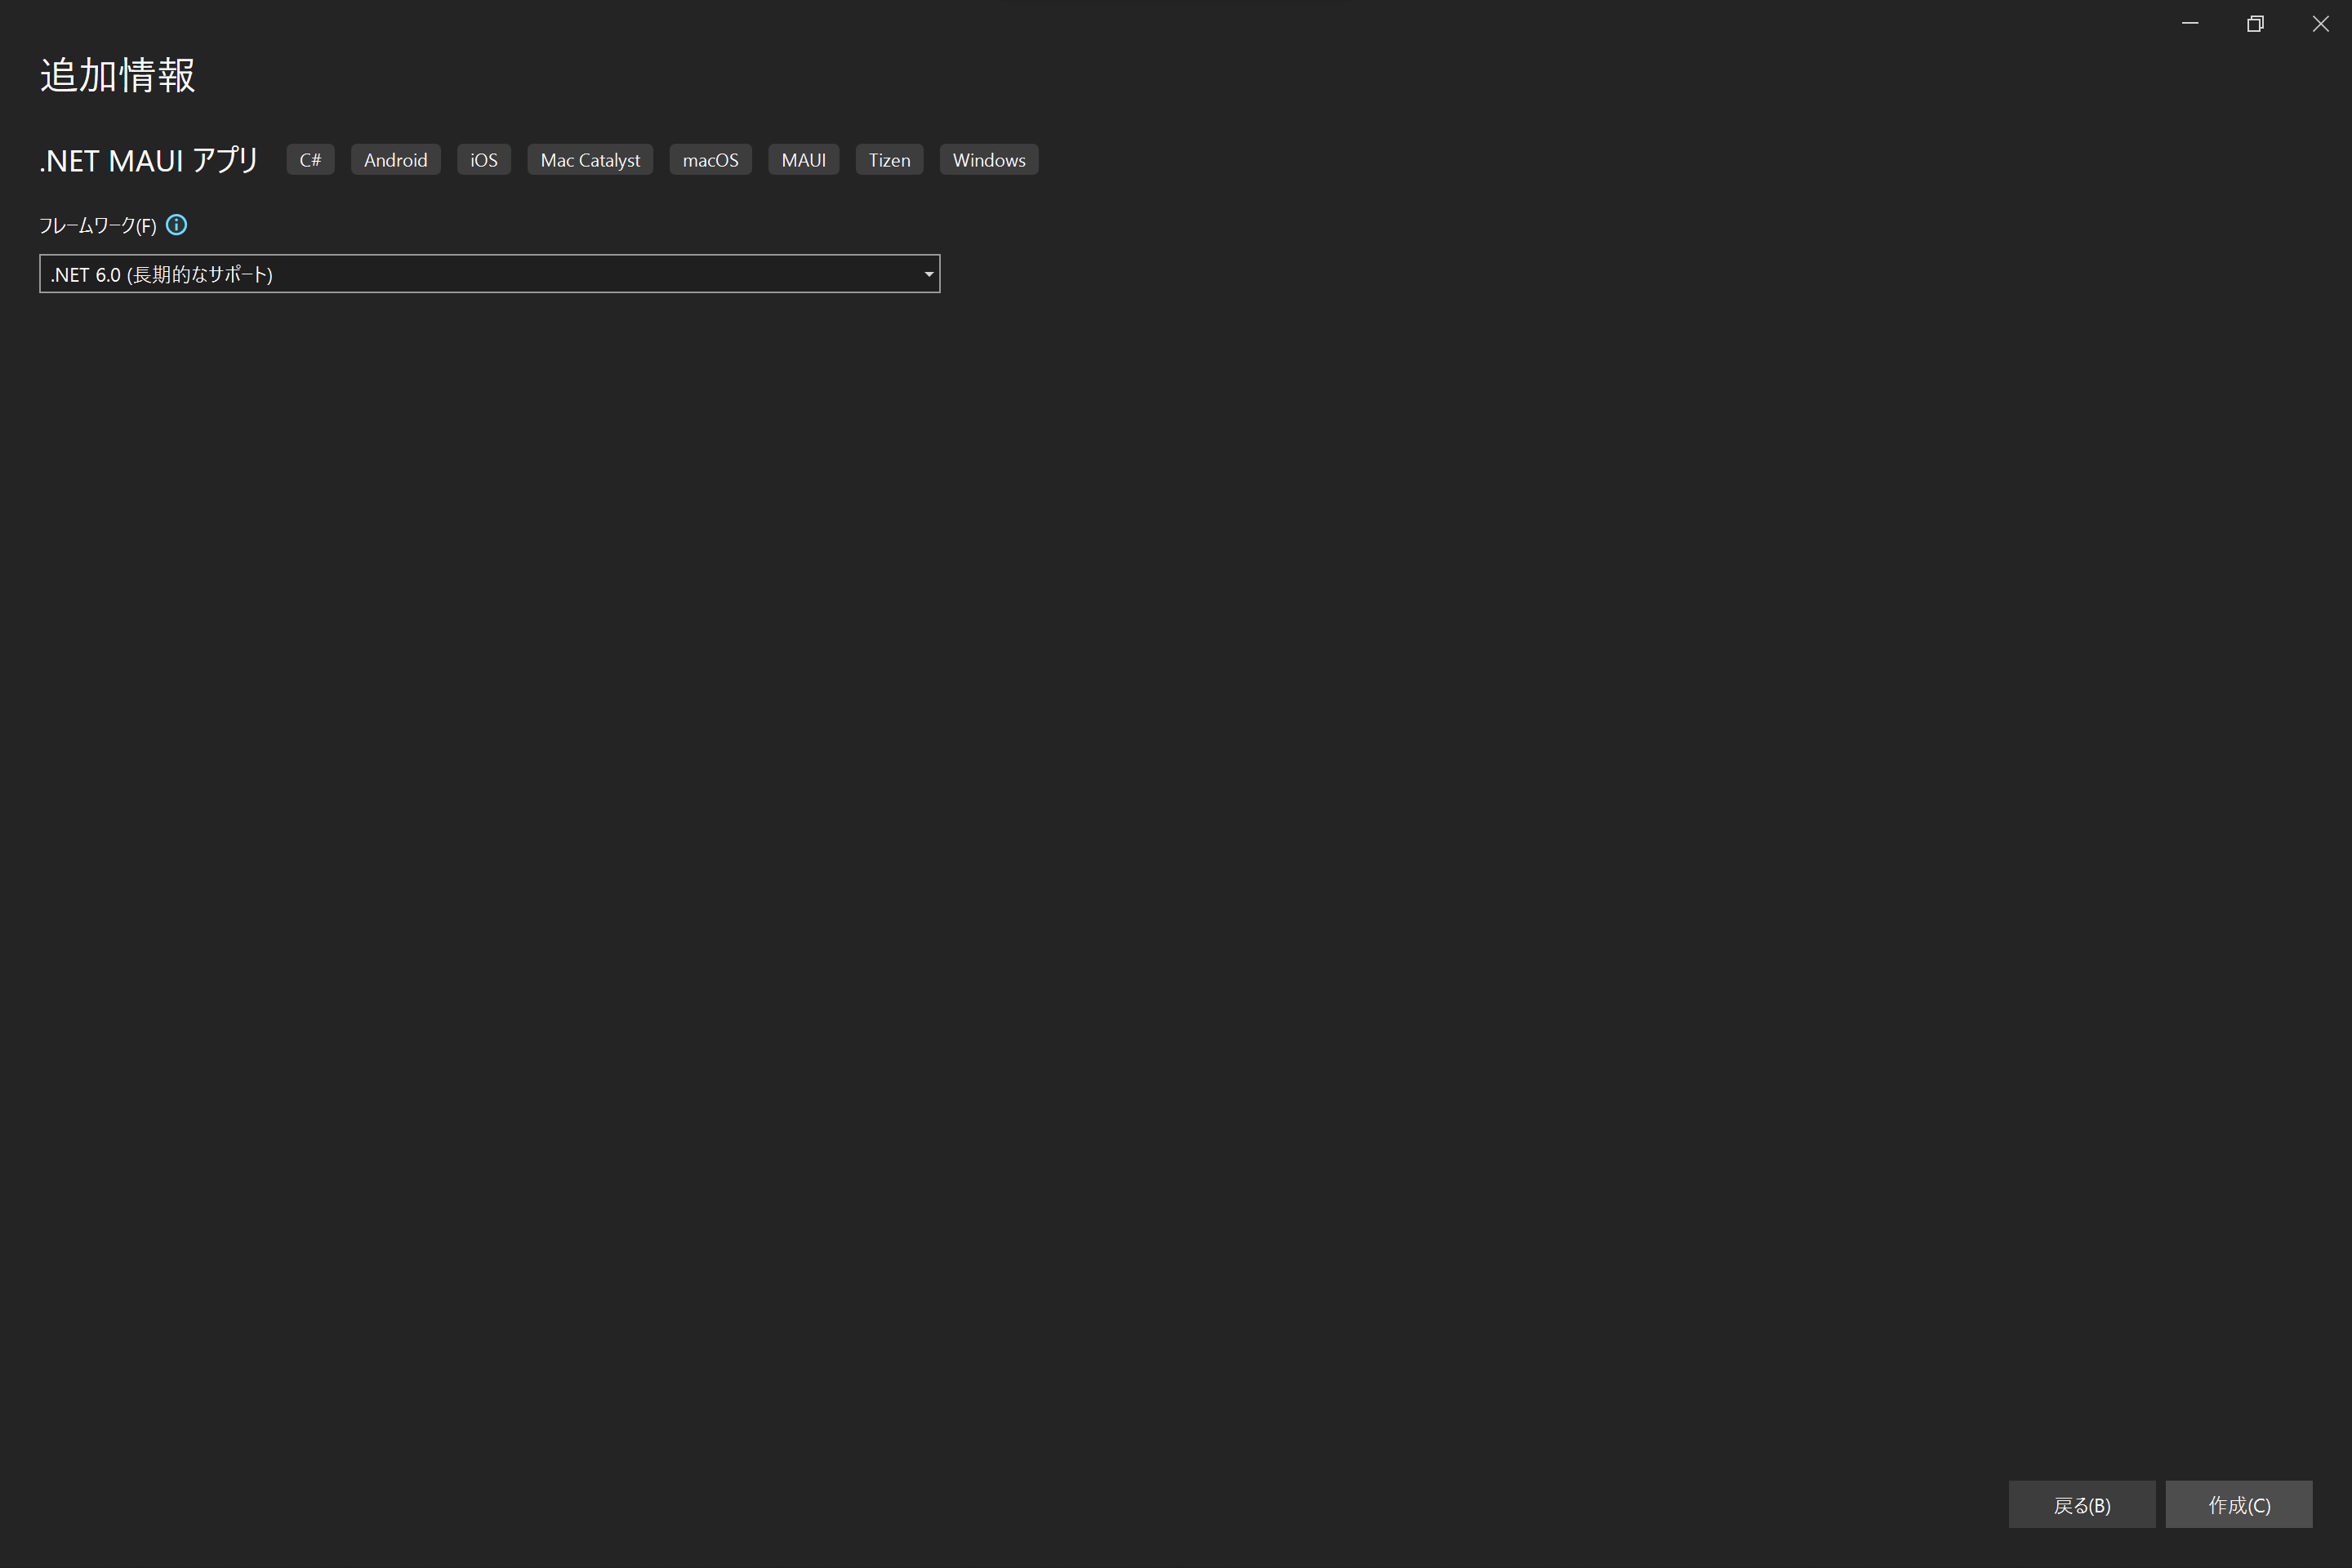
.NETのバージョン選択。
特に理由がなければ最新版を選択し作成を押下する。
これでプロジェクトの作成が完了。
SQLite ライブラリを追加
上部メニューにて下記を選択してNuGetパッケージマネージャを開く
ツール->NuGetパッケージマネージャ->ソリューションのNuGetパッケージマネージャの管理
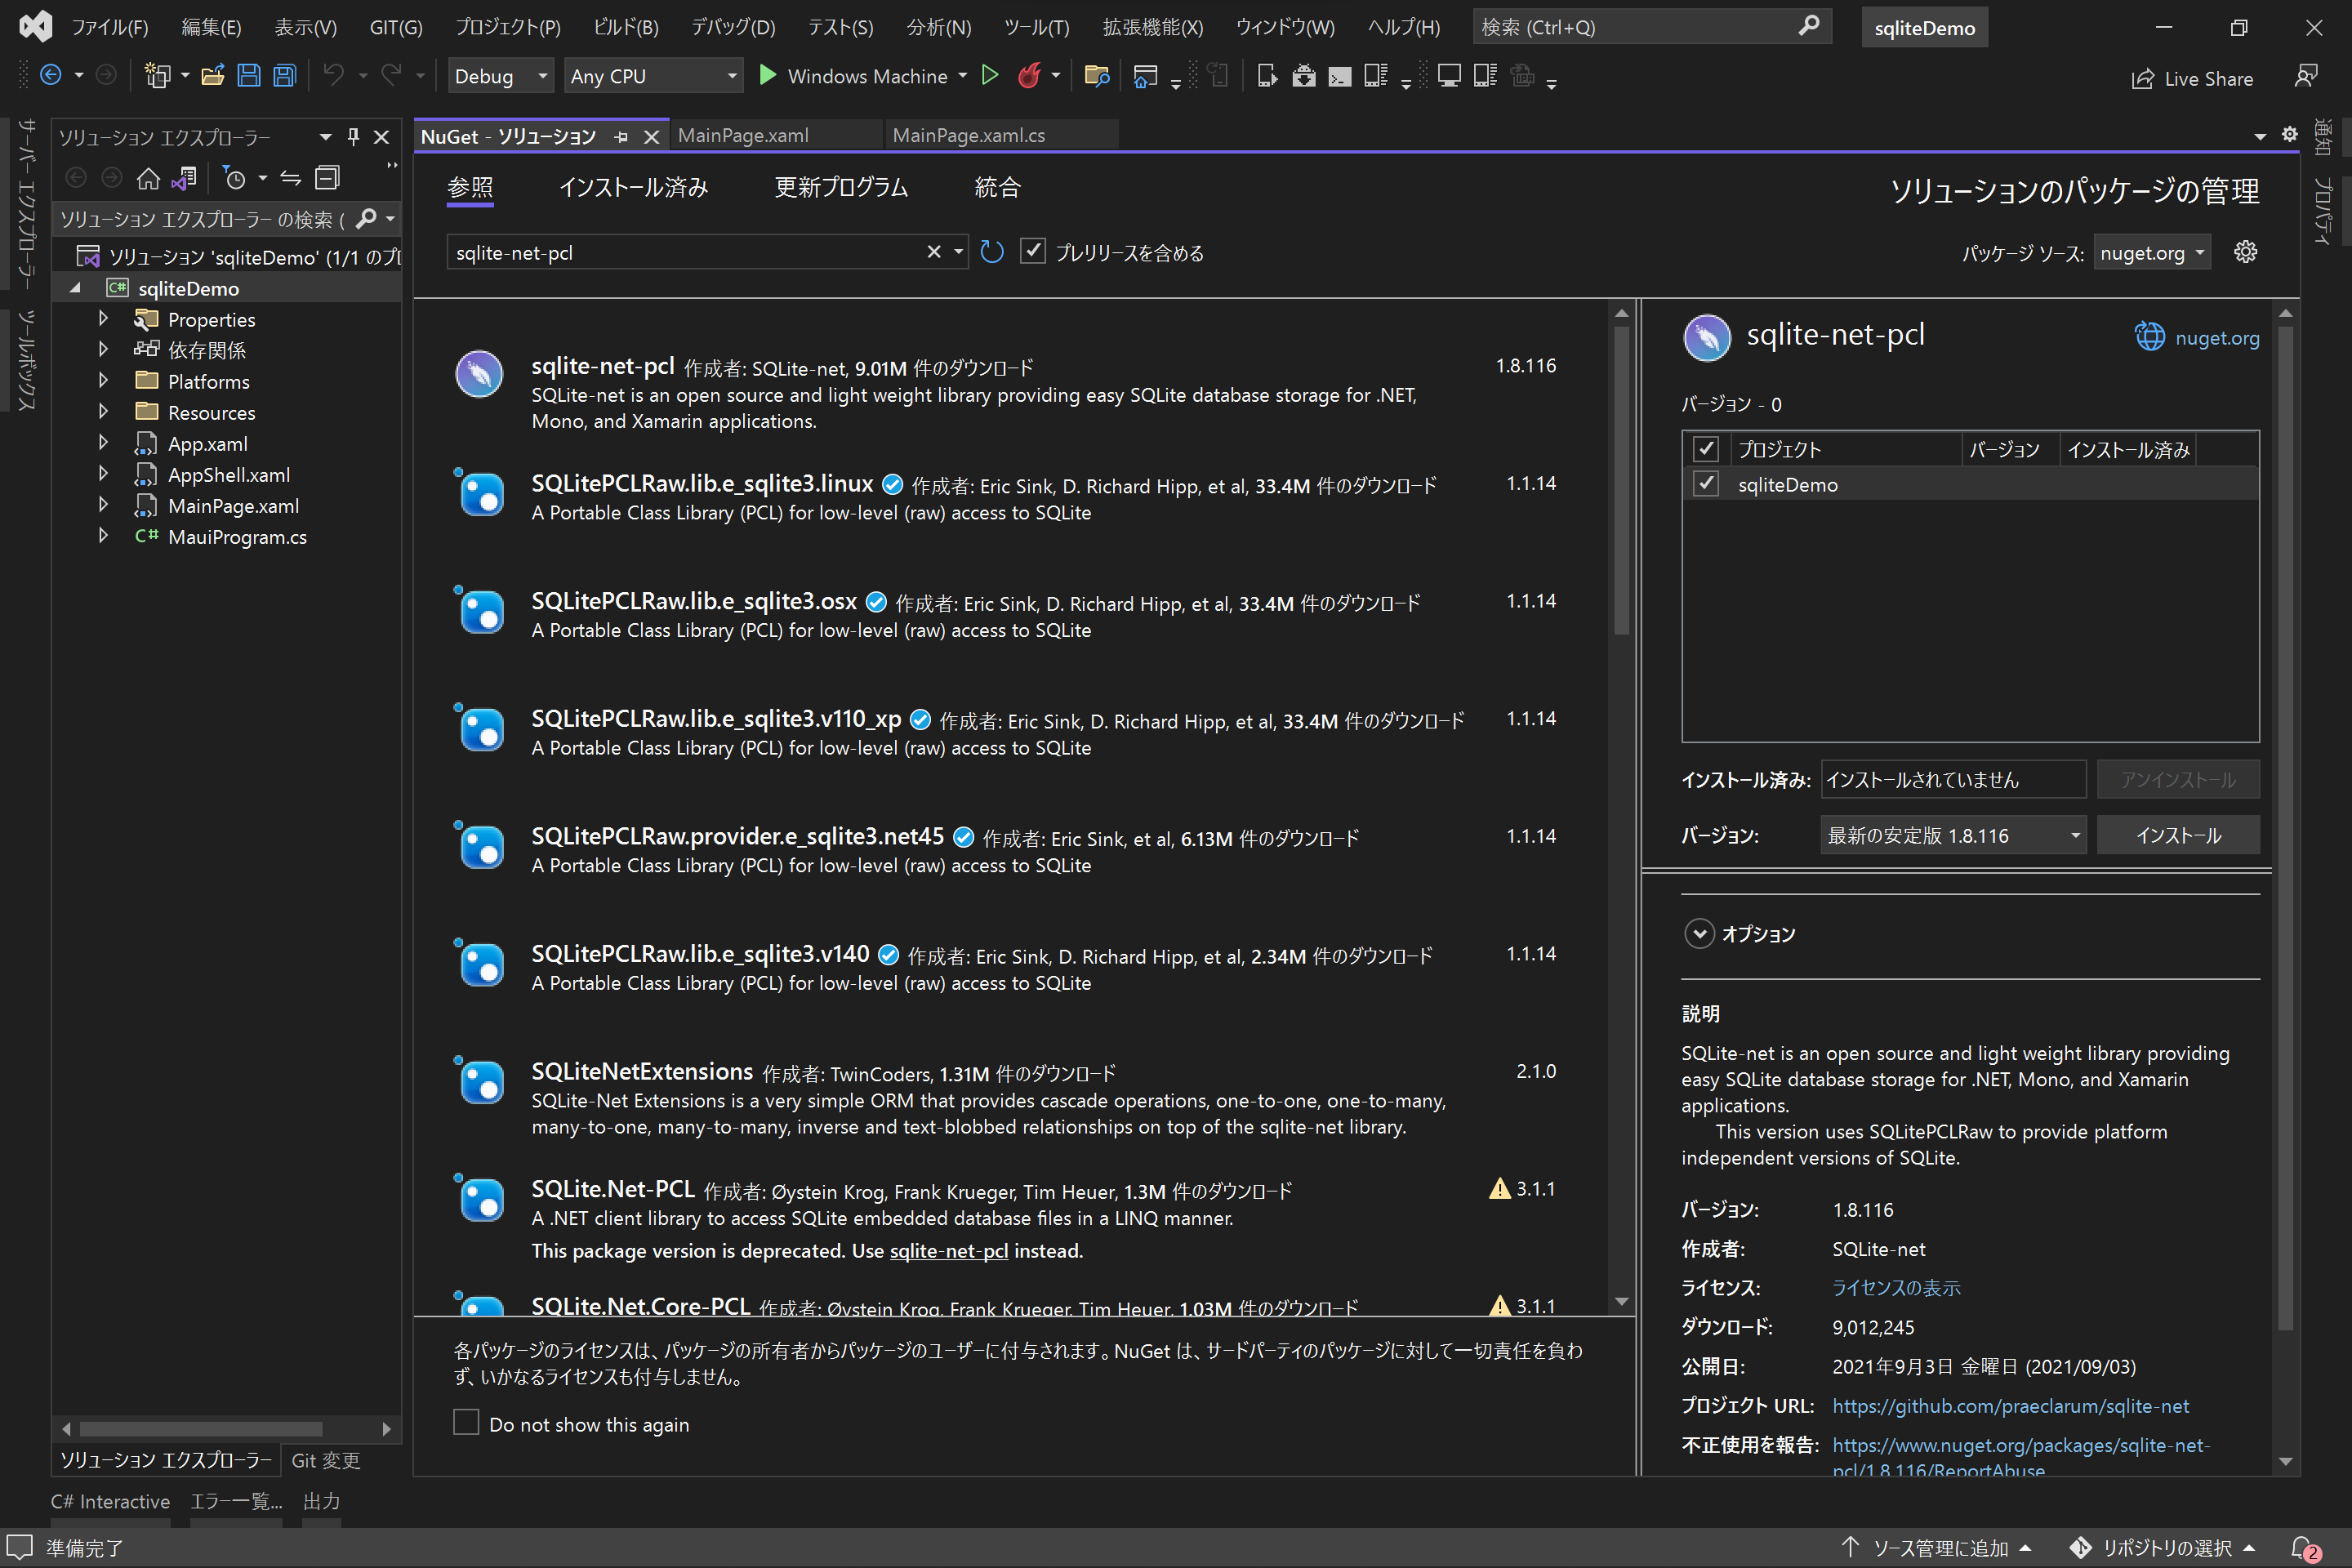
参照を押下し検索ボックスに「sqlite-net-pcl」を入力。
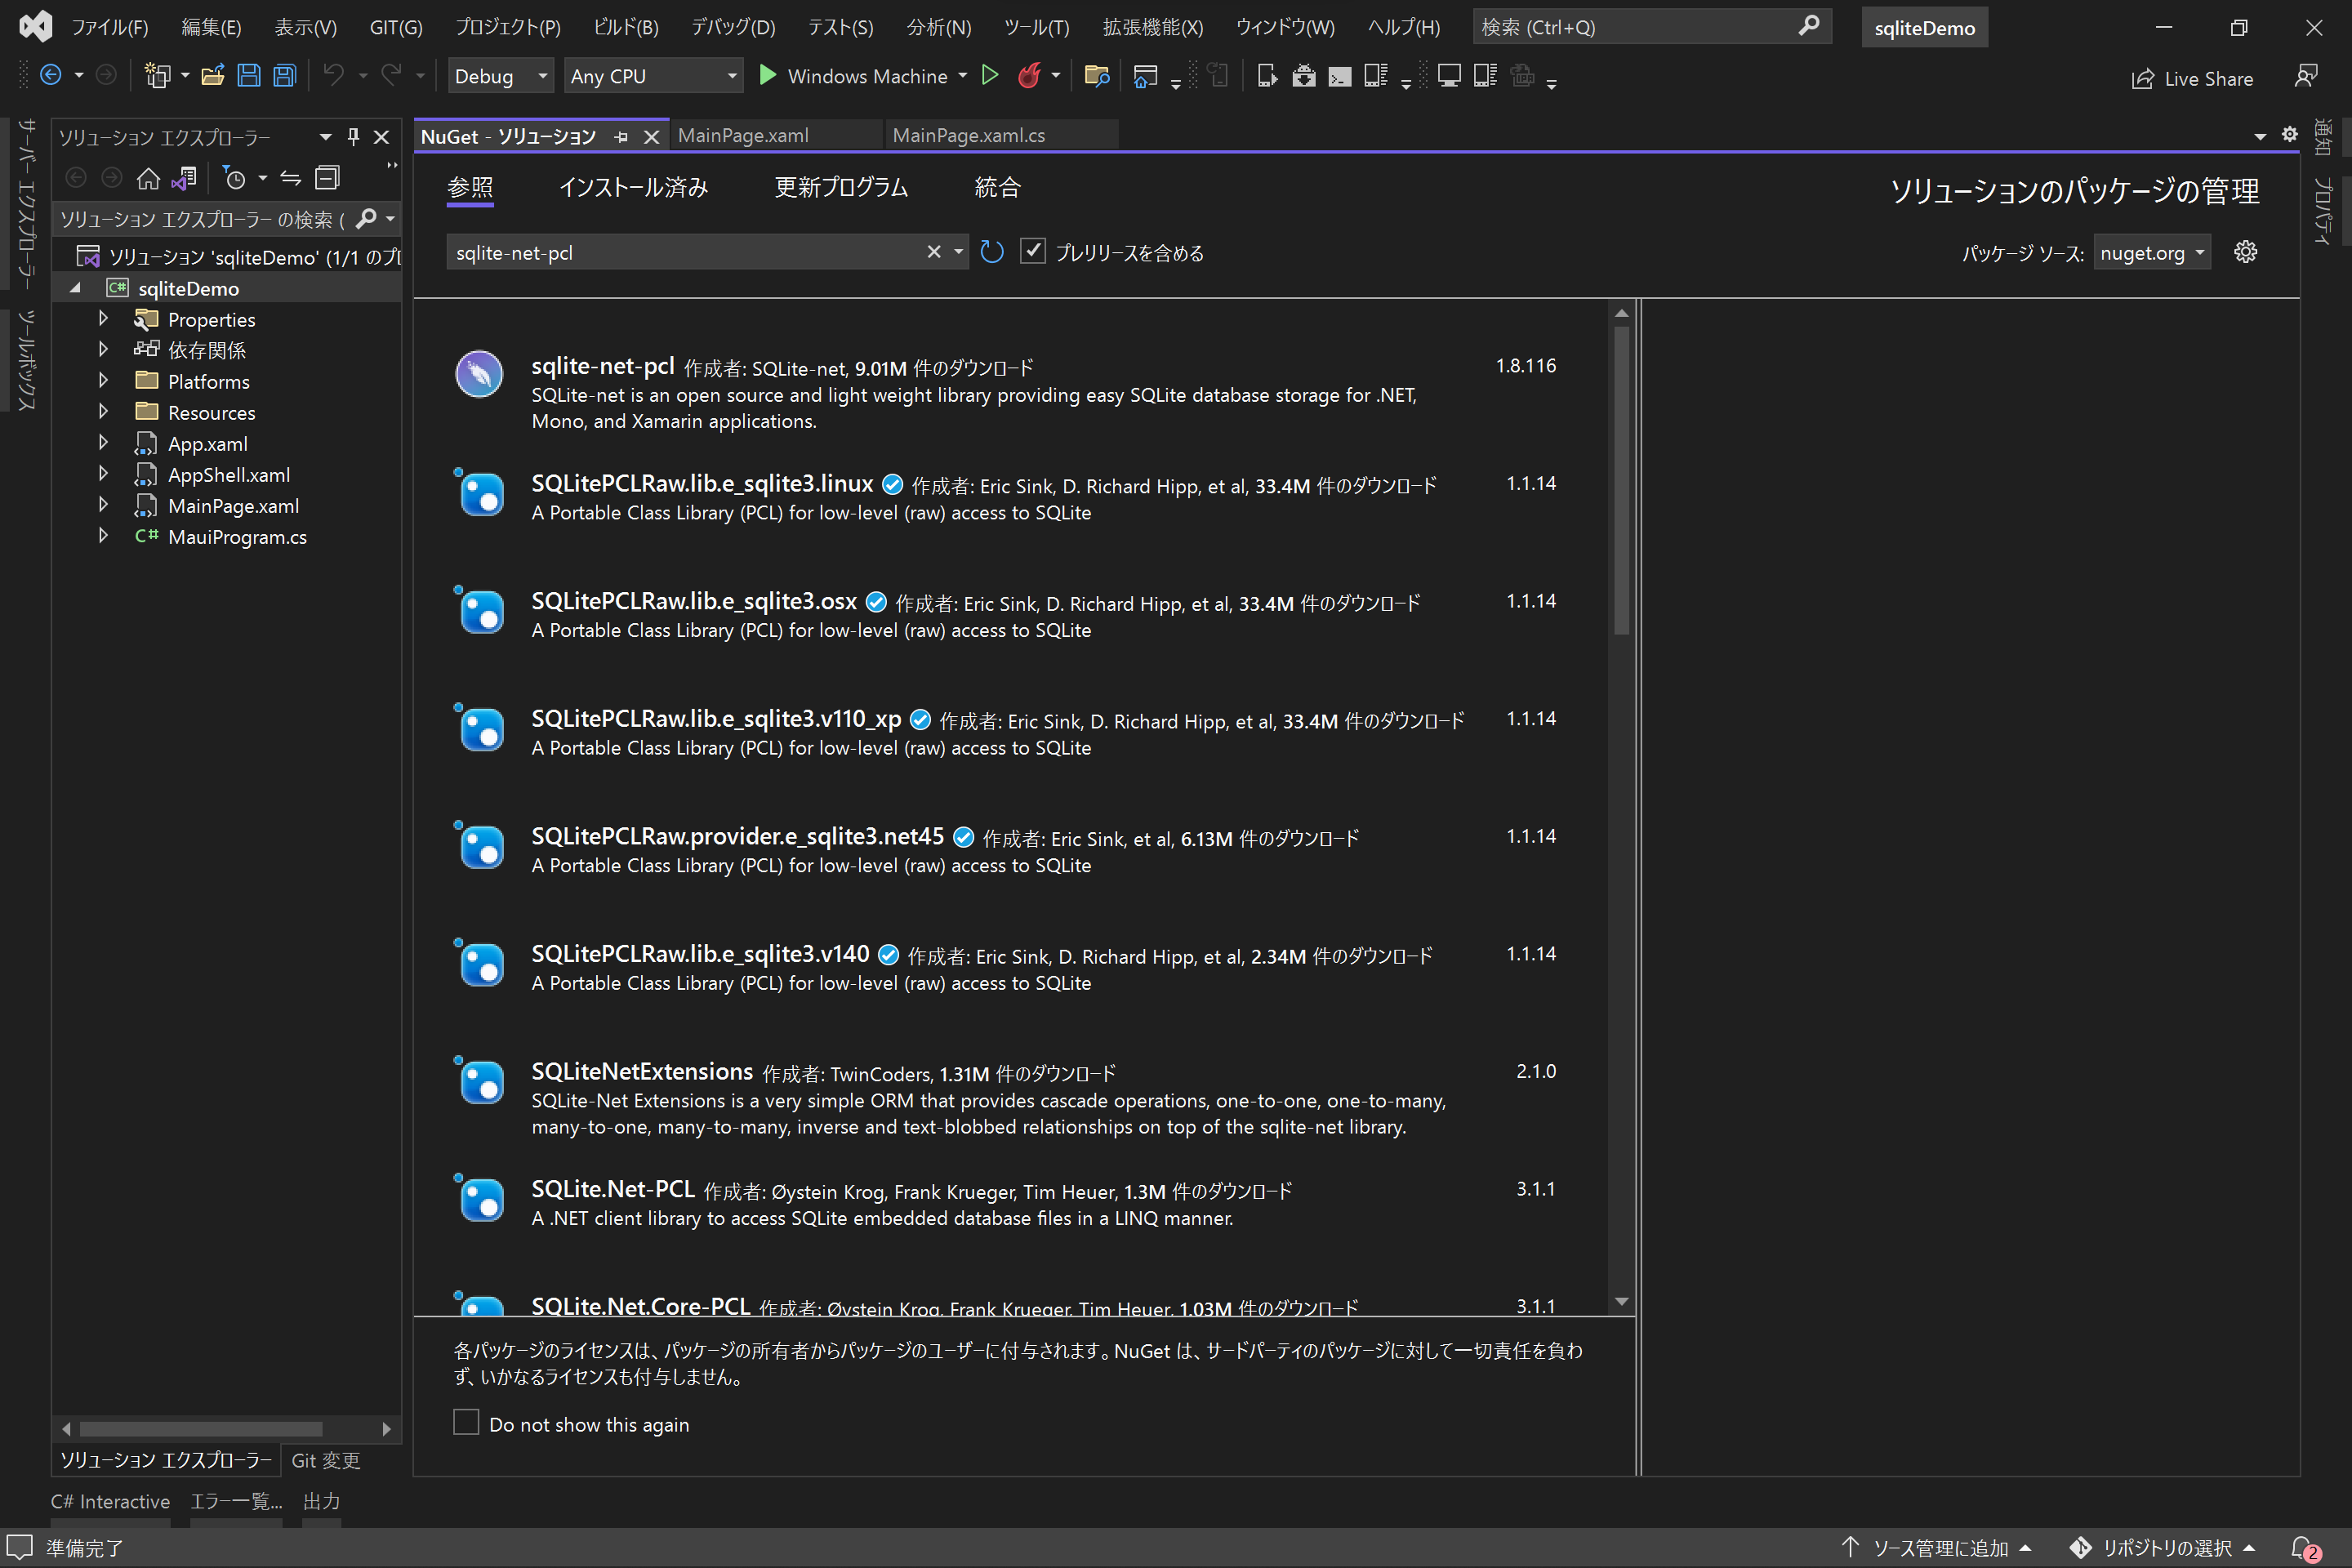
「sqlite-net-pcl」を選択しインストール。
同様の手順で「SQLitePCLRaw.provider.dynamic_cdecl」もインストールする。
テーブルとなるクラスの作成
下記のようにC#クラスを作成する。
クラス作成時点でクラスのアクセス修飾子が「internal」となっているので「public」へ変更する。
大かっこの中身の記載については別途まとめて記載する見込み
下記記事に記載しました。
https://qiita.com/sathukiame/items/59165108ff5c9ac2734c
using SQLite;
namespace sqliteDemo {
    [Table ( "DemoTable" )]
    public class DemoTable {
      [PrimaryKey, AutoIncrement]
        public int Id { get; set; }

        [MaxLength ( 250 )]
        public string Name { get; set; }
    }
}
データベースのコネクションを作成
下記のようにC#クラスを作成する。
コンストラクタにてテーブルの作成。
using SQLite;
namespace sqliteDemo {
    public class DemoTblRepository {
        string _dbPath;

        private SQLiteConnection _database;

        public DemoTblRepository ( string dbPath ) {
            _dbPath = dbPath;
            _database = new SQLiteConnection ( _dbPath );
            _database . CreateTable<DemoTable> ( );
        }

        public List<DemoTable> GetAllItem ( ) {
            return _database . Table<DemoTable> ( ) . ToList ( );
        }

        public void inertItem ( string name ) {
            int result = 0;
            if ( string . IsNullOrEmpty ( name ) )
                throw new Exception ( "Valid name required" );

            result = _database . Insert ( new DemoTable { Name = name } );
        }
    }
}
MauiProgram.csファイルへ追記
下記のように追記。
ここでは「データベースのコネクションを作成」にて作成したクラスのインスタンスを作成する。
namespace sqliteDemo;
public static class MauiProgram
{
    public static MauiApp CreateMauiApp()
    {
        var builder = MauiApp.CreateBuilder();
        builder
            .UseMauiApp<App>()
            .ConfigureFonts(fonts =>
            {
                fonts.AddFont("OpenSans-Regular.ttf", "OpenSansRegular");
                fonts.AddFont("OpenSans-Semibold.ttf", "OpenSansSemibold");
            });
        // 下記を追加
        string dbPath = System.IO.Path.Combine(FileSystem.AppDataDirectory, "people.db3");
        builder . Services . AddSingleton<DemoTblRepository> ( s => ActivatorUtilities . CreateInstance<DemoTblRepository> ( s , dbPath ) );

        return builder .Build();
    }
}
App.xaml.csの変更
MauiProgram.csファイルにて作成したインスタンスを保持し、
ここからデータベースのコネクションへアクセスするようにする。
namespace sqliteDemo;
public partial class App : Application {
    // 追記
    public static DemoTblRepository repository { get; private set; }
    // 変更
    public App( DemoTblRepository repo )
    {
        InitializeComponent();
        MainPage = new AppShell();
        // 追記
        repository = repo;
    }
}
MainPage.xaml
下記のようにテキストボックス、ボタンの配置。
<?xml version="1.0" encoding="utf-8" ?>
<ContentPage xmlns="http://schemas.microsoft.com/dotnet/2021/maui"
             xmlns:x="http://schemas.microsoft.com/winfx/2009/xaml"
             x:Class="sqliteDemo.MainPage"
             BackgroundColor="{DynamicResource Light}">

    <Grid Padding="5" RowSpacing="1" ColumnSpacing="1">

        <Grid.RowDefinitions>
            <RowDefinition Height="Auto" />
            <RowDefinition Height="Auto" />
            <RowDefinition Height="Auto" />
            <RowDefinition Height="Auto" />
            <RowDefinition Height="*" />
        </Grid.RowDefinitions>
        <Grid.ColumnDefinitions>
            <ColumnDefinition Width="*" />
        </Grid.ColumnDefinitions>

        <Entry x:Name="newItem"
           Placeholder="Enter name" />

        <Button Text="Add Item"
            Grid.Row="1"
            Clicked="OnNewButtonClicked" />

        <Button Text="Get All Item"
            Grid.Row="3"
            Clicked="OnGetButtonClicked" />

        <CollectionView x:Name="peopleList" Grid.Row="4">
            <CollectionView.ItemTemplate>
                <DataTemplate>
                    <Grid>
                        <Grid.ColumnDefinitions>
                            <ColumnDefinition Width="*" />
                            <ColumnDefinition Width="2*" />
                        </Grid.ColumnDefinitions>
                        <Label Text="{Binding Id}" />
                        <Label Grid.Column="1" Text="{Binding Name}" />
                    </Grid>
                </DataTemplate>
            </CollectionView.ItemTemplate>
        </CollectionView>
    </Grid>
</ContentPage>
MainPage.xaml.cs
下記のように記載。
- OnNewButtonClickedイベントが発火した際はデータベースへデータを挿入する。
- OnGetButtonClickedイベントが発火した際はデータベースから全件取得を行う。
namespace sqliteDemo;

public partial class MainPage : ContentPage {
    public MainPage ( ) {
        InitializeComponent ( );
    }
    public void OnNewButtonClicked ( object sender , EventArgs args ) {

        App . repository . inertItem ( newItem . Text );
    }
    public void OnGetButtonClicked ( object sender , EventArgs args ) {

        List<DemoTable> people = App.repository.GetAllItem();
        peopleList . ItemsSource = people;
    }
}
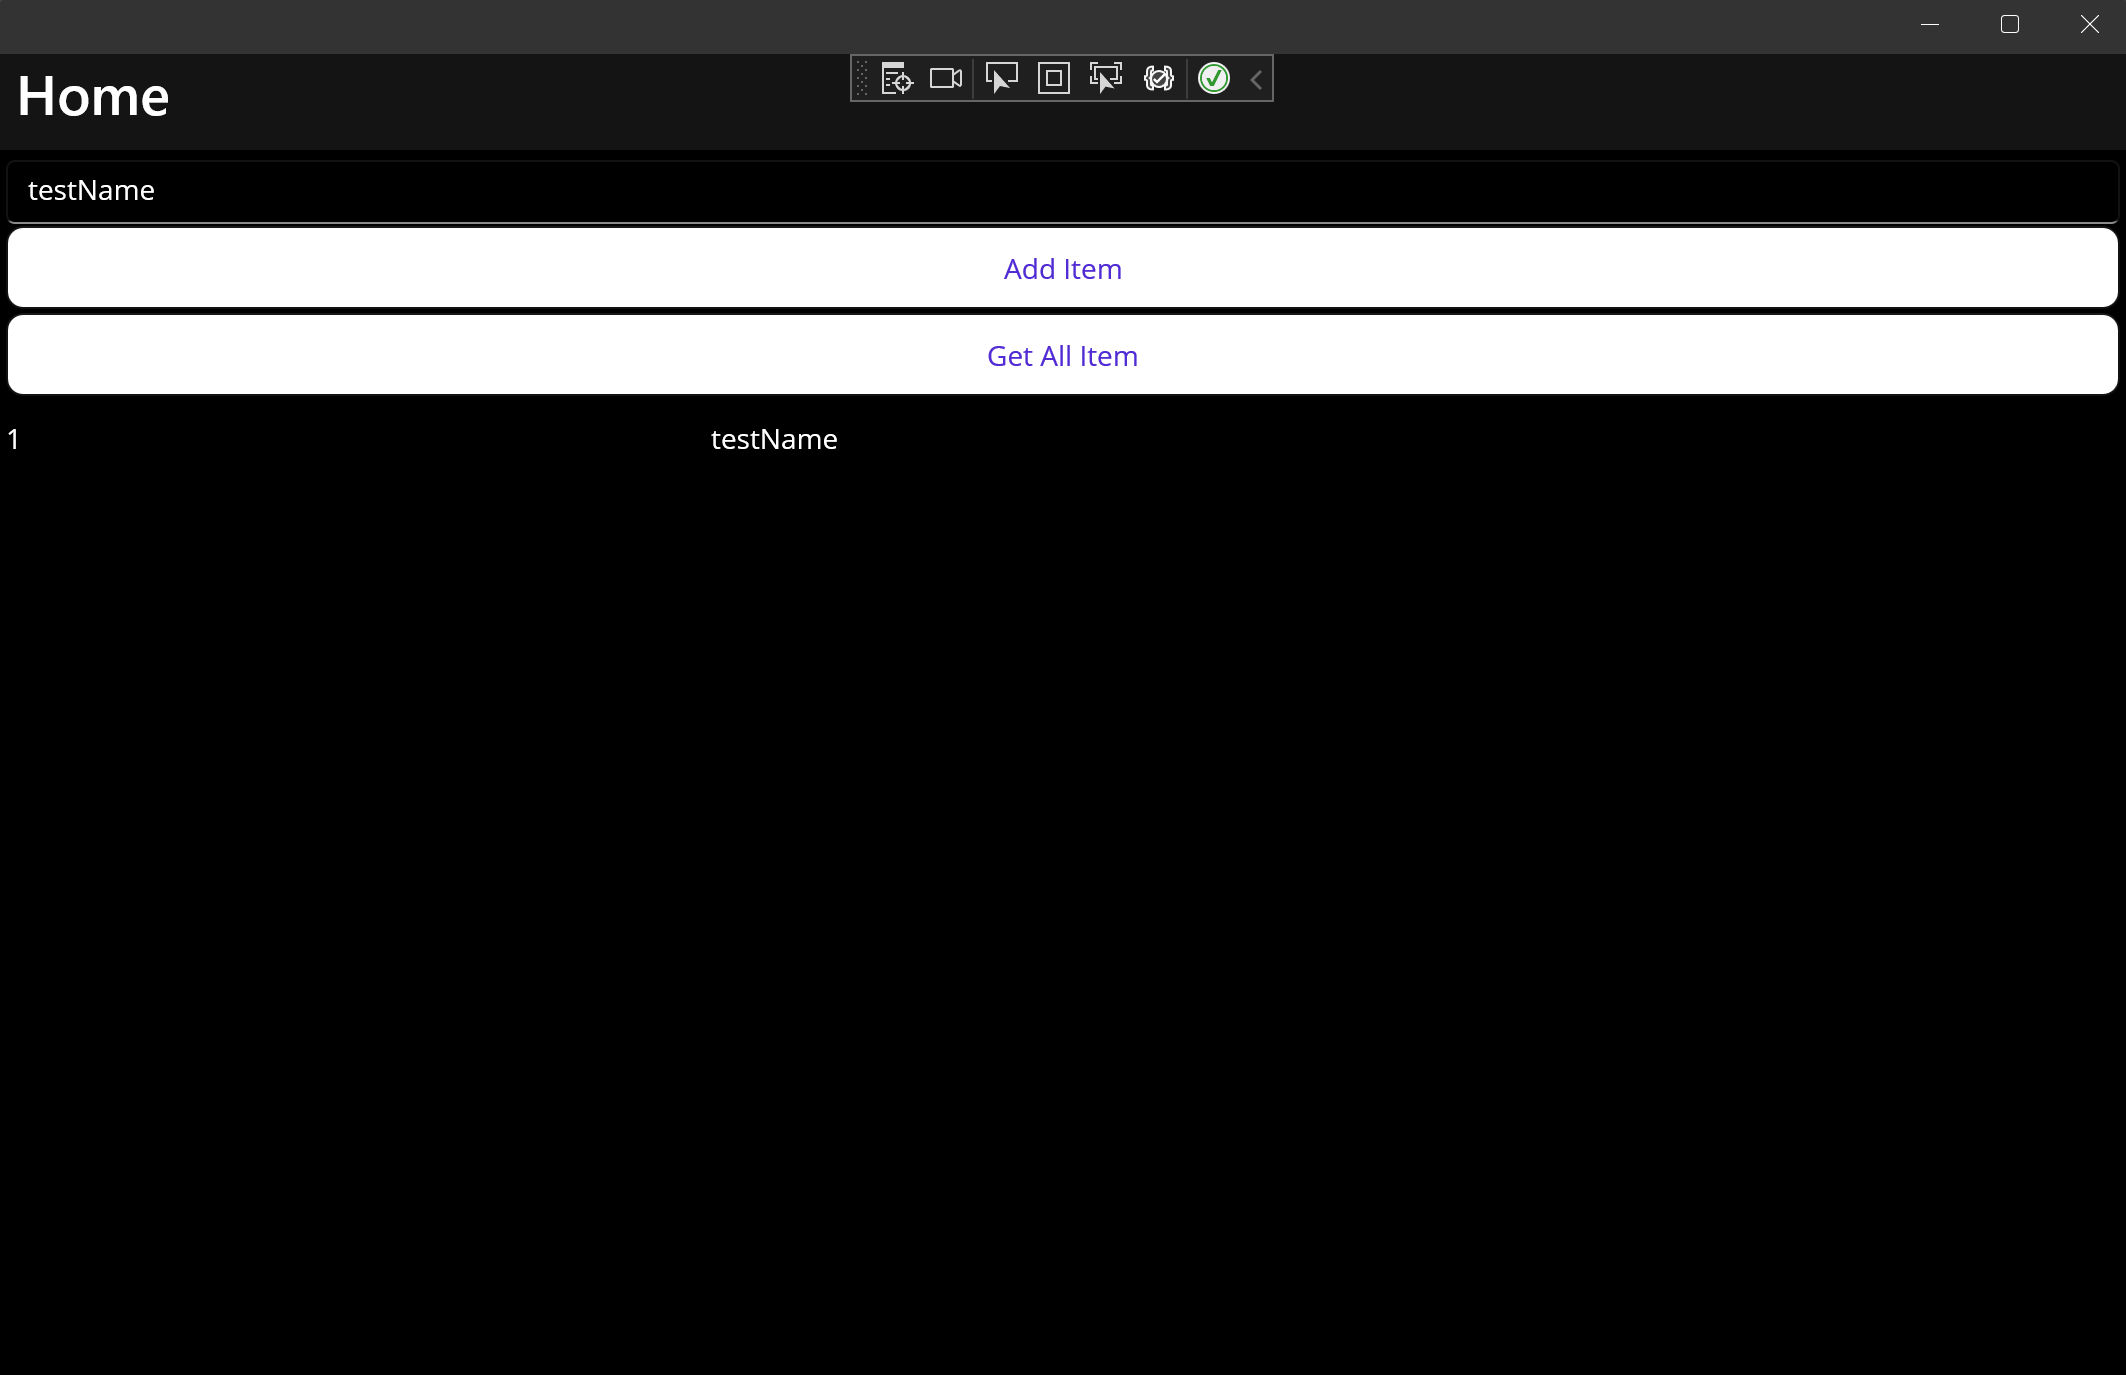
実行
1.テキストボックスに名前等を入れて「Add Item」を押下でinsert処理の実施。
2.「Get All Item」ボタン押下でデータベースに登録されているアイテムをすべて表示する。