最近、Elixir/Phoenix 関連の記事更新や新規登録を、連続して行っています。それはここ3,4年ほどElixir/Phoenixから離れていて、最近の進歩に置いて行かれていたので、何とか追いつこうと
していたからです。LiveView を中心に 認証 周りや Ecto 関連などです。今回は Tailwind CSS と daisyUI についての記事です。
次のターゲットは、機械学習 になるのかな? PyTorch の本も、半分だけ読んで放置状態だしね。まあ、これを機会にElixirを使って、確率統計 や 機械学習 の勉強を再開するのもありかな、とかも考えています。LiveView をもう少し。
【過去記事】
-
LiveView関連
東京電力電力供給状況監視 - Phoenix LiveView
Phoenix LiveView と キーボードイベント - Qiita
Phoenix LiveView の JavaScript Hook - Qiita
Phoenix LiveViewの基本設定 - Qiita
Phoenix1.6の基本的な仕組み - Qiita -
認証関連
Phoenix 認証システム - mix phx.gen.auth
Elixir/Phoenix のシンプル認証 auth_plug -
Ecto関連
Elixir Ecto チュートリアル - Qiita
Elixir Ecto のまとめ - Qiita
Elixir Ecto Association - Oiita
1. やりたいこと
以前「Phoenix LiveViewの基本設定」 という記事で作成した画面を Tailwind と daisyUI でお化粧したいと思います。
1-1. 修正前の画像
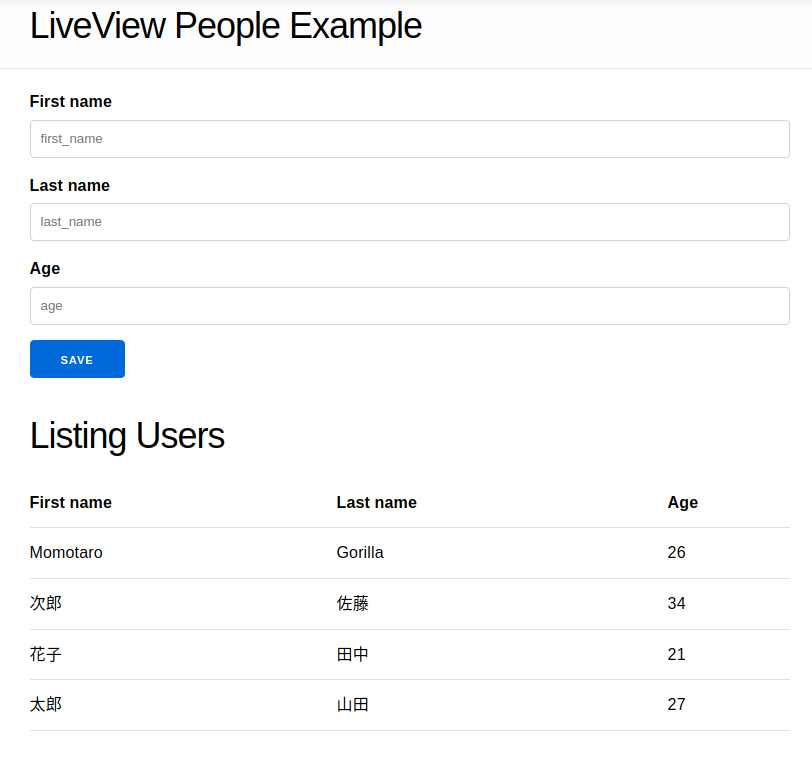
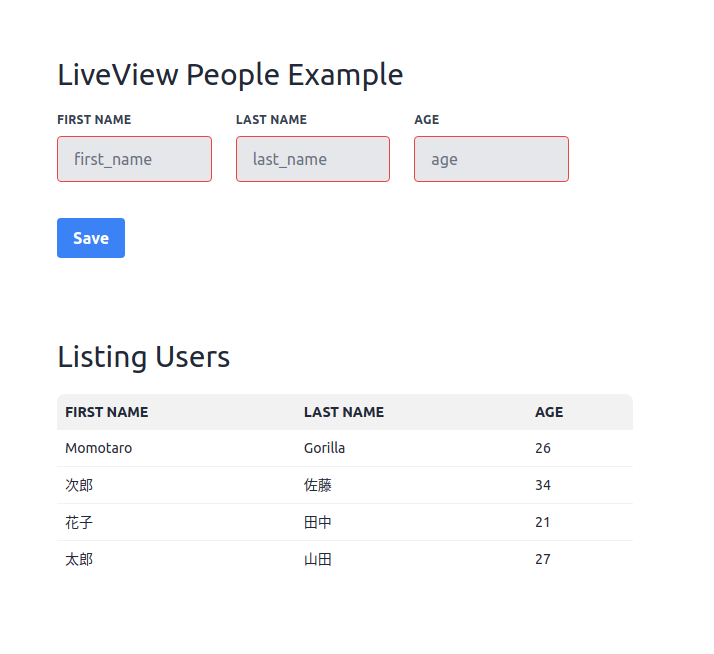
1-2. 修正後の画像
化粧覚えたての女子高生の化粧だと思ってください。
1-3. 修正前のソースコード
一応、修正前のソースコードを掲載しておきます。
<.form let={f} for={@changeset}  id="form" phx-submit="new_user">
  <%= if @changeset.action do %>
    <div class="alert alert-danger">
      <p>Oops, something went wrong! Please check the errors below.</p>
    </div>
  <% end %>

  <%= label f, :first_name %>
  <%= text_input f, :first_name, id: "first_name", placeholder: "first_name"  %>
  <%= error_tag f, :first_name %>

  <%= label f, :last_name %>
  <%= text_input f, :last_name, id: "last_name", placeholder: "last_name"  %>
  <%= error_tag f, :last_name %>

  <%= label f, :age %>
  <%= number_input f, :age, id: "age", placeholder: "age"  %>
  <%= error_tag f, :age %>

  <div>
    <%= submit "Save" %>
  </div>
</.form>

<h1>Listing Users</h1>
<table>
  <thead>
    <tr>
      <th>First name</th>
      <th>Last name</th>
      <th>Age</th>
    </tr>
  </thead>
  <tbody>
<%= for user <- @users do %>
    <tr>
      <td><%= user.first_name %></td>
      <td><%= user.last_name %></td>
      <td><%= user.age %></td>
    </tr>
<% end %>
  </tbody>
</table>
2. Tailwind CSS のインストール
以下のガイドに従って Tailwind CSS のインストールを行います。少し長くなりますが、キチンと定式化されているので、そのままなぞります。
Install Tailwind CSS with Phoenix
2-1. Tailwind pluginのインストール
mix.exs の dependencies に Tailwind plugin を追加します。
  defp deps do
    [
      ---
      {:tailwind, "~> 0.1", runtime: Mix.env() == :dev}
    ]
  end
次のコマンドを走らせます。
mix deps.get
2-2.Tailwind plugin の設定
config.exs に以下の Tailwind plugin の設定を追加します。
config :tailwind, version: "3.2.0", default: [
  args: ~w(
    --config=tailwind.config.js
    --input=css/app.css
    --output=../priv/static/assets/app.css
  ),
  cd: Path.expand("../assets", __DIR__)
]
2-3.deployment script の更新
mix.exs に以下の行を追加します。
defp aliases do
  [
    "assets.deploy": ["tailwind default --minify", "esbuild default --minify", "phx.digest"]
  ]
2-4. development の watcher リストに追加する
dev.exs の watcher リストに以下の行を追加する。
watchers: [
  tailwind: {Tailwind, :install_and_run, [:default, ~w(--watch)]}
]
2-5. Tailwind CSS の追加
以下のコマンドで Tailwind CSS をインストールする。
mix tailwind.install
2-6. template paths の設定の確認
template paths が以下の通りになっていることを確認する。
---
/** @type {import('tailwindcss').Config} */
module.exports = {
  content: [
    './js/**/*.js',
    '../lib/*_web.ex',
    '../lib/*_web/**/*.*ex',
  ],
  theme: {
    extend: {},
  },
  plugins: [],
}
---
2-7. app.css の @tailwind directives の確認
app.css に以下の @tailwind directives が追加されていることを確認する
@import "tailwindcss/base";
@import "tailwindcss/components";
@import "tailwindcss/utilities";
2-8. default CSS import の削除の確認
app.js で以下の app.css 行が削除されていることを確認する。
import "../css/app.css"
3. daisyUI のインストール
以下のドキュメントに従って、daisyUI のインストールを行います。
Install daisyUI as a Tailwind CSS plugin
npm install --save --prefix assets daisyui
tailwind.config.js に require("daisyui") を追加する。
---
  plugins: [
    require('@tailwindcss/forms'),
    require("daisyui"),
---
4. 修正後のソースコード
root.html.heex の body タグから h1 タグを取り除き、以下のようにします。
<body>
  <%= @inner_content %>
</body>
template の users.html.heex に、 Tailwind と daisyUI の class を追加して、お化粧します。
<div class="w-full max-w-xl m-20">
<h1 class="text-3xl mb-5">LiveView People Example</h1>
<.form let={f} for={@changeset}  id="form" phx-submit="new_user" class="w-full max-w-lg mb-20">
  <%= if @changeset.action do %>
    <div class="alert alert-danger">
      <p>Oops, something went wrong! Please check the errors below.</p>
    </div>
  <% end %>

  <div class="flex flex-wrap -mx-3 mb-6">
    <div class="w-full md:w-1/3 px-3 mb-6 md:mb-0">
      <%= label f, :first_name, class: "block uppercase tracking-wide text-gray-700 text-xs font-bold mb-2" %>
      <%= text_input f, :first_name, id: "first_name", placeholder: "first_name", class: "appearance-none block w-full bg-gray-200 text-gray-700 border border-red-500 rounded py-3 px-4 mb-3 leading-tight focus:outline-none focus:bg-white" %>
      <%= error_tag f, :first_name %>
    </div>
    <div class="w-full md:w-1/3 px-3">
      <%= label f, :last_name, class: "block uppercase tracking-wide text-gray-700 text-xs font-bold mb-2" %>
      <%= text_input f, :last_name, id: "last_name", placeholder: "last_name", class: "appearance-none block w-full bg-gray-200 text-gray-700 border border-red-500 rounded py-3 px-4 mb-3 leading-tight focus:outline-none focus:bg-white" %>
      <%= error_tag f, :last_name %>
    </div>

    <div class="w-full md:w-1/3 px-3">
      <%= label f, :age, class: "block uppercase tracking-wide text-gray-700 text-xs font-bold mb-2" %>
      <%= number_input f, :age, id: "age", placeholder: "age", class: "appearance-none block w-full bg-gray-200 text-gray-700 border border-red-500 rounded py-3 px-4 mb-3 leading-tight focus:outline-none focus:bg-white" %>
      <%= error_tag f, :age %>
    </div>
  </div>

  <div>
    <%= submit "Save", class: "bg-blue-500 hover:bg-blue-700 text-white font-bold py-2 px-4 rounded focus:outline-none focus:shadow-outline" %>
  </div>
</.form>

<h1 class="text-3xl mb-5">Listing Users</h1>
<div class="overflow-x-auto">
  <table class="table table-compact w-full">
    <thead>
      <tr>
        <th>First name</th>
        <th>Last name</th>
        <th>Age</th>
      </tr>
    </thead>
    <tbody>
<%= for user <- @users do %>
      <tr>
        <td><%= user.first_name %></td>
        <td><%= user.last_name %></td>
        <td><%= user.age %></td>
      </tr>
<% end %>
    </tbody>
  </table>
</div>
</div>
以上で終了です。
以下のコマンドでサーバを立ち上げ、http://localhost:4000/ にアクセスすると画面の変更が確認できます。
mix phx.server
今回は以上です。