こんにちは!
お鍋が美味しい季節になってまいりました。おさむです。
WSL2+Electronな環境を構築する機会がありましたので、やり方をシェアしたいと思います。
この記事のゴール
WSL2環境下にて、Electronで作成した画面が表示出来るところまで
前提
- WSL2のセットアップが完了している
- Ubuntu 18.04 LTSのOSイメージを使用している(たぶん他のディストリでもいける)
やりかた
①Node.jsとnpmのインストール
apt-getで入れてしまいましょう。
# Node.js
$ sudo apt-get install -y nodejs

# npm
$ sudo apt-get install -y npm
②プロジェクトの作成
Electron Documentation に従い、npmのプロジェクトを作成します。
# ディレクトリを作成し、その中に移動
$ mkdir sampleProject
$ cd sampleProject

# npmプロジェクト作成。質問に答えながらいい感じに
$ npm init

This utility will walk you through creating a package.json file.
It only covers the most common items, and tries to guess sensible defaults.

See `npm help json` for definitive documentation on these fields
and exactly what they do.

Use `npm install <pkg> --save` afterwards to install a package and
save it as a dependency in the package.json file.

Press ^C at any time to quit.
name: (sampleProject) sample
version: (1.0.0) 1.0.0
description:
entry point: (index.js) index.js
test command:
git repository:
keywords:
author:
license: (ISC)
About to write to /home/osamu/sampleProject/package.json:

{
  "name": "sample",
  "version": "1.0.0",
  "description": "",
  "main": "index.js",
  "scripts": {
    "test": "echo \"Error: no test specified\" && exit 1"
  },
  "author": "",
  "license": "ISC"
}


Is this ok? (yes) yes
続いて、サンプルのHTMLとJavaScriptの配置。
これらもElectron Documentation のサンプルソースをお借りしましょう。
npm initを実行したディレクトリに、それぞれindex.html、index.jsという名前で保存します。
<html>
<head>
<meta charset="UTF-8">
<title>Hello World!</title>
<!-- https://electronjs.org/docs/tutorial/security#csp-meta-tag -->
<meta http-equiv="Content-Security-Policy" content="script-src 'self' 'unsafe-inline';" />
</head>
<body>
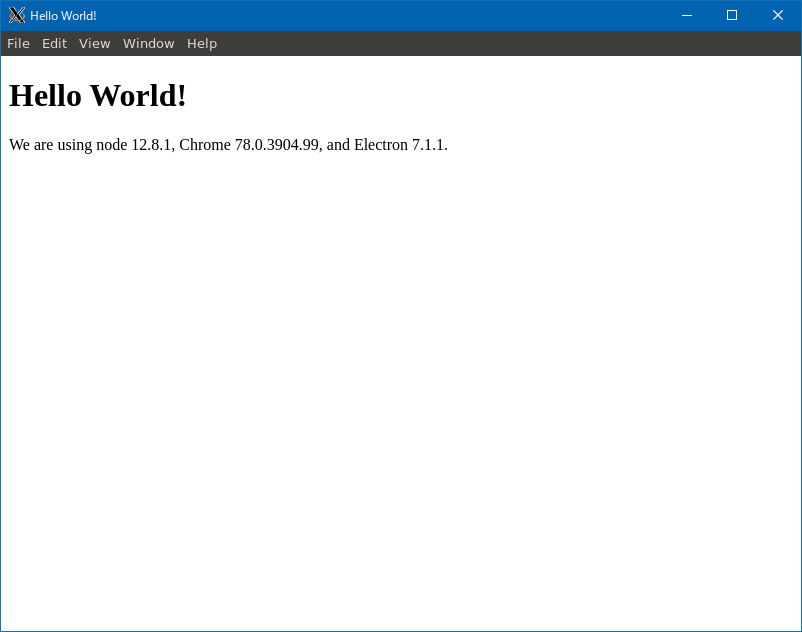
<h1>Hello World!</h1>
We are using node <script>document.write(process.versions.node)</script>,
Chrome <script>document.write(process.versions.chrome)</script>,
and Electron <script>document.write(process.versions.electron)</script>.
</body>
</html>
const { app, BrowserWindow } = require('electron')

function createWindow () {
  // Create the browser window.
  let win = new BrowserWindow({
    width: 800,
    height: 600,
    webPreferences: {
      nodeIntegration: true
    }
  })

  // and load the index.html of the app.
  win.loadFile('index.html')
}

app.on('ready', createWindow)
こんな感じで配置できればOKです。
$ ls -l
total 12
-rw-r--r-- 1 osamu osamu 546 Nov 16 11:31 index.html
-rw-r--r-- 1 osamu osamu 342 Nov 16 11:31 index.js
-rw-r--r-- 1 osamu osamu 200 Nov 16 11:30 package.json
③Electronのインストール
Electron Documentation に記載の通り、Electronのインストールを実行します。
# ローカルインストールの場合はこっち
$ npm install --save-dev electron
# おまじない
$ sudo node node_modules/electron/install.js

# グローバルインストールの場合はこっち
$ sudo npm install -g electron
# おまじない。ディストリによっては/usr/lib/node_modules/electron/install.jsかも
$ sudo node /usr/local/lib/node_modules/electron/install.js
おまじないって何?
Electron failed to install correctly, please delete node_modules/electron and try installing again
この例外をスローしている箇所のソースを見てみると、path.txtが足りないとのこと。
var pathFile = path.join(__dirname, 'path.txt')

function getElectronPath () {
  if (fs.existsSync(pathFile)) {
    ...
  } else {
    throw new Error('Electron failed to install correctly, please delete node_modules/electron and try installing again')
  }
}
ここに書いてあるとおり、手でinstall.jsを実行することで欠落したファイルの追加インストールをすることが出来ました。
④ディスプレイサーバの導入
いざ、実行…といきたいところですが、もうひと手間必要です。
Electronにより生成された画面の情報をウィンドウとして表示するため、ディスプレイサーバを導入します。
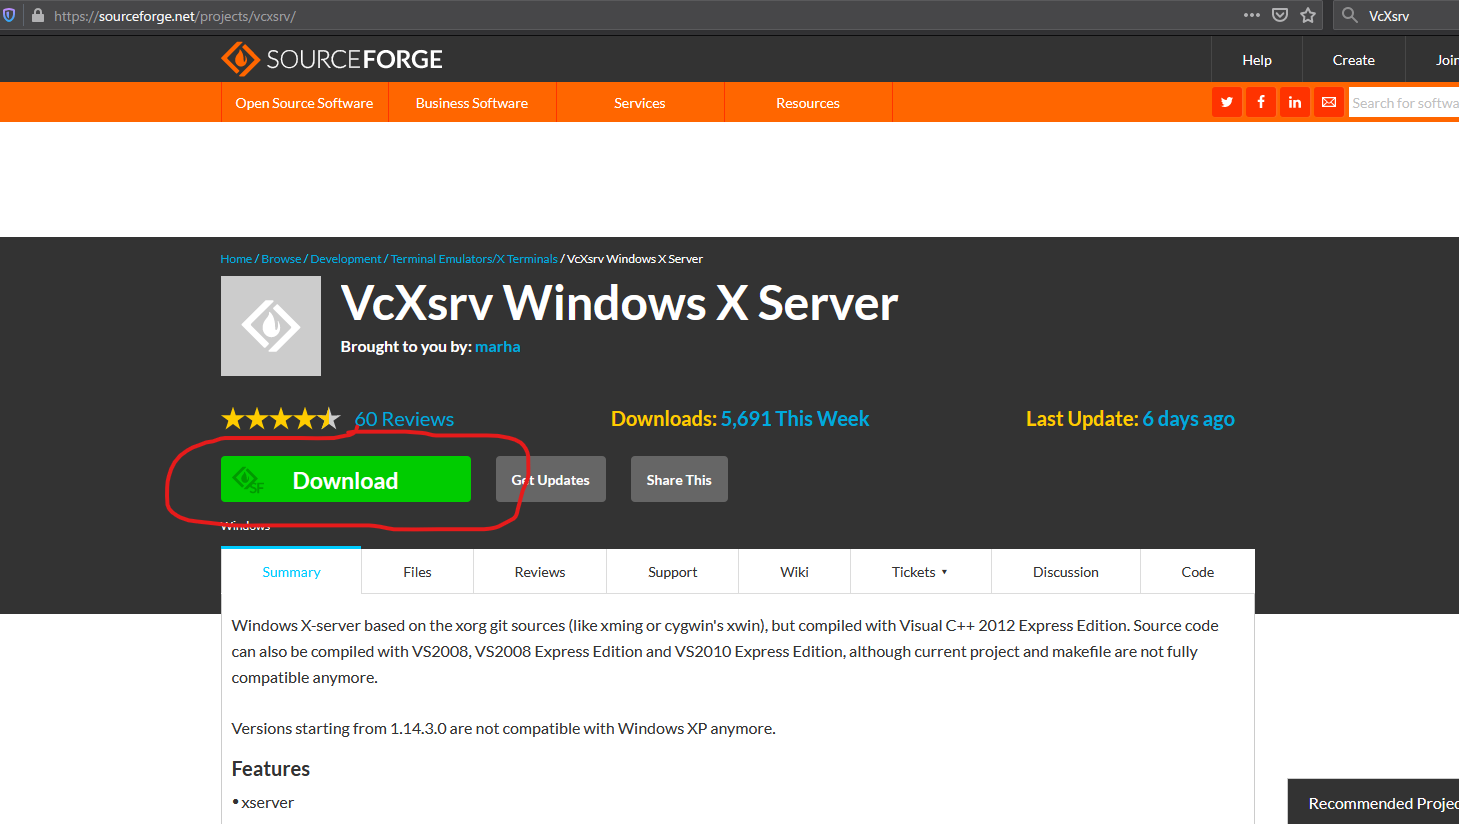
バイナリの取得・インストール
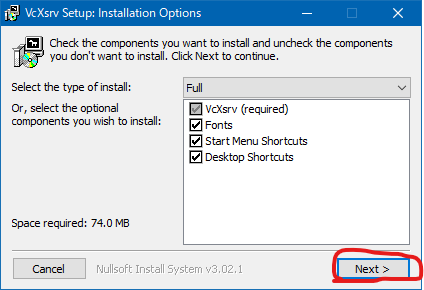
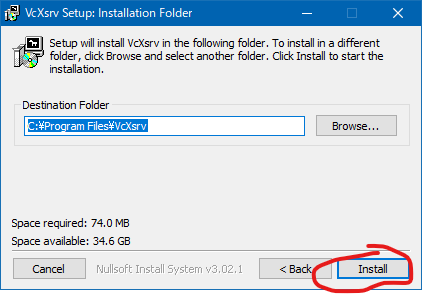
VcXsrvのプロジェクトページからダウンロードし、インストール。
インストール時の設定は全部デフォルトでOKです。
サーバの起動
こんなかんじのアイコンのアプリケーションを起動します。

サーバの設定も基本的にデフォルトでOKなのですが…以下の一点だけ変更が必要です。
起動時のオプションに"-ac"を追加する必要があります。
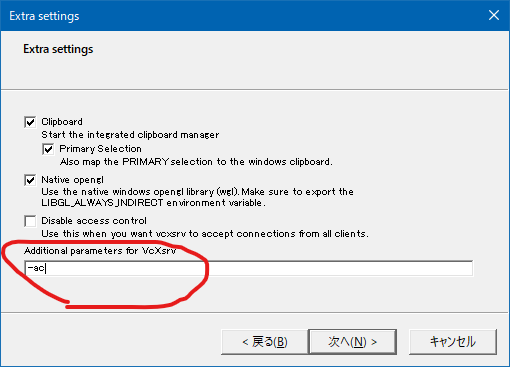
-acって何?
WSL2はHyper-Vの上で動いているため、Windows側と別ホストとして扱われます(詳しくはこの記事を見てね)。
そのため、このオプションにより制限を緩めてやらないと画面の表示が出来ません。
環境変数DISPLAYの設定
WSL2からVcXsrvに接続するための設定を行います。
これはシェルを起動する度に都度実行する必要があるので、.bashrcに追記してしまいましょう。
# 再起動の度にこれを叩くのはちょっと面倒なので…
$ export DISPLAY=`ip route | grep 'default via' | grep -Eo '[0-9]{1,3}\.[0-9]{1,3}\.[0-9]{1,3}\.[0-9]{1,3}'`:0
# .bashrcの中に…
vi ~/.bashrc
# ~/.bashrc: executed by bash(1) for non-login shells.
# see /usr/share/doc/bash/examples/startup-files (in the package bash-doc)
# for examples

# ~~中略~~

# 追記。これでシェルを起動する度に自動で設定される。
export DISPLAY=`ip route | grep 'default via' | grep -Eo '[0-9]{1,3}\.[0-9]{1,3}\.[0-9]{1,3}\.[0-9]{1,3}'`:0
なんでip routeを使ってるの?
WSL2の中から外のネットワークに出ていくのにあたり、
WSL2 → (Hyper-Vのネットワーク) → Windows(ホスト) → (ホストの所属するネットワーク)
という流れが構築されているようです。
WSL2のデフォルトルートとして設定されているのがWindowsのアドレスであり、
WSL2から送出されたパケットはWindowsめがけてHyper-Vのネットワークを駆け巡ることになります。
なので、デフォルトルート=ディスプレイサーバが起動しているWindowsである、という理屈です。
ちなみに、Windows側ホストにも以下のような見慣れないアダプタが出現しています。
これを介してWSL2とやり取りをしているようですね。
イーサネット アダプター vEthernet (WSL):

   接続固有の DNS サフィックス . . . . .:
   IPv4 アドレス . . . . . . . . . . . .: 172.17.64.1
   サブネット マスク . . . . . . . . . .: 255.255.240.0
   デフォルト ゲートウェイ . . . . . . .:
⑤サンプルアプリケーションの起動
先程npm initしたディレクトリにて、下記コマンドを実行するとアプリケーションが立ち上がります。
# ローカルインストールの場合はこっち
$ node ./node_modules/electron/cli.js index.js

# グローバルインストールの場合はこっち
$ electron index.js
お疲れさまでした。