gsplat をWindows 環境でセットアップし、3D Gaussian Splatting の学習を行い .plyファイルを作成するまでの手順を備忘録としてまとめました。
セットアップに際して以下の記事を参考にさせていただきました。
0. 動作確認した条件
ハードウェア
- CPU: Ryzen 3600
- GPU: NVIDIA RTX 4060Ti
OS
- Windows 11(64bit)
ソフトウェア
- Visual Studio 2022 v17.14.21
- CUDA Toolkit 12.4
- PyTorch 2.4
- Miniconda 23.1.0
- Python 3.10
- gsplat v1.5.2
1. 事前準備
1.1 NVIDIA ドライバ
最新の NVIDIA ドライバをインストールします。
確認:
nvidia-smi
1.2 CUDA Toolkit
-
CUDA 12.4(推奨)
- PyTorch cu124 / gsplat と相性が良い
-
CUDA 11.8 も利用可能だが、Visual Studio との組み合わせで
C++ / CUDA 拡張ビルド時にトラブルが起きやすい
確認:
nvcc --version
※ nvccコマンドが利用できない場合はCUDA Toolkitがインストールされていないのでインストールする必要あり。nvidia-smiで表示されるcudaのバージョンは別。
1.3 Visual Studio 2022(必須)
gsplat の依存関係(fused-ssim 等)では
C++ / CUDA 拡張のビルドが必要です。
必要な構成
-
ワークロード
- C++ によるデスクトップ開発
-
個別コンポーネント
- MSVC v143 (x64/x86)
- Windows 10/11 SDK
注意
以降の作業はWindowsの検索窓で以下のターミナルを起動し、
x64 Native Tools Command Prompt for VS 2022
のターミナルから実行します。
2. Python / conda 環境構築
2.1 Miniconda / Anaconda
Miniconda(または Anaconda)をインストールします。
2.2 conda 環境作成
conda create -n gsplat_cu124 python=3.10 -y
2.3 mamba(推奨)
※通常のcondaコマンドでPyTorch関係をインストールすると10~20分くらいかかるのに対して、mambaコマンドを利用すると数分程度でインストールできる。
conda activate base
conda install -n base -c conda-forge mamba -y
mamba activate gsplat_cu124
3. PyTorch(CUDA 対応)
3.1 PyTorch cu124
mamba install pytorch==2.4.0 torchvision==0.19.0 torchaudio==2.4.0 pytorch-cuda=12.4 -c pytorch -c nvidia
コマンドの内容は下記参照
4. gsplat 本体のセットアップ
4.1 リポジトリ取得
cd 作業ディレクトリ
git clone https://github.com/nerfstudio-project/gsplat.git
cd gsplat
git checkout v1.5.2
4.2 基本依存関係
mamba install ninja jaxtyping rich -y
以下のgithubからv1.5.2のリリースノートのAssets内に格納されているgsplat-1.5.2+pt24cu124-cp310-cp310-win_amd64.whlをダウンロードする。
※構築する環境に応じてダウンロードするファイルは異なる。
https://github.com/nerfstudio-project/gsplat/releases
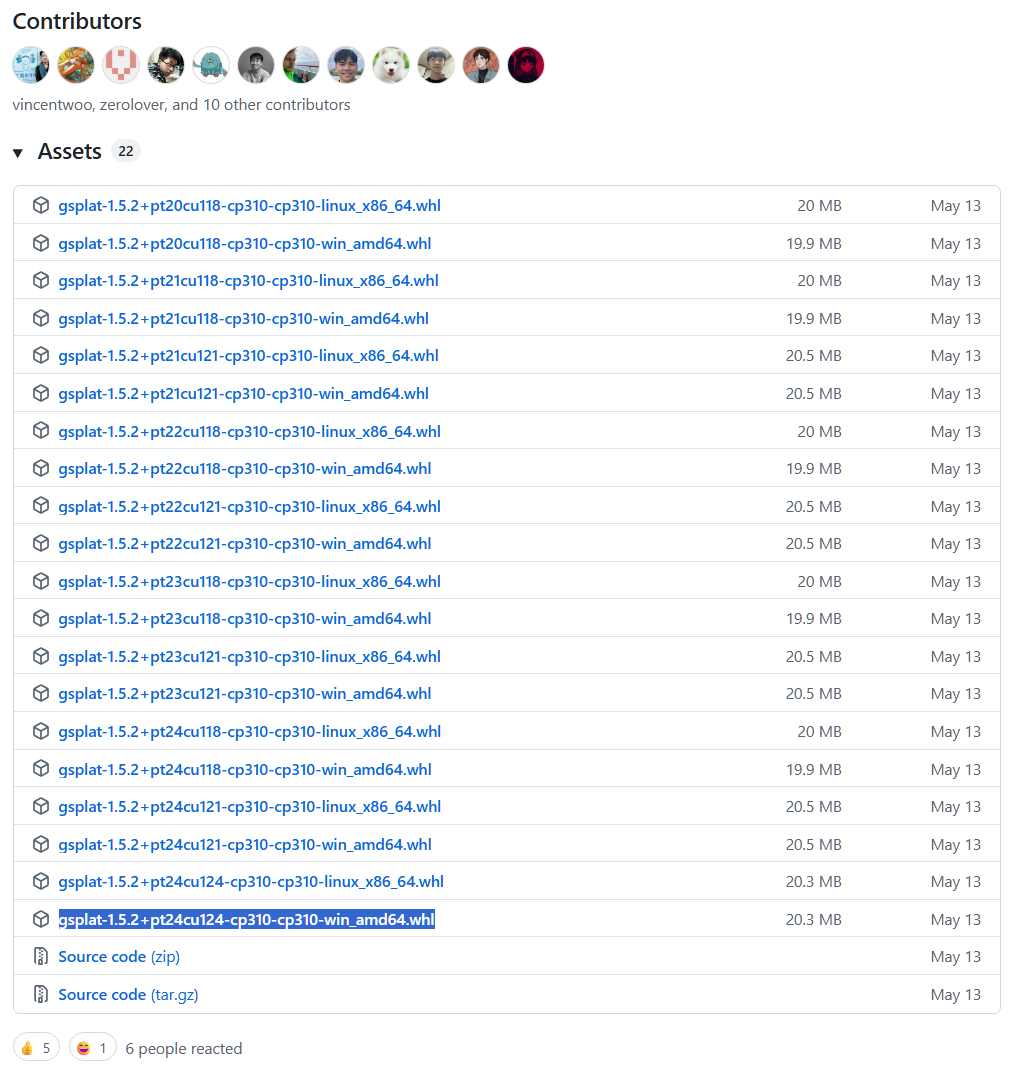
cd ファイルをダウンロードしたディレクトリ
pip install gsplat-1.5.2+pt24cu124-cp310-cp310-win_amd64.whl
4.3 fused-ssim(C++ / CUDA 拡張)
⚠️ 以下のコマンドはx64 Native Tools Command Prompt for VS 2022で実行する必要があります。
※通常のターミナル環境でclコマンドが使える場合はx64 Native Tools Command Prompt for VS 2022ターミナルで作業する必要はありません。
念のためx64 Native Tools Command Prompt for VS 2022ターミナル上で以下のコマンドを実行してパスが通っていることを確認してください。
where cl
確認後、以下のコマンドを実行
set DISTUTILS_USE_SDK=1
set MSSdk=1
pip install --no-build-isolation -r examples/requirements.txt
clコマンドのパスが通っていない場合は以下の手順を参考にしてください。
1. Visual Studio Installer を起動
- Windows のスタートメニューを開く
- Visual Studio Installer を起動
2. Visual Studio 2022 の構成を変更
- インストール済み一覧から
Visual Studio 2022 を探す - 右側の 「変更」 をクリック
3. 必要なワークロードを選択
3.1 ワークロード(必須)
以下を 必ずチェック:
- ✅ C++ によるデスクトップ開発
これは cl.exe を含む MSVC コンパイラ一式を導入するために必須です。
4. 個別コンポーネントの確認(重要)
右ペインの 「インストールの詳細」→「個別のコンポーネント」 を確認し、
以下が含まれていることを確認(無ければチェック):
4.1 必須コンポーネント
- ✅ MSVC v143 - VS 2022 C++ x64/x86 ビルド ツール
- ✅ Windows 11 SDK
※ CUDA 12.x / PyTorch 拡張では v143 が推奨
※ v142(VS2019 用)は不要
5. インストールを実行
- 必要な項目にチェックが入っていることを確認
- 右下の 「変更」 をクリック
- ダウンロード・インストール完了まで待つ
6. cl.exe を「使える状態」にする
⚠️ 注意
Visual Studio をインストールしただけでは、
通常の cmd / PowerShell では cl は使えません。
cl を使うには MSVC 環境変数を初期化したターミナルが必要です。
推奨(確実)
スタートメニューから以下を起動:
- x64 Native Tools Command Prompt for VS 2022
(Developer Command Prompt でも可だが、x64 Native が最も確実)
8. cl コマンドの動作確認
起動したターミナルで以下を実行:
where cl
5. データ準備(COLMAP)
5.1 必須ディレクトリ構造
gsplat は COLMAP の sparse 出力を前提とします。
data/truck/
├─ images/
│  ├─ 00001.jpg
│  ├─ 00002.jpg
│  └─ ...
└─ sparse/
   └─ 0/
      ├─ cameras.bin
      ├─ images.bin
      └─ points3D.bin
6. 画像スケール調整(任意)
6.1 data_factor を使う場合
--data_factor 4 (デフォルト設定)を指定すると images_4/フォルダが必要です。
7. 学習(.pt モデル生成)
7.1 最小実行例
サンプルとしてSecenes(650MB)をダウンロードし、gsplat/dataを作成してtruckフォルダを格納します。

※.plyファイルを出力する場合は、simple_trainer.pyの[87行目] save_ply=Trueに設定してください。
※ gsplatのモジュールを一部修正する必要があります。
C:\Users\ユーザー名\miniconda3\envs\gsplat\lib\site-packages\pycolmap\scene_manager.pyのファイルを以下のように修正してください。
参考: https://lilea.net/lab/how-to-setup-gsplat/
mkdir gsplat/data/truck/images_4
cd gsplat/examples
python simple_trainer.py default ^
  --data_dir data/truck ^
  --result_dir results/truck
8. 出力物
学習完了後、以下が生成されます。
results/truck/
├─ ckpts/ckpt_29999_rank0.pt   ← 学習済み gsplat モデル
├─ ply/point_cloud_29999.ply
...
9. Viewer での可視化
python examples/simple_viewer.py ^
  --ckpt results/truck/ckpt_29999_rank0.pt
ブラウザで以下にアクセス:
http://localhost:8080