はじめに
株式会社じげん エンジニアの酒匂(さこう)と申します。
「アルバイトEX」「転職EX」をはじめとした求人サービスを担当しています。
今回は求人検索で使えそうなGoogle Cloud Talent Solution(以降CTSと呼ぶ)という検索サービスを使ってみます。
Google Cloud Talent Solutionとは
GoogleのAIを使って検索ワードのスペルミスを補助したり、検索条件に対してより関連度の高いものを結果として出してくれるものらしいです。
また、過去の集計データに基づいた通勤方法、移動時間、開始座標を用いて通勤時間での検索や指定した場所の半径数マイル(可変)範囲内にある求人を検索することもできます。
1ヶ月あたりの呼び出した求人数、登録した求人&企業数がそれぞれ10,000件までであれば無料で使えますが、10,001件以上は料金が発生するようです。
事前準備
こちらに沿って設定を進めてCTSを開始する為の事前準備をします。
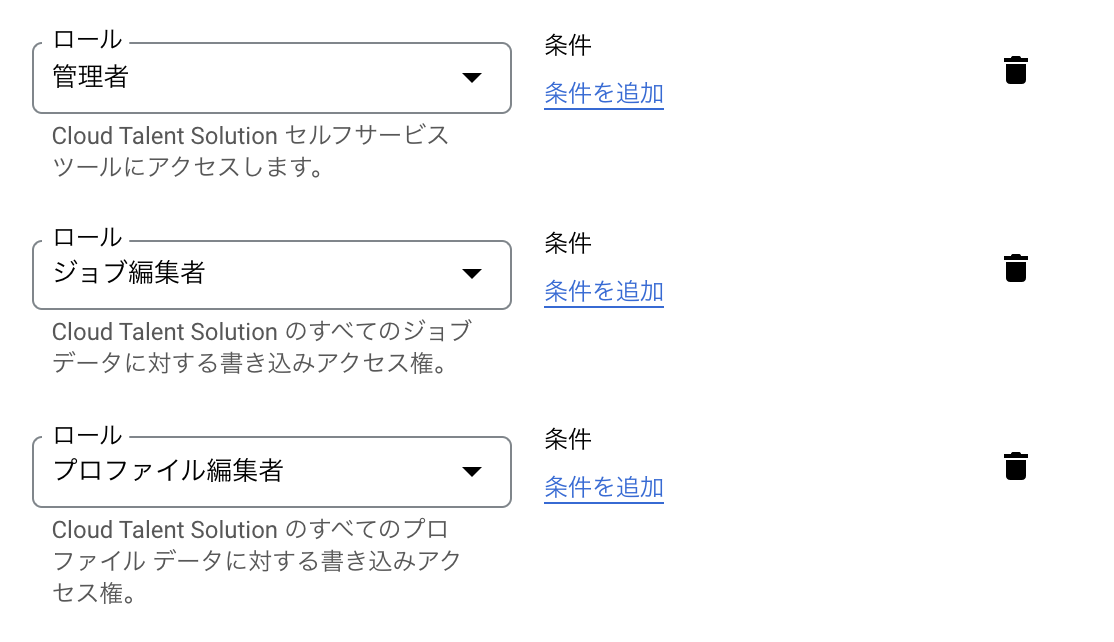
このまま行えば問題ないのですが、新しいサービスアカウントにロールを割り当てる際は
・管理者
・ジョブ編集者
・プロファイル編集者
の3つを設定すると求人情報の登録が行えるようになります。
これでCTSを使う準備は完了です。
会社を作成
今回はPythonを使用していきます。
クイックスタートの「会社と求人の作成編」にサンプルコードがありますのでそちらを使用します。
まず求人情報の親となる会社を作成します。
が、ここに罠が潜んでます...
サンプルコードに引数を渡しただけでは動かないので、以下のように修正します。
from google.cloud import talent
import six

def create_company(project_id, tenant_id, display_name, external_id):
  client = talent.CompanyServiceClient()

  if isinstance(project_id, six.binary_type):
    project_id = project_id.decode("utf-8")
  if isinstance(tenant_id, six.binary_type):
    tenant_id = tenant_id.decode("utf-8")
  if isinstance(display_name, six.binary_type):
    display_name = display_name.decode("utf-8")
  if isinstance(external_id, six.binary_type):
    external_id = external_id.decode("utf-8")

  parent = f"projects/{project_id}/tenants/{tenant_id}"
  # tenant_idを指定していなければデフォルトで作成されているtenantの下に保存される
  if not tenant_id:
    parent = f"projects/{project_id}"
  company = {"display_name": display_name, "external_id": external_id}

  response = client.create_company(parent=parent, company=company)
  print("Created Company")
  print("Name: {}".format(response.name))
  print("Display Name: {}".format(response.display_name))
  print("External ID: {}".format(response.external_id))
  return response.name
tenantはすでに作成されているidを指定するか、そもそもtenantを指定しないようにしなければ会社を作成することができません。
tenantを指定しない場合はデフォルトで作成されているtenantの下に会社が作成されます
$ python3 -c "import cts1; cts1.create_company('project_id','','test','1')"
会社を作成できたので次に求人情報を作成していきます。
求人を作成
今回も例の罠があるので、サンプルコードを以下のように修正します。
from google.cloud import talent
import six

def create_job(project_id, tenant_id, company_id, requisition_id):
  client = talent.JobServiceClient()

  job_application_url = f"https://www.example.org/job-posting/{requisition_id}"

  if isinstance(project_id, six.binary_type):
    project_id = project_id.decode("utf-8")
  if isinstance(tenant_id, six.binary_type):
    tenant_id = tenant_id.decode("utf-8")
  if isinstance(company_id, six.binary_type):
    company_id = company_id.decode("utf-8")
  if isinstance(requisition_id, six.binary_type):
    requisition_id = requisition_id.decode("utf-8")
  if isinstance(job_application_url, six.binary_type):
    job_application_url = job_application_url.decode("utf-8")
  parent = f"projects/{project_id}/tenants/{tenant_id}"
  # tenant_idを指定していなければデフォルトで作成されているtenantの下に保存される
  if not tenant_id:
    parent = f"projects/{project_id}"
  uris = [job_application_url]
  application_info = {"uris": uris}
  addresses = [
    "1600 Amphitheatre Parkway, Mountain View, CA 94043",
    "111 8th Avenue, New York, NY 10011",
  ]
  job = {
    "company": company_id,
    "requisition_id": requisition_id,
    "title": "Software Developer",
    "description": "Develop, maintain the software solutions.",
    "application_info": application_info,
    "addresses": addresses,
    "language_code": "en-US",
  }

  response = client.create_job(parent=parent, job=job)
  print("Created job: {}".format(response.name))
  return response.name
company_idには先ほど作成した会社のidを使用します。
projects/project_id/tenants/tenant_id/companies/○○
この○○の部分が会社IDになりますので、これを引数に渡して指定します。
$ python3 -c "import cts2; cts2.create_job('project_id','','company_id','1')"
これで求人が作成できました。
いくつか求人を作成したら次はいよいよ検索してみましょう。
検索
クイックスタートの「検索編」では最初にフィールドごとの求人数のヒストグラムを取得するとあるのですが、今回は結果がわかりやすいようにキーワード検索を作ってみました。
from google.cloud import talent
import six

def search_job(project_id, tenant_id, query):
  client = talent.JobServiceClient()

  if isinstance(project_id, six.binary_type):
    project_id = project_id.decode("utf-8")
  if isinstance(tenant_id, six.binary_type):
    tenant_id = tenant_id.decode("utf-8")
  if isinstance(query, six.binary_type):
    query = query.decode("utf-8")
  parent = f"projects/{project_id}/tenants/{tenant_id}"
  # tenant_idを指定していなければデフォルトで作成されているtenantの下に保存される
  if not tenant_id:
    parent = f"projects/{project_id}"
  domain = "www.example.com"
  session_id = "Hashed session identifier"
  user_id = "Hashed user identifier"
  request_metadata = {"domain": domain, "session_id": session_id, "user_id": user_id}

  job_query = talent.JobQuery(
    query=query,
    query_language_code='en-US'
  )

  results = []
  request = talent.SearchJobsRequest(
    parent=parent,
    request_metadata=request_metadata,
    job_query=job_query
  )
  for response_item in client.search_jobs(request=request).matching_jobs:
    print(f"Job summary: {response_item.job_summary}")
    print(f"Job title snippet: {response_item.job_title_snippet}")
    job = response_item.job
    results.append(job)
    print(f"Job name: {job.name}")
    print(f"Job title: {job.title}")
  return results
これで引数に渡したキーワードで検索できるようになったので、先ほど作成した求人が検索できるか見てみます。
$ python3 -c "import cts3; cts3.search_job('project_id','','Software')"
Job summary: Develop, maintain the software solutions.
Job title snippet: <b>Software</b> Developer
Job name: projects/project_id/tenants/tenant_id/jobs/requisition_id
Job title: Software Developer
検索できましたね。
まとめ
いつもはRubyを使っているので今回初めてPythonを使っていろいろハマりました...
今はまだ検索精度についてメリットがあるかどうかはわかりませんが、今後検証していってみたいと思います。
あまり日本語のCTSについての記事が無いので、みなさんの参考になれば幸いです。