Ubuntu 22.04 LTS DesktopにDockerを導入する(Docker-Composeも入れます)
環境
- OS: Ubuntu 22.04LTS Desktop (amd64)
- CPU: 8スレッド
- メモリ: 16GB
- SSD: 1TB
aptパッケージを利用して、Dockerを導入する
$ sudo apt update -y
$ sudo apt upgrade -y
$ sudo apt install lsb-release ca-certificates apt-transport-https software-properties-common -y
$ curl -fsSL https://download.docker.com/linux/ubuntu/gpg | sudo gpg --dearmor -o /usr/share/keyrings/docker-archive-keyring.gpg
$ echo "deb [arch=$(dpkg --print-architecture) signed-by=/usr/share/keyrings/docker-archive-keyring.gpg] https://download.docker.com/linux/ubuntu $(lsb_release -cs) stable" | sudo tee /etc/apt/sources.list.d/docker.list > /dev/null
$ sudo apt update -y
$ sudo apt install docker-ce docker-ce-cli containerd.io docker-compose-plugin
以上で、Dockerの導入は完了です!
テスト
テストしてみましょう!
DockerHubより、Hello-Worldイメージを使用します。
$ docker run hello-world

Hello from Docker!
This message shows that your installation appears to be working correctly.

To generate this message, Docker took the following steps:
 1. The Docker client contacted the Docker daemon.
 2. The Docker daemon pulled the "hello-world" image from the Docker Hub.
    (amd64)
 3. The Docker daemon created a new container from that image which runs the
    executable that produces the output you are currently reading.
 4. The Docker daemon streamed that output to the Docker client, which sent it
    to your terminal.

To try something more ambitious, you can run an Ubuntu container with:
 $ docker run -it ubuntu bash

Share images, automate workflows, and more with a free Docker ID:
 https://hub.docker.com/

For more examples and ideas, visit:
 https://docs.docker.com/get-started/
上記のように表示されれば大成功です!!
さて次はDocker-Composeをインストールします!
Docker-Composeをインストールする
$ mkdir -p ~/.docker/cli-plugins/
$ curl -SL https://github.com/docker/compose/releases/download/v2.9.0/docker-compose-linux-x86_64 -o ~/.docker/cli-plugins/docker-compose
$ chmod +x ~/.docker/cli-plugins/docker-compose
$ docker compose version
Docker Compose version v2.9.0
上記のようにバージョンが表示されれば大成功です!
Docker-Composeの動作確認
さて、docker-compose.ymlを記載する場所をどこかに作りましょう
$ mkdir ~/temp
$ cd ~/temp
$ touch docker-compose.yml
ホームディレクトリのtempにdocker-compose.ymlを作りました。さて編集します。
$ vim docker-compose.yml
apacheをdockerで動かしてみます!
80番ポートをそのまま80番ポートにフォワーリングします。
version: "3"
services:
  web:
    image: "httpd:latest"
    ports:
      - "80:80"
そしたらさっそく起動します!
$ docker-compose up -d
ブラウザで確認します。
Apacheが動きました!おめでとうございます。
docker-composeで動かしているコンテナに入る
$ docker ps
CONTAINER ID   IMAGE          COMMAND              CREATED         STATUS         PORTS                               NAMES
a66772455b3c   httpd:latest   "httpd-foreground"   4 seconds ago   Up 3 seconds   0.0.0.0:80->80/tcp, :::80->80/tcp   temp_web_1
CONTAINER IDをコピーする。
$ docker exec -it a66772455b3c /bin/bash
root@a66772455b3c:/usr/local/apache2#
入れましたね!
それではvimでもインストールしてみましょう
root@a66772455b3c:/usr/local/apache2# apt update -y && apt install vim -y
...
Processing triggers for libc-bin (2.31-13+deb11u3) ...
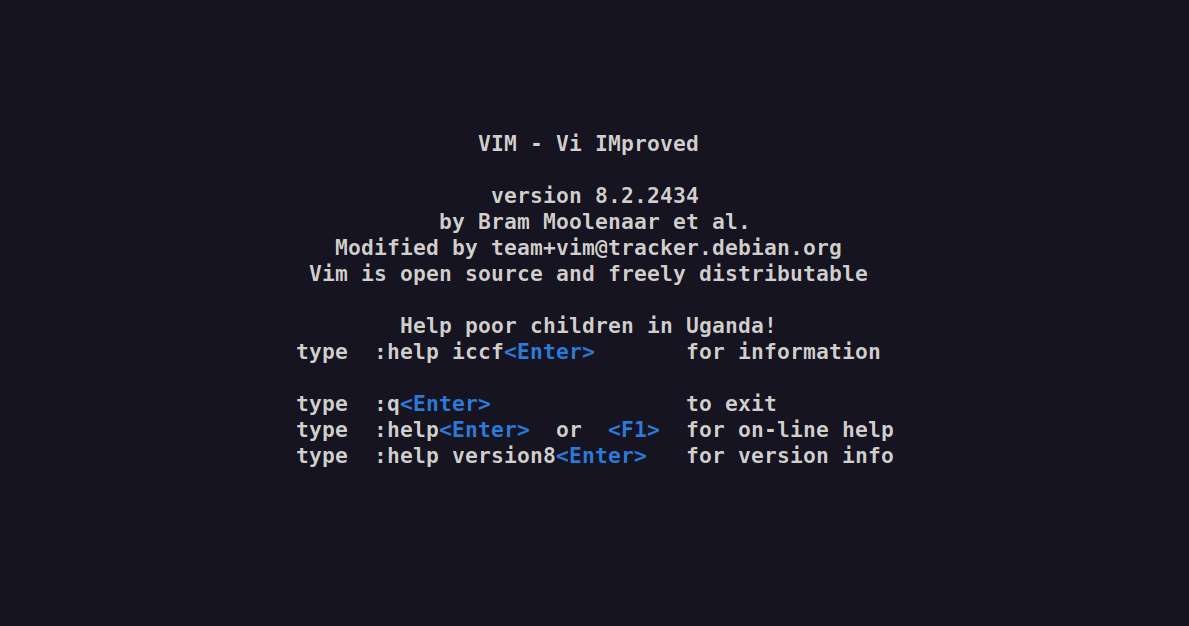
root@a66772455b3c:/usr/local/apache2# vim
それでは、docker-composeで動かしたものを全部破棄します。
Docker-composeで動かしたものなどすべて破棄する
$ docker-compose down
$ docker system prune -f -a
※注意:「docker system prune -f -a」コマンドはDockerのイメージ、コンテナ、ボリュームなどすべて削除してしまいます。特定の物だけ削除したい場合は公式リファレンスを参照してください!
以上です。

