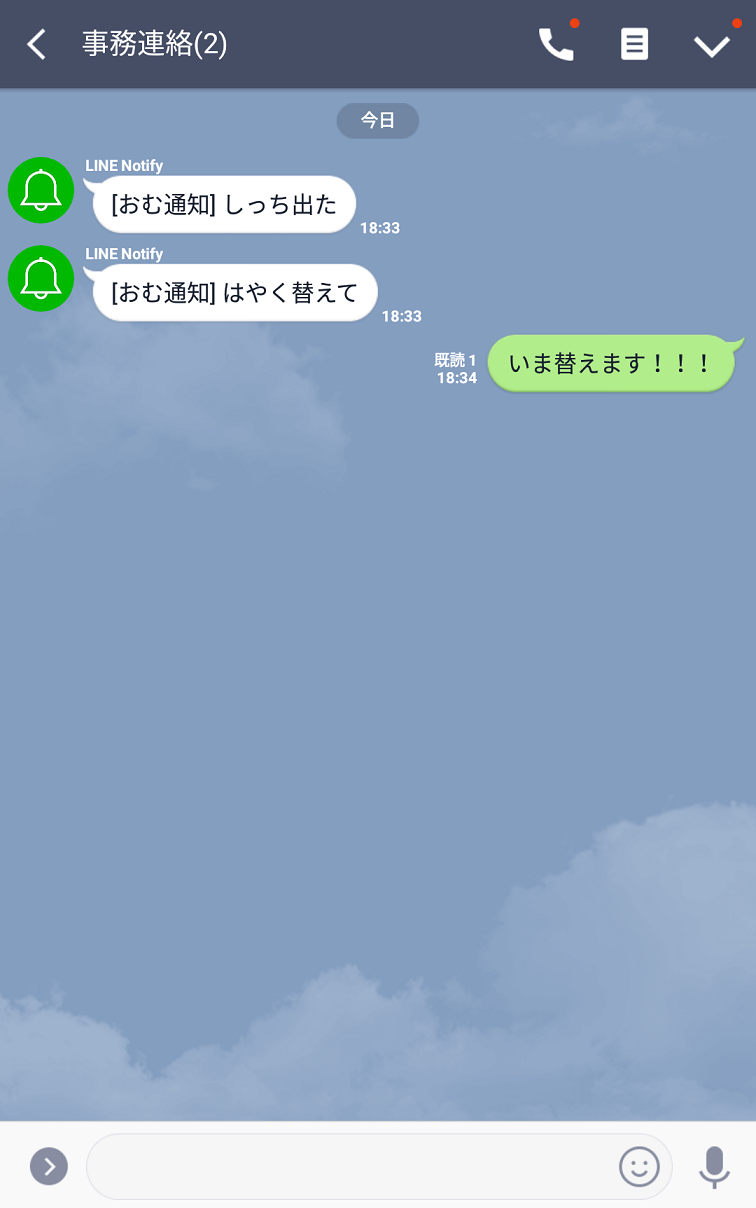
できたもの
おむつにさす
おむつがしゃべる!
用意したもの
- Raspberry Pi 3 Model B
- A/D コンバータ:MCP3208-CI/P
- 土壌湿度センサー:SEN0114
- ブレッドボード、ジャンパーコード
- おむつ:メリーズSサイズ(テープ)
手順
LINE Notifer のアクセストークン取得
- LINE ID でログイン
- アクセストークンの発行(開発者向け)
- トークンを発行する
- 発行されたトークンをコピー
- TOKEN:XxXxXxXxXxXxXxXxXxXxXxXxXxXxXxXxXxXxXxXxXx
- LINE(スマホ)で適当なグループを作成して、LINE Notifer アカウントを招待
RaspberryPi
導入からWifi接続までの初期セットアップは以前書いた ので回路設計から。
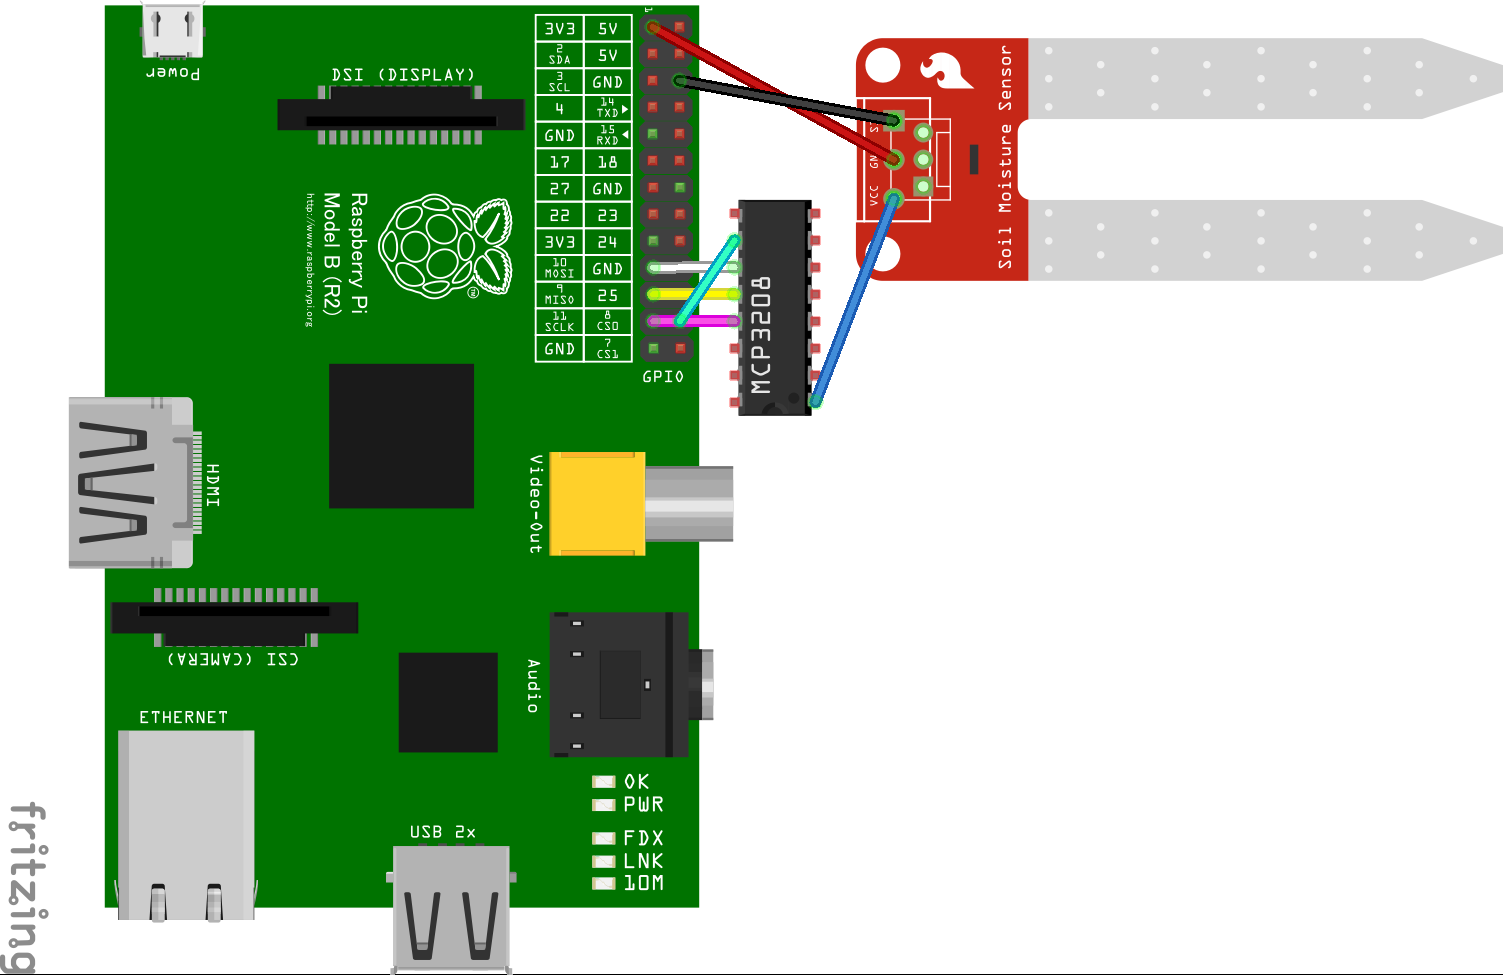
ブレッドボード
Python 下準備
初 Python なのでいろいろ足りなかった。
$ sudo -E apt install python-pip
$ sudo -E pip install requests
ソース
# -*- coding: utf-8 -*-
import RPi.GPIO as GPIO
from time import sleep
import requests

print "*** start ***";

# MCP3208からSPI通信で12ビットのデジタル値を取得。0から7の8チャンネル使用可
def readadc(adcnum, clockpin, mosipin, misopin, cspin):
    if adcnum > 7 or adcnum < 0:
        return -1
    GPIO.output(cspin, GPIO.HIGH)
    GPIO.output(clockpin, GPIO.LOW)
    GPIO.output(cspin, GPIO.LOW)

    commandout = adcnum
    commandout |= 0x18  # スタートビット+シングルエンドビット
    commandout <<= 3    # LSBから8ビット目を送信するようにする
    for i in range(5):
        # LSBから数えて8ビット目から4ビット目までを送信
        if commandout & 0x80:
            GPIO.output(mosipin, GPIO.HIGH)
        else:
            GPIO.output(mosipin, GPIO.LOW)
        commandout <<= 1
        GPIO.output(clockpin, GPIO.HIGH)
        GPIO.output(clockpin, GPIO.LOW)
    adcout = 0
    # 13ビット読む(ヌルビット+12ビットデータ)
    for i in range(13):
        GPIO.output(clockpin, GPIO.HIGH)
        GPIO.output(clockpin, GPIO.LOW)
        adcout <<= 1
        if i>0 and GPIO.input(misopin)==GPIO.HIGH:
            adcout |= 0x1
    GPIO.output(cspin, GPIO.HIGH)
    return adcout

GPIO.setmode(GPIO.BCM)
# ピンの名前を変数として定義
SPICLK = 11
SPIMOSI = 10
SPIMISO = 9
SPICS = 8
# SPI通信用の入出力を定義
GPIO.setup(SPICLK, GPIO.OUT)
GPIO.setup(SPIMOSI, GPIO.OUT)
GPIO.setup(SPIMISO, GPIO.IN)
GPIO.setup(SPICS, GPIO.OUT)

try:
    # line initialize
    url = "https://notify-api.line.me/api/notify"
    requestsession = requests.session()
    headers = { "Authorization" : "Bearer XxXxXxXxXxXxXxXxXxXxXxXxXxXxXxXxXxXxXxXxXx" }
    while True:
        inputVal0 = readadc(0, SPICLK, SPIMOSI, SPIMISO, SPICS)
        if (inputVal0 > 2000 ):
            sendmessage = "はやく替えて"
        elif (inputVal0 > 1000):
            sendmessage = "すごくぬれてる"
        elif (inputVal0 > 500 ):
            sendmessage = "しっち出た"
        else:
            # sendmessage = "だいじょーぶ"
        if ( inputVal0 > 500):
            # line send
            payload = { "message" : sendmessage }
            responce =  requestsession.post( url, data=payload,headers=headers )
            print responce.text.encode( "utf-8" );
        sleep(3)

except KeyboardInterrupt:
    print "*** bye! ***";
    pass

GPIO.cleanup()
雑感
楽しかったです。センサ、AD変換、回路 が一通りわかるとアイデア次第でいろいろなことが実現できそうです。
ほんとはLEDピカピカさせておむつ交換したらリセットとか、Datadog に送ってメトリクス収取してグラフで健康管理とかやりたかったんですが、飽きました力尽きました。
参考書籍
基礎が身に付きました、AD変換周りはこちらのサンプルコードから持ってきました。

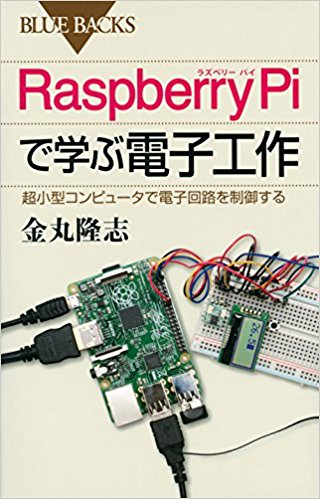
Raspberry Piで学ぶ電子工作 超小型コンピュータで電子回路を制御する (ブルーバックス)
参考にしました
Raspberry piにもDatadog Agentをインストールしてみる(前編) - Etizolam
Raspberry Pi 2 向け A/D 変換 : Node.js で土壌湿度センサーを制御してみた | Developers.IO
Raspberry Pi 3からLINE Notifyでメッセージを送る
Pythonでのget,post通信メモ - Qiita
DogStatsD を使った、メトリクスの送信


