
Amazon BedrockAgentCoreを学習するため、ClaudeCodeに学習計画を立ててもらいました。
まずagentcore createでAgentCoreハーネスを作ろうという学習ステップを作ってくれたので記録を書きます。
以下AWSドキュメントを参考にして実施します
AgentCore CLI をインストール
AgentCore CLI をグローバルにインストール
npm install -g @aws/agentcore
インストール確認
agentcore --help
クリックして詳細を表示
% agentcore --help
Usage: agentcore [options] [command]

Build and deploy Agentic AI applications on AgentCore

Options:
  -V, --version                     output the version number
  -h, --help                        Display help

Commands:
  add [subcommand]                  Add resources to project config.
  dev|d [options] [prompt]          Launch local dev server, or invoke an agent locally.
  deploy|dp [options]               Deploy project infrastructure to AWSvia CDK.
  exec [options] [command...]       Open an interactive shell or run a one-shot command in a deployed agent container.
  create [options]                  Create a new AgentCore project
  evals                             View saved eval and batch eval results from past runs.
  feedback [options] [message]      Send feedback about the AgentCore CLI to the team.
  fetch                             Fetch access info for deployed resources.
  help                              Display help topics
  import [options]                  Import a runtime, memory, or startertoolkit into this project.
  invoke|i [options] [prompt]       Invoke a deployed agent endpoint.
  logs|l [options]                  Stream or search agent runtime logs.
  package|pkg [options]             Package agent artifacts without deploying.
  pause                             Pause a deployed resource (online eval config, A/B test).
  view                              View job history and details
  batch-evaluations [options] <id>  View batch evaluation jobs and theirresults.
  remove [subcommand]               Remove resources from project config.
  resume                            Resume a paused resource (online eval config, A/B test).
  run                               Run evaluations, batch evaluations, or optimization recommendations.
  status|s [options]                Show deployed resource details and status.
  stop                              Stop a running batch evaluation or A/B test.
  promote                           Promote resources
  telemetry                         Manage anonymous usage analytics preferences.
  traces|t                          View and download agent traces.
  update [options]                  Check for and install CLI updates
  validate [options]                Validate agentcore/ config files.
  config-bundle|cb                  Manage configuration bundles (use bundle name from agentcore.json, not the ID)
  config [key] [value]              Adjust global configuration settingssuch as telemetry opt-out status
  dataset                           Manage dataset content and versions
  archive                           Archive (delete) a batch evaluation or recommendation on the service and clear local history.
  export                            Export a harness to a Strands runtime agent.
%
エージェントプロジェクトを作成
ドキュメントはすべて引数に設定をいれていく形ですが、今回はすべて対話形式で設定してみます
実行すると以下のようなフォルダと設定ファイルなどが自動作成されます。
% tree a1project -d -L 2
a1project
├── agentcore
│   └── cdk
└── app
    └── a1project
以下ドキュメントを参考に実施しますので詰まったら見てみると良いかもです。
まず実行
agentcore create
プロジェクト名を入力
% agentcore create

 AgentCore Create

 Create a new AgentCore project
 This will create a directory with your project name.

 Project name
 > a1project  ✓
ハーネスorランタイムか選択。ハーネスを選択した。
 What would you like to build?

 ❯ Harness (recommended) - Managed config-based agent loop, no
 code required
   Agent - Start with a template or bring your own code hosted
 on AgentCore Runtime
   Skip - I'll add resources later
モデルを選択。Bedrockを選択した
  │ Select model provider                                                                 │
  │ Choose where to run your models                                                       │
  │                                                                                       │
  │ ❯ Amazon Bedrock - Default: global.anthropic.claude-sonnet-4-6                        │
  │   OpenAI - Default: gpt-5 (requires API key ARN)                                      │
  │   Google Gemini - Default: gemini-2.5-flash (requires API key ARN)                    │
  │   LiteLLM - Default: anthropic/claude-sonnet-4-5 (API key ARN optional)
モデル呼び出しのAPI形式を選択。ConverseStreamを選択した。
  │ Select API format                                                                                                                    │
  │ Choose the API format for model invocation (Responses and ChatCompletions use Bedrock Mantle)                                        │
  │                                                                                                                                      │
  │ ❯ Converse Stream - Standard Bedrock Converse API (default)                                                                          │
  │   Responses - OpenAI Responses API via Bedrock Mantle                                                                                │
  │   Chat Completions - OpenAI Chat Completions API via Bedrock Mantle
実行環境についてデフォルト設定、ECR、Dockerfileを選択。
  │ Custom environment                                                                                                                                  │
  │ Optionally provide a custom container image for the harness runtime                                                                                 │
  │                                                                                                                                                     │
  │ ❯ Default Environment - Includes Python, Bash, File tools                                                                                           │
  │   Container URI - Use a pre-built container image (ECR URI)                                                                                         │
  │   Dockerfile - Bring your own Dockerfile
メモリ設定。これはデフォルト設定を選択
  │ Memory                                                                                                                                              │
  │ How should this harness handle memory?                                                                                                              │
  │                                                                                                                                                     │
  │ ❯ No memory - Default                                                                                                                               │
  │   Managed - AgentCore creates and manages memory for this harness                                                                                   │
  │   Existing - Reference an existing memory by name or ARN
ツールやSkillなどの追加設定を選択。今回は素のハーネスを作るためなしで設定。
  │ Advanced settings (optional)                                                                                         │
  │ Configure tools, network, lifecycle, execution limits, truncation, or session storage                                │
  │                                                                                                                      │
  │ ❯ [ ] Tools - Add browser, code interpreter, MCP, or gateway tools                                                   │
  │   [ ] Skills - Add agent skills                                                                                      │
  │   [ ] Allowed tools - Restrict which tools the agent may invoke                                                      │
  │   [ ] Authentication - Inbound auth: AWS_IAM or Custom JWT                                                           │
  │   [ ] Network - Deploy inside a VPC with custom subnets and security groups                                          │
  │   [ ] Lifecycle - Set idle timeout and max session lifetime                                                          │
  │   [ ] Execution & sampling - Cap iterations, tokens, timeout; tune temperature, topP, topK                           │
  │   [ ] Truncation - Choose how context is managed when it exceeds limits                                              │
  │   [ ] Filesystem Storage - Mount session storage, EFS, or S3 Files persistent storage (requires VPC)
問題なければ進める
  │ Review Configuration                                                                                                 │
  │                                                                                                                      │
  │   Name: a1project                                                                                                    │
  │   Model Provider: bedrock                                                                                            │
  │   Model ID: global.anthropic.claude-sonnet-4-6                                                                       │
  │   Memory: No memory
作成完了した。
  AgentCore Create


  Project: a1project


  [done]    Create a1project/ project directory
  [done]    Add harness to project
  [done]    Prepare agentcore/ directory
  [done]    Initialize git repository

  Created:
    a1project/
      app/a1project/  Harness
      agentcore/      Config and CDK project

  Model: global.anthropic.claude-sonnet-4-6 via bedrock

  Next: Run agentcore add to add an agent

  Esc back · Ctrl+C quit
エージェントをローカル呼び出し
AWS環境にデプロイする前にエージェントをローカルテストします。
作ったプロジェクトに移動します。今回だとa1projectです。
% tree a1project -d -L 2
a1project
├── agentcore
│   └── cdk
└── app
    └── a1project
次のコマンドで移動します。
% cd a1project
% tree -d -L 1
.
├── agentcore
└── app
開発サーバーを起動します。
agentcore dev
実行すると次の内容がでてきます。
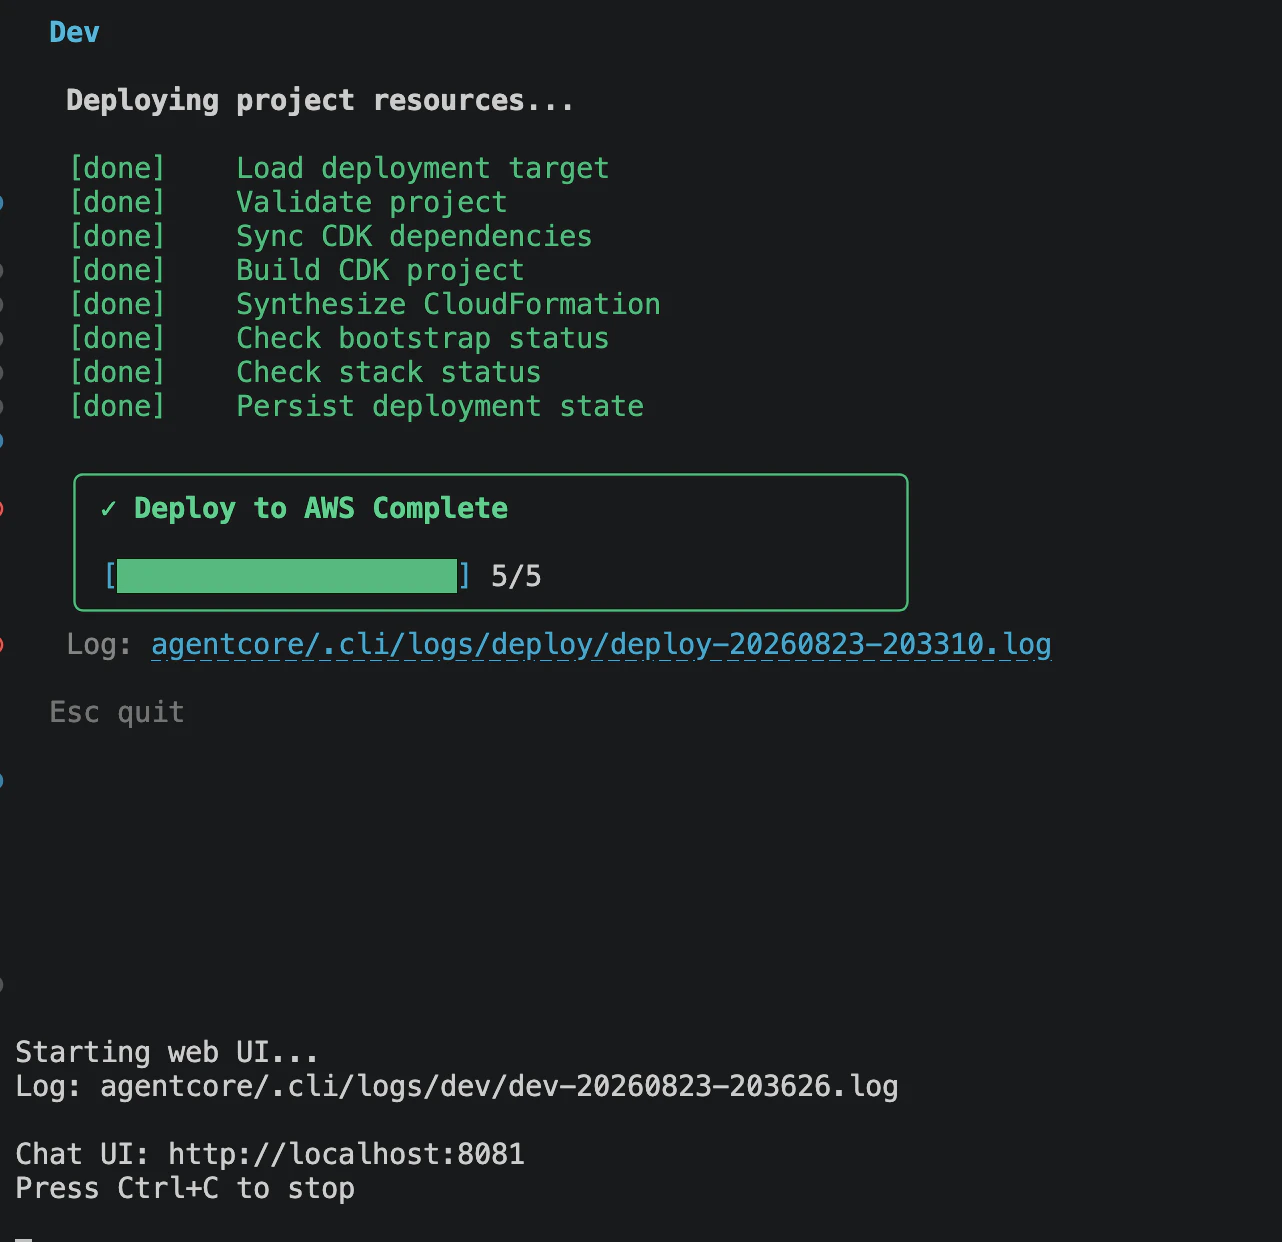
Dev

  Deploying project resources...

  [done]    Load deployment target
  [done]    Validate project
  [done]    Sync CDK dependencies
  [done]    Build CDK project
  [done]    Synthesize CloudFormation
CDKが実行されていることがログから確認できます。
コンソールを確認するとCloudFormationが走っていてECR、KMS、S3などの各種リソースが作成されていました。
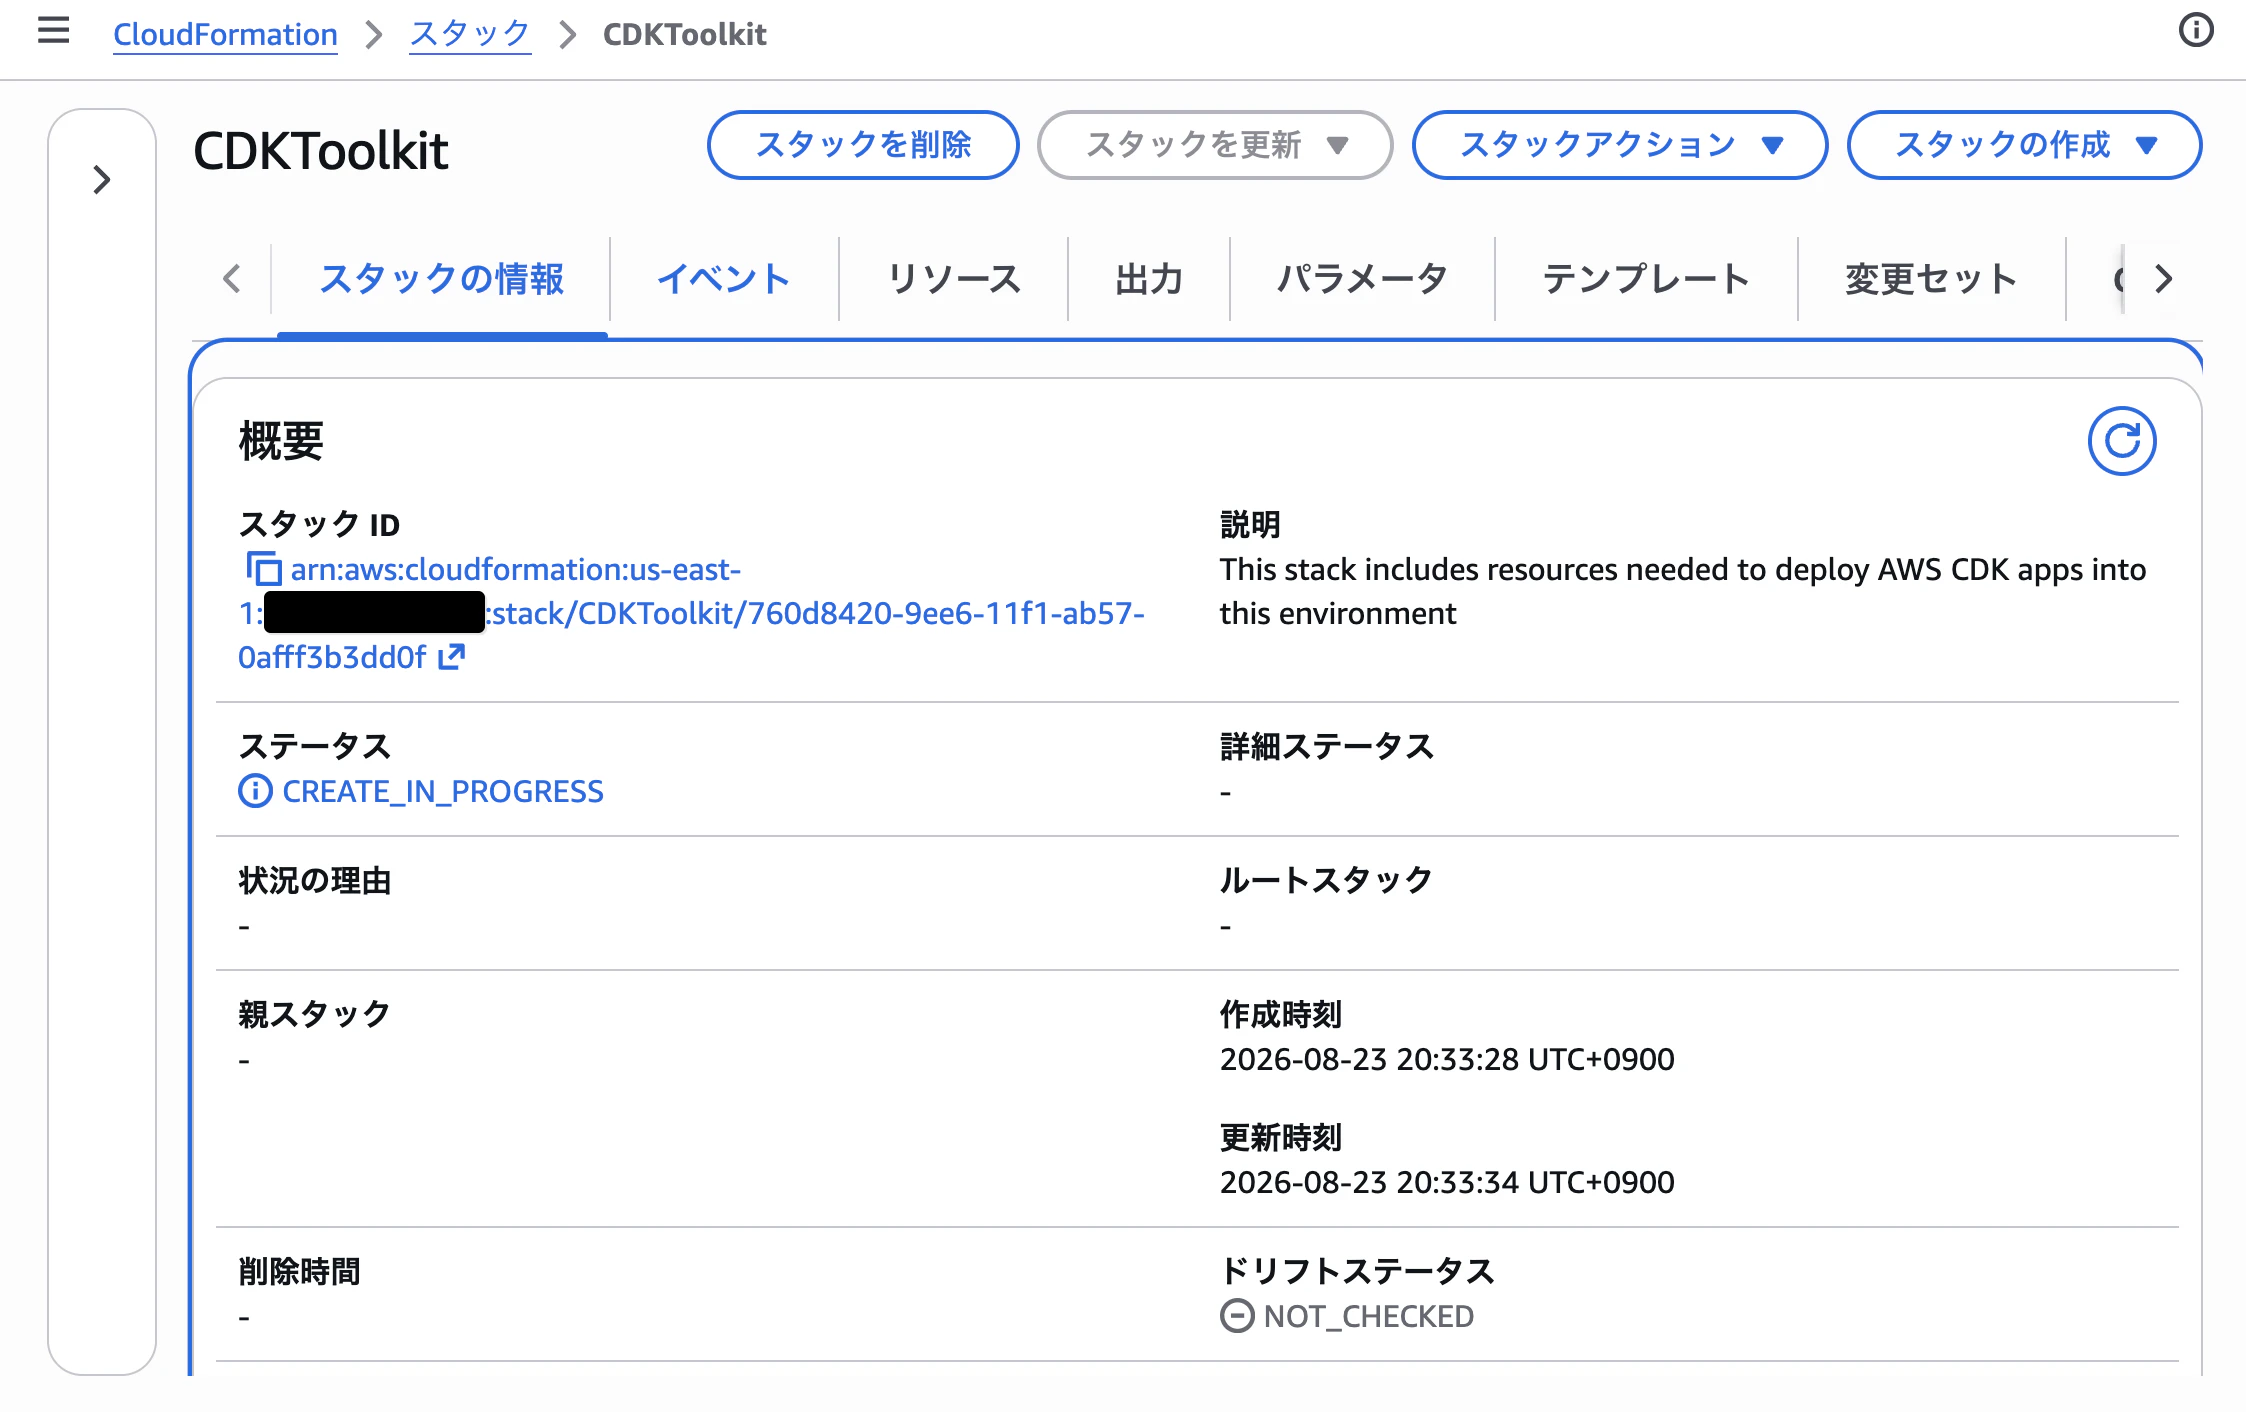
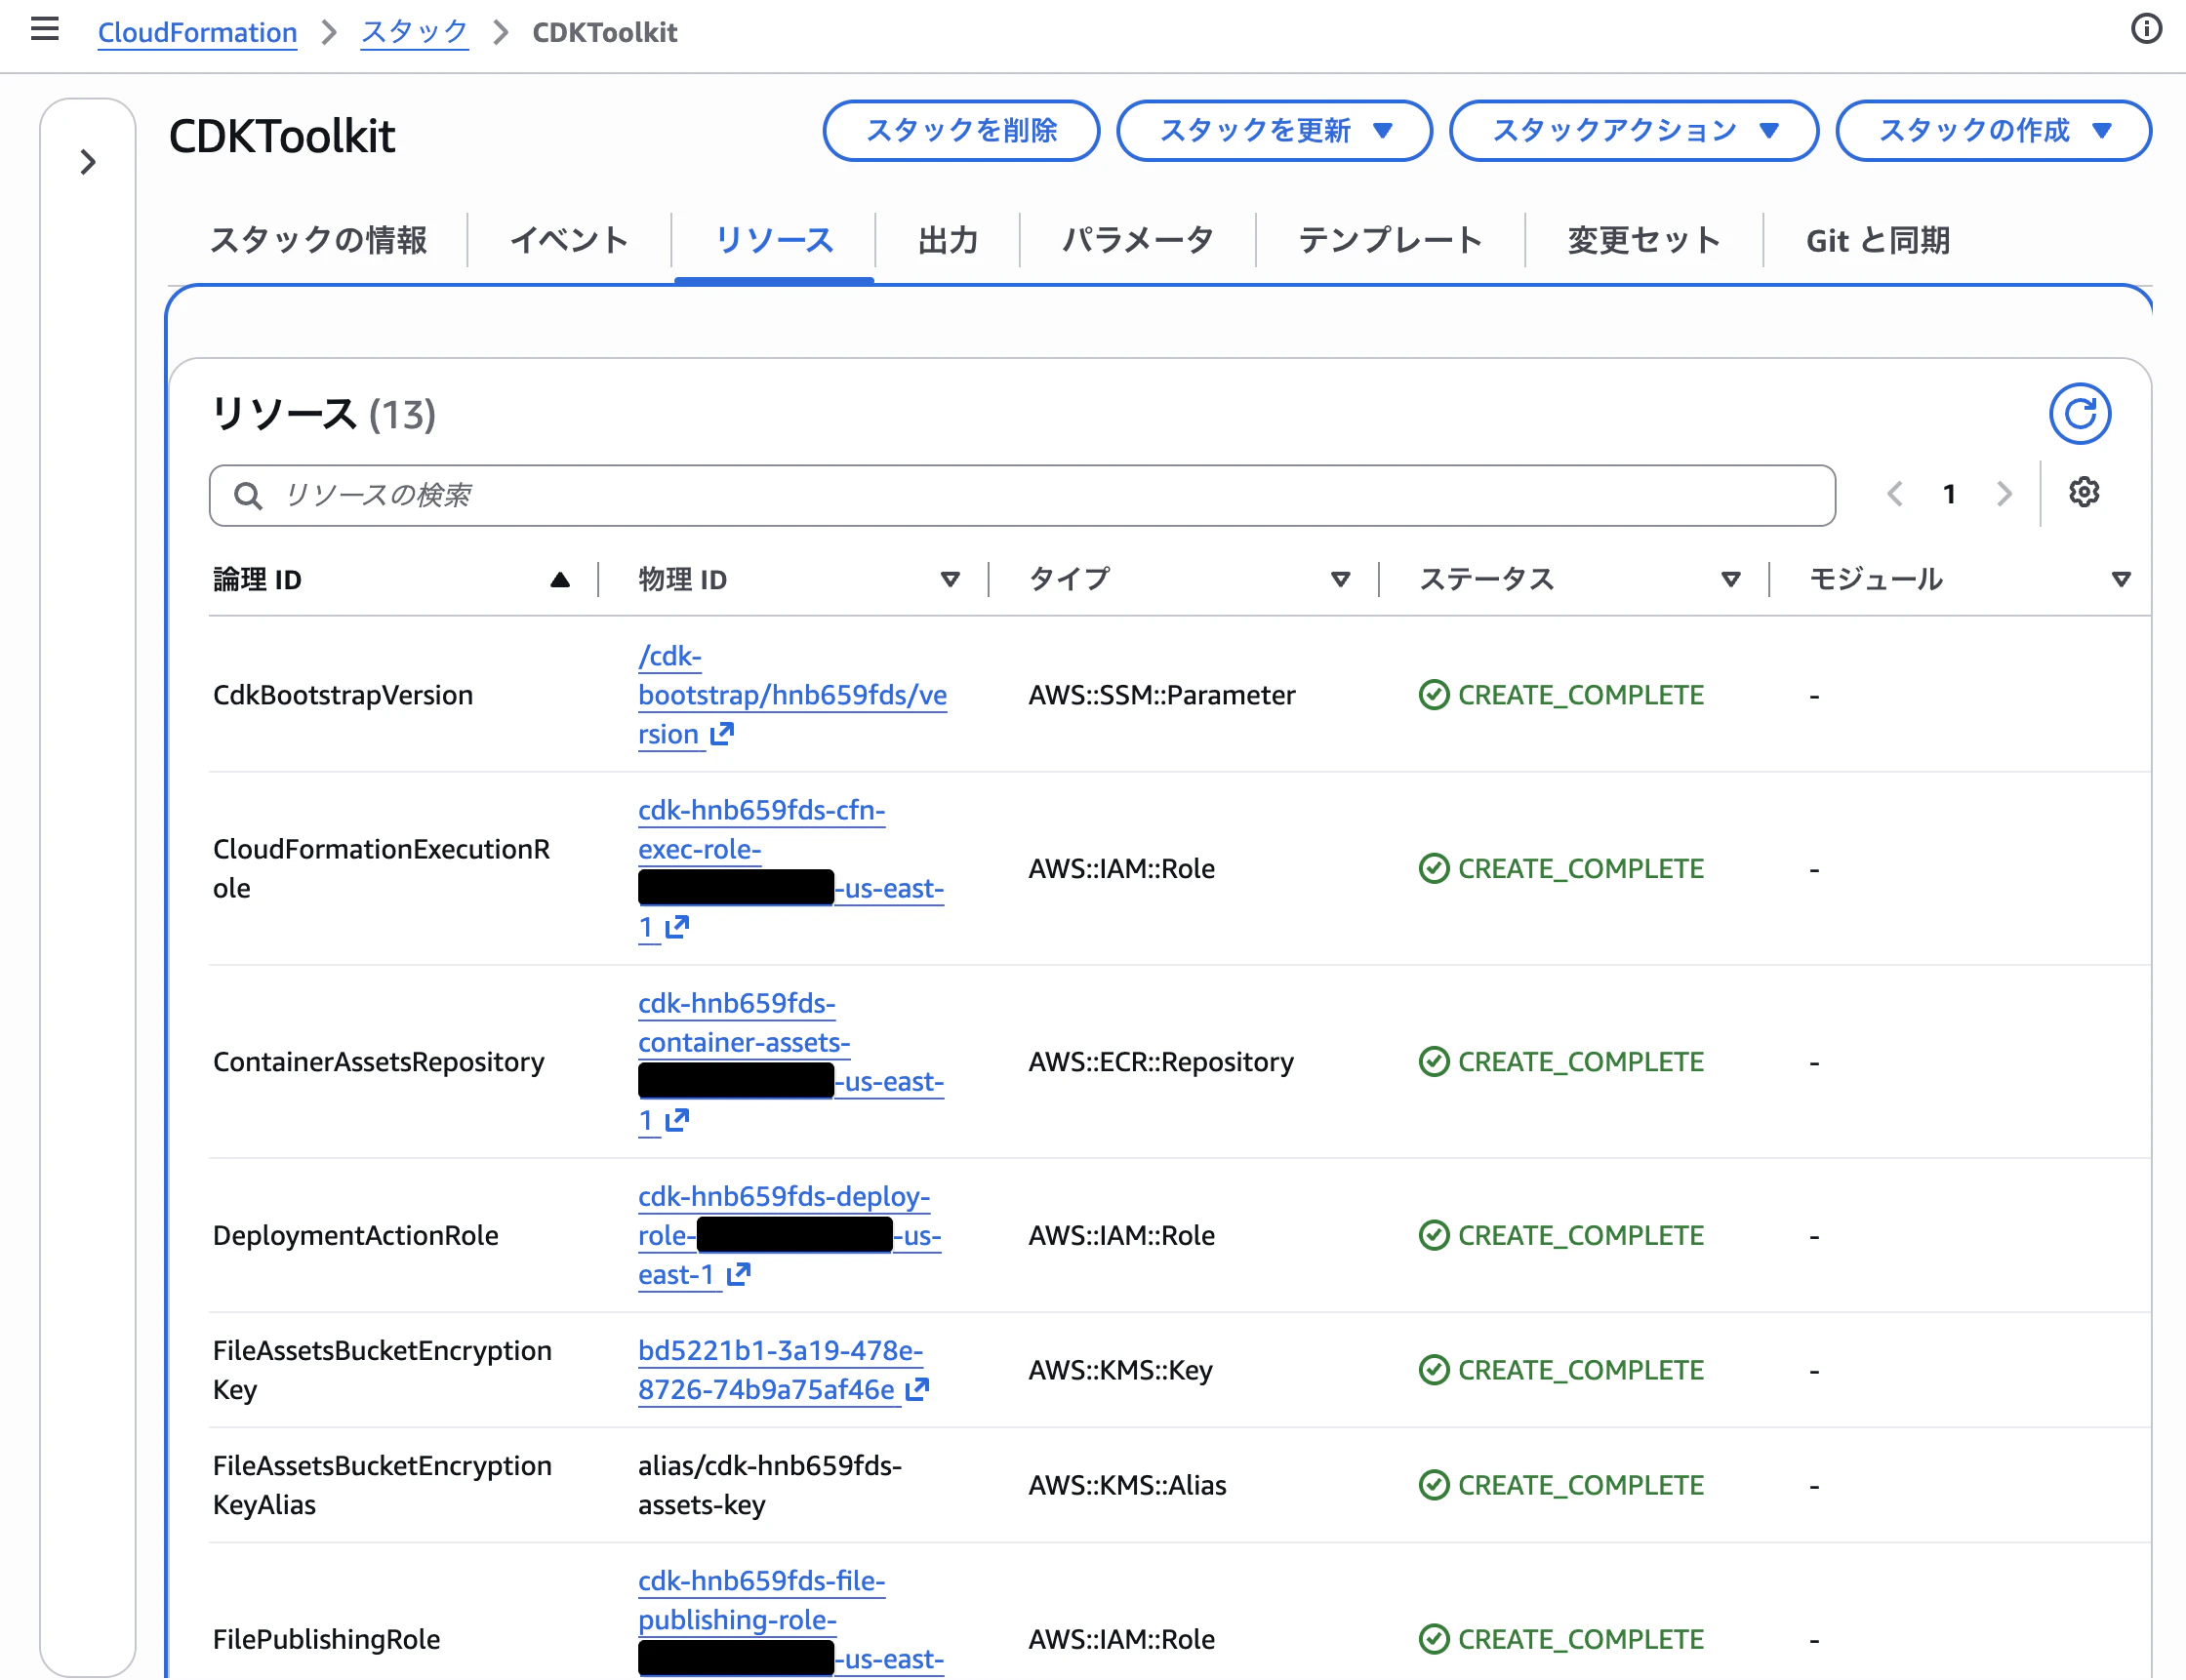
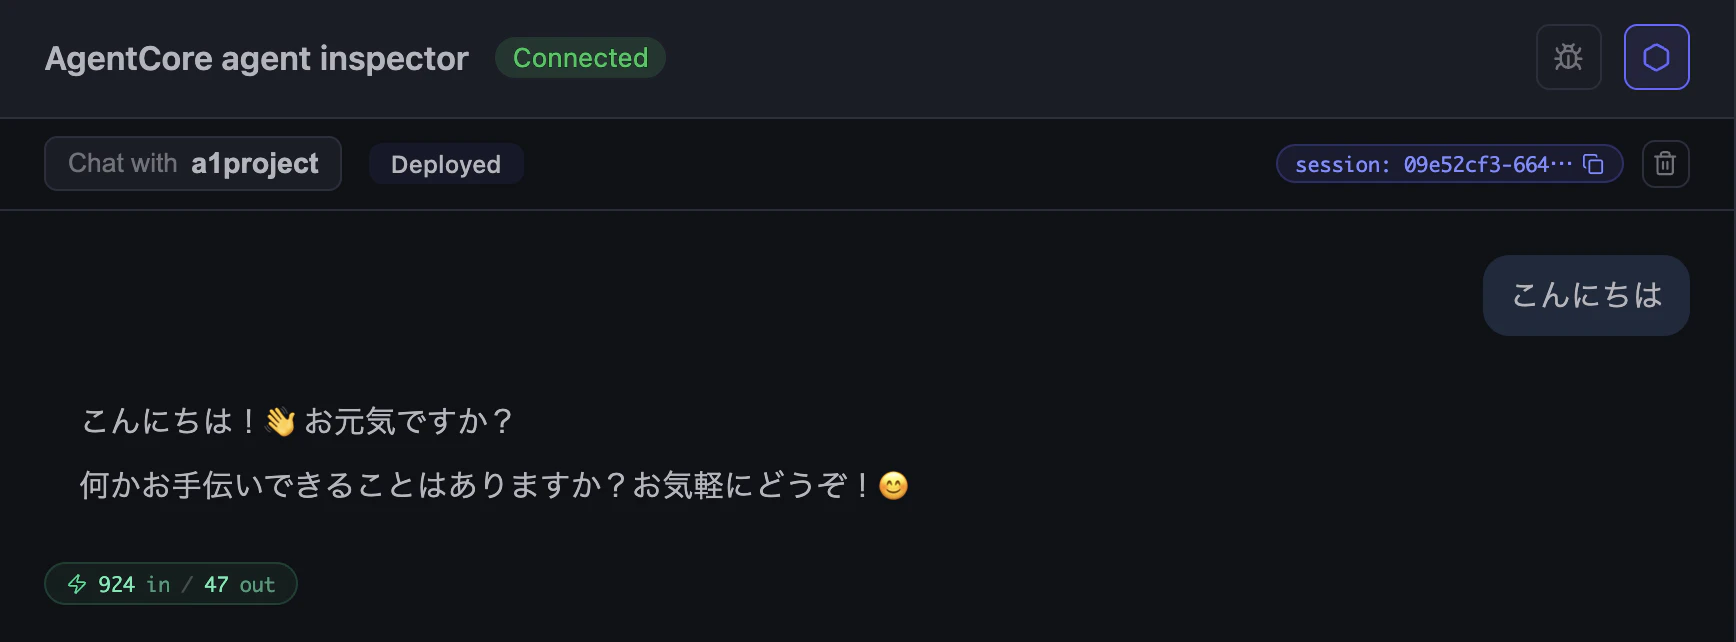
CloudFormationが完了すると次の表示が確認でき、自動でChromeなどでlocalhostのサーバがひらきます。
開かれたサイトはこちらです。
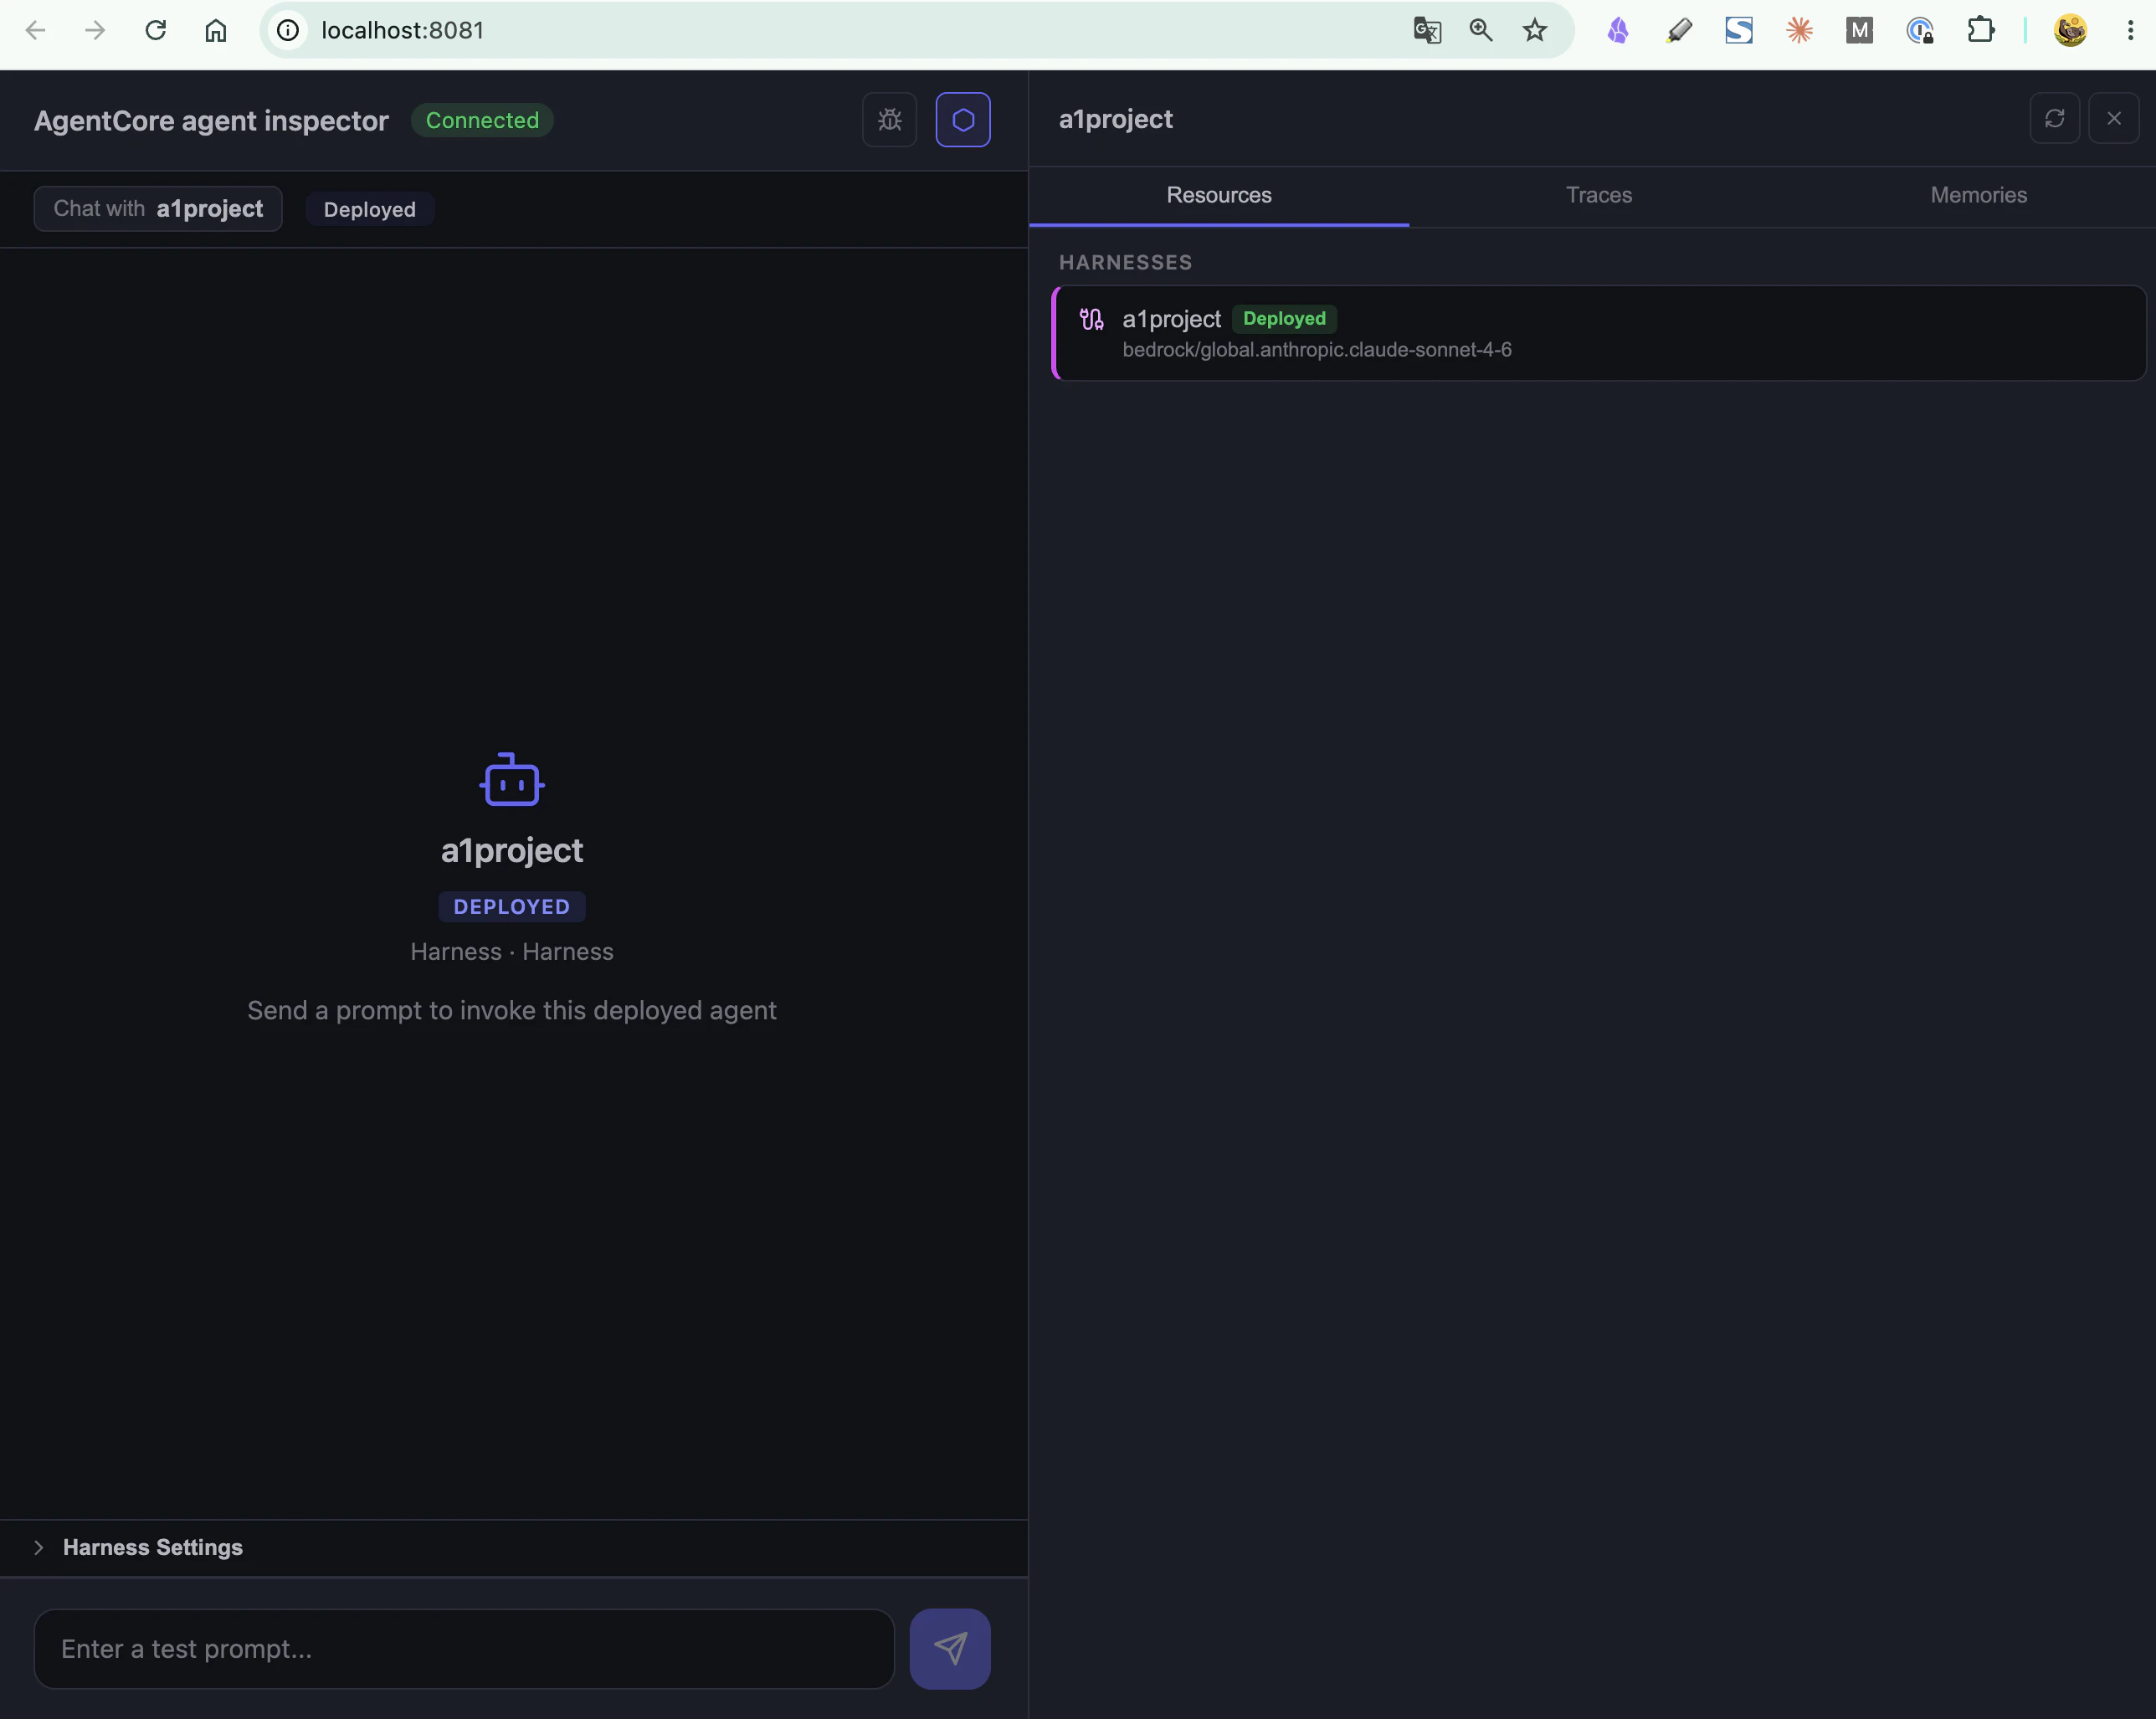
チャットUIも用意されておりデプロイ前に確認できます。
Amazon Bedrock AgentCore ランタイムにデプロイ
これまではローカル呼び出しでしたが、AgentCoreランタイムにデプロイします。
agentcore deploy
デプロイが始まります。
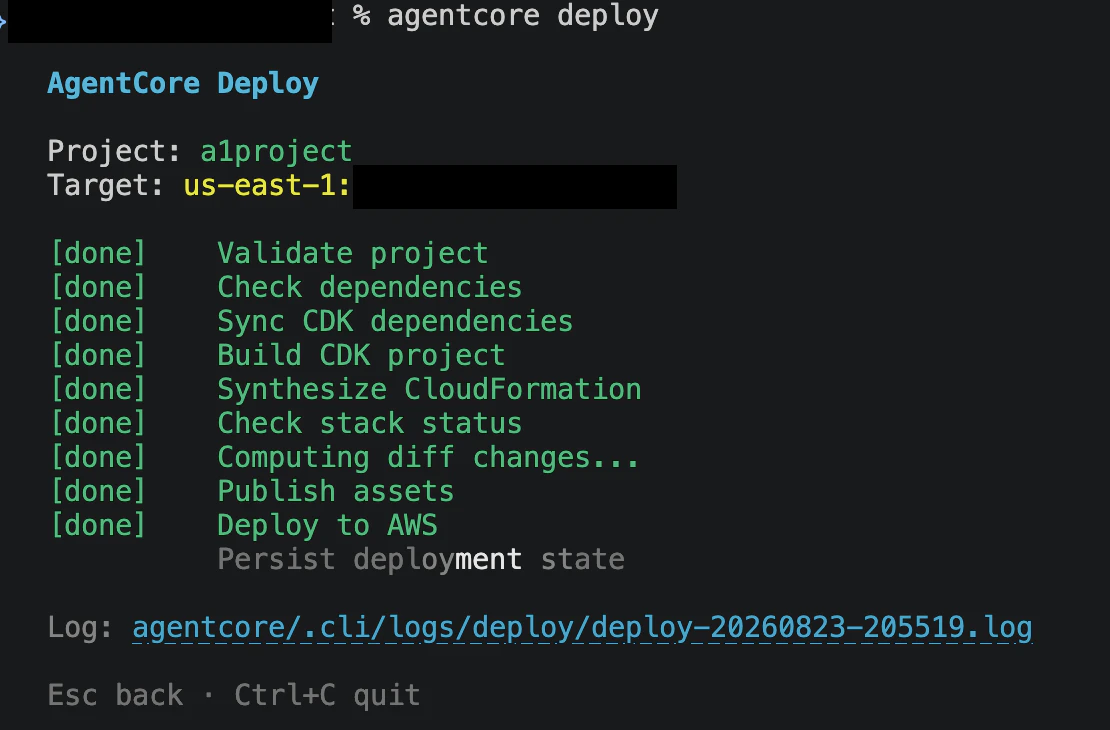
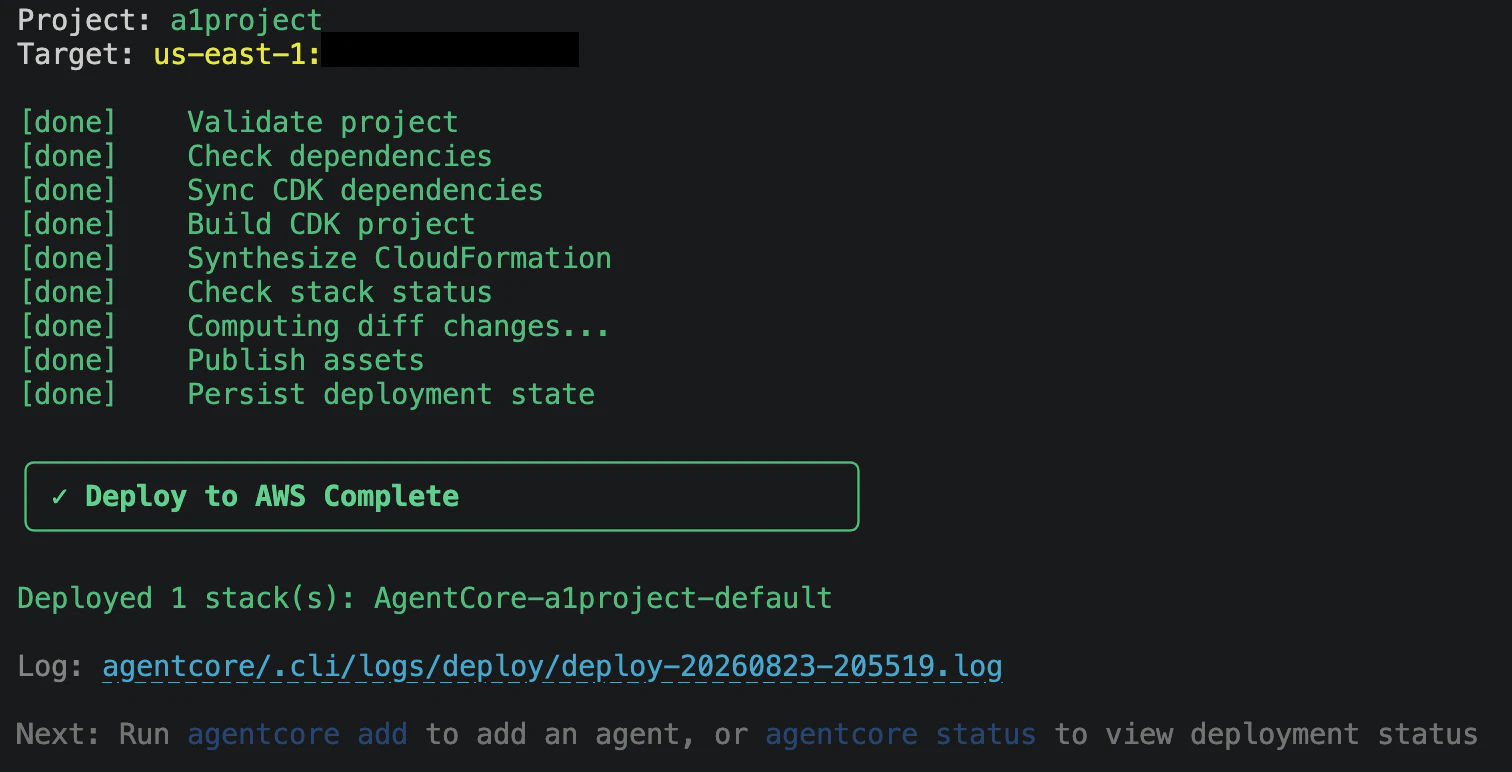
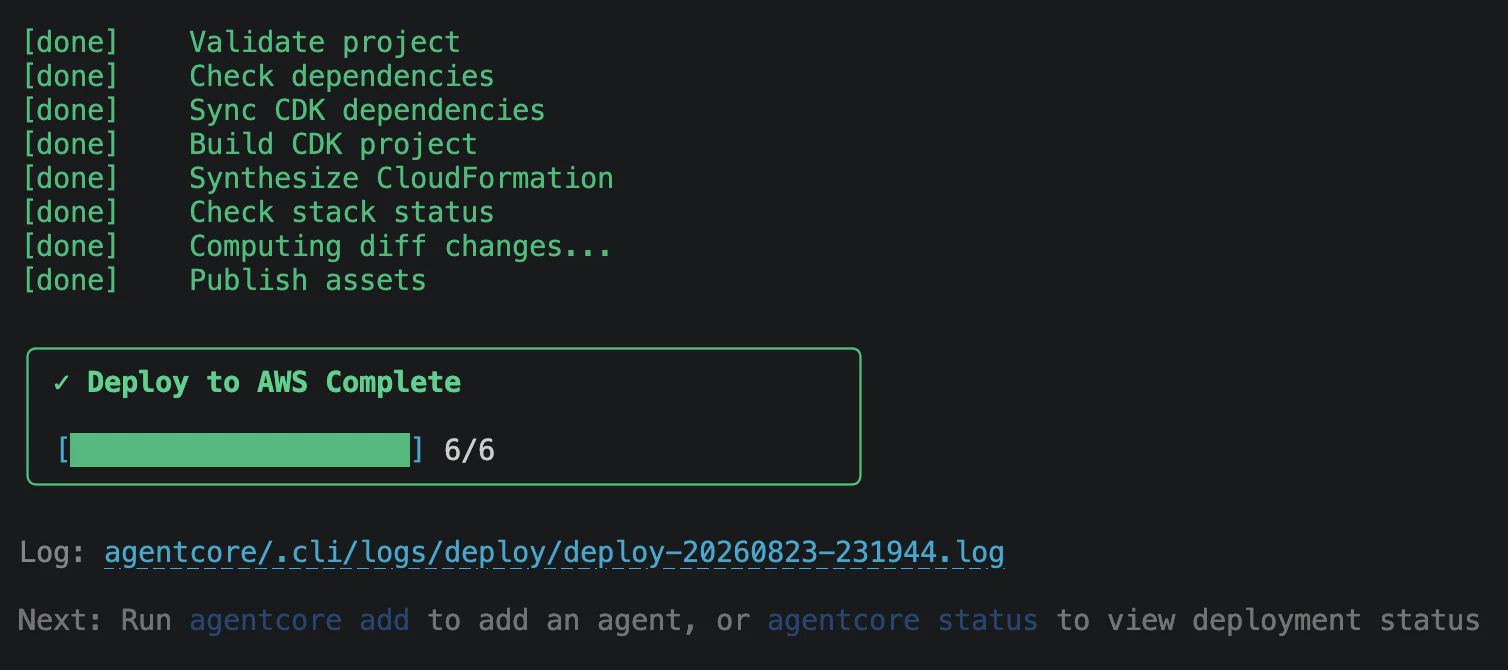
デプロイが完了したら Deploy to AWS Complete と表示されます。
コンソールからもハーネスが確認できました。名前がなぜか重複しています。a1projectと入力する場所が2つあったのでそれが原因可と思います。

デプロイされたエージェントをテスト
デプロイされたエージェントをagent invokeで呼び出してみます。
agentcore invoke "はろー。だじゃれ言ってみてー"
回答が返ってきました!ちゃんと呼び出せてそうです。
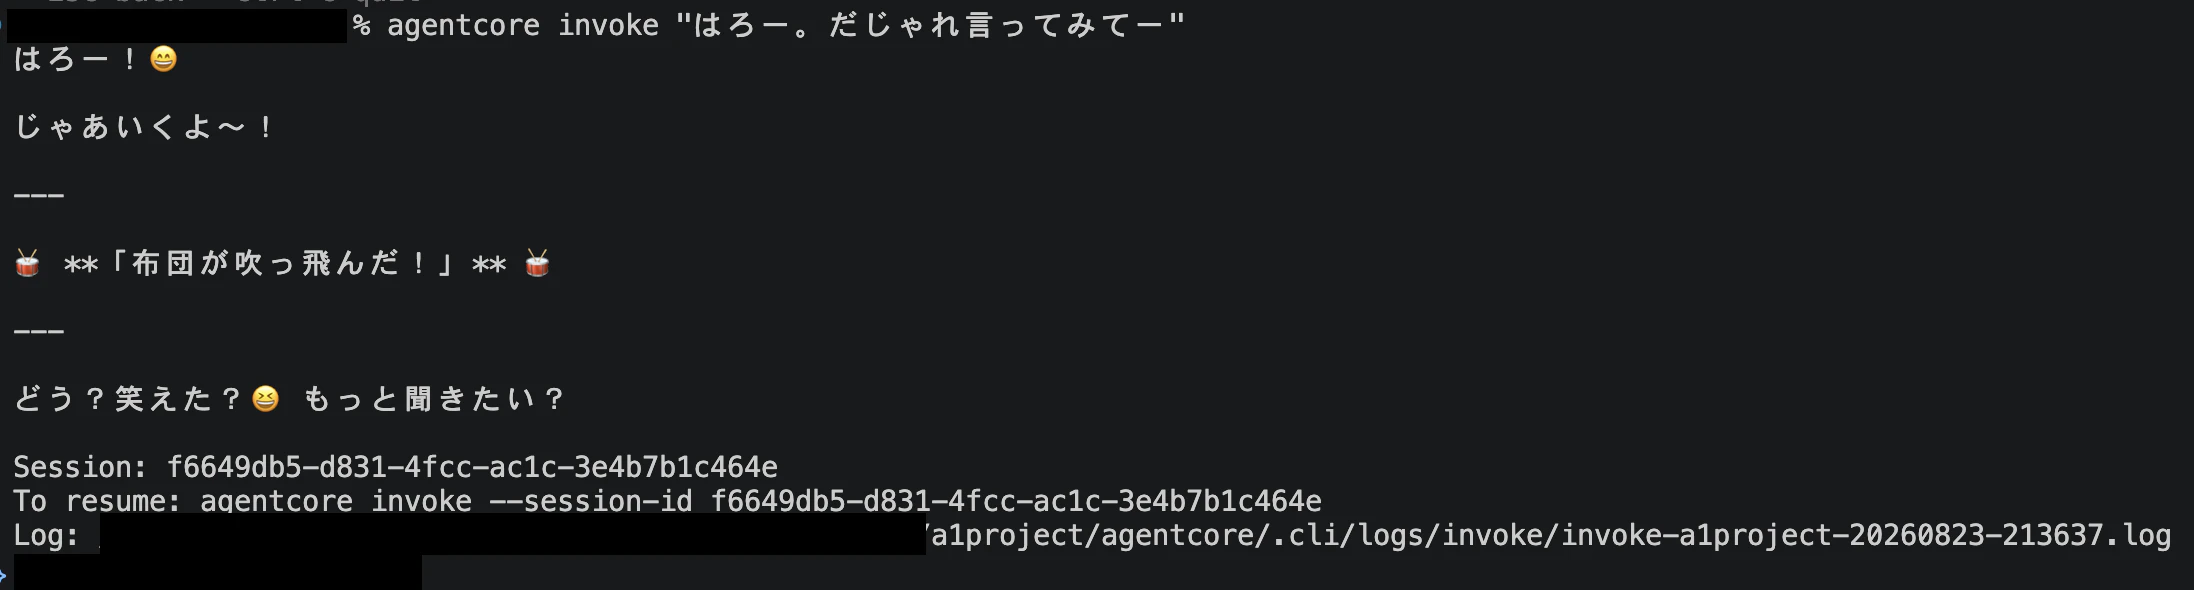
エージェントとの会話詳細
% agentcore invoke "はろー。だじゃれ言ってみてー"
はろー!😄

じゃあいくよ〜!

---

🥁 **「布団が吹っ飛んだ!」** 🥁

---

どう?笑えた?😆 もっと聞きたい?

Session: f6649db5-d831-4fcc-ac1c-3e4b7b1c464e
To resume: agentcore invoke --session-id f6649db5-d831-4fcc-ac1c-3e4b7b1c464e
Log: a1project/agentcore/.cli/logs/invoke/invoke-a1project-20260823-213637.log
エージェントを削除
削除されたエージェントは検証用で使わないので削除します。
ローカルの設定を削除
次のコマンドを使います。
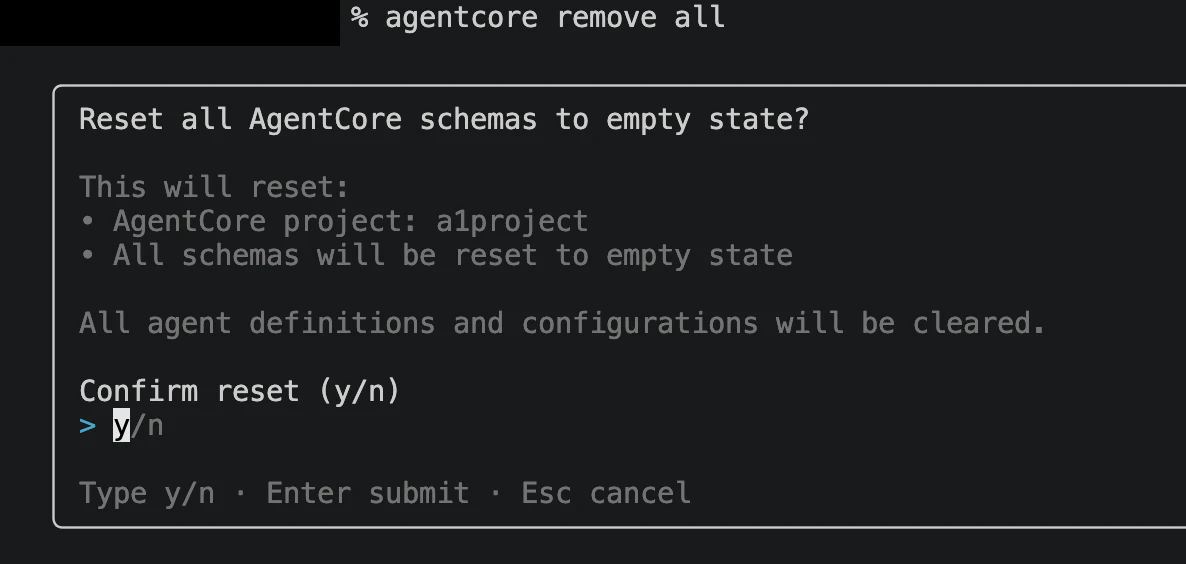
agentcore remove all
削除実行するためにyでEnterをおします。
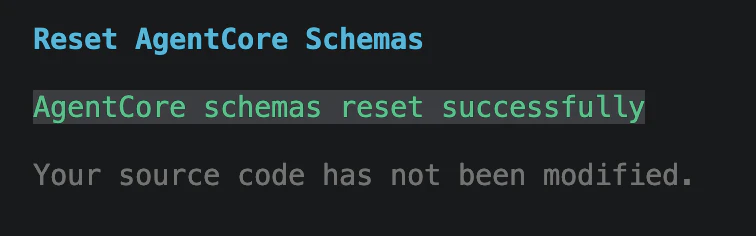
AgentCore schemas reset successfullyと表示されればOKです。まだファイルのみの変更です。
agent deployで削除
設定ファイルをクリーンアップした状態でagentcore deployすることでエージェントを削除できます。
agentcore deploy
Yで削除を実行します。

削除完了しました。コンソールからも削除できていました。
まとめ
agentcore createでエージェントが簡単に作成できました。
次はランタイムなどの検証をします!