これは何?
JavaでWebサイトを作るのってどうやるの?という、最初の一歩で、成果物はHTMLページが1枚表示されるのみです。Webサーバを動作させブラウザに表示させることを目標とした記事です。
動作したら、修正を加えながら覚えていくと良いと思います。
動作確認したシステム要件
2020年8月に以下の要件で動作確認を行っています。
- macOS 10.14.6
- Homebrew 2.4.12
- Gradle 6.6
- jdk1.8.x
- git
ここで利用するサンプルコードは GitHubにあります。
1. 手順:まずは動かしてみる
1.1. サンプルコードをCloneする
コードはこのタグ↓ですが、説明をしやすくするためにGitコマンドで説明します。以下のタグから動作可能です。
$ git clone https://github.com/ryoyakawai/java_gradle_springboot_helloworld.git
$ cd java_gradle_springboot_helloworld
$ git checkout 73bf456f8c17a2297f20ddc1e7ba9c83e2c905bd && cd ..
1.2. Webサーバを起動してみる
$ cd java_gradle_springboot_helloworld/app
$ ./gradlew bootRun
エラーなく起動するとTerminalに以下が表示されるはずです。
> Task :bootRun

  .   ____          _            __ _ _
 /\\ / ___'_ __ _ _(_)_ __  __ _ \ \ \ \
( ( )\___ | '_ | '_| | '_ \/ _` | \ \ \ \
 \\/  ___)| |_)| | | | | || (_| |  ) ) ) )
  '  |____| .__|_| |_|_| |_\__, | / / / /
 =========|_|==============|___/=/_/_/_/
 :: Spring Boot ::        (v2.2.0.RELEASE)

2020-08-18 15:47:55.672  INFO 64412 --- [           main] c.e.helloworld.HelloworldApplication     : Starting HelloworldApplication on S1031198.local with PID 64412 (/..../java_gradle_springboot_helloworld/build/classes/java/main started by ryoya.kawai in /..../java_gradle_springboot_helloworld)
2020-08-18 15:47:55.674  INFO 64412 --- [           main] c.e.helloworld.HelloworldApplication     : No active profile set, falling back to default profiles: default
2020-08-18 15:47:56.180  INFO 64412 --- [           main] o.s.b.w.embedded.tomcat.TomcatWebServer  : Tomcat initialized with port(s): 8080 (http)
2020-08-18 15:47:56.187  INFO 64412 --- [           main] o.apache.catalina.core.StandardService   : Starting service [Tomcat]
2020-08-18 15:47:56.187  INFO 64412 --- [           main] org.apache.catalina.core.StandardEngine  : Starting Servlet engine: [Apache Tomcat/9.0.27]
2020-08-18 15:47:56.228  INFO 64412 --- [           main] o.a.c.c.C.[Tomcat].[localhost].[/]       : Initializing Spring embedded WebApplicationContext
2020-08-18 15:47:56.229  INFO 64412 --- [           main] o.s.web.context.ContextLoader            : Root WebApplicationContext: initialization completed in 527 ms
2020-08-18 15:47:56.323  INFO 64412 --- [           main] o.s.s.concurrent.ThreadPoolTaskExecutor  : Initializing ExecutorService 'applicationTaskExecutor'
2020-08-18 15:47:56.422  INFO 64412 --- [           main] o.s.b.w.embedded.tomcat.TomcatWebServer  : Tomcat started on port(s): 8080 (http) with context path ''
2020-08-18 15:47:56.424  INFO 64412 --- [           main] c.e.helloworld.HelloworldApplication     : Started HelloworldApplication in 1.139 seconds (JVM running for 1.368)
<=========----> 75% EXECUTING [10s]
> :bootRun
ここでブラウザから動作の確認をします。
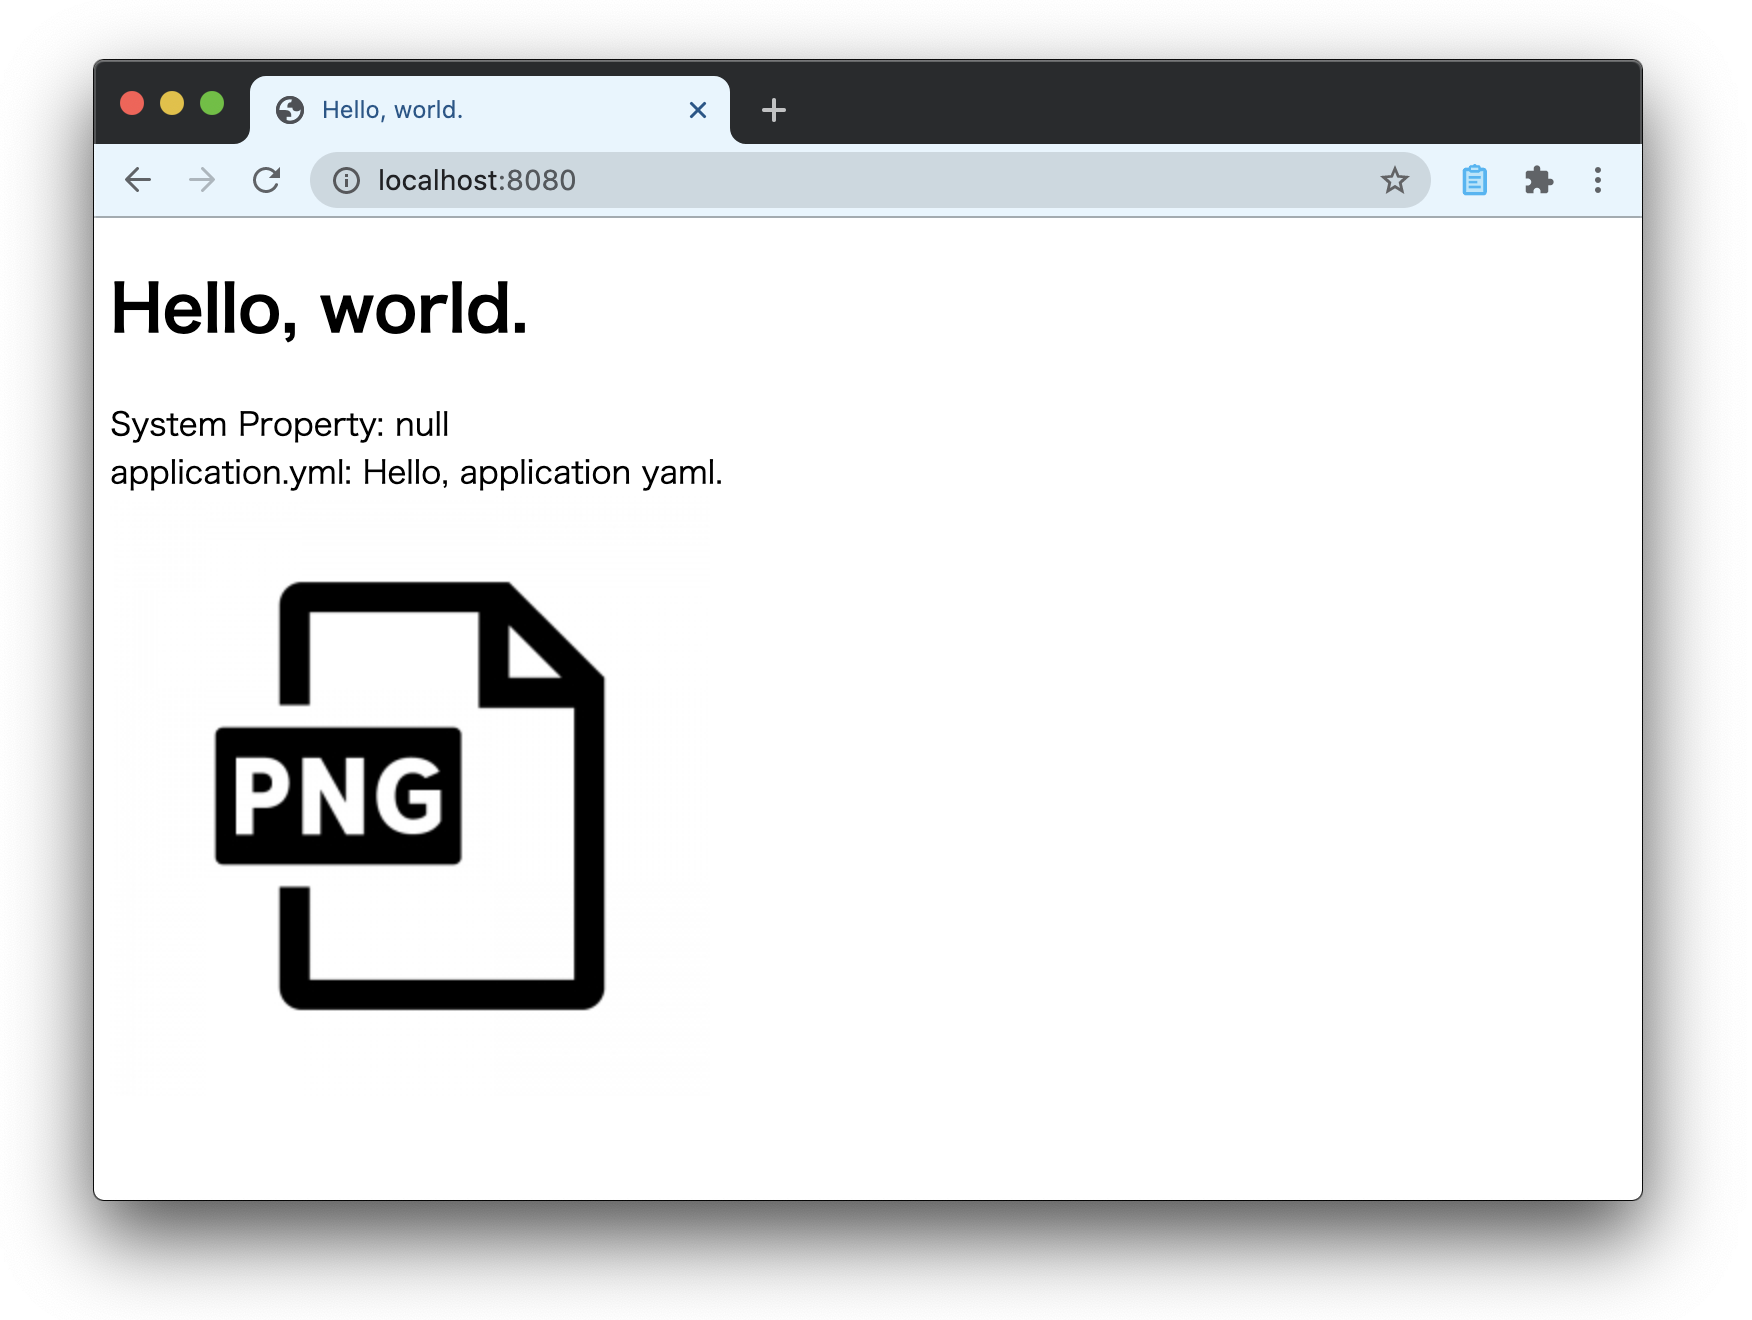
ブラウザで http://localhost:8080 にアクセスすると以下が表示されればWebサーバとして正常動作しているということになります。

2. 内容の説明
2.1 ファイルについて
「1.3. サンプルコードをCloneする」でCloneした直後のファイル構成です。下図のファイル、ディレクトリの右側に説明が書いてある部分に「1.2. Gradle Projectを初期化する」実施後に手をいれました。
app
├── build.gradle (修正必須:Gradleの設定ファイル)
├── gradlew (Gradle Wrapper <unix>)
├── gradlew.bar (Gradle Wrapper <Windows>)
├── settings.gradle
└── src
    ├── main
    │   ├── java
    │   │   └── helloworld  (以下、修正必須:プログラムコード)
    │   │       ├── HelloworldApplication.java
    │   │       ├── HelloworldController.java
    │   │       ├── HelloworldErrorController.java
    │   │       └── HelloworldServletInitializer.java
    │   ├── resources
    │   │   ├── application.yml (修正必須)
    │   │   ├── static
    │   │   │   └── assets  (以下は新規作成)
    │   │   │       └── sample-300x300.jpg
    │   │   └── templates
    │   │       ├── error.html (修正必須:HTML)
    │   │       └── helloworld.html (修正必須:HTML)
    │   └── webapp
    │       └── WEB-INF
    │           └── appengine-web.xml
    └── test
        └── java
            └── helloworld
                └── HelloworldApplicationTests.java  (修正必須:テストファイル)
2.2. それぞれのファイルの説明
-
build.gradle: Buildの設定を書き込みます。必要に応じた修正が適宜必要です。 -
settings.gradle: エントリーポイントになるプロジェクト名を記述する。
src > main > java > helloworld 以下のファイル
-
HelloworldApplication.java: SpringBootのフレームワークを使うことの宣言をしています。 -
HelloworldController.java: コントローラクラスです。主にどこのPathにアクセスしたら、何を表示するかを記述しています。 -
HelloworldErrorController.java: アプリケーションのエラーをハンドリングするクラスです。適宜修正が必要です。 -
HelloworldServletInitializer.java: WAR ファイルをデプロイして動作させる環境で必要な WebApplicationInitializer 実装クラス。(存在させていますがここでの動作では利用しておらず本来は不要です)
src > main > resources 以下のファイル
このディレクトリにHTMLファイルなどを配置します。
-
application.yml: メッセージを定義しているYAMLファイルです。 -
templates > error.html: エラー時に表示するHTMLです。 -
templates > helloworld.html: 正常背動作時に表示するHTMLです。 -
static > assets: 画像はここに置くとよいでしょう。
以上で全体的な説明は終了で、以下はおまけです。
ド新規で作成する場合の初期化時の選択肢です。
3. おまけ:Spring Bootを使うときのGradleの初期化
3.1. Projectのディレクトリを作成して移動する
$ mkdir -p helloworld; cd $_
3.2. Gradle Projectを初期化する
$ gradle init
ここから対話形式で進むので以下のように選択する。
- Select type of project to generate >> 2: application
- Select implementation language >> 3: Java
- Select build script DSL >> 1: Groovy
- Select test framework >> 1: JUnit 4
- Project name (default: helloworld) >> helloworld
- Source package (default: ) >> helloworld
以上でGradle Projectの初期化が完了です。
References
-
Google App Engine (Java 8) + Spring Boot + Gradle で Hello World - Qiita
- かなり参考にさせていただいております。ありがとうございます。
-
javaを使ってWebアプリを作るまでに結局なにが必要なのか。仕組みと学習に必要なものをザックリ説明 - Qiita
- フレームワーク(Spring Boot)までの説明です。
- Spring MVC and Thymeleaf: how to access data from templates - Thymeleaf
- Getting the selected values from a checkbox list to the controller with Spring Boot - Stack Overflow
- SpringBoot + JPA + Thymeleafで簡単なCRUDを作る②~画面と機能作成まで~ - Qiita
- Spring Bootで簡易検索アプリ作成 - Qiita
- 【Spring】コントローラの例外出力テスト - Qiita