前提条件
- VMware Player インストール済み
- vmnetcfg.exe でDHCPサービス起動済み
- genisoimage を実行するLinuxサーバが使用可能
※VMware Player でvmnetcfg.exeを使用する方法は検索お願いします。
参考URL
1. イメージのダウンロード
https://cdn.amazonlinux.com/os-images/2017.12.0.20180330/vmware/
から、"amzn2-vmware_esx-2017.12.0.20180330-x86_64.xfs.gpt.ova"をダウンロードする。
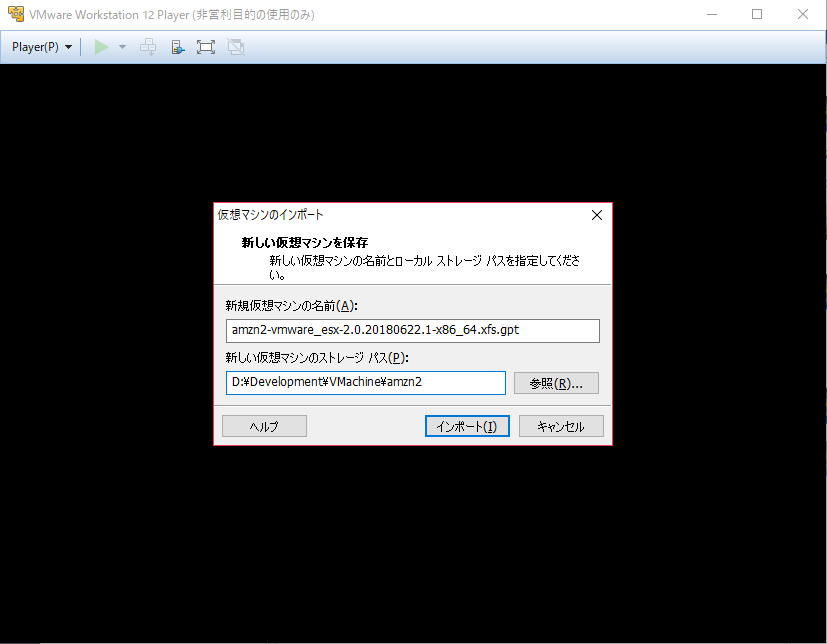
2. インポート
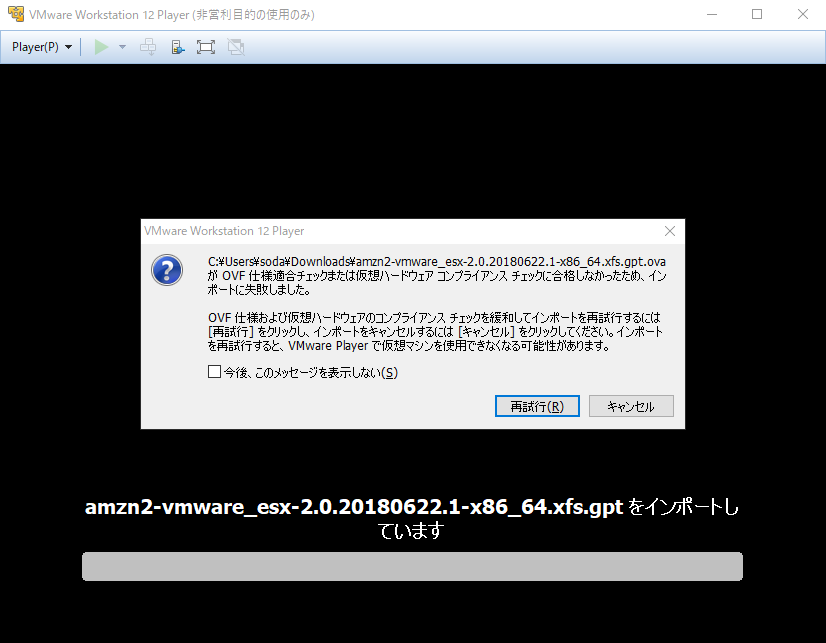
ダウンロードした上記のファイルをダブルクリックする。
失敗するが、"再試行"をクリック
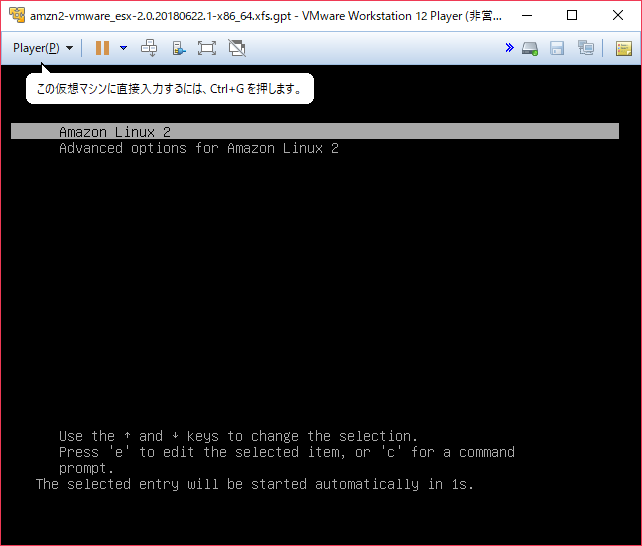
GRUBメニューからブートする前にシャットダウンする。
3. seed.iso の作成
meta-data
local-hostname: zephyranthes
user-data
# cloud-config
# vim:syntax=yaml
users:
# A user by the name ec2-user is created in the image by default.
  - default
# Following entry create user1 and assigns password specified in plain text.
# Please not use of plain text password is not recommended from security best
# practises standpoint
  - name: ryouma
    groups: sudo
    sudo: ['ALL=(ALL) NOPASSWD:ALL']
    plain_text_passwd: password
    lock_passwd: false
chpasswd:
  list: |
    ec2-user:password
    root:password

write_files:
  - content: |
    # Disable network configuration after first boot
    network:
      config: disabled
    path: /etc/cloud/cloud.cfg.d/80_disable_network_after_firstboot.cfg
※root,ec2-userのパスワード、追加ユーザを設定しました。
以下のコマンドでseed.isoを作成し、VMwarePlayerからアクセスできるところに配置する。
genisoimage -output seed.iso -volid cidata -joliet -rock user-data meta-data
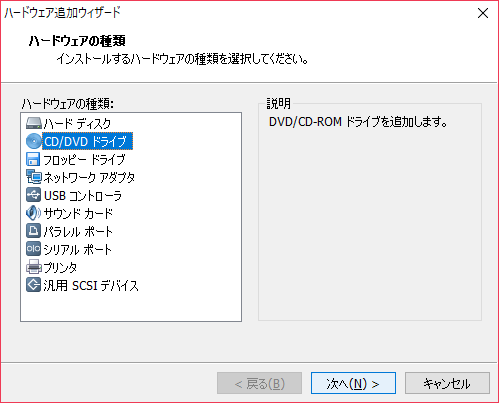
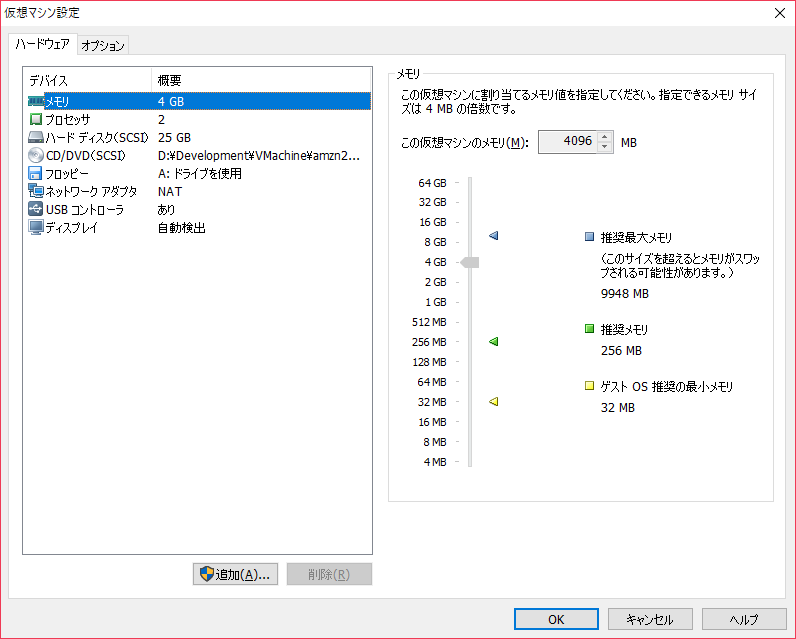
4. 仮想マシンの設定変更
メニューを開く
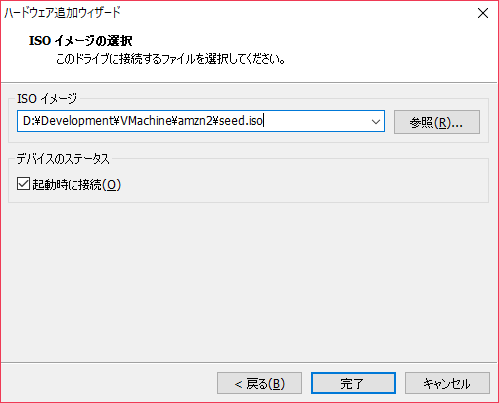
CD/DVDドライブを追加
"ISOイメージを使用する"を選択
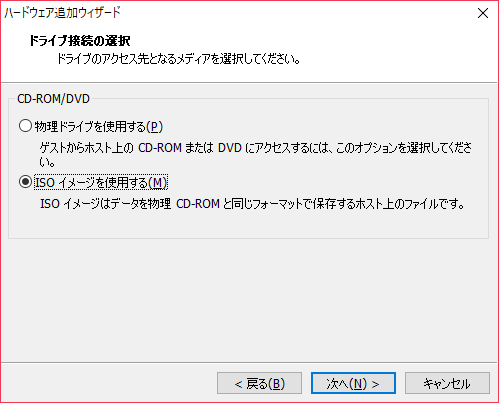
作成したseed.isoを指定
環境に応じて、ネットワークアダプタの設定を変更(NATにした)
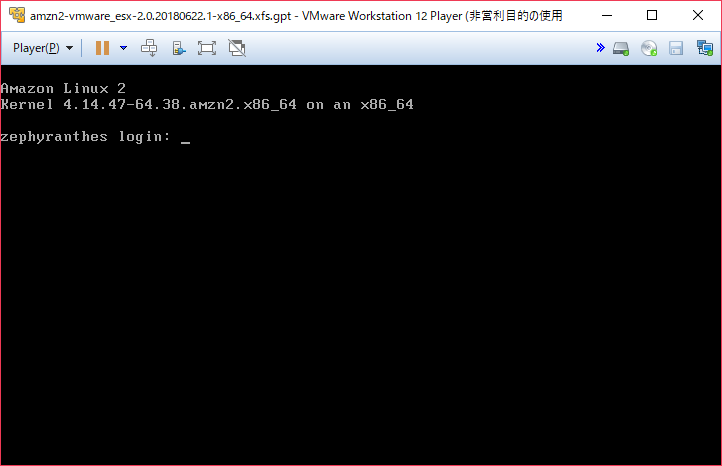
5. 仮想マシンを起動
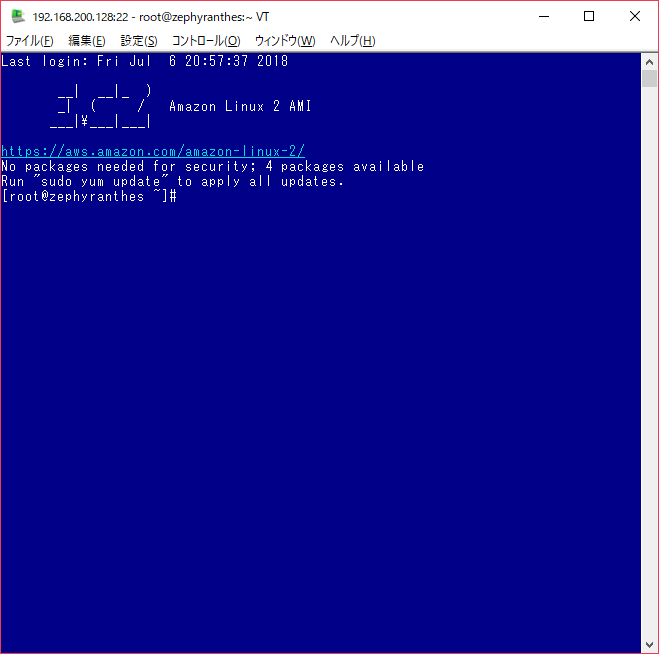
無事に起動しました。
sshや固定IPなどの設定はよしなに。