この記事でやること
前回(第2回)で都市の登録/表示ができるようになったので、次はOpenstreetmapと連携して天気を取得する
Http通信用のサービスを実装し、登録処理(都市サービス)が走る際に気象情報APIを叩く
※過去記事
①Angular環境構築とひな形の生成
②コンポーネントとサービスの追加(登録画面)
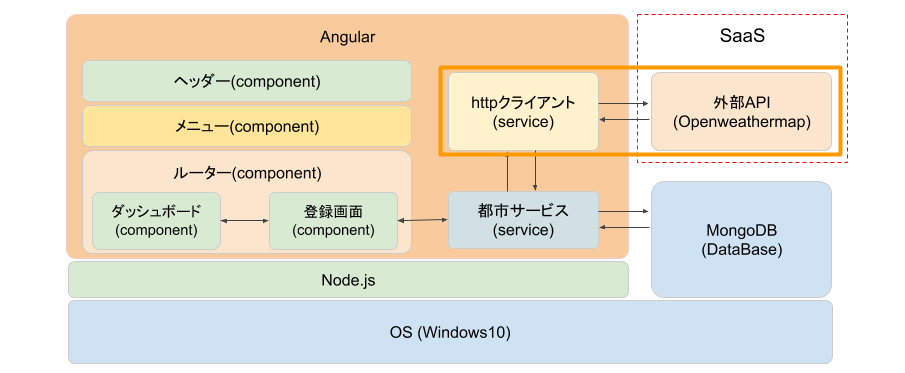
※オレンジの部分
参考にした記事
・Angular 4.3で追加されたHttpClientModuleについてのメモ
HTTP通信用モジュールを追加
app.module.tsを編集し、HttpModuleを読み込む
ついでにこれから作成するHttp用サービスHttpClientServiceも追加しておく
 :
 :
/* 追加 */
import { HttpClientModule } from '@angular/common/http';
import { HttpClientService } from './common/http-client.service';


@NgModule({
 :
 :
  imports: [
    BrowserModule,
    AppRoutingModule,
    FormsModule,
    /* 追加 */
    HttpClientModule
  ],
  providers: [
    CityService,
    /* 追加 */
    HttpClientService
  ],
  bootstrap: [AppComponent]
})
export class AppModule { }
HTTP通信の専用サービスを作成
共通なのでsrc/app/commonに作成する
ng g serviceで自動生成
>ng g service common/http-client
生成されたサービスを修正
@angular/common/httpをインポート
URLを受け取ってgetリクエストを送る(OpenweathermapのURL+都市名+APIkey)
import { Injectable } from '@angular/core';
/* 追加 */
import { HttpClient } from '@angular/common/http';
import { Observable } from 'rxjs';

@Injectable()
export class HttpClientService {
    /* 修正 */
    constructor(private http: HttpClient) { };

    /* 受け取ったURLにリクエストを発行 */
        this.service.sendHttpRequest(apiEndPoint)
(apiEndPoint: string): Observable<any> {
        return this.http.get(apiEndPoint);
    };

}
都市サービスを修正
city.service.tsを修正
Openweathermapのリクエスト先URLとAPIキー(メールアドレスを登録して取得)を定義
登録時にHttpサービスを呼び出して天気を取得する
import { Injectable } from '@angular/core';
import { City } from './city';

/* 追加*/
import { HttpClientService } from '../common/http-client.service';


@Injectable({
  providedIn: 'root'
})
export class CityService {
  /* 追加 */
  environment = {
    production: false,
    appId: '<OpenweathermapのAPIキー>',
    baseUrl: 'http://api.openweathermap.org/data/2.5/'
  };

  cities: City[];

  constructor(
    /* 追加 */
    private service: HttpClientService
   ) {
    this.cities = [];
   }

  addCity(city: City): void {
    var id: number;
    id = this.cities.length + 1;

    /* idを設定 */
    city.id = id;

    /* OpenweathermapのAPIを呼び出す処理を追加 */
    //var result: any;
    var apiEndPoint: string = this.environment.baseUrl
    + 'weather?q=' + city.name
    + '&appid=' + this.environment.appId;

    this.service.getWeatheritemsbyCity(apiEndPoint)
    .subscribe(res => {
      var weather = res.weather[0].description;
      // 天気を設定して配列に追加
      city.weather = weather;
      this.cities.push(city);
    }, err => {
      console.log(err);
    }, () => {

    });
  }

  getCities(): City[]{
    return this.cities;
  }
}
これで一通り完成
動作確認
ダッシュボード画面から登録画面へ遷移して適当な都市の名前を登録
→ダッシュボードに天気が表示される
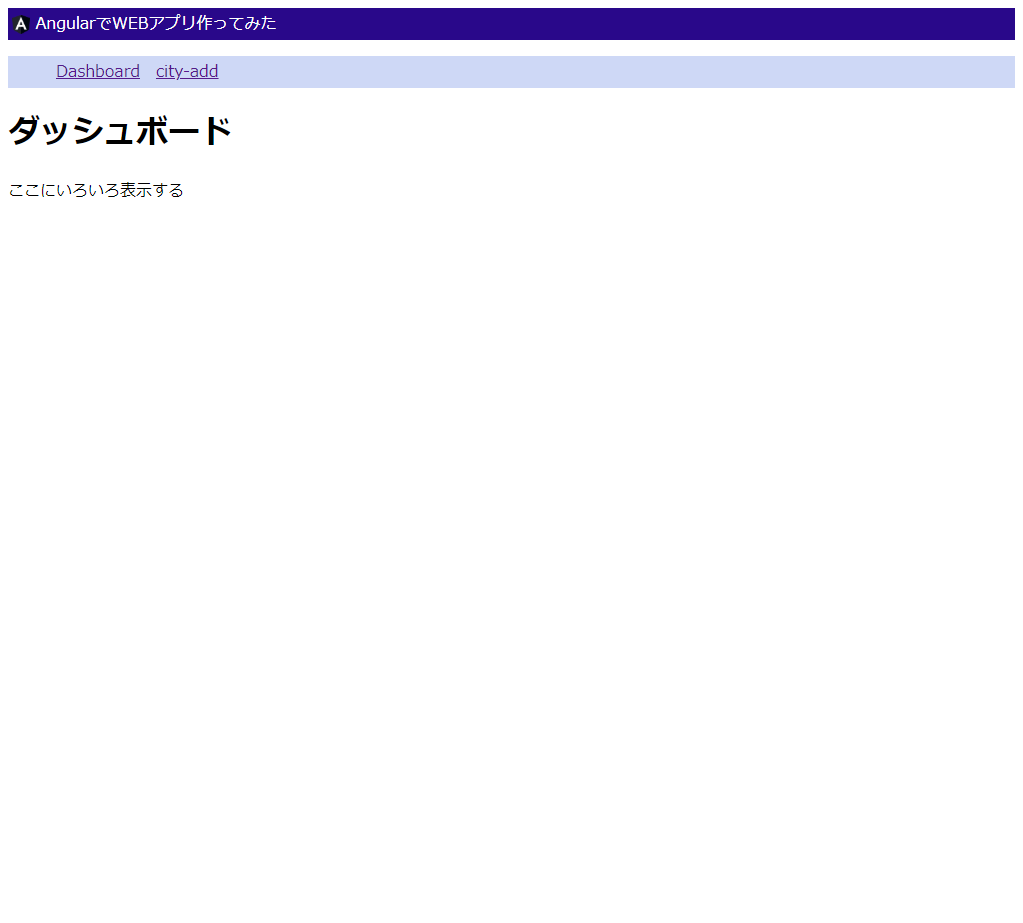
ホーム画面(ダッシュボード)
メニューのcity-addを押下して登録画面に遷移する
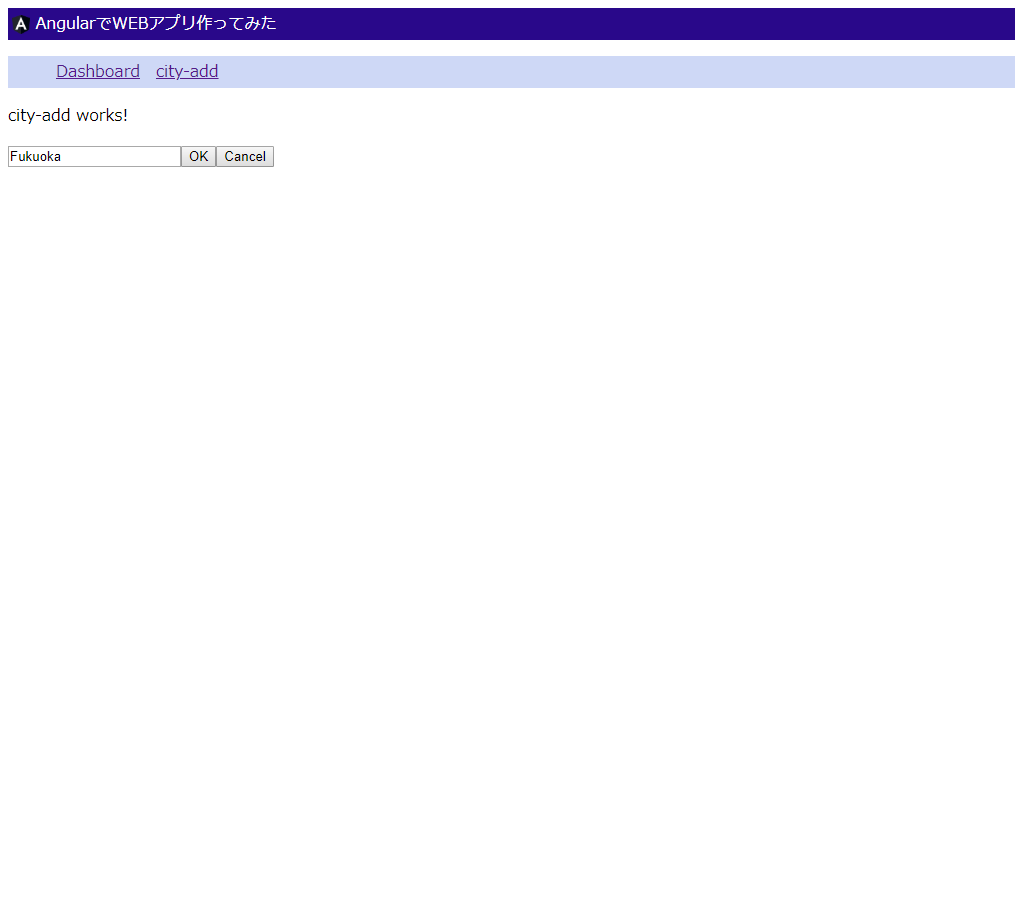
都市名登録画面
都市の名称を英字で入力してOKを押下
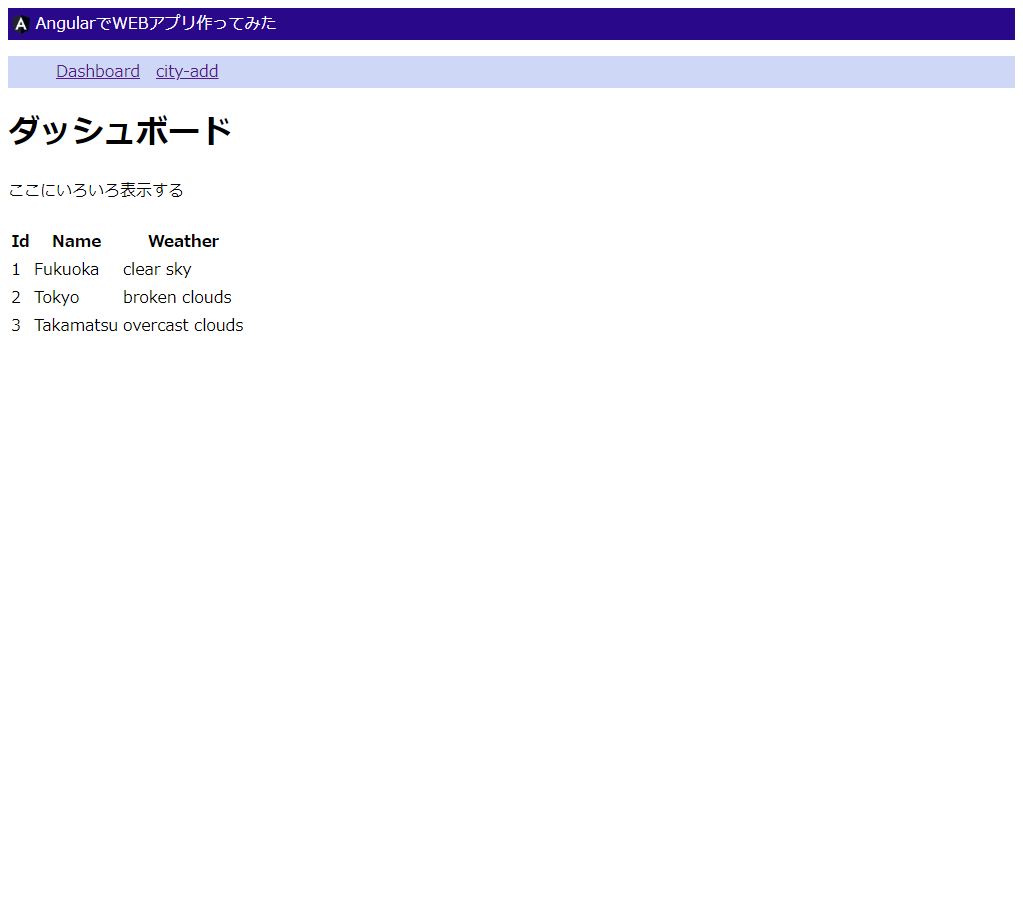
ホーム画面に戻る
登録処理が走り、ホーム画面に遷移する。
OpenstreetmapのAPIで取得した天気が表示されている

何件か登録してみる
福岡:晴れ
東京:曇り(千切れ雲)
高松:曇り(どんよりした雲)
※海外のサービスなので都市名は英語しか受け付けない
※とりあえず現在の天気を取得するAPIを叩いている。5日間予報もある
次回の予定
Angularにleafretライブラリを追加してダッシュボードに地図を表示したい
※関連記事
①Angular環境構築とひな形の生成
②コンポーネントとサービスの追加(登録画面)
③OpenweathermapのAPIを叩く
④Leafletで地図を表示する
⑤サービスが持つプロパティの更新を検知する