はじめに
自主学習用の検証環境として、Gitlabサーバを構築してみました。
初めてGitlabサーバを構築する方は参考にしてみてください。(基本的には公式文書に準拠しています。)
GitlabサーバはUbuntu 24.07上にインストールします。
Ubuntuの設定周りはこちらの記事で記載した内容の通りです。
環境
- クライアントPC
- Windows11
- Gitlabサーバ(VirtualBox)
- Ubuntu 24.07
- Gitlab 17.3
目次
1. Gitlabインストール手順
Gitlabインストール手順を記載します。
1-1. パッケージアップデート
# apt-get update
# apt-get upgrade
1-2. 必要なパッケージをインストール
【コマンド】
# apt-get install -y curl openssh-server ca-certificates tzdata perl
【結果】
すでにインストールされていたため、下記のような表示でした。
Reading package lists... Done
Building dependency tree... Done
Reading state information... Done
curl is already the newest version (8.5.0-2ubuntu10.1).
curl set to manually installed.
openssh-server is already the newest version (1:9.6p1-3ubuntu13.4).
ca-certificates is already the newest version (20240203).
ca-certificates set to manually installed.
tzdata is already the newest version (2024a-3ubuntu1.1).
tzdata set to manually installed.
perl is already the newest version (5.38.2-3.2build2).
perl set to manually installed.
0 upgraded, 0 newly installed, 0 to remove and 0 not upgraded.
1-3. postfixインストール
【コマンド】
# apt-get install -y postfix
1-4. Gitlabリポジトリ登録
【コマンド】
# curl https://packages.gitlab.com/install/repositories/gitlab/gitlab-ee/script.deb.sh | sudo bash
【結果】
  % Total    % Received % Xferd  Average Speed   Time    Time     Time  Current
                                 Dload  Upload   Total   Spent    Left  Speed
100  6865  100  6865    0     0   5153      0  0:00:01  0:00:01 --:--:--  5153
Detected operating system as Ubuntu/noble.
Checking for curl...
Detected curl...
Checking for gpg...
Detected gpg...
Running apt-get update... done.
Installing apt-transport-https... done.
Installing /etc/apt/sources.list.d/gitlab_gitlab-ee.list...done.
Importing packagecloud gpg key... done.
Running apt-get update... done.

The repository is setup! You can now install packages.
1-5. Gitlabインストール
GitlabのDNSがあればドメイン名を指定しますが、今回の環境ではDNS登録しないため、直接GitlabのIPアドレスを指定しています。
※筆者の環境では、インストール完了まで7分ほどかかりました。
【コマンド】
# EXTERNAL_URL="https://GitlabのIPアドレス" apt-get install gitlab-ee
【結果】
実行ログは長いので最後の行のみ記載しています。
最後にログイン情報についての記載がありますが、24時間以内でクリーンアップされるため注意が必要です。
また、今回はIPアドレスを指定しているため、Acmeのエラーが出ています。
Notes:
Default admin account has been configured with following details:
Username: root
Password: You didn't opt-in to print initial root password to STDOUT.
Password stored to /etc/gitlab/initial_root_password. This file will be cleaned up in first reconfigure run after 24 hours.

NOTE: Because these credentials might be present in your log files in plain text, it is highly recommended to reset the password following https://docs.gitlab.com/ee/security/reset_user_password.html#reset-your-root-password.

[2024-08-07T15:37:46+00:00] FATAL: Stacktrace dumped to /opt/gitlab/embedded/cookbooks/cache/cinc-stacktrace.out
[2024-08-07T15:37:46+00:00] FATAL: ---------------------------------------------------------------------------------------
[2024-08-07T15:37:46+00:00] FATAL: PLEASE PROVIDE THE CONTENTS OF THE stacktrace.out FILE (above) IF YOU FILE A BUG REPORT
[2024-08-07T15:37:46+00:00] FATAL: ---------------------------------------------------------------------------------------
[2024-08-07T15:37:46+00:00] FATAL: Acme::Client::Error::RejectedIdentifier: letsencrypt_certificate[xxx.xxx.xxx.xxx] (letsencrypt::http_authorization line 6) had an error: Acme::Client::Error::RejectedIdentifier: acme_certificate[staging] (letsencrypt::http_authorization line 43) had an error: Acme::Client::Error::RejectedIdentifier: Invalid identifiers requested :: Cannot issue for "192.168.11.33": The ACME server can not issue a certificate for an IP address
dpkg: error processing package gitlab-ee (--configure):
 installed gitlab-ee package post-installation script subprocess returned error exit status 1
Errors were encountered while processing:
 gitlab-ee
needrestart is being skipped since dpkg has failed
E: Sub-process /usr/bin/dpkg returned an error code (1)
1-6. ログイン情報確認
【コマンド】
# cat /etc/gitlab/initial_root_password
【結果】
# WARNING: This value is valid only in the following conditions
#          1. If provided manually (either via `GITLAB_ROOT_PASSWORD` environment variable or via `gitlab_rails['initial_root_password']` setting in `gitlab.rb`, it was provided before database was seeded for the first time (usually, the first reconfigure run).
#          2. Password hasn't been changed manually, either via UI or via command line.
#
#          If the password shown here doesn't work, you must reset the admin password following https://docs.gitlab.com/ee/security/reset_user_password.html#reset-your-root-password.

Password: *********************

# NOTE: This file will be automatically deleted in the first reconfigure run after 24 hours.
1-7. Gitlabログイン
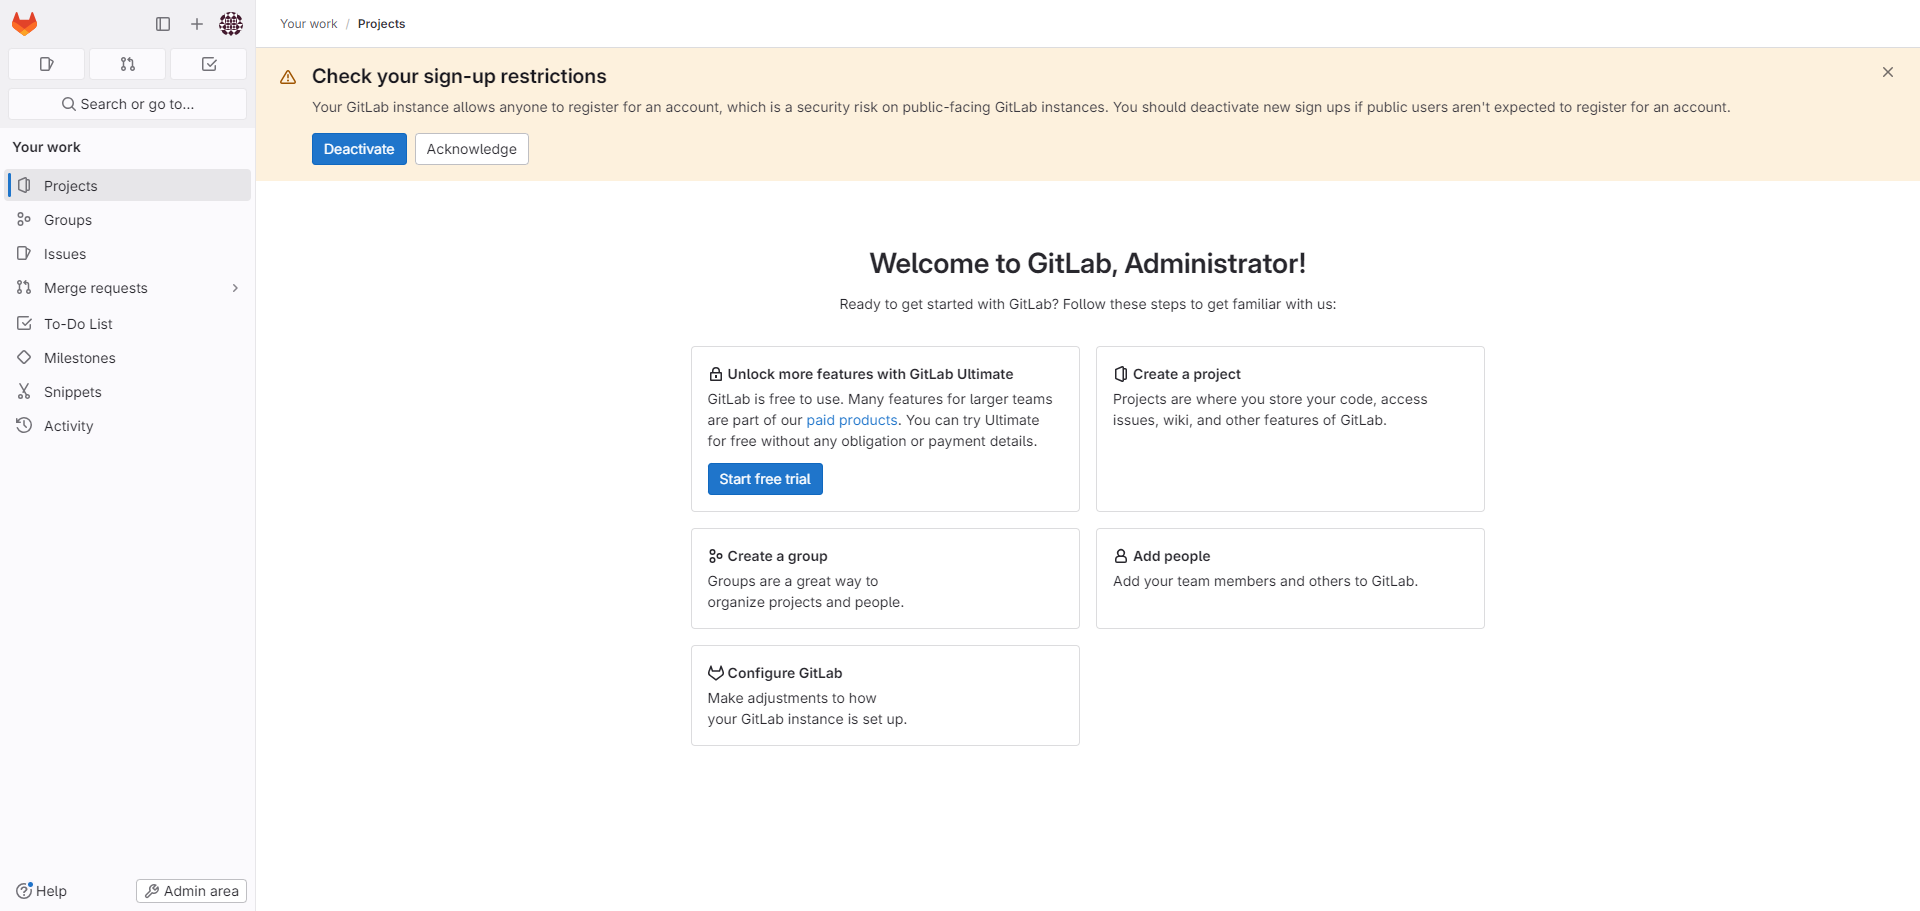
設定したGitlabのURLに接続します。
- ログイン情報
- ユーザー名:root
- パスワード:1-6で確認した値
2. Gitlab初期設定
Gitlabの初期設定手順を記載します。
2-1. rootパスワード変更
①左上のユーザー>[Edit Profile]を押下します。
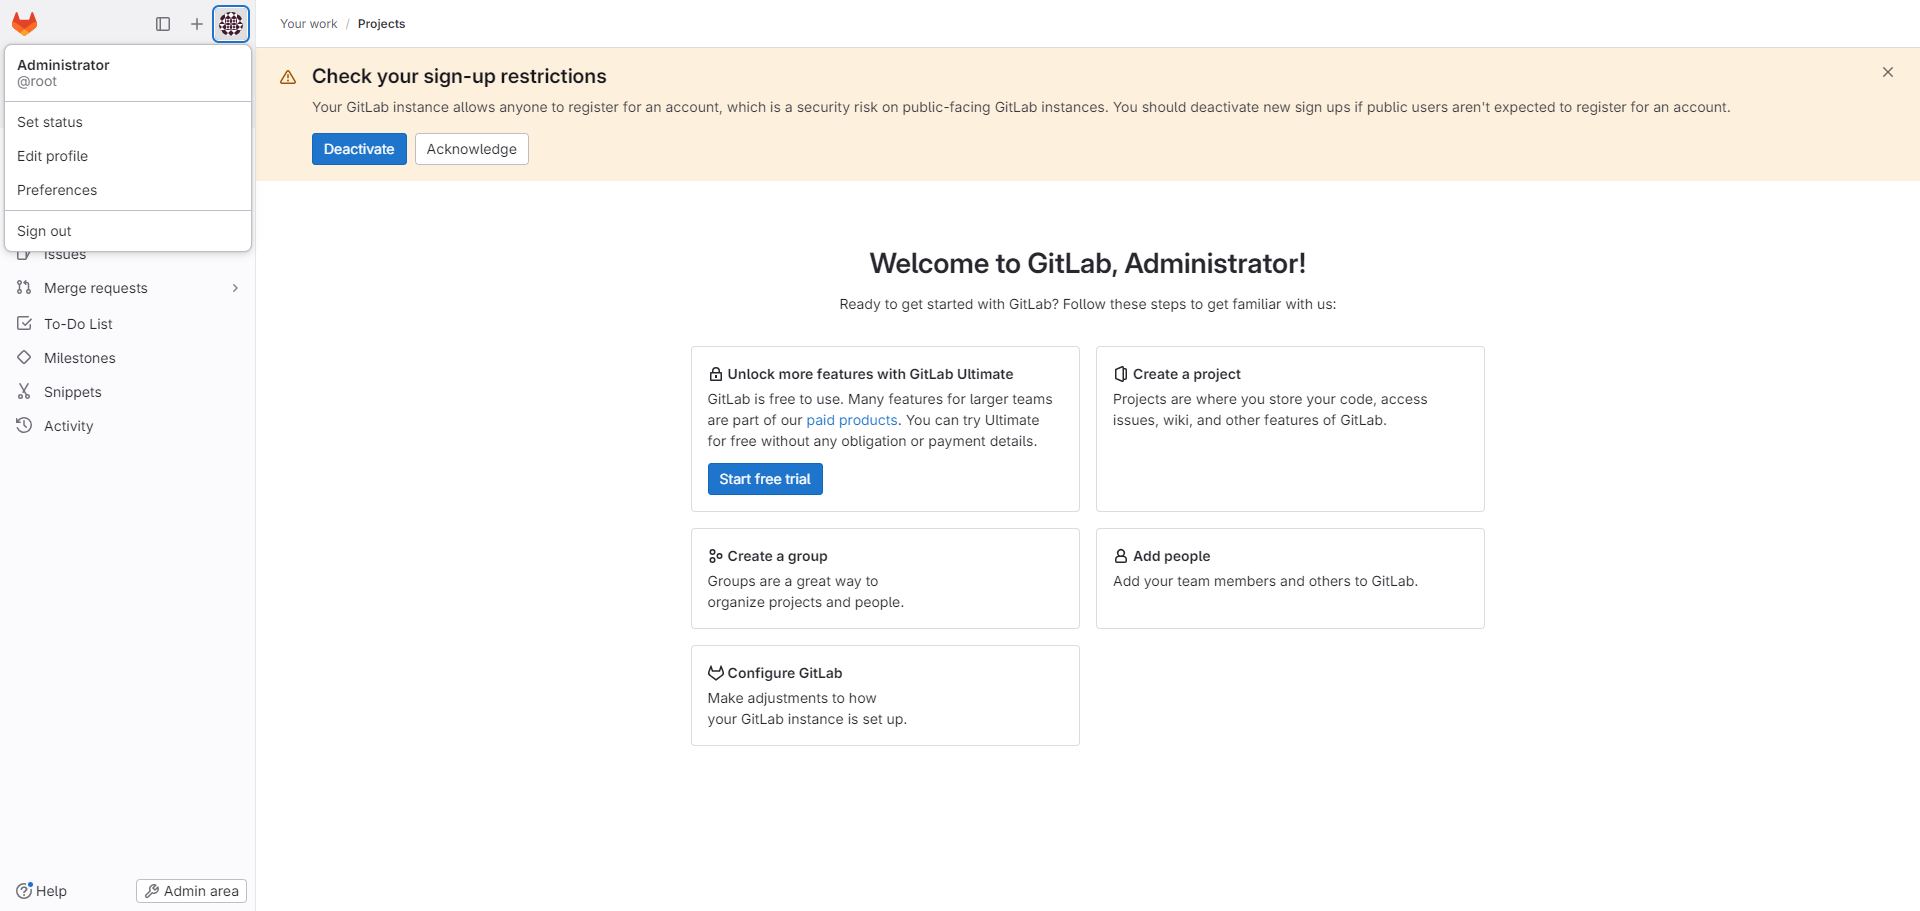
②左ペインから[Password]を選択して、[Save password]を押下します。

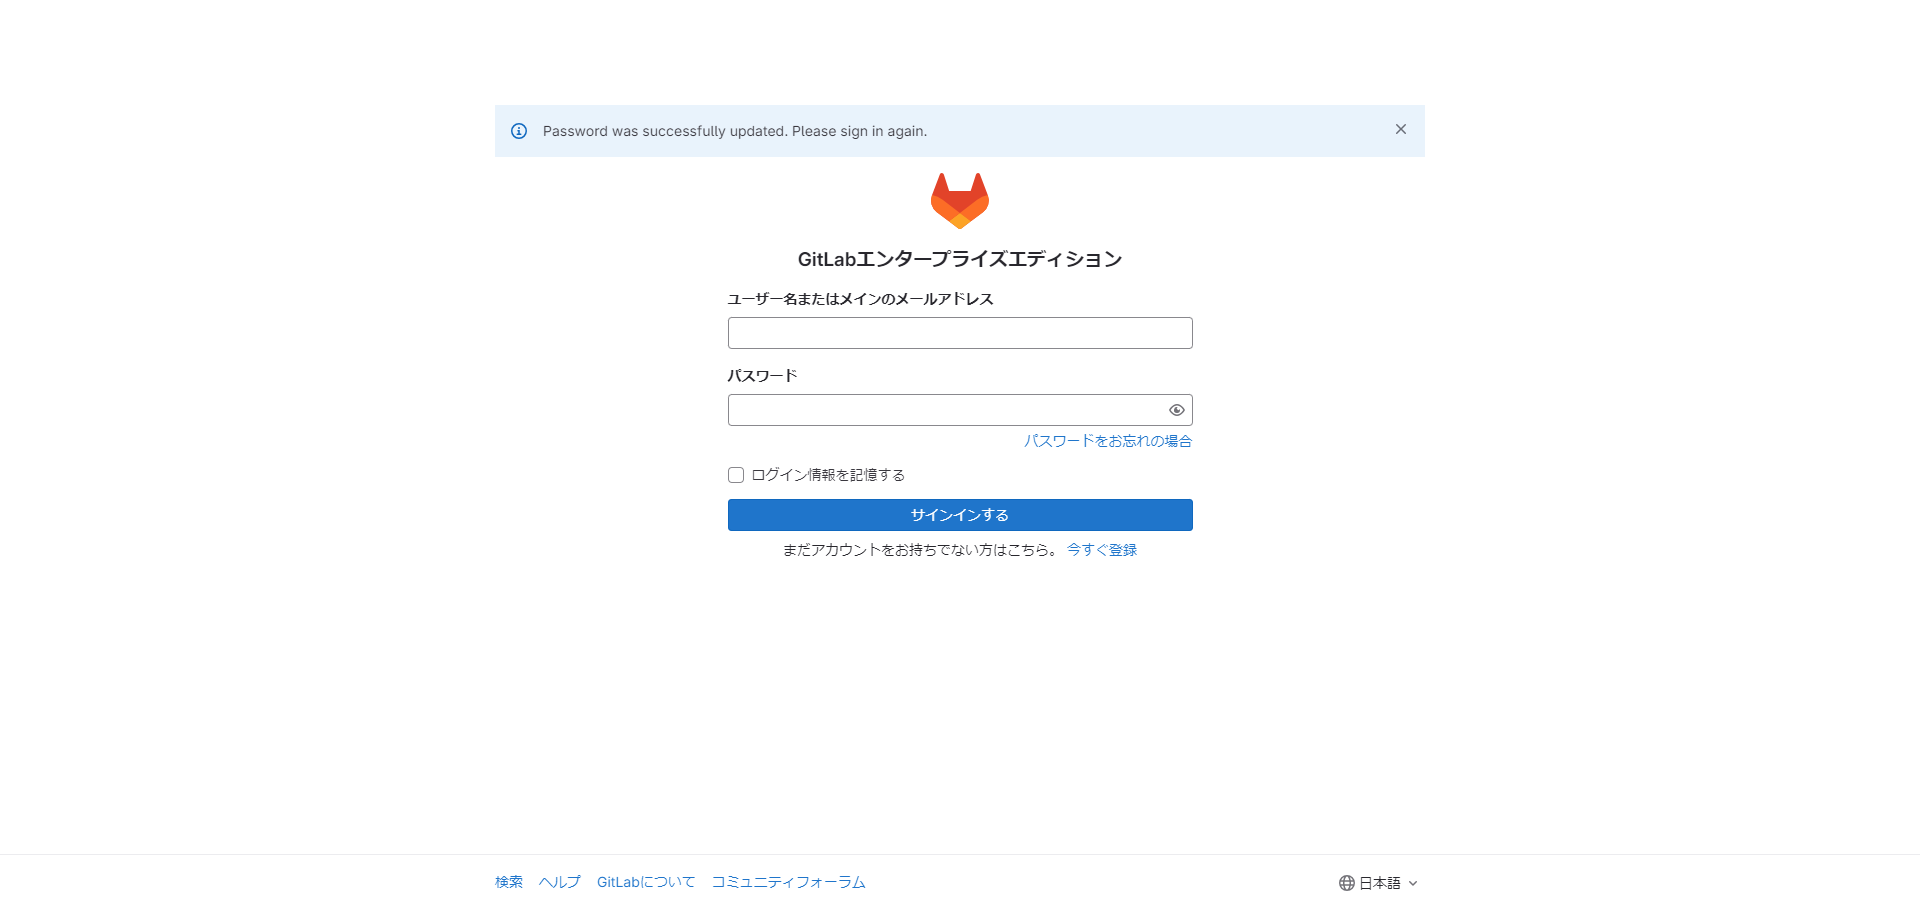
③ログイン画面に遷移するため、新しく変更したパスワードでログインします。
2-2. ユーザー作成
rootユーザーを普段使用することはセキュリティ的によくないため、ユーザーを作成します。
②各必須項目を入力して、[create]を押下します。
※内部用の一般ユーザーのため、権限はRegularにします。


④新しいユーザーでログインしなおします。
[パスワードをお忘れの場合]からパスワードリセットができます。
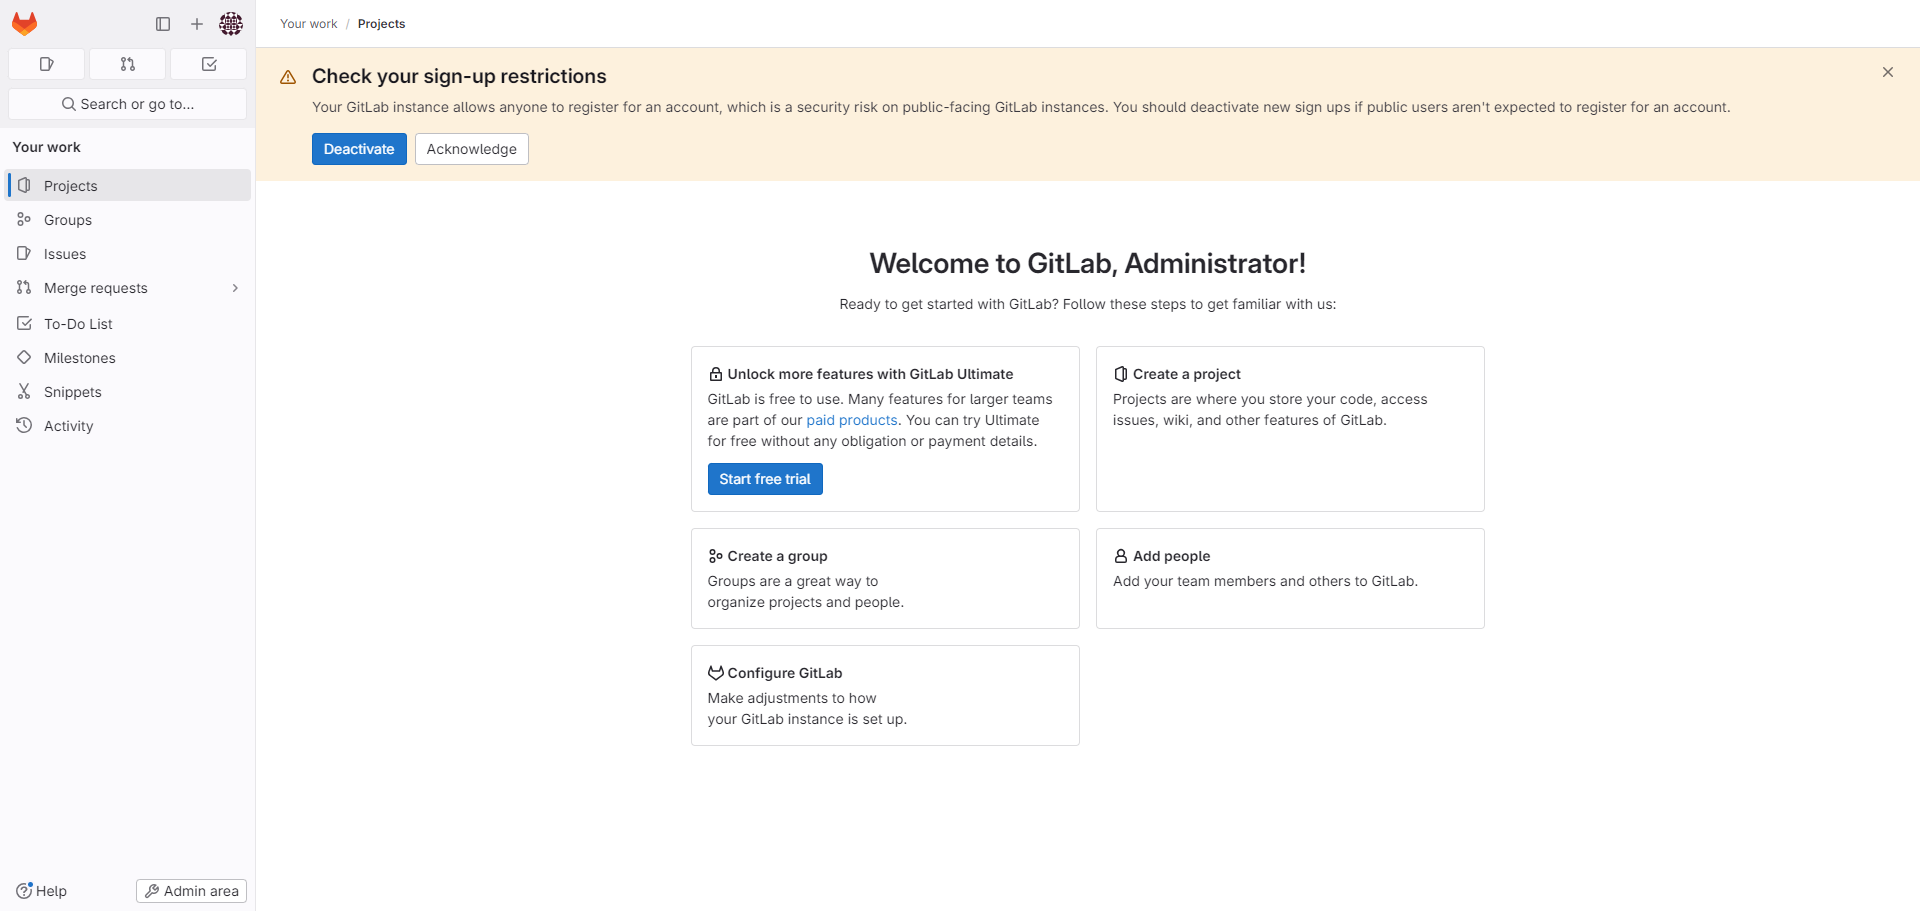
⑦ログイン
※Regular権限なので、微妙に表示される項目が違いますね。

2-3. グループ作成
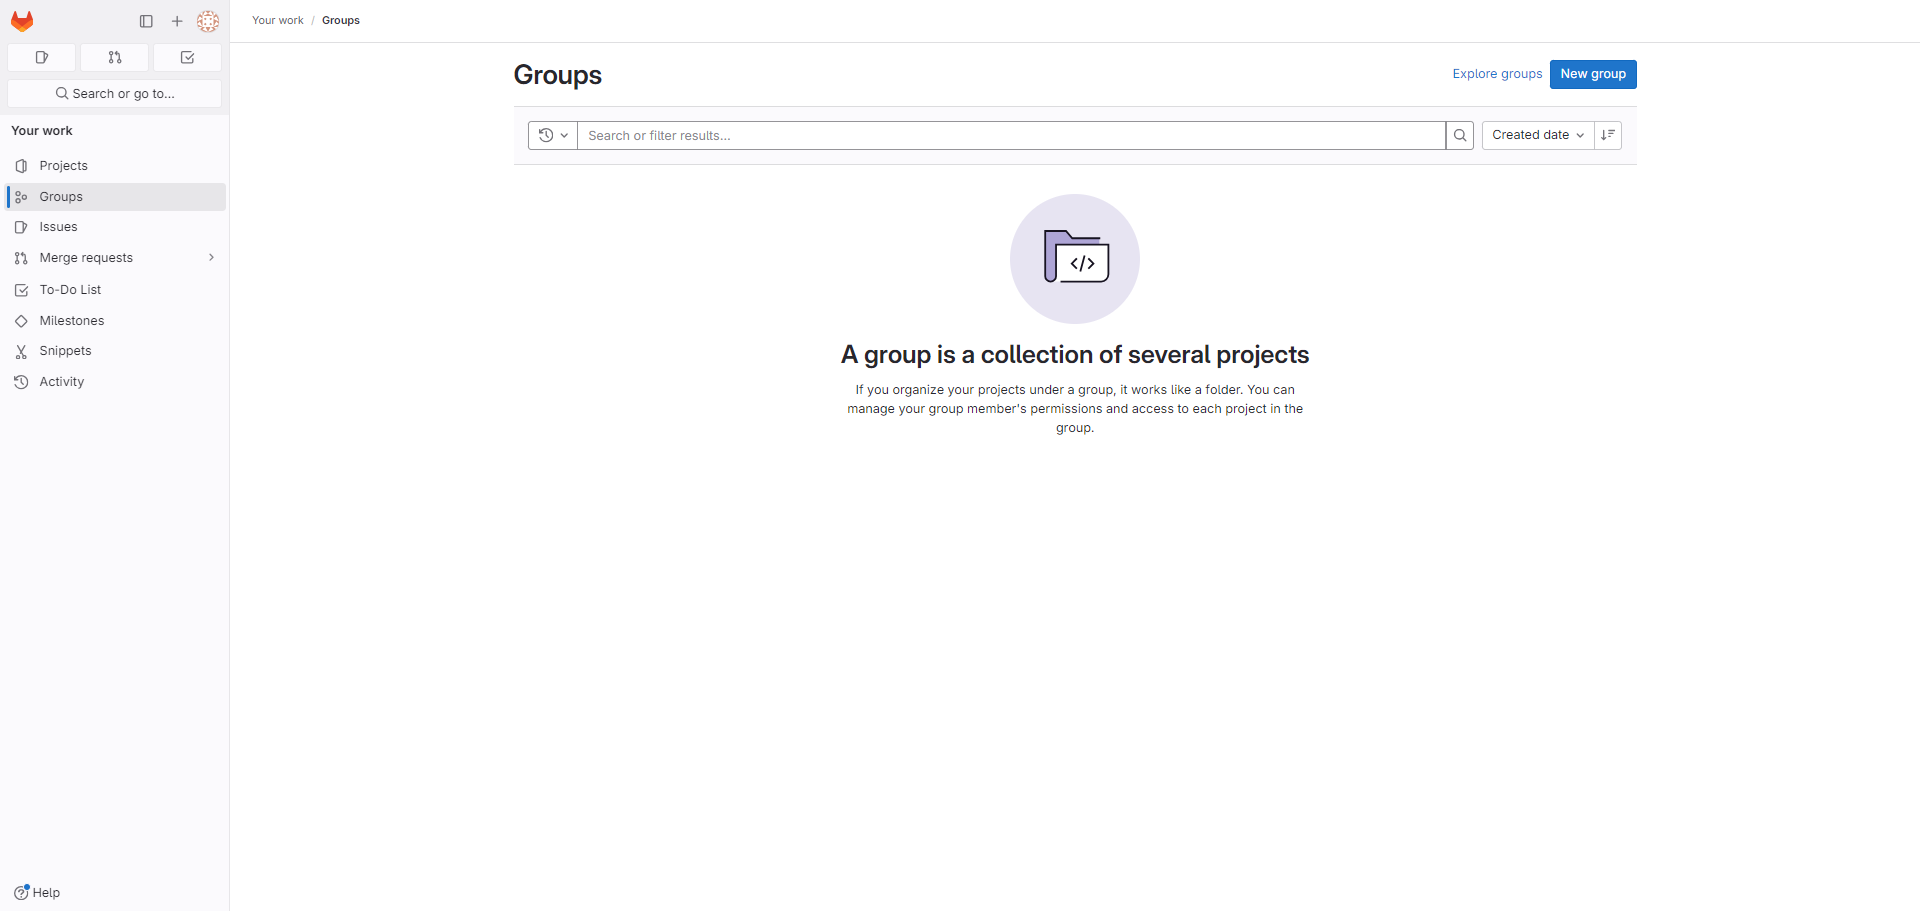
直接プロジェクトを作成しても良いですが、管理上グループ分けした方がよいので、グループを作成します。
①左ペインから[Group]を選択して、右上の[New group]を押下します。
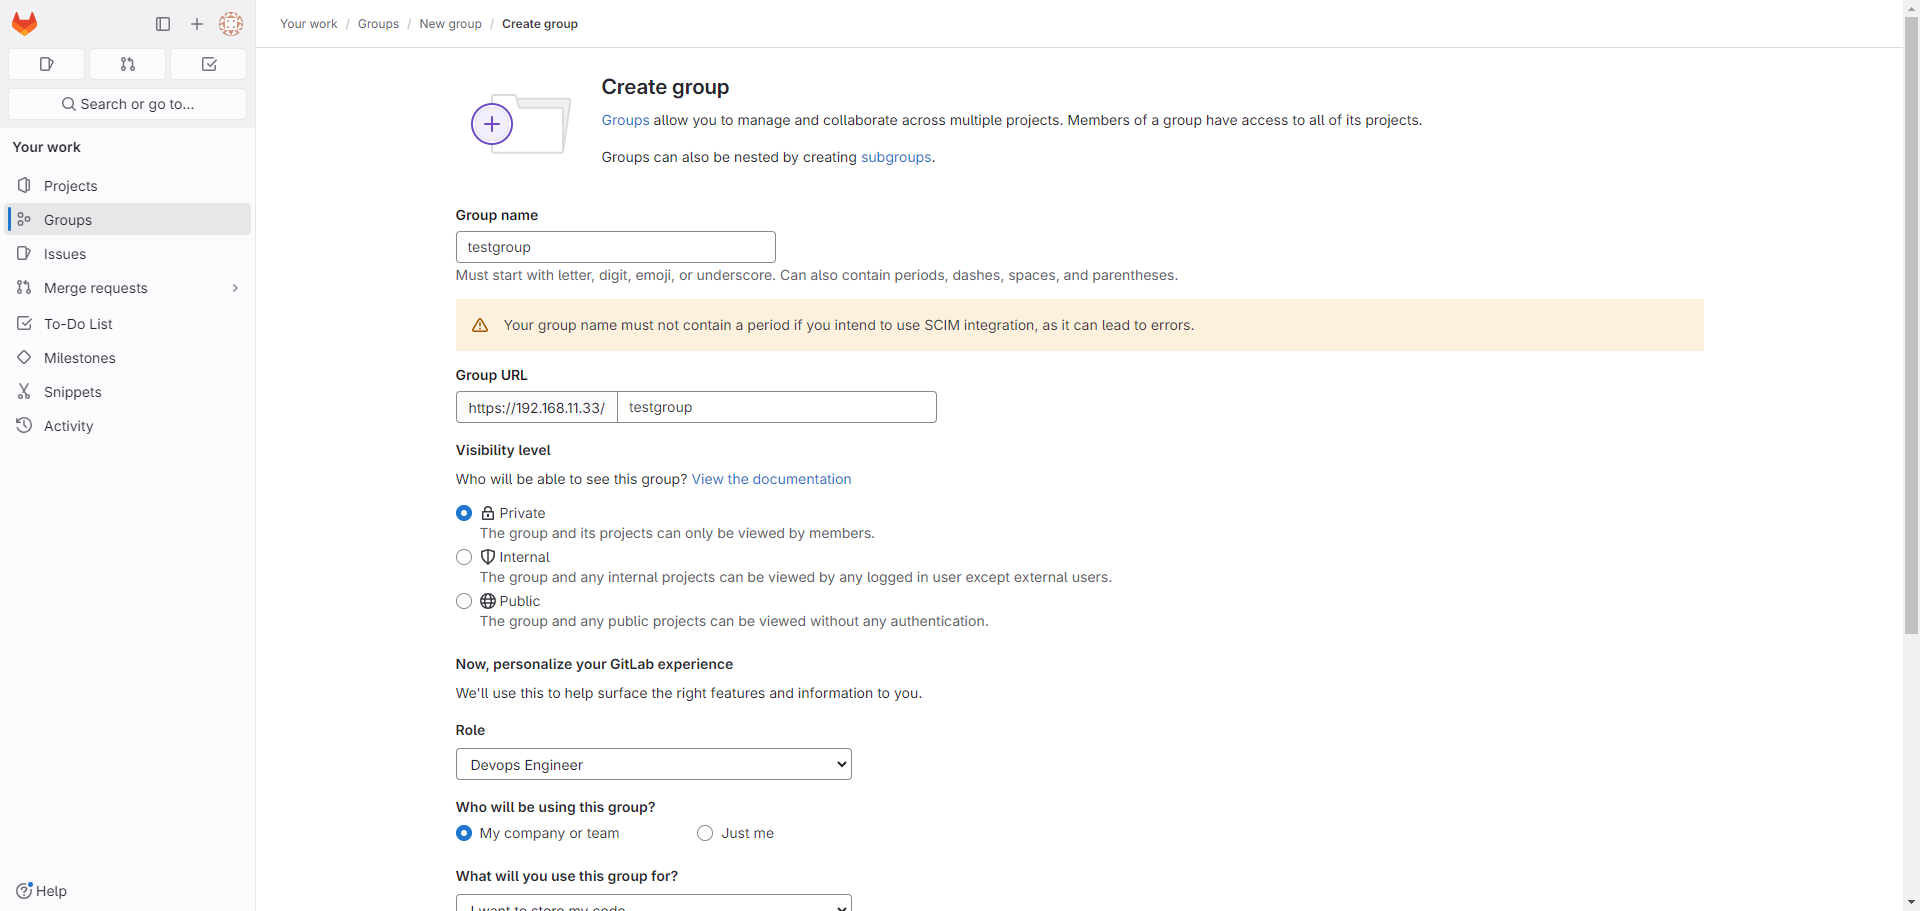
③各情報を記入して、[Create group]を押下します。
※最小限Group name、Group URL(自動で入力はされる)、Visibility levelを記載し、あとはデフォルトでも問題ありません。

2-4. サブグループ作成
サブグループを作成しておくと案件毎や機能毎にプロジェクトを管理することができます。
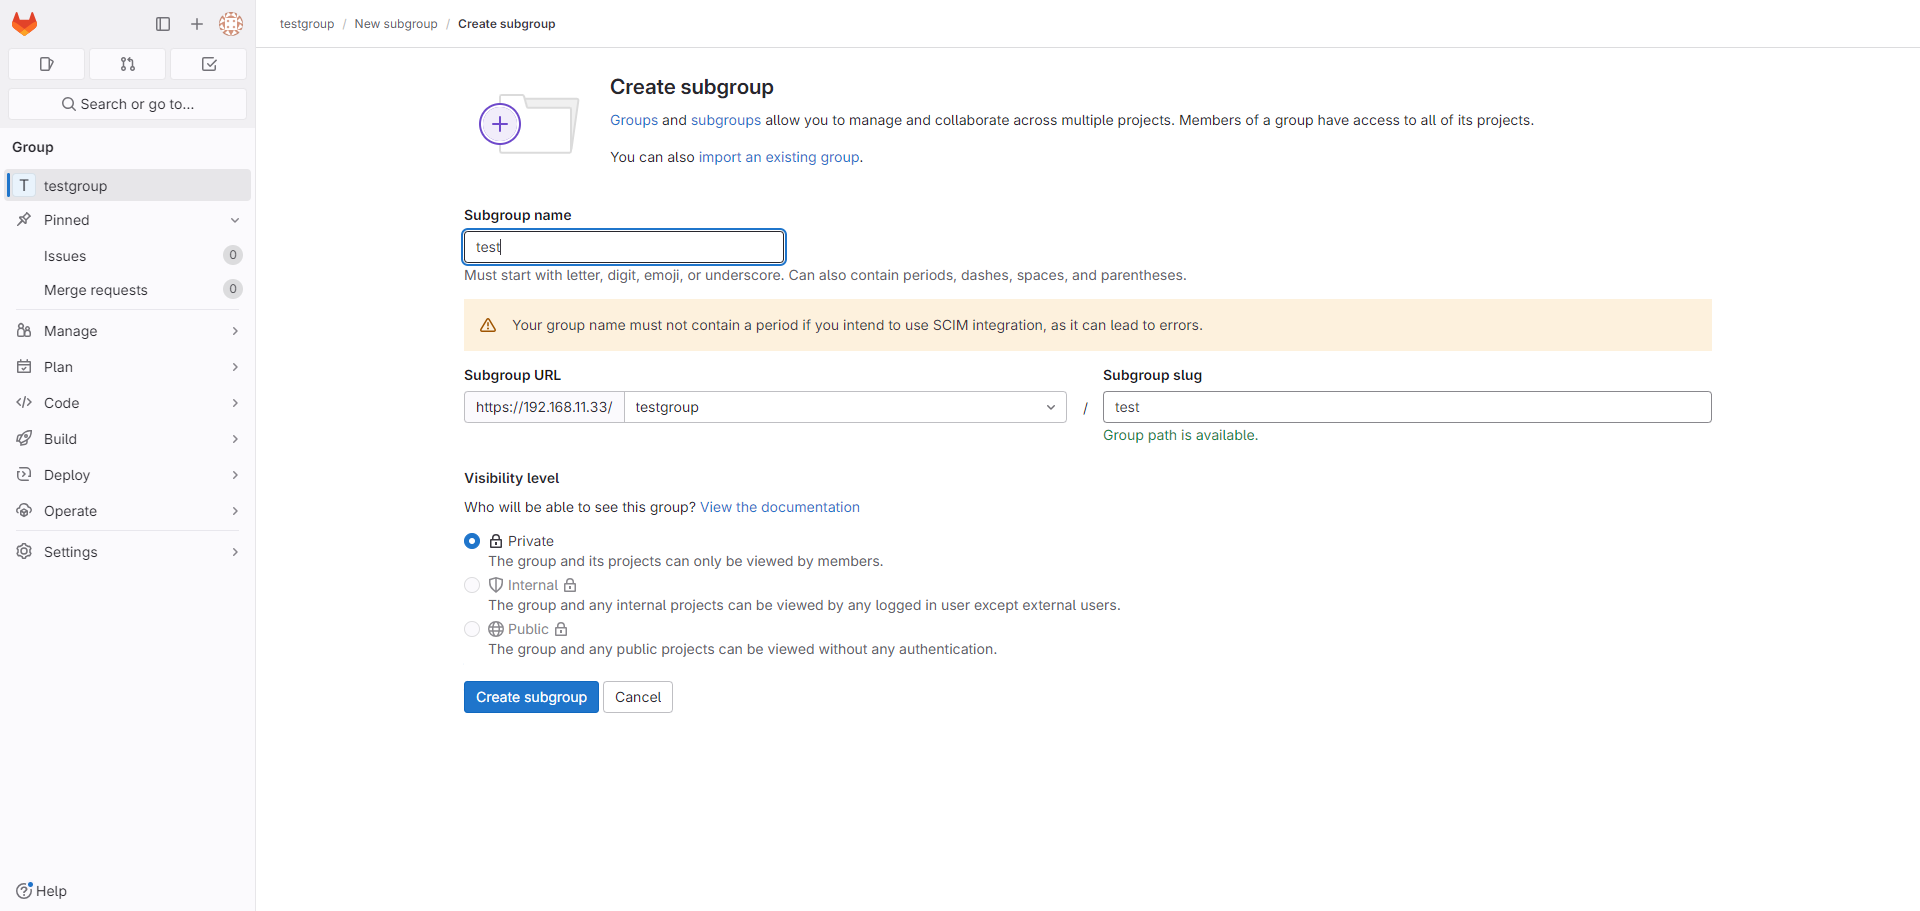
①2-3で作成したグループ画面から、[Create new subgroup]を押下します。

②サブグループ名と公開範囲を設定して、[Create subgroup]を押下します。
2-5. プロジェクト作成
プロジェクトを作成することでリポジトリが作成できます。
2-4で作成したサブグループ配下にプロジェクトを作成します。
②[Create Blank project]を押下します。

③プロジェクト名と公開範囲を設定して、[Create project]を押下します。
Initialize repository with a READMEにチェックすることで、自動でREADME.mdが作成されます。

3. クライアント側設定
Gitを使用するためにGit for Windowsをインストールします。
3-1. Git for Windowsインストール
①下記サイトから、Git for Windowsをインストールします。
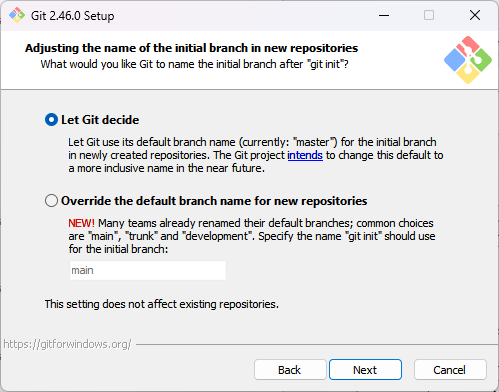
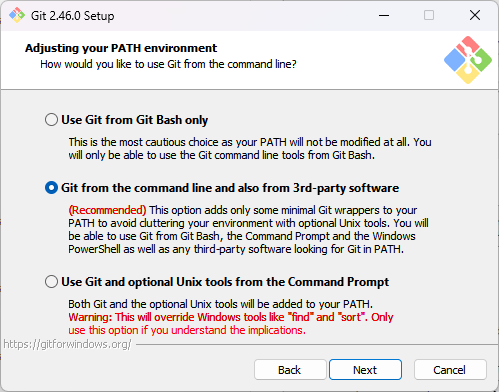
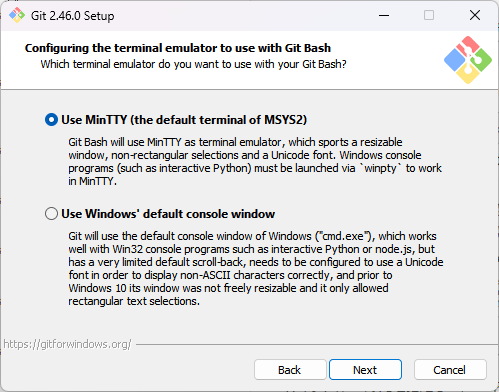
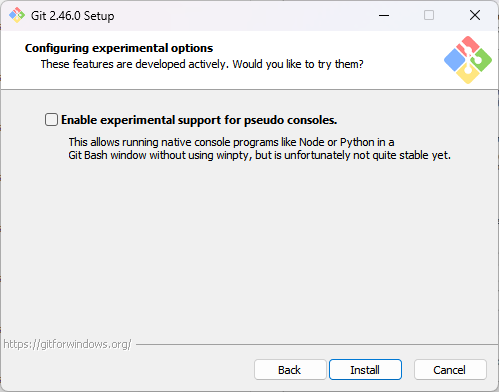
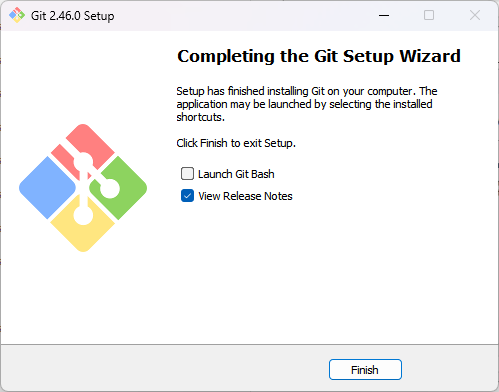
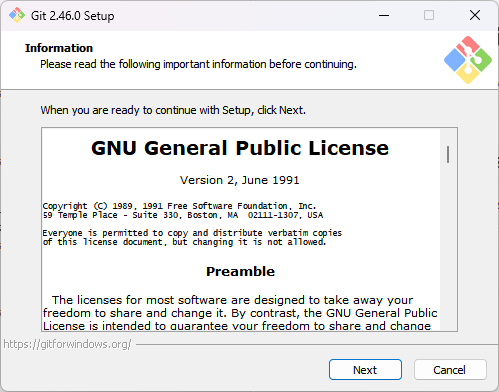
②インストーラを実行して、ウィザードが開いたら[Next]を押下します。
3-2. Git bash起動
3-3. SSL検証無効化
このSSL検証設定を実施しない場合、下記エラーが発生します。
fatal: unable to access 'http://xxx.xxx.xxx.xxx/testgroup/ansible/ansible-redhat8.git/': SSL certificate problem: self-signed certificate
【コマンド】
git config --global http.sslVerify false
※参考
3-4. リポジトリクローン
①プロジェクトページから[Code]という青いボタンを押下します。
表示された[Clone with HTTPS]のURLを控えておきます。

②下記コマンドを実行して、リポジトリをローカルにクローンします。
【コマンド】
$ git clone http://[ホスト名またはIPアドレス]/testgroup/ansible/ansible-redhat8.git
【結果】
Cloning into 'ansible-redhat8'...
warning: missing OAuth configuration for 192.168.11.33 - see https://aka.ms/gcm/gitlab for more information
$ git clone http://192.168.11.33/testgroup/ansible/ansible-redhat8.git
Cloning into 'ansible-redhat8'...
warning: ----------------- SECURITY WARNING ----------------
warning: | TLS certificate verification has been disabled! |
warning: ---------------------------------------------------
warning: HTTPS connections may not be secure. See https://aka.ms/gcm/tlsverify for more information.
warning: auto-detection of host provider took too long (>2000ms)
warning: see https://aka.ms/gcm/autodetect for more information.
warning: ----------------- SECURITY WARNING ----------------
warning: | TLS certificate verification has been disabled! |
warning: ---------------------------------------------------
warning: HTTPS connections may not be secure. See https://aka.ms/gcm/tlsverify for more information.
warning: ----------------- SECURITY WARNING ----------------
warning: | TLS certificate verification has been disabled! |
warning: ---------------------------------------------------
warning: HTTPS connections may not be secure. See https://aka.ms/gcm/tlsverify for more information.
warning: redirecting to https://xxx.xxx.xxx.xxx:443/testgroup/ansible/ansible-redhat8.git/
remote: Enumerating objects: 3, done.
remote: Counting objects: 100% (3/3), done.
remote: Compressing objects: 100% (2/2), done.
remote: Total 3 (delta 0), reused 0 (delta 0), pack-reused 0 (from 0)
Receiving objects: 100% (3/3), done.
3-5. ファイル確認
Git bash上で対象のプロジェクトがクローンされていることを確認します。
$ dir
ansible-redhat8
おわりに
Gitlabのインストールから初期設定までの手順を記載しました。
以前とはだいぶGitlabのUIが変わっていて戸惑いました。(特にAdmin Areaの開き方が初見では分かりにくかった)
次回はgitlab-runnerの導入を実施してみます。
参考

