はじめに
現在、卒業制作にてAWSを採用してサービスを開発しています。
認証はCognitoを使用しているのですがその中で起きたトラブルです。
Cognitoでメールアドレス確認を有効にすると、ユーザーが新規登録した際、登録したEmailに自動的に確認用Linkが含まれたメールが行き、そのLinkをClickするとメールアドレスが認証される仕組みになっています。
しかし、問題はデフォルトで用意されている確認Linkが確認成功後にredirectするURLを設定できないことです。
stackoverflowとgithub issueを見ても
How to redirect after confirm amazon cognito using confirmation URL?
Redirect to url after clicking email verification link
今後の新規追加機能としてマークはしているみたいですが、まだ実装はされていないみたいですね。
ユーザビリティに大きく影響しそうな気がするので、AWSが対応する前に自分で実装しようとなりました。
アーキテクチャ

Cognitoの確認URLをwrapしリダイレクトレスポンスを返すエンドポイントを作成し、そこにアクセスするようにしました。確認用Linkも動的に作成する必要があるため、Cognitoのカスタムメッセージトリガーにラムダをアタッチします。
Original Confirm Email Lambda
Node.JSで書きました。
const https = require('https');

const cognitoAuthUri = "https://<Pool名>.auth.ap-northeast-1.amazoncognito.com/confirmUser";
const getSuccessResponseBody = redirectUri => `
    <HTML>
    <HEAD>
        <META HTTP-EQUIV="Refresh" CONTENT="0; URL=${redirectUri}">
        <TITLE>Success</TITLE>
    </HEAD>
    <BODY>
        <H1>Success Email Confirmation</H1>
        <A HREF="http://www.google.com/">here</A>.
    </BODY>
    </HTML>
`;

exports.handler = (event, context, callback) => {
    const err = null;

    const {
        client_id        : clientId,
        user_name        : userName,
        confirmation_code: confirmationCode,
        redirect_uri     : redirectUri
    } = event.queryStringParameters;

    if (!clientId)
        err = "client_id param is required";
    if (!userName)
        err = "user_name param is required";
    if (!confirmationCode)
        err = "confirmation_code param is required";
    if (!redirectUri)
        err = "redirect_uri param is required";

    if (err) {
        callback(
            null,
            {
                statusCode: "400",
                body: JSON.stringify({ error: err }),
                headers: {
                    "Content-Type": "application/json",
                },
            }
        );
        return;
    }

    https.get(
        `${cognitoAuthUri}?client_id=${clientId}&user_name=${userName}&confirmation_code=${confirmationCode}`,
        res => {
            callback(
                null,
                {
                    statusCode: "301",
                    body: getSuccessResponseBody(redirectUri),
                    headers: {
                        "Content-Type": "text/html; charset=UTF-8",
                    },
                }
            );
            return;
        }
    ).on("error", e => {
        console.error(e);
        callback(
            null,
            {
                statusCode: "400",
                body: JSON.stringify({ error: e.message }),
                headers: {
                    "Content-Type": "application/json",
                },
            }
        );
        return;
    });
};
成功時に受け取ったredirectURLにRedirectするようにしています。
作成後にAPI-GatewayにAttachしAPIとして動かしておきます。
Custom Message Lambda
こっちもNode.JSで書きました。
新規登録されたユーザー名と確認用コードから、先ほど作成したEndpointへのLinkを作成します。
const cofirmEmailURL = "新しく作成したEmail確認用URL";
const userPoolId = "ユーザープールID";
const cognitoClientId = "CognitoクライアントID";
const redirectURI = "リダイレクト先URL";

const getEmailMessage = (userName, confirmationCode) => (`
    Follow this link to finish the registration
    <a href=${cofirmEmailURL}?client_id=${cognitoClientId}&user_name=${userName}&confirmation_code=${confirmationCode}&redirect_uri=${redirectURI}>Click Here</a>
`);

exports.handler = (event, context, callback) => {
    if(event.userPoolId === userPoolId) {
        if(event.triggerSource === "CustomMessage_SignUp") {
            event.response.emailSubject = "Welcome to MyAPP! Please verify your Email Adress.";
            event.response.emailMessage = getEmailMessage(event.request.userAttributes.email, event.request.codeParameter);
        }
    }

    callback(null, event);
};
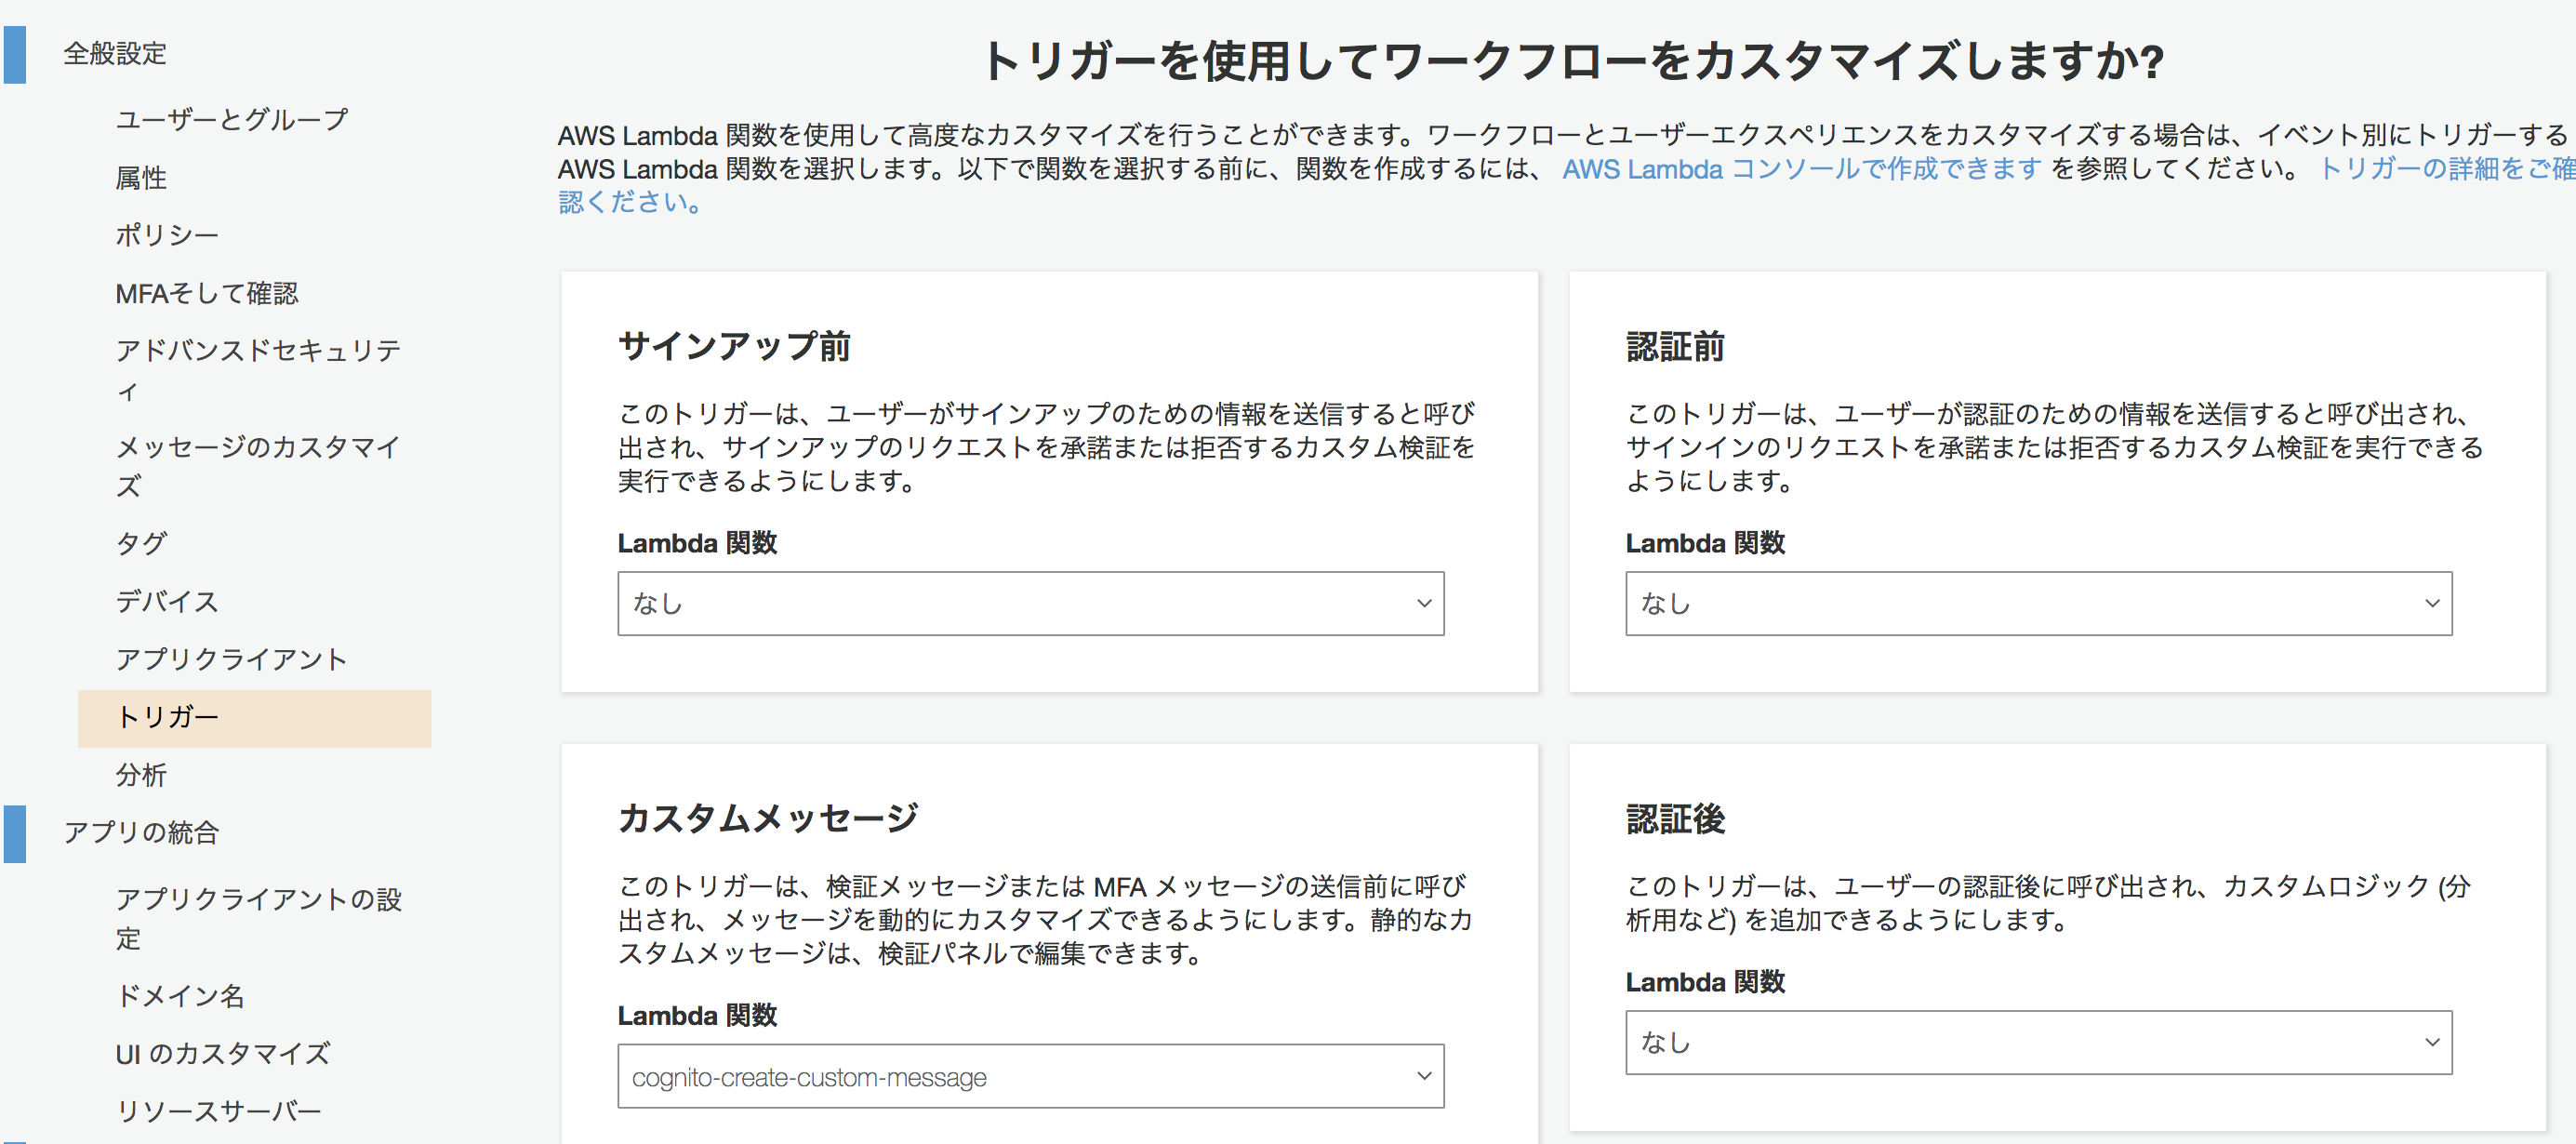
Cognitoの設定
デフォルトのメールアドレス確認リンクを変えるためにカスタムメッセージトリガーを使用して本文を変更します。
この時、検証タイプはコードにしておく必要があります。

トリガーもAttachし、保存します。
これだけで完成です。
まとめ
LambdaのTriggerが豊富すぎてびっくり。足りないことあってもなんでも解決できそう。
でも、そもそも重要な機能だと思うので早くAWSが対応して欲しい。