はじめに
いろいろあって友人とWeb開発を行うことになりました。
初心者のため勉強しながらの開発となるので、
これからは勉強した内容のアウトプットのためにいろいろ記事にしようと思います。
まず第一歩として環境構築からです。
環境
ubuntu 18.04
0.前提
Dockerインストール済み
まだの方はこちらから
https://docs.docker.com/compose/install/
1.必要なディレクトリ・ファイル準備
開発したい場所に開発をするディレクトリを作成します。
今回ディレクトリの名前は 'myapp'
$ mkdir myapp
$ cd myapp
作成したディレクトリの中にアプリケーション構築に必要なファイルを作成します。
- Dockerfile
- Gemfile
- Gemfile.lock
- entrypoint.sh
- docker-compose.yml
$ touch Dockerfile Gemfile Gemfile.lock entrypoint.sh docker-compose.yml
作成したファイルに下記の内容を記述します。
FROM ruby:2.6.6

RUN curl -sS https://dl.yarnpkg.com/debian/pubkey.gpg | apt-key add - \
    && echo "deb https://dl.yarnpkg.com/debian/ stable main" | tee /etc/apt/sources.list.d/yarn.list

RUN apt-get update -qq && apt-get install -y nodejs postgresql-client yarn
RUN mkdir /myapp
WORKDIR /myapp
COPY Gemfile /myapp/Gemfile
COPY Gemfile.lock /myapp/Gemfile.lock
RUN bundle install
COPY . /myapp

# Add a script to be executed every time the container starts.
COPY entrypoint.sh /usr/bin/
RUN chmod +x /usr/bin/entrypoint.sh
ENTRYPOINT ["entrypoint.sh"]
EXPOSE 3000

# Start the main process.
CMD ["rails", "server", "-b", "0.0.0.0"]
source 'https://rubygems.org'
gem 'rails', '6.0.3'
Gemfileは何も書かなくていいです。
# !/bin/bash
set -e

# Remove a potentially pre-existing server.pid for Rails.
rm -f /myapp/tmp/pids/server.pid

# Then exec the container's main process (what's set as CMD in the Dockerfile).
exec "$@"
version: '3'
services:
  db:
    image: postgres
    volumes:
      - ./tmp/db:/var/lib/postgresql/data
    environment:
      - POSTGRES_PASSWORD=password
  web:
    build: .
    command: bash -c "rm -f tmp/pids/server.pid && bundle exec rails s -p 3000 -b '0.0.0.0'"
    volumes:
      - .:/myapp
    ports:
      - "3000:3000"
    depends_on:
      - db
これで必要なファイルは揃いました。
2.プロジェクトの構築
作成した5つのファイルを利用してアプリケーションを生成します。
まずターミナルを使ってdocker-compose runを実行します。
$ docker-compose run web rails new . --force --no-deps --database=postgresql
最後に下記のようなWebpackerのインストール成功メッセージが表示されたら生成完了です。
Webpacker successfully installed 🎉 🍰
次はdocker-compose builをします。
$ docker-compose build
最後に下記のようなSuccess情報が表示されたら成功です。
Successfully built xxxxxxxxxx
Successfully tagged myapp_web:latest
3.データベースの設定・作成
まずデータベースの設定を行うために以下のファイルを編集します。
- config/database.yml
編集内容は下記を記述してください
# 設定箇所のみ抜粋
default: &default
  adapter: postgresql
  encoding: unicode
  host: db
  username: postgres
  password: password
  pool: 5

development:
  <<: *default
  database: myapp_development

test:
  <<: *default
  database: myapp_test
編集を終えたら下記のコマンドを実行し、データベースを作成します。
$ docker-compose run web rake db:create
最後に下記のようなメッセージが最後に表示されたら作成成功です。
Starting myapp_db_1 ... done
Created database 'myapp_development'
Created database 'myapp_test'
4.Dockerを起動
dockerを起動するために下記のコマンドを実行します。
$ docker-compose up
実行が完了すると下記の内容がコンソールに表示されます。
myapp_db_1 is up-to-date
Starting myapp_web_1 ... done
Attaching to myapp_db_1, myapp_web_1
(省略)
web_1  | => Booting Puma
web_1  | => Rails 6.0.3.2 application starting in development
web_1  | => Run `rails server --help` for more startup options
web_1  | Puma starting in single mode...
web_1  | * Version 4.3.5 (ruby 2.6.6-p146), codename: Mysterious Traveller
web_1  | * Min threads: 5, max threads: 5
web_1  | * Environment: development
web_1  | * Listening on tcp://0.0.0.0:3000
web_1  | Use Ctrl-C to stop
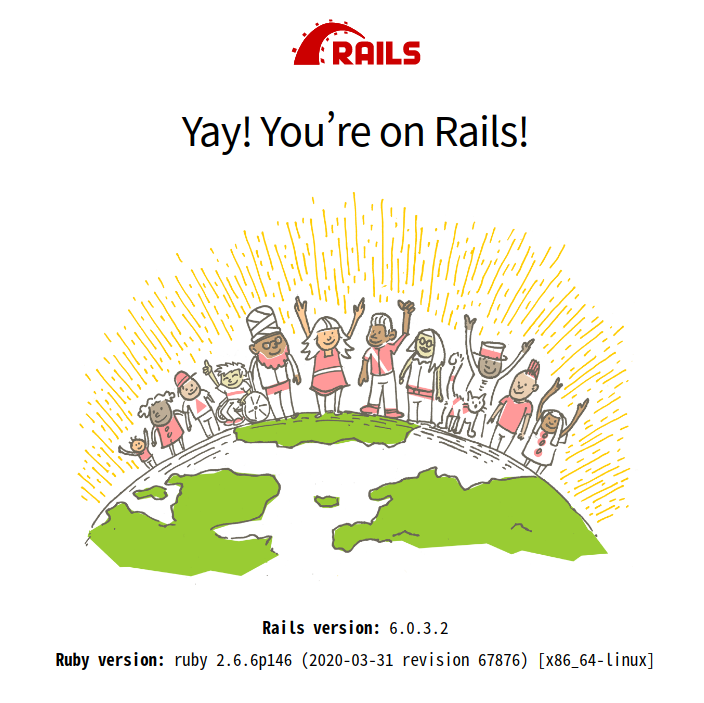
表示されたら http://localhost:3000 にアクセスして下の画像と同じページが表示されれば、構築完了です。

最後に
この環境構築で下記のような問題が発生して、3日ほど時間をかけてようやく解決しました。
この記事で書こうか迷ったのですが構築まできれいにまとめたかったので、解決方法は後日記事に書こうと思います。
Creating network "myapp_default" with the default driver
Creating myapp_db_1 ... done
sh: 1: node: not found
Webpacker requires Node.js >= 8.16.0 and you are using 4.8.2
Please upgrade Node.js https://nodejs.org/en/download/
あと冒頭に書いてある”いろいろあって友人とWeb開発することになった”という話は、
Web開発が終了してリリースしたときに一緒に記事にして投稿します。