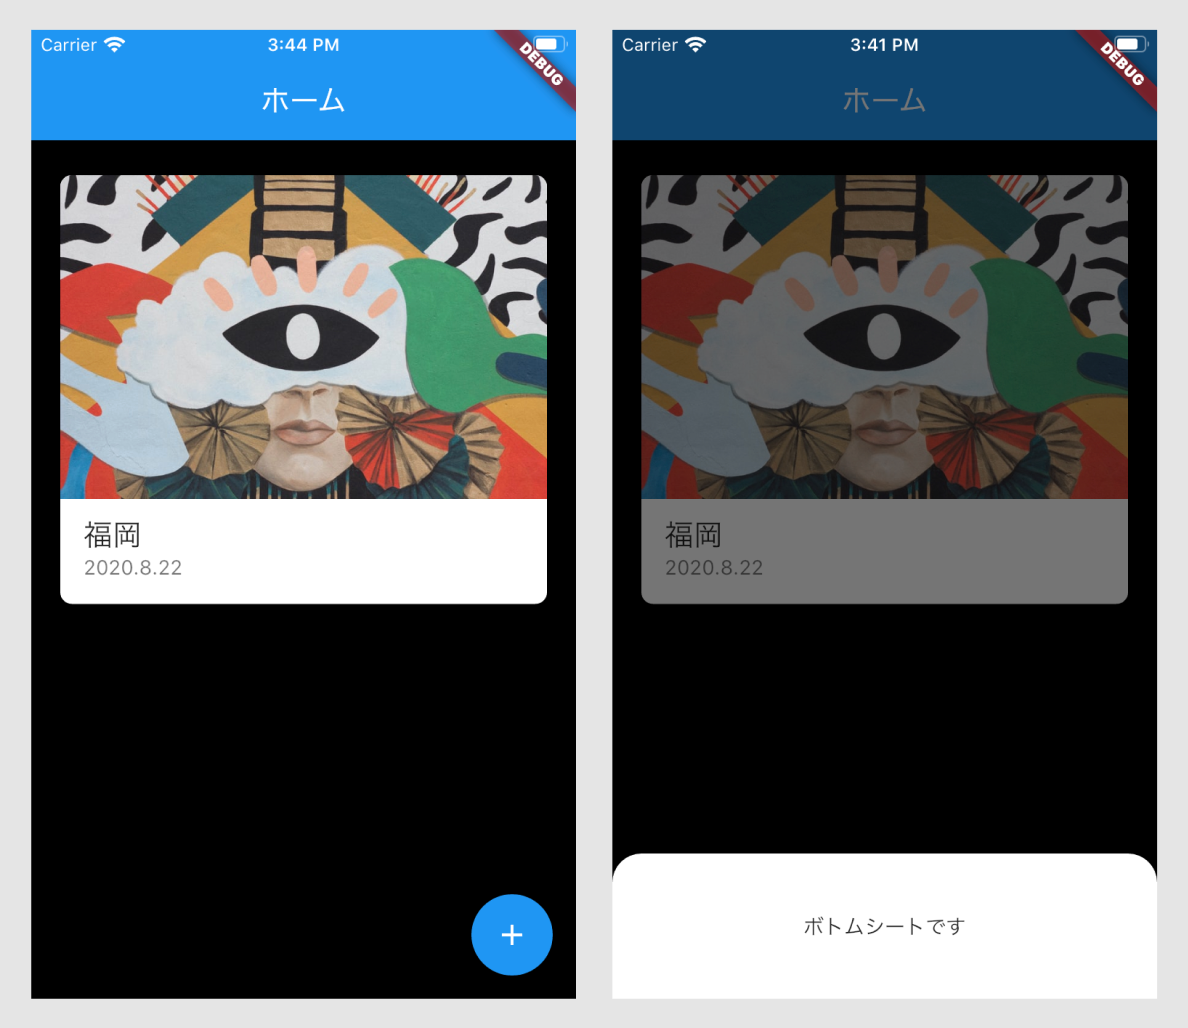
実現したいこと
FABを選択したあとに、BottomSheetを表示させ、加えて上部左右にBorderRadiusをつけること。

方法
まずは、FloatingActionButtonを選択したらBottomSheetを表示するコードを書きます。
import 'package:flutter/material.dart';

class Home extends StatefulWidget {
  @override
  _HomeState createState() => _HomeState();
}

class _HomeState extends State<Home> {
  var listItem = ["on"];

  void displayBottomSheet(BuildContext context) {
    showModalBottomSheet(
        context: context,
        builder: (context) {
          return Container(
            height: 100,
            child: Container(
              decoration: BoxDecoration(
                borderRadius: BorderRadius.only(
                  topRight: Radius.circular(20.0),
                  topLeft: Radius.circular(20.0))),
              child: Column(
                mainAxisAlignment: MainAxisAlignment.center,
                children: [
                  Center(
                    child: Text("ボトムシートです"),
                  ),
                ],
              ),
            ),
          );
        });
  }

  @override
  Widget build(BuildContext context) {
    return Scaffold(
      backgroundColor: Colors.black,
      appBar: AppBar(
        title: Text('ホーム'),
      ),
      body: ListView.builder(
        itemCount: listItem.length,
        itemBuilder: (BuildContext context, int index) {
          return Card(
            shape: RoundedRectangleBorder(
                borderRadius: BorderRadius.circular(8.0)),
            margin: EdgeInsets.only(
                left: 20.0, top: 24.0, right: 20.0, bottom: 0.0),
            child: Column(
              children: <Widget>[
                ClipRRect(
                  child: Image.network(
                      'https://images.unsplash.com/photo-1523554888454-84137e72c3ce?ixlib=rb-1.2.1&ixid=eyJhcHBfaWQiOjEyMDd9&auto=format&fit=crop&w=800&q=60'),
                  borderRadius: BorderRadius.only(
                      topLeft: Radius.circular(8.0),
                      topRight: Radius.circular(8.0)),
                ),
                ListTile(
                  title: Text('福岡', style: TextStyle(fontSize: 20.0)),
                  subtitle: Text('2020.8.22'),
                  contentPadding: EdgeInsets.symmetric(horizontal: 16.0),
                ),
              ],
            ),
          );
        },
      ),
      floatingActionButton: FloatingActionButton(
        onPressed: () {
          displayBottomSheet(context);
        },
        child: Icon(Icons.add),
      ),
    );
  }
}
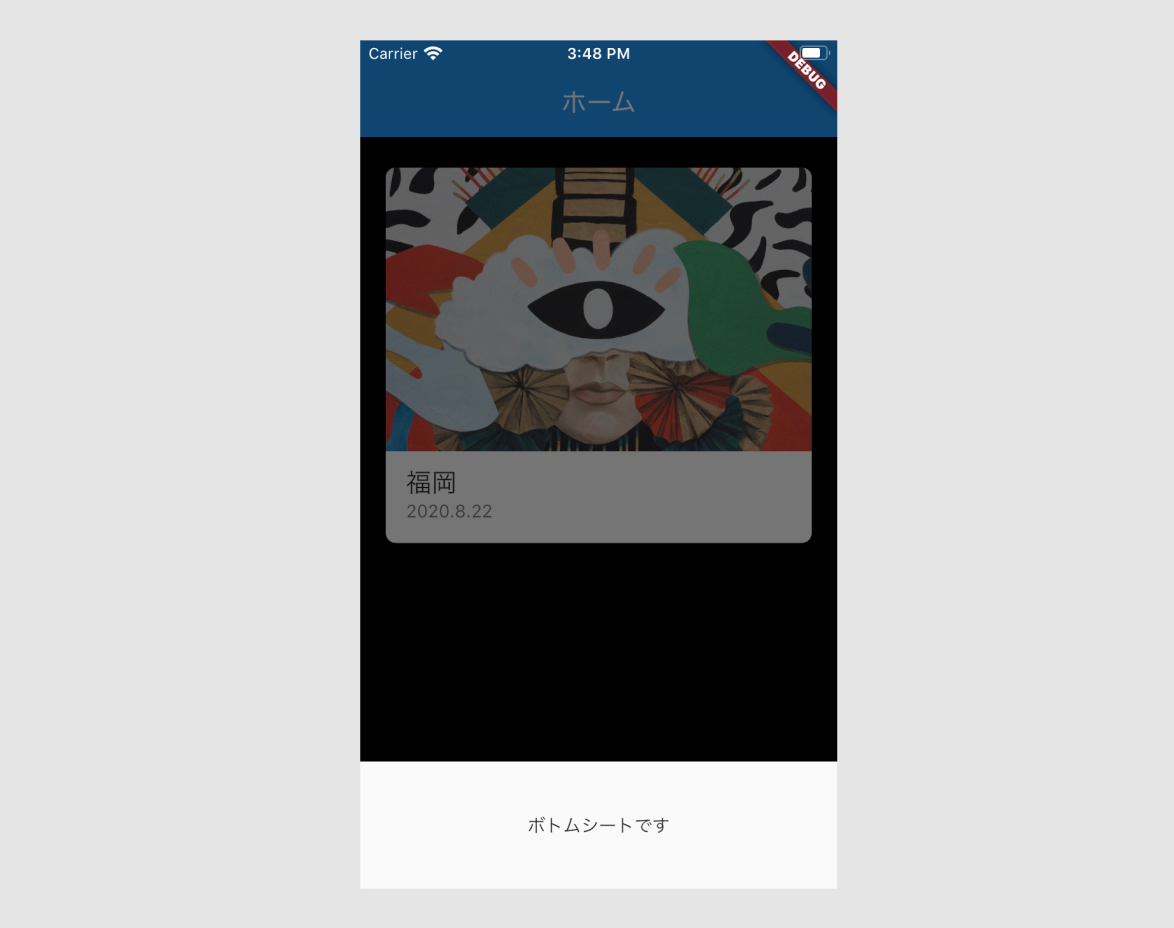
すると、以下のような見た目になると思います。
あれ...BorderRadiusをつけているのに、なぜ反映されないんだろうと疑問をもつはずです。

順番に解決していきます。
まずは、MaterialAppにcanvasColor: Colors.transparentを設定します。
デフォルトではcanvasColorが設定されているので、それを透明にする必要があります。
import 'package:art_memo/screens/home.dart';
import 'package:flutter/material.dart';

void main() => runApp(MyApp());

class MyApp extends StatelessWidget {
  @override
  Widget build(BuildContext context) {
    final title = 'コレクション';

    return MaterialApp(
      theme: ThemeData(
        canvasColor: Colors.transparent,
      ),
      home: Home(),
    );
  }
}
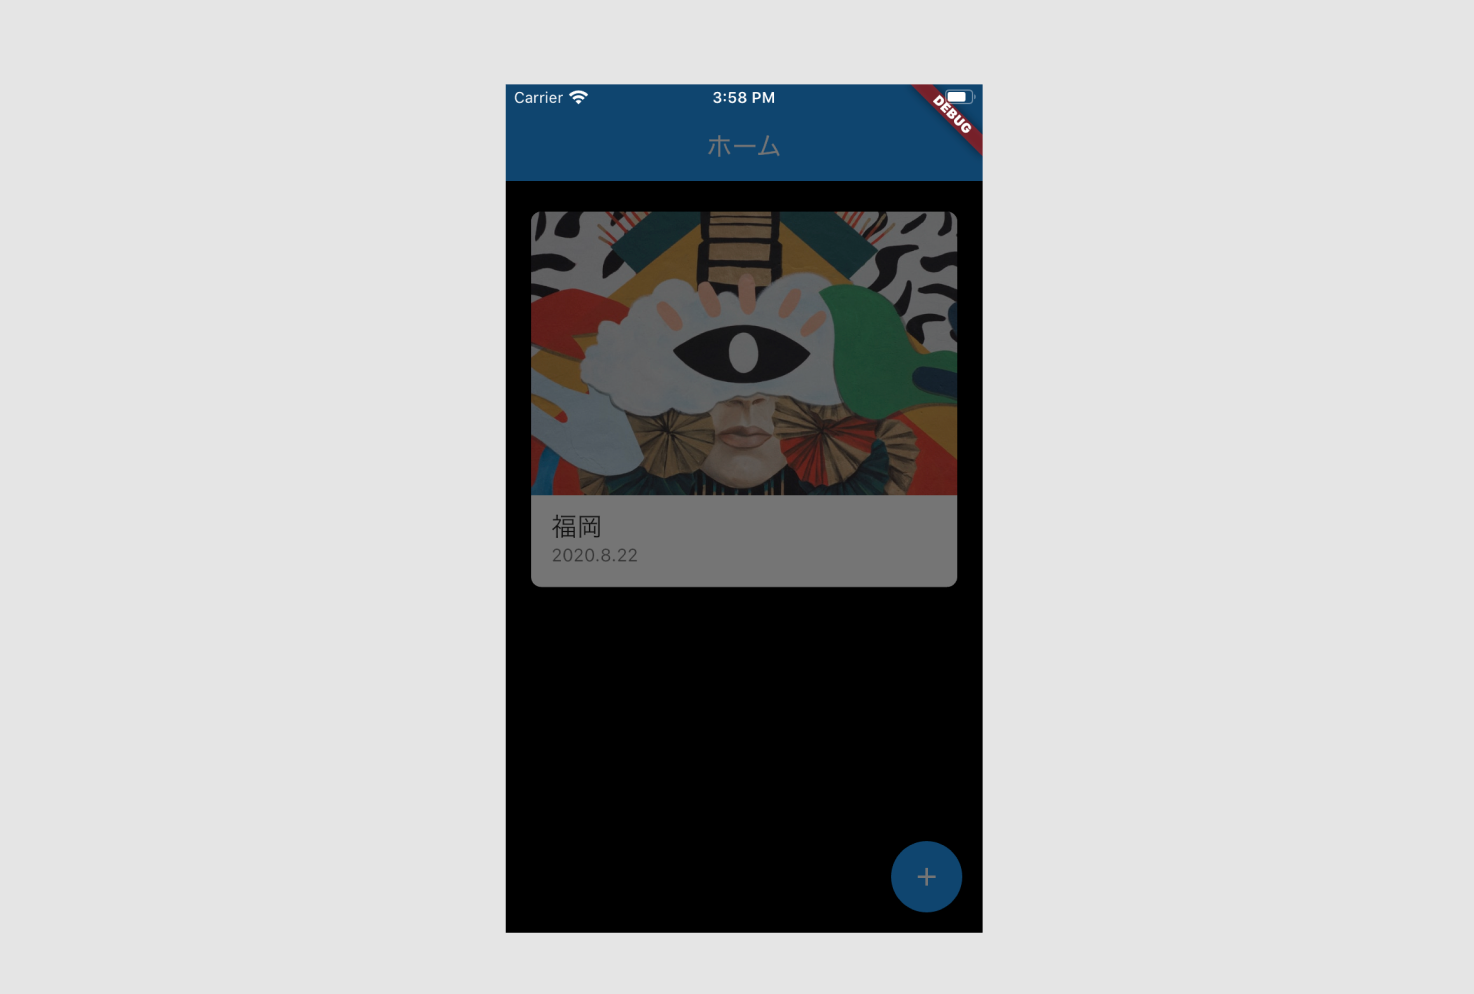
すると、次はFABを選択したあとの画面に何も表示されなくなりました。

何も表示されないのは、BottomSheetのBoxDecorationに色をつけていなからです。
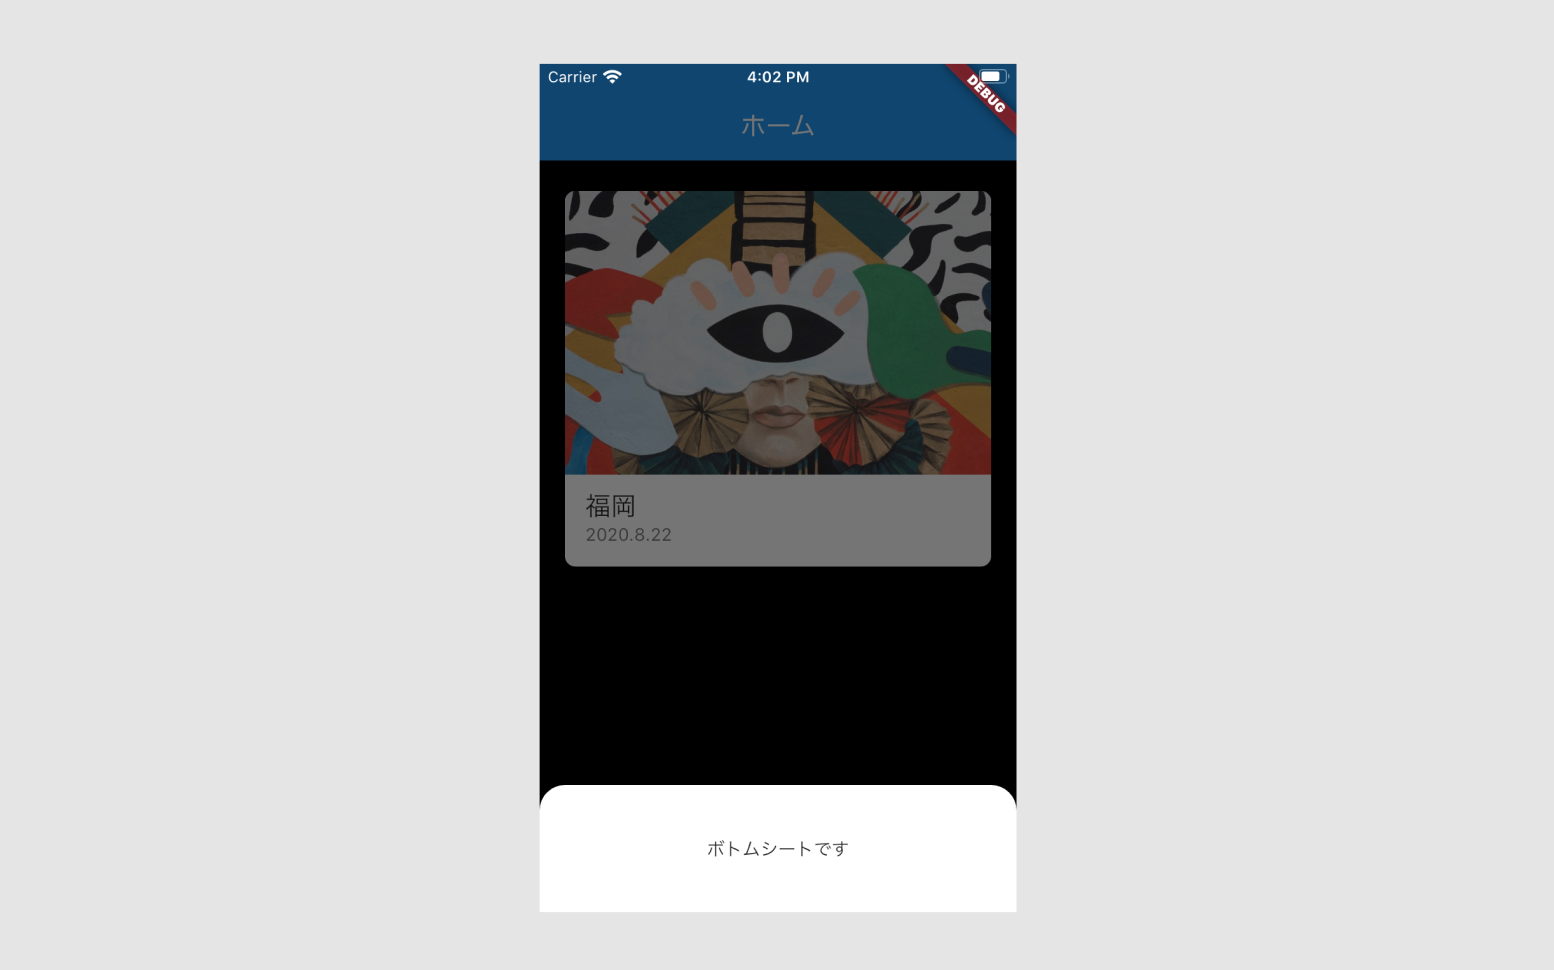
なので、color: Colors.white を付けることでBottomSheetが可視化されます。
import 'package:flutter/material.dart';

class Home extends StatefulWidget {
  @override
  _HomeState createState() => _HomeState();
}

class _HomeState extends State<Home> {
  var listItem = ["on"];

  void displayBottomSheet(BuildContext context) {
    showModalBottomSheet(
        context: context,
        builder: (context) {
          return Container(
            height: 100,
            child: Container(
              decoration: BoxDecoration(
                color: Colors.white,
                borderRadius: BorderRadius.only(
                  topRight: Radius.circular(20.0),
                  topLeft: Radius.circular(20.0))),
              child: Column(
                mainAxisAlignment: MainAxisAlignment.center,
                children: [
                  Center(
                    child: Text("ボトムシートです"),
                  ),
                ],
              ),
            ),
          );
        });
  }

  @override
  Widget build(BuildContext context) {
    return Scaffold(
      backgroundColor: Colors.black,
      appBar: AppBar(
        title: Text('ホーム'),
      ),
      body: ListView.builder(
        itemCount: listItem.length,
        itemBuilder: (BuildContext context, int index) {
          return Card(
            shape: RoundedRectangleBorder(
                borderRadius: BorderRadius.circular(8.0)),
            margin: EdgeInsets.only(
                left: 20.0, top: 24.0, right: 20.0, bottom: 0.0),
            child: Column(
              children: <Widget>[
                ClipRRect(
                  child: Image.network(
                      'https://images.unsplash.com/photo-1523554888454-84137e72c3ce?ixlib=rb-1.2.1&ixid=eyJhcHBfaWQiOjEyMDd9&auto=format&fit=crop&w=800&q=60'),
                  borderRadius: BorderRadius.only(
                      topLeft: Radius.circular(8.0),
                      topRight: Radius.circular(8.0)),
                ),
                ListTile(
                  title: Text('福岡', style: TextStyle(fontSize: 20.0)),
                  subtitle: Text('2020.8.22'),
                  contentPadding: EdgeInsets.symmetric(horizontal: 16.0),
                ),
              ],
            ),
          );
        },
      ),
      floatingActionButton: FloatingActionButton(
        onPressed: () {
          displayBottomSheet(context);
        },
        child: Icon(Icons.add),
      ),
    );
  }
}
