はじめに
Node.js + Express + あえてCloudant で REST APIを作成する(準備編)の続きです。
expressコマンドでアプリケーションの雛形を作成し、準備編で作成したCloudantのサンプルDB(animaldb)への接続確認をします。
Expressで雛形作成
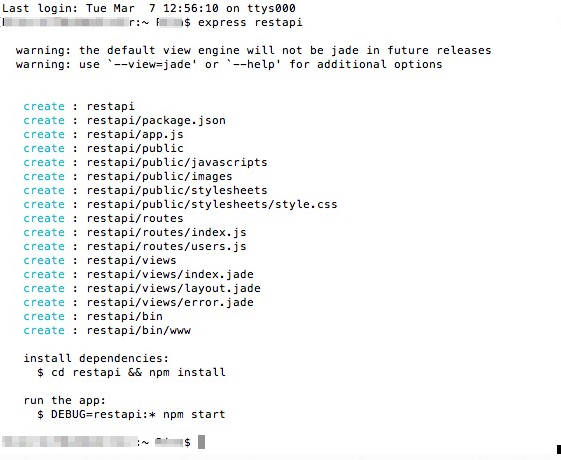
コマンドの流れは以下の通りです。
$ express appName
$ cd appName
$ ls
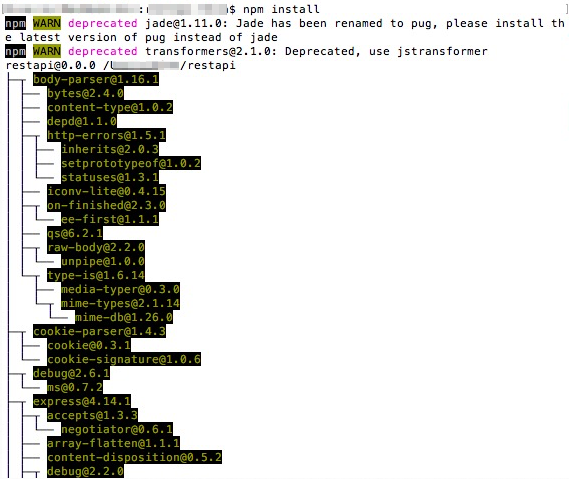
$ npm install
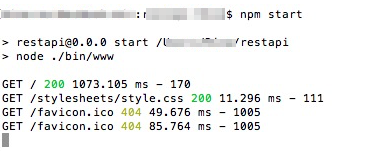
$ npm start
- 以下は実行例です。
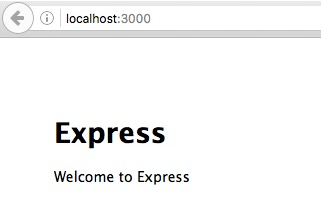
- デフォルト・アプリケーションがポート番号3000で動いているのが確認できます。
Cloudantへの接続確認
$ npm install dotenv //もし入っていなければ
$ echo "/.env"
$ echo "cloudant_username=xxxxxxxxx" > .env
$ echo "cloudant_password=yyyyyyyyy" >> .env
cloudantTest.js
var Cloudant = require('cloudant');
require('dotenv').load();
var me = process.env.cloudant_username;
var password = process.env.cloudant_password;

var cloudant = Cloudant({account:me, password:password});

cloudant.db.list(function(err, allDbs) {
 console.log('All my databases: %s', allDbs.join(', '))
});
$ node cloudantTest.js
- 以下は実行例です(いったんnodeコマンドで実行しています。)
- 上記スクリプトは接続テスト目的のみで以降は使いません。
- 準備編で作成したanimaldbも含まれていることがわかります。
まとめ
以上で雛形作成と接続確認が完了しました。次回はCloudantドキュメントに対してCRUD操作を行うコードとAPI設計について書いていきます。


