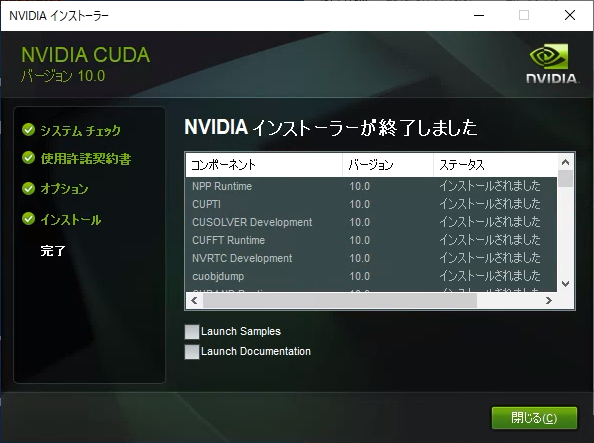
【目的】
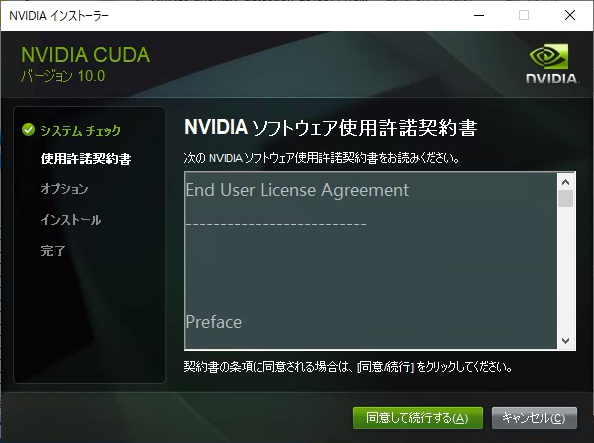
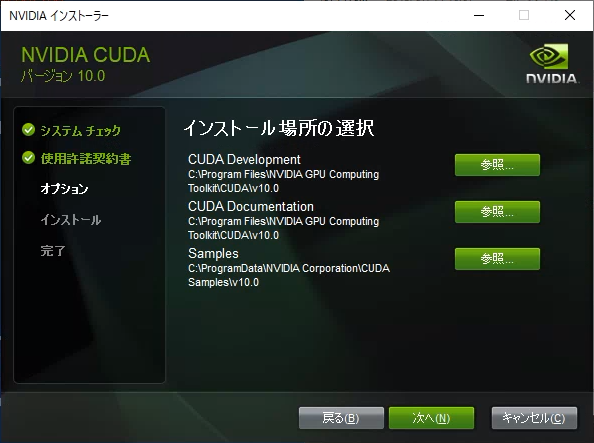
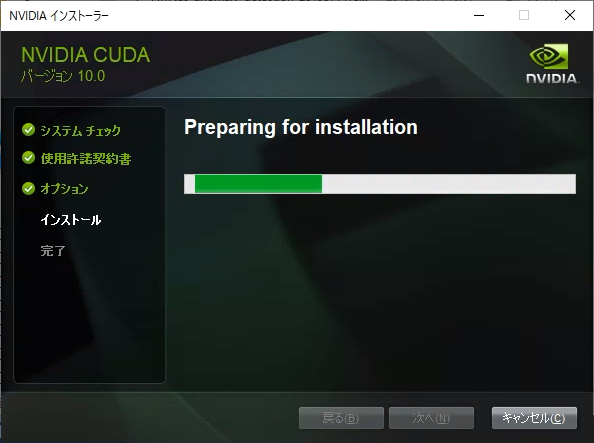
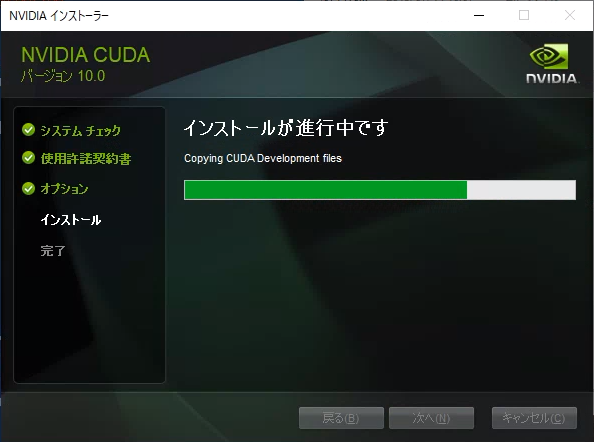
先に投稿した【Windows版TensorFlowでGPUを使う (CUDAのインストール)】の記事を元にWindows端末にCUDAインストール時に以下のような画面になり、インストールに失敗する場合があります。
本記事ではCUDAインストール時に「Visual Studio Integration」のインストールに失敗した場合の対処法を記載します。
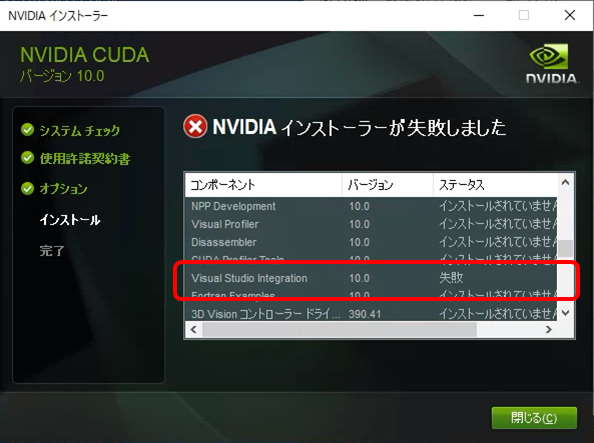
なお、VisualStudio 2017 Proを入れている環境では本現象は発生しませんでした。
【内容】
Windows環境でCUDAのインストールに失敗するというという情報はインターネット上に多く見られます。
対処方法としては主に以下の3つに大別されます。
- NVIDIAの最新のGPUドライバをクリーンインストールする
- NVIDIAのサービスをすべて止めて、手動で関連ファイルを削除した後、CUDAをインストールする
- CUDAインストール時に、必要なモジュールのみに限定する
まず、1.に関しては実際にエラーに直面した際に実施してみましたが、問題は解決しませんでした。
2.に関しては操作があまりに怪しかったので実施していません。
今回対応した方法は3.の手法になります。
【CUDAインストール時に、必要なモジュールのみに限定する】
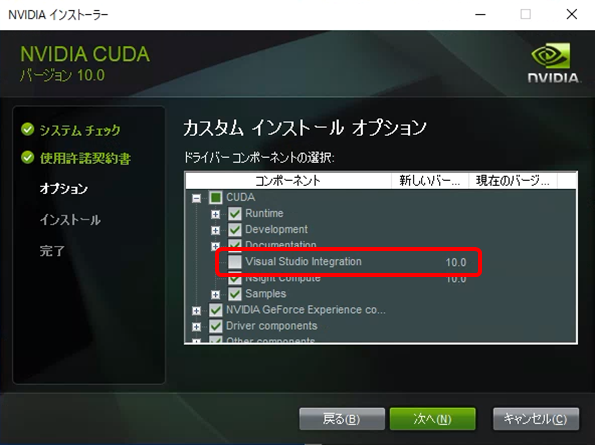
今回は「Visual Studio Integration」のインストールに失敗していますので、これを外してインストールします。
なお、「Visual Studio Integration」はVisualStudioへの統合機能のため、VisualStudioで直接CUDAを使ったアプリを開発しない限りは不要です。
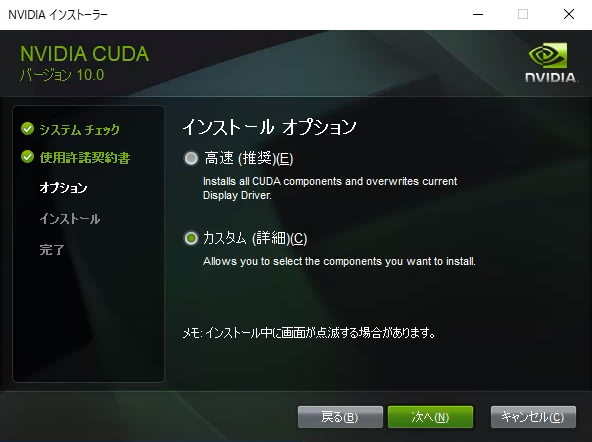
「インストール オプション」まで進めたら、「カスタム (詳細)」を選択し、次に進みます。
「カスタム インストール オプション」画面のツリーから「CUDA」を展開します。
その中に「Visual Studio Integration」の項目があるので、チェックを外します。
【動作確認】
CUDAのインストールが正常に完了し、【Windows版TensorFlowでGPUを使う (CUDAのインストール)】の手順がきちんと完了していれば、コマンドプロンプトで以下のコマンドを実行した際に、GPUを認識している結果が得られるはずです。
python -c "from tensorflow.python.client import device_lib;print(device_lib.list_local_devices());"
「出力結果」に tensorflow/core/common_runtime/gpu/gpu_device.cc:1640] Found device 0 with properties: や device_type: "GPU" の文言が確認できればGPUを認識しています。
(本記事では「GeForce GTX 980」を認識しています)
2019-07-15 10:10:04.141549: I tensorflow/core/platform/cpu_feature_guard.cc:142] Your CPU supports instructions that this TensorFlow binary was not compiled to use: AVX2
2019-07-15 10:10:04.149333: I tensorflow/stream_executor/platform/default/dso_loader.cc:42] Successfully opened dynamic library nvcuda.dll
2019-07-15 10:10:04.283109: I tensorflow/core/common_runtime/gpu/gpu_device.cc:1640] Found device 0 with properties:
name: GeForce GTX 980 major: 5 minor: 2 memoryClockRate(GHz): 1.2785
pciBusID: 0000:01:00.0
2019-07-15 10:10:04.289015: I tensorflow/stream_executor/platform/default/dlopen_checker_stub.cc:25] GPU libraries are statically linked, skip dlopen check.
2019-07-15 10:10:04.294041: I tensorflow/core/common_runtime/gpu/gpu_device.cc:1763] Adding visible gpu devices: 0
2019-07-15 10:10:04.869417: I tensorflow/core/common_runtime/gpu/gpu_device.cc:1181] Device interconnect StreamExecutor with strength 1 edge matrix:
2019-07-15 10:10:04.873142: I tensorflow/core/common_runtime/gpu/gpu_device.cc:1187]      0
2019-07-15 10:10:04.875721: I tensorflow/core/common_runtime/gpu/gpu_device.cc:1200] 0:   N
2019-07-15 10:10:04.878971: I tensorflow/core/common_runtime/gpu/gpu_device.cc:1326] Created TensorFlow device (/device:GPU:0 with 3001 MB memory) -> physical GPU (device: 0, name: GeForce GTX 980, pci bus id: 0000:01:00.0, compute capability: 5.2)
[name: "/device:CPU:0"
device_type: "CPU"
memory_limit: 268435456
locality {
}
incarnation: 6353985342385400385
, name: "/device:GPU:0"
device_type: "GPU"
memory_limit: 3147238604
locality {
  bus_id: 1
  links {
  }
}
incarnation: 12171252068600957596
physical_device_desc: "device: 0, name: GeForce GTX 980, pci bus id: 0000:01:00.0, compute capability: 5.2"
]
