はじめに
TensorFlow をスマホで動かす…ってなコトをやってみたいと思っていたら、
「TensorFlow.jsでMNIST学習済モデルを読み込みブラウザで手書き文字認識をする」 という
ものすごく良い内容を見つけたので、参考にしながらやってみた内容です。
多少、アレンジというか「TensorFlow.js 使うとこんな感じだよ」と見せたい人もいるので、
GCE + Flask で公開する環境構築まで合わせてやってみました。
目次
0.前提など
1.Google Colaboratory で MNIST のモデルを作成&ダウンロード
2.GCE(Google Compute Engine)インスタンス作成&設定
3.python + venv 環境構築
4.Flask で WEB アプリとして公開
Z.ハマったところ
0.前提など
- 決済情報(クレジットカード)登録済みの Google アカウント
- GCE を使用するために GCP が利用可能である必要があります
- GCE インスタンス(変更した主な部分) ・・・ ひとまず「Always Free」の無料範囲で試行
- マシンタイプ: f1-micro
- リージョン: us-central1
- イメージ: Ubuntu 18.04 LTS
- ディスク: 30GB
- Python 3.6.7
- Flask 1.0.2
- tensorflow 1.12.0
- tensorflowjs 0.6.7
1.Google Colaboratory で MNIST のモデルを作成&ダウンロード
「TensorFlow.jsでMNIST学習済モデルを読み込みブラウザで手書き文字認識をする」
の STEP1., STEP2.をそのまま参考にしました。
Google Colaboratory の共有 Notebook がコチラ
2.GCE(Google Compute Engine)インスタンス作成&設定
2-1.GCE インスタンスを作成
「0.前提など」に記述した通りにインスタンスを作成。
2-2.公開鍵を登録
インスタンス作成完了後に「編集」→「SSH 認証鍵」の項目へ自分の公開鍵(id_rsa.pub)を登録。
2-3.ファイアウォールルールを登録
「VM インスタンスの詳細」→「ネットワークインタフェース:詳細を表示」→「ファイアウォールルール」へ tcp:8080 を
新しいルールとして登録(ターゲット:タグも登録) ・・・ 例. ext-http-server
注)Flask でサーバプロセスを起動する際に tcp:80 だと PermissionError が発生するため tcp:8080 を使用するように変更
3.python + venv 環境構築
今後のことも見据えて venv を利用可能にしておく。
3-1.apt リポジトリを最新の情報に更新
$ sudo apt update
↑コレをちゃんとやっておかないと python3-venv のインストールができないw
3-2.venv のインストール
$ sudo apt install python3-venv
3-3.project_dir を作成&仮想環境用 venv を作成
$ mkdir [project_dir]
$ cd [project_dir]
$ python3 -m venv ./[venv]
$ source [venv]/bin/activate
プロジェクトごとのディレクトリ構成と venv が作成する仮想環境ディレクトリ(上記の場合:venv)については個人の好みもあると思うので、使いやすいように変更してもらった方が良い。
4.Flask で WEB アプリとして公開
WEB アプリとして下記のようなディレクトリ構成を作成
project_dir/
 ├── tfjs_server.py
 ├── templates/
 │    └── index.html
 ├── static/
 │    ├── model/
 │    │    ├── model.json
 │    │    └── (※省略:モデルデータ)
 │    └── tfjs_mnist.js
 └── venv/
4-1.Flask サーバの Python スクリプト作成
from flask import (
    Flask,
    render_template,
)

app = Flask(__name__)

@app.route('/')
def root():
    return render_template('index.html')


if __name__ == '__main__':
    app.run(host='0.0.0.0', port=8080, debug=True)
4-2.index.html 作成
Flask の render_template は jinja2 を利用しているため、テンプレートファイルは templates ディレクトリに配置。
<!DOCTYPE html>
<html lang="en">
<head>
  <meta charset="utf-8">
  <meta name="viewport" content="width=device-width, initial-scale=1">
  <title>MNIST recognition with TensorFlow.js</title>
  <link rel="stylesheet" href="https://cdnjs.cloudflare.com/ajax/libs/bulma/0.6.2/css/bulma.min.css">
</head>
<body>
  <div class="container">
    <h1 class="title">MNIST recognition with TensorFlow.js</h1>
    <h2 class="subtitle">Using Keras pre-trained model (CNN)</h2>
    <div class="columns is-centered">
      <div class="column is-narrow">
        <canvas id="draw-area" width="280" height="280" style="border: 2px solid;"></canvas>
        <div class="field is-grouped">
          <p class="control">
            <a id="predict-button" class="button is-link is-loading" onclick="prediction()">Prediction</a>
          </p>
          <p class="control">
            <a class="button" onclick="reset()">Reset</a>
          </p>
        </div>
      </div>
      <div class="column is-3">
        <table class="table">
          <thead>
            <tr>
              <th>Number</th>
              <th>Accuracy</th>
            </tr>
          </thead>
          <tbody>
            <tr><th>0</th><td class="accuracy" data-row-index="0">-</td></tr>
            <tr><th>1</th><td class="accuracy" data-row-index="1">-</td></tr>
            <tr><th>2</th><td class="accuracy" data-row-index="2">-</td></tr>
            <tr><th>3</th><td class="accuracy" data-row-index="3">-</td></tr>
            <tr><th>4</th><td class="accuracy" data-row-index="4">-</td></tr>
            <tr><th>5</th><td class="accuracy" data-row-index="5">-</td></tr>
            <tr><th>6</th><td class="accuracy" data-row-index="6">-</td></tr>
            <tr><th>7</th><td class="accuracy" data-row-index="7">-</td></tr>
            <tr><th>8</th><td class="accuracy" data-row-index="8">-</td></tr>
            <tr><th>9</th><td class="accuracy" data-row-index="9">-</td></tr>
          </tbody>
        </table>
      </div>
    </div>
  </div>
  <script src="https://cdnjs.cloudflare.com/ajax/libs/signature_pad/1.5.3/signature_pad.min.js"></script>
  <script src="https://cdn.jsdelivr.net/npm/@tensorflow/tfjs@0.8.0"></script>
  <script src="{{url_for('static', filename='tfjs_mnist.js')}}"></script>
</body>
</html>
4-3.tfjs_mnist.js 作成
jinja2 のテンプレート機能を利用している index.html から静的なファイルを読み込むには static ディレクトリがエンドポイントとして認識されるため、javascript, css などは static ディレクトリに配置。
// init SignaturePad
const drawElement = document.getElementById('draw-area');
const signaturePad = new SignaturePad(drawElement, {
    minWidth: 6,
    maxWidth: 6,
    penColor: 'white',
    backgroundColor: 'black',
});

// load pre-trained model
let model;
tf.loadModel('static/model/model.json')
    .then(pretrainedModel => {
    document.getElementById('predict-button').classList.remove('is-loading');
    model = pretrainedModel;
    });

function getImageData() {
    const inputWidth = inputHeight = 28;
    // resize
    const tmpCanvas = document.createElement('canvas').getContext('2d');
    tmpCanvas.drawImage(drawElement, 0, 0, inputWidth, inputHeight);
    // convert grayscale
    let imageData = tmpCanvas.getImageData(0, 0, inputWidth, inputHeight);
    for (let i = 0; i < imageData.data.length; i+=4) {
        const avg = (imageData.data[i] + imageData.data[i+1] + imageData.data[i+2]) / 3;
        imageData.data[i] = imageData.data[i+1] = imageData.data[i+2] = avg;
    }
    return imageData;
}

function getAccuracyScores(imageData) {
    const score = tf.tidy(() => {
    // convert to tensor (shape: [width, height, channels])
    const channels = 1; // grayscale
    let input = tf.fromPixels(imageData, channels);
    // normalized
    input = tf.cast(input, 'float32').div(tf.scalar(255));
    // reshape input format (shape: [batch_size, width, height, channels])
    input = input.expandDims();
    // predict
    return model.predict(input).dataSync();
    });
    return score;
}

function prediction() {
    const imageData = getImageData();
    const accuracyScores = getAccuracyScores(imageData);
    const maxAccuracy = accuracyScores.indexOf(Math.max.apply(null, accuracyScores));
    const elements = document.querySelectorAll(".accuracy");
    elements.forEach(el => {
        el.parentNode.classList.remove('is-selected');
        const rowIndex = Number(el.dataset.rowIndex);
        if (maxAccuracy === rowIndex) {
          el.parentNode.classList.add('is-selected');
        }
        el.innerText = accuracyScores[rowIndex];
    })
}

function reset() {
    signaturePad.clear();
    let elements = document.querySelectorAll(".accuracy");
    elements.forEach(el => {
        el.parentNode.classList.remove('is-selected');
        el.innerText = '-';
    })
}
4-4.model.zip を展開&配置
「1.」で作成&ダウンロードした model.zip を static ディレクトリに展開。
展開・配置の完了後にサーバを起動。
$ python tfjs_server.py
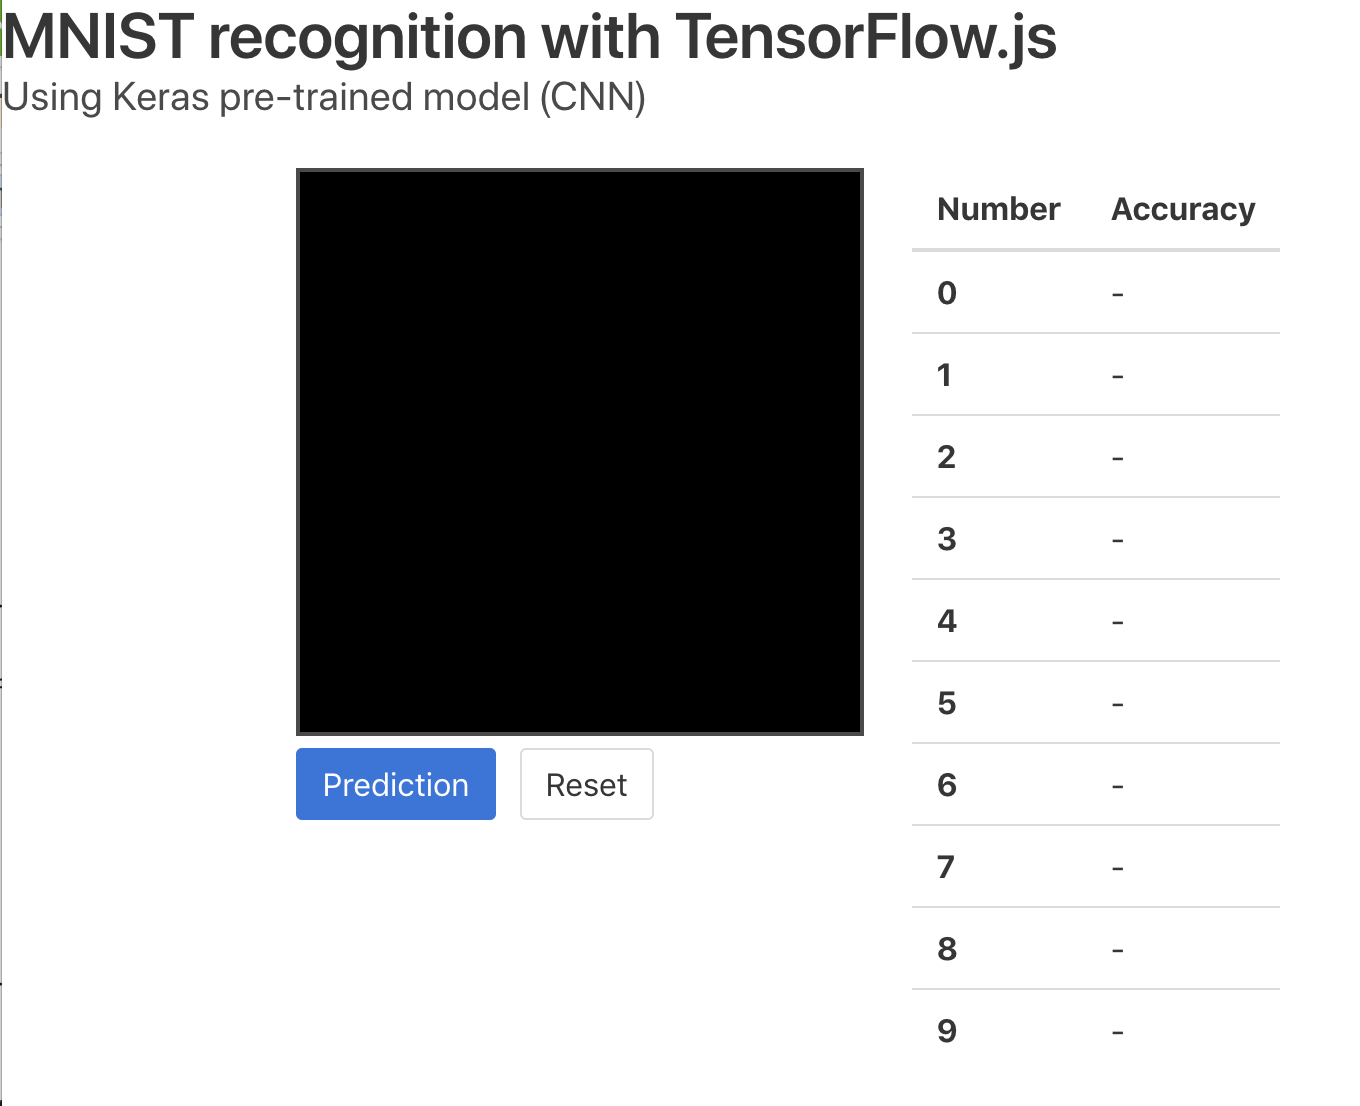
ブラウザから http://[server_ip_addr]:8080/ に接続してアプリが実行されたら完了。
(アプリの実行画面)
Z.ハマったところ
- Flask 内部で使用されている jinja2 のテンプレートの静的ファイルリンクがなかなか解決できず…
- tfjs_mnist.js から model/model.json が NotFound でハマる
- コチラのサイトの説明でようやくパスの相互可視の仕組みが理解できた(ありがとうございます)
(以上)