概要
CodeBuildでpython + seleniumを動作させる例になります。
Amazon Linux 2 のpythonはデフォルトがversion 2 なので3をインストールしています。
Chrome、Chromeドライバは最新を使用する例になります。
コード
下記3つを用意してください。
- buildspec.yml
- install_chrome.sh
- get_title.py
今回はGithubのプライベートリポジトリに上記を置いたことを前提にすすめます。
buildspec.ymlはCodeBuild上に書き、.shと.pyはCodeCommitに置いても動きます。
buildspec.yml
インストールとスクリプトのコマンドだけにしました。
version: 0.2

phases:
  install:
    commands:
      - yum install python3 python-pip GConf2 unzip -y
      - yum install ipa-gothic-fonts ipa-mincho-fonts ipa-pgothic-fonts ipa-pmincho-font -y
      - pip3 install selenium
      - bash install_chrome.sh
  build:
    commands:
      - python3 get_title.py
install_chrome.sh
ChromeとChromeドライバのインストール部分を切り出したシェルをオリジナルで用意しました。
StableなChromeに合うChromeドライバをインストールするようにしています。
取得の仕方もスクレイピングのため、ページの修正により動かなくなった場合はメンテナンスが必要です。^^;
(https://sites.google.com/a/chromium.org/chromedriver/ へアクセスし、「Latest stable」でgrepし、周辺のバージョン番号を取得します。それをリストにして、Chromeのバージョンと合うものを選択)
# !/bin/bash

CHROMEDRIVER_VERSION=""

curl https://intoli.com/install-google-chrome.sh | bash
if [ $? -ne 0 ]; then
    echo "install of google-chrome is failed."
    exit 1
fi

CHROME_VERSION=$(google-chrome-stable -version | grep -oP "(?<=Google Chrome )\d+\.\d+\.\d+")
echo ${CHROME_VERSION}

version_list=$(curl -s https://sites.google.com/a/chromium.org/chromedriver/ | grep 'Latest stable' | grep -oP '(?<=ChromeDriver )\d+\.\d+\.\d+\.\d+')
for item in ${version_list[@]}; do
    if [[ ${item} =~ ${CHROME_VERSION} ]] ;
    then
        CHROMEDRIVER_VERSION=${item}
    fi
done

curl -O https://chromedriver.storage.googleapis.com/${CHROMEDRIVER_VERSION}/chromedriver_linux64.zip
if [ $? -ne 0 ]; then
    echo "download of chromedriver is failed."
    exit 1
fi

unzip chromedriver_linux64.zip
if [ $? -ne 0 ]; then
    echo "unzip of chromedriver is failed."
    exit 1
fi

mv chromedriver /usr/local/bin/.
if [ $? -ne 0 ]; then
    echo "move of chromedriver is failed."
    exit 1
fi
get_title.py
スクレイピングするシンプルなスクリプトです。
from selenium import webdriver
from selenium.webdriver.chrome.options import Options

options = Options()
options.add_argument('--headless')
options.add_argument('--no-sandbox')
options.add_argument('--disable-gpu')
options.add_argument('--window-size=1280,1024')
driver = webdriver.Chrome(chrome_options=options)
driver.get('https://aws.amazon.com/jp/')
print(driver.title)
CodeBuildの設定
ビルドプロジェクトを作成する
-
プロジェクト名を設定します。

-
ソースプロバイダにGitHubを選択し、リポジトリは最初は「GitHubの個人用アクセストークンで接続する」を選択し、GitHubの個人用アクセストークンを入力し、「トークンの保存」を押します。

-
保存すると、リポジトリがパブリックか、GitHubアカウントのリポジトリかを選択できるようになり、後者を選択します。GitHubリポジトリを指定します。(選択肢が出てきます)

-
環境を下記にします。イメージは新しい方を選択。
- 環境イメージ:マネージド型イメージ
- オペレーティングシステム:Amazon Linux 2
- ランタイム:Standard
- イメージ:aws/codebuild/amazonlinux2-x86_64-standard:3.0
- 環境タイプ:Linux

-
Buildspecは、buildspecファイルを使用するを選択します。
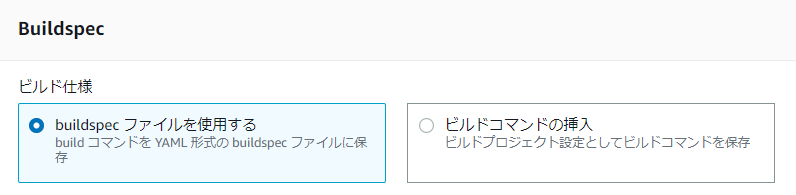
その他の設定はデフォルトのままです。ビルドプロジェクトを作成は以上です。
実行
作成したプロジェクトへ行き、「ビルドを開始」を押します。以上です。
ビルドログを見るとタイトルが取得できていることがわかります。
