はじめに
Fusion360 のAPIの理解を深めるために公式ドキュメント内のサンプルコード Create circle by center and radius API Sample の内容からドキュメントを読み込んでみたメモ書きです
中心と半径を指定してスケッチの円を作成します。
スクリプトの内容を確認する
最初と最後のおまじない
最初と最後のこの辺りはFusion360 APIのお決まりのパターンのようです。今回はあまり気にせずに進むことにします。
import adsk.core, adsk.fusion, traceback

def run(context):
    ui = None
    try:
        app = adsk.core.Application.get()
        ui = app.userInterface

        doc = app.documents.add(adsk.core.DocumentTypes.FusionDesignDocumentType)
        design = app.activeProduct

        # Get the root component of the active design.
        rootComp = design.rootComponent

        #
        # ここにコードを追加していく
        #

    except:
        if ui:
            ui.messageBox('Failed:\n{}'.format(traceback.format_exc()))
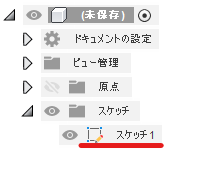
スケッチの作成
        # Create a new sketch on the xy plane.
        sketches = rootComp.sketches;
        xyPlane = rootComp.xYConstructionPlane
        sketch = sketches.add(xyPlane)
sketchesにルートコンポーネントのスケッチを代入?
xyPlaneにルートコンポーネントのXY平面を代入?
sketchという名前で**Sketches.add メソッド**でルートコンポーネントのスケッチに新しいスケッチを作成
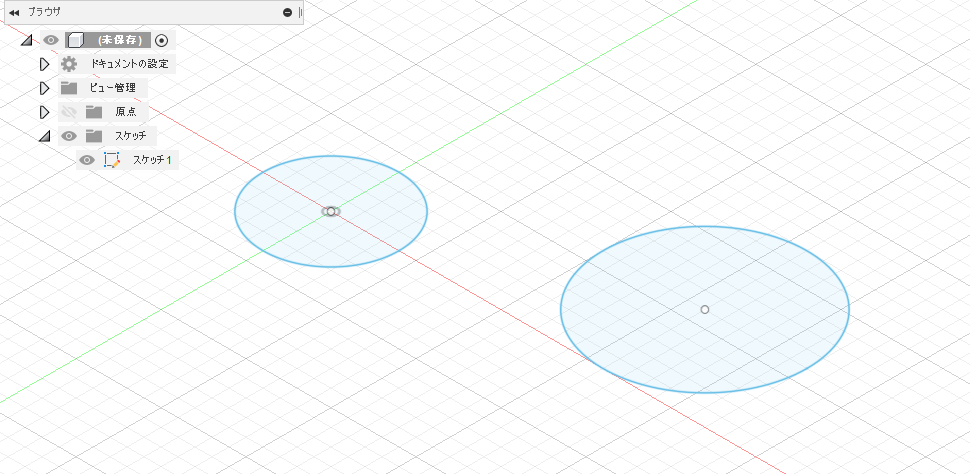
円を何個か描いてみる
        # Draw some circles.
        circles = sketch.sketchCurves.sketchCircles
        circle1 = circles.addByCenterRadius(adsk.core.Point3D.create(0, 0, 0), 2)
        circle2 = circles.addByCenterRadius(adsk.core.Point3D.create(8, 3, 0), 3)
circlesという名前で sketchCirclesオブジェクトを作成する
Point3D.create メソッドでXYZ座標を指定してポイントを作成し、SketchCircles.addByCenterRadius メソッドで中心点と半径を指定して円を描いている
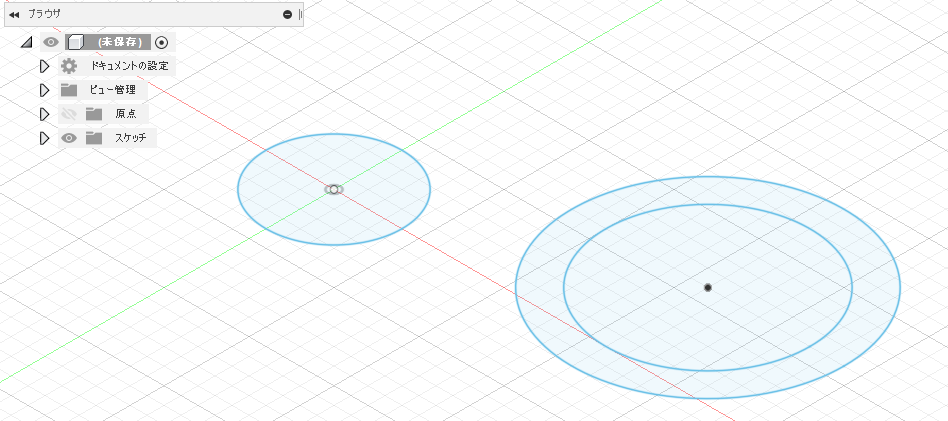
既存の円の中心に円を追加する
        # Add a circle at the center of one of the existing circles.
        circle3 = circles.addByCenterRadius(circle2.centerSketchPoint, 4)
circle2 の centerSketchPoint プロパティ で中心点を取得し、その点を中心点として circle3 を描いている
まとめ
これぐらいの内容なら読んで理解するのは問題ないけど、サンプルにはないものを作りたいときにドキュメントから必要な情報を探すのに苦労しそうな気がするなー![]()
前の記事 Fusion 360 を Pythonで動かそう その1 スクリプトの新規作成
次の記事 Fusion 360 を Pythonで動かそう その3 スケッチに3つの接線で円を描く


