bitbucketで差分管理しているリソースを、AWS s3にpipeline経由でアップロードする。
(静的htmlのみ使用するアクセスが少ないwebサイトをs3のhosting機能で運営することにした。)
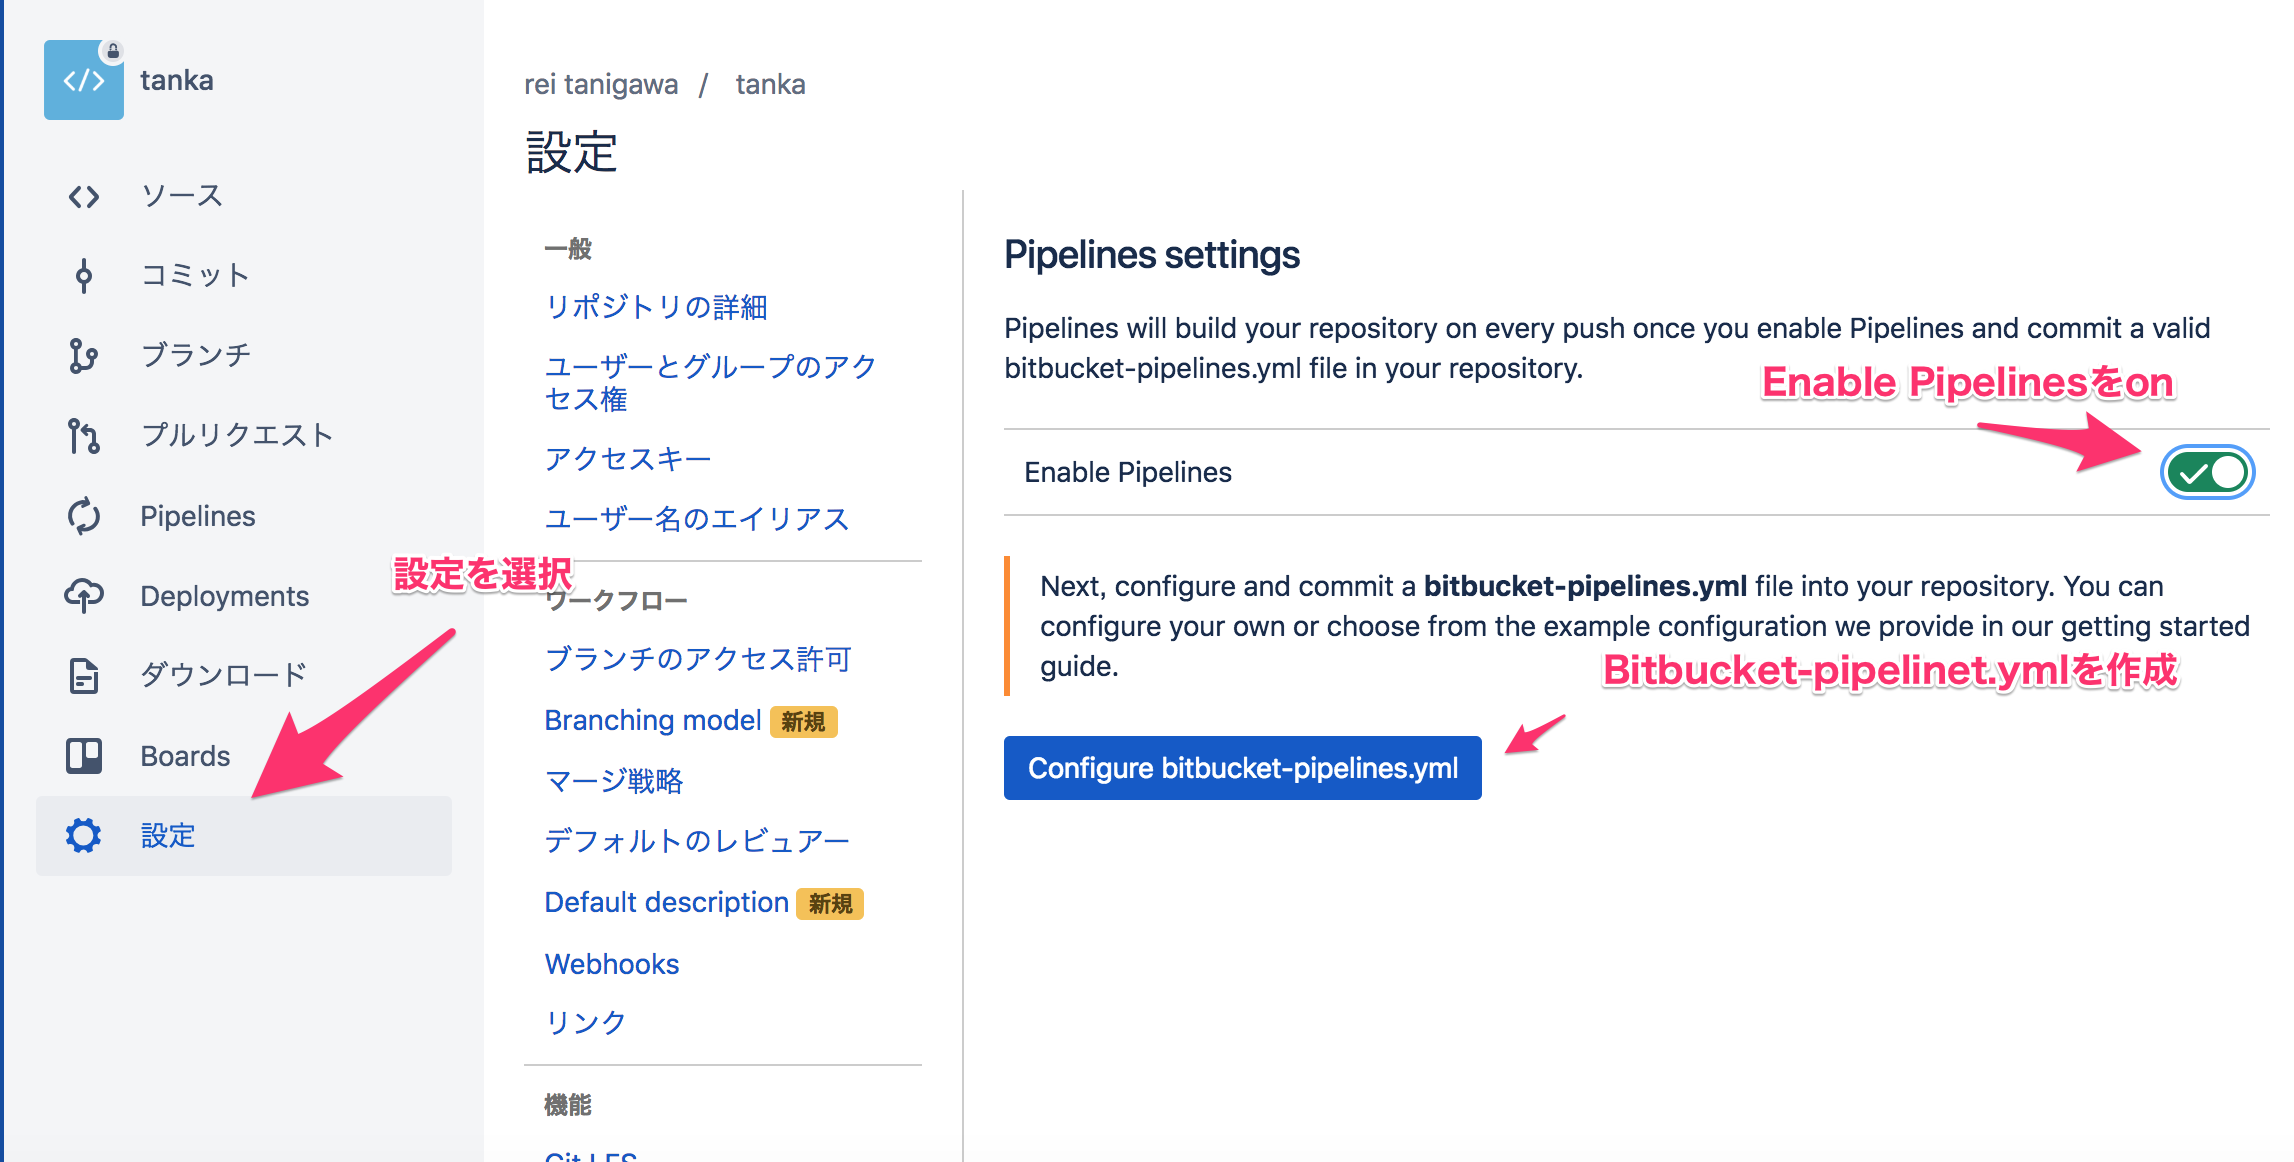
リポジトリの設定からEnable Pipelinesをonにして、bitbucket-pipelines.ymlを設置する。
今回は、masterへのcommitのみ、s3にアップロードする。
qiita.rb
# This is a sample build configuration for Other.
# Check our guides at https://confluence.atlassian.com/x/5Q4SMw for more examples.
# Only use spaces to indent your .yml configuration.
# -----
# You can specify a custom docker image from Docker Hub as your build environment.
image: atlassian/default-image:2

pipelines:
  default:
    - step:
        # set AWS_ACCESS_KEY_ID and AWS_SECRET_ACCESS_KEY as environment variables
        name: Deploy to S3
        deployment: test   # set to test, staging or production
        # trigger: manual  # uncomment to have a manual step
        image: atlassian/pipelines-awscli
        script:
          - aws s3 sync --delete . s3://<bucket_name>
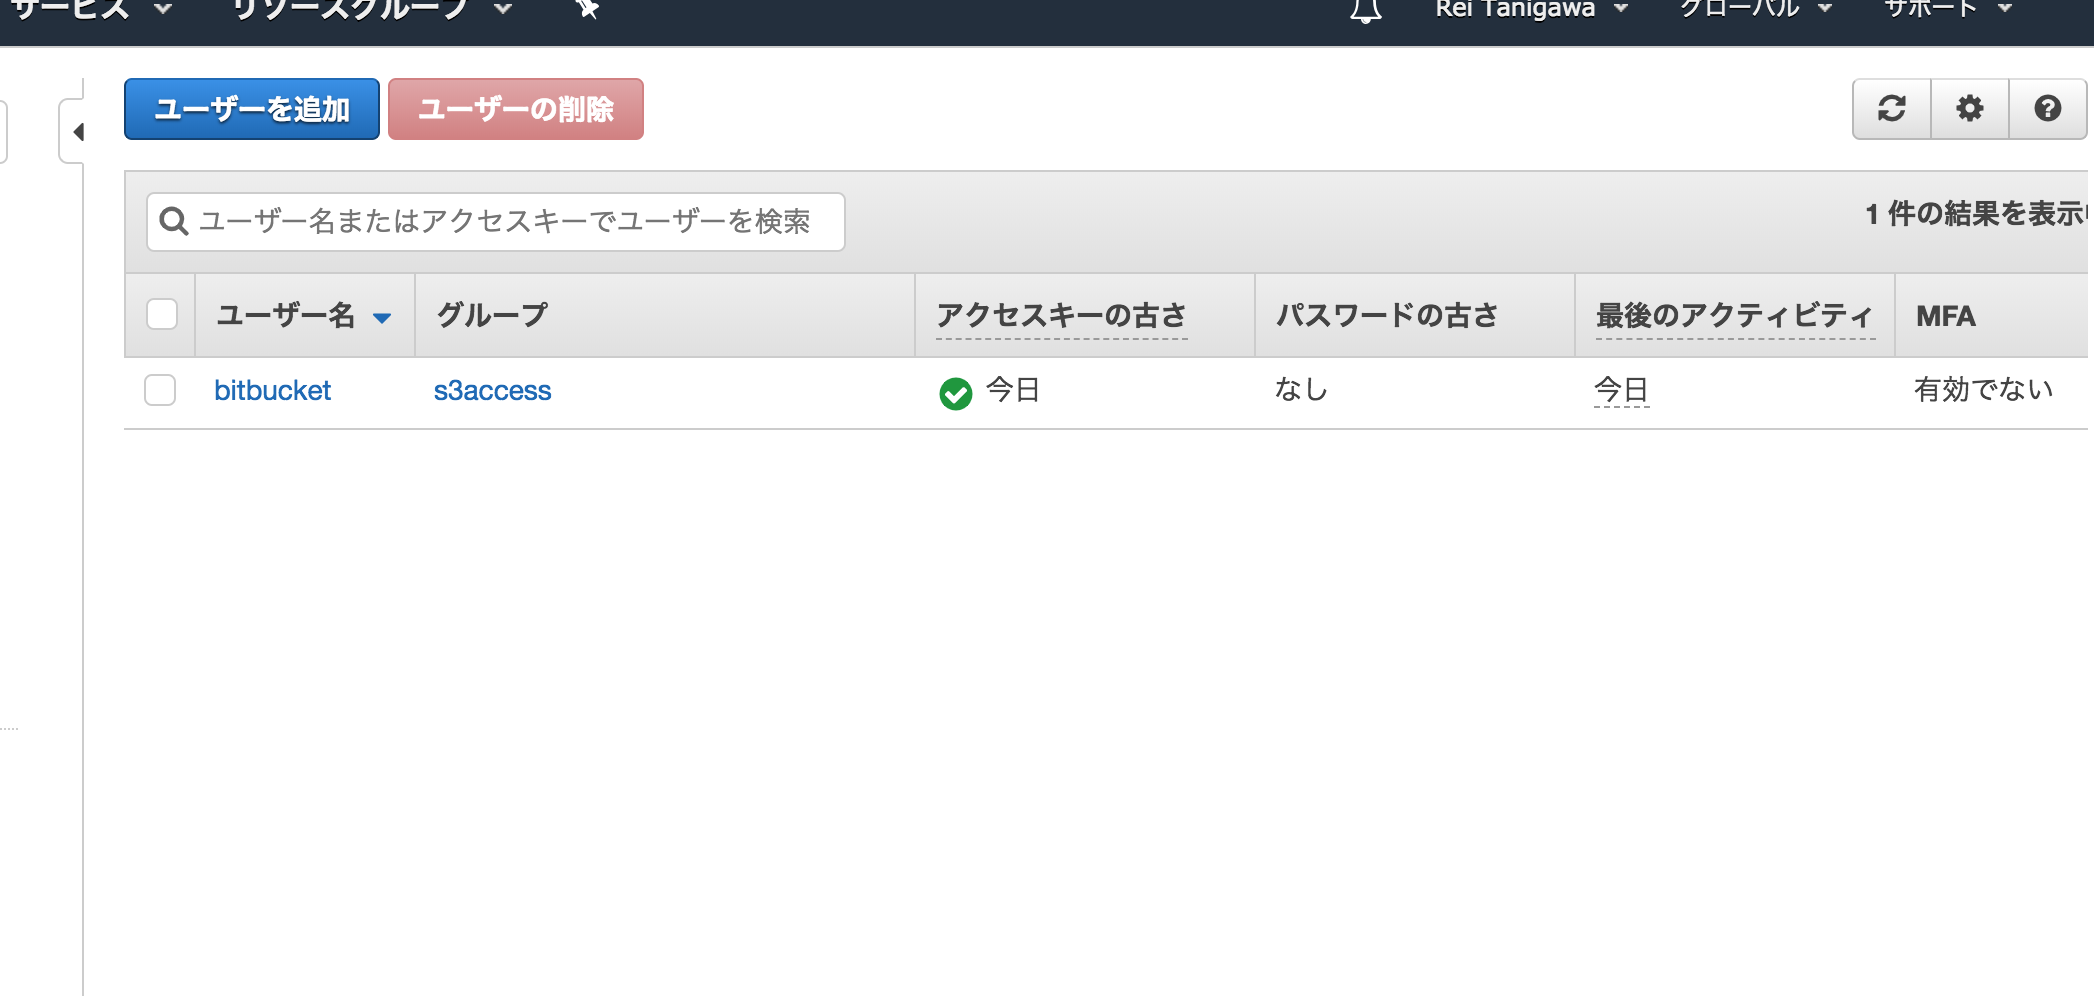
AWS側に、s3にアクセスできるユーザを作成する。
今回は、ユーザ、bitbucketを作成して、s3accessにフルでアクセスできるグループに所属させた
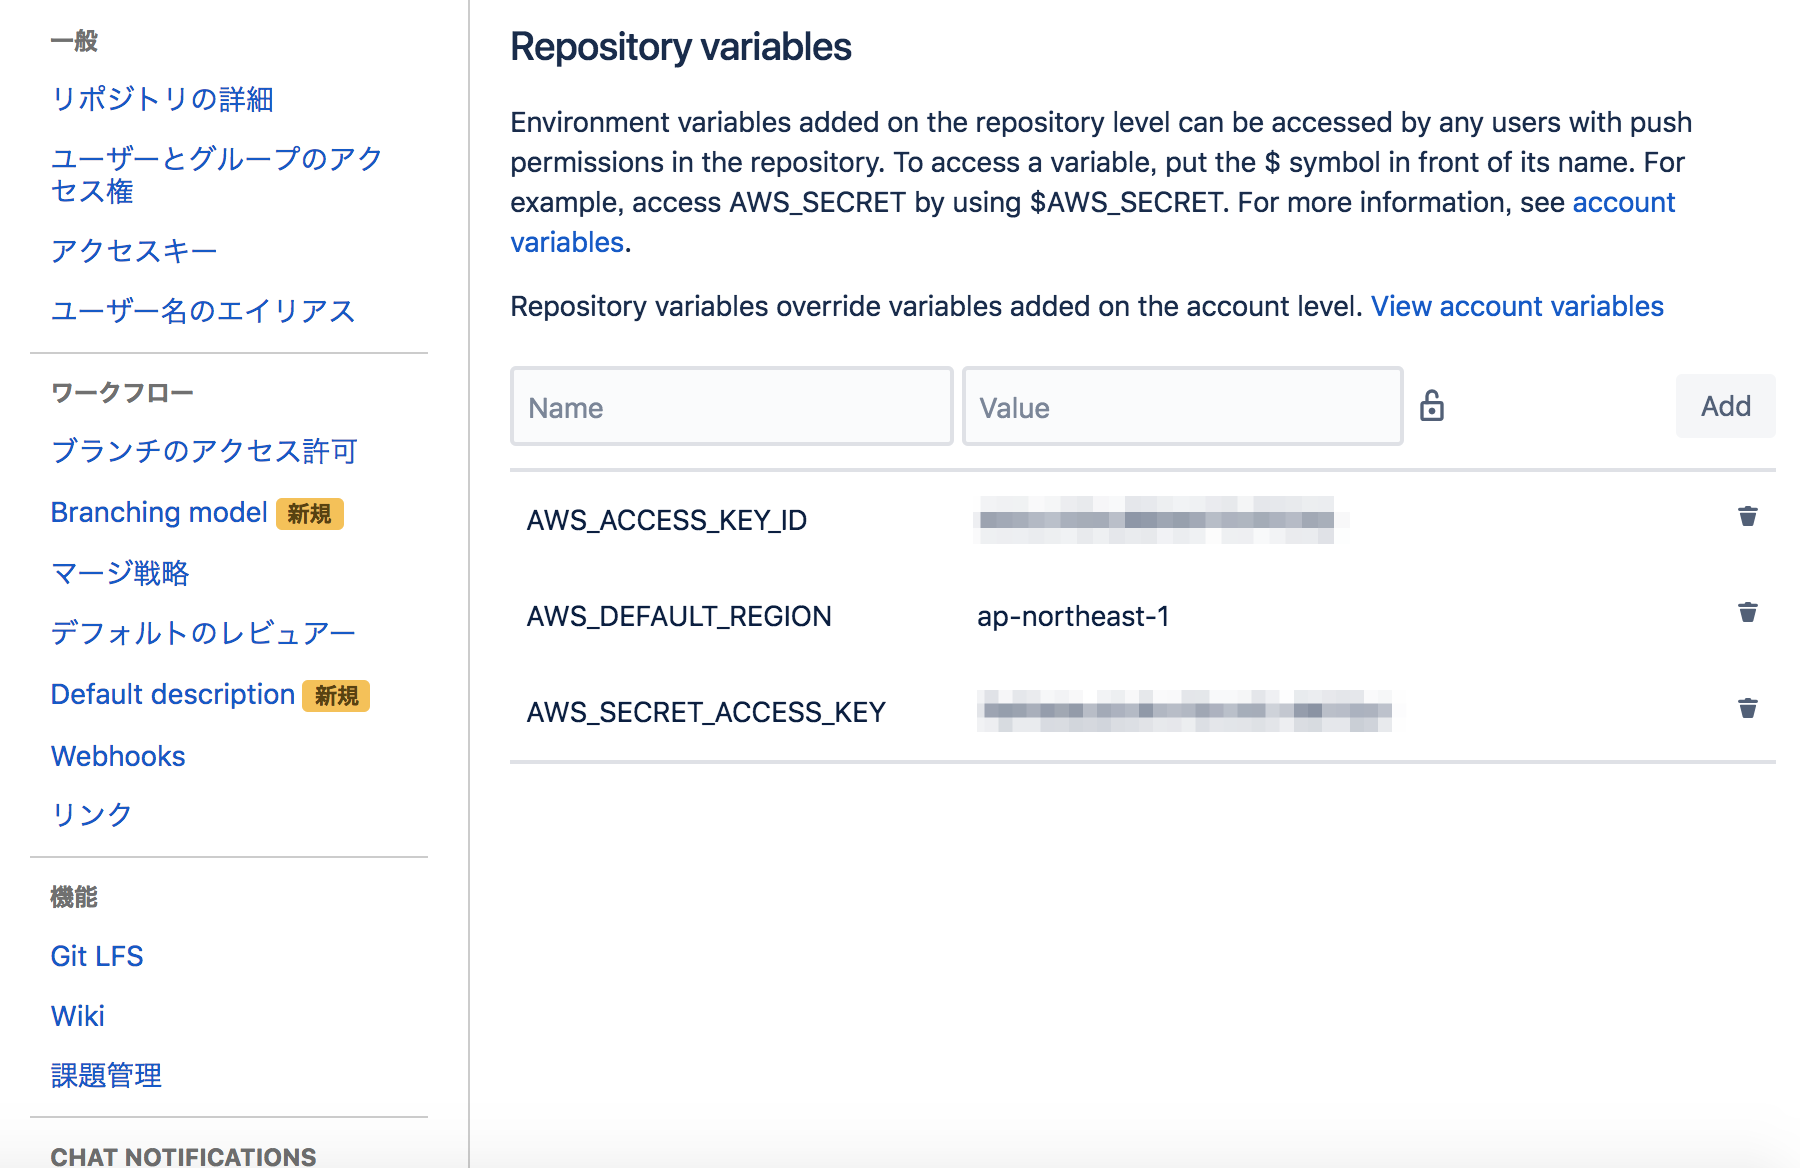
アクセスキーを、リポジトリの設定→Repository variablesに設定する
AWS_ACCESS_KEY_ID アクセスキーID
AWS_DEFAULT_REGION デフォルトリージョン
AWS_SECRET_ACCESS_KEY 対応するキー
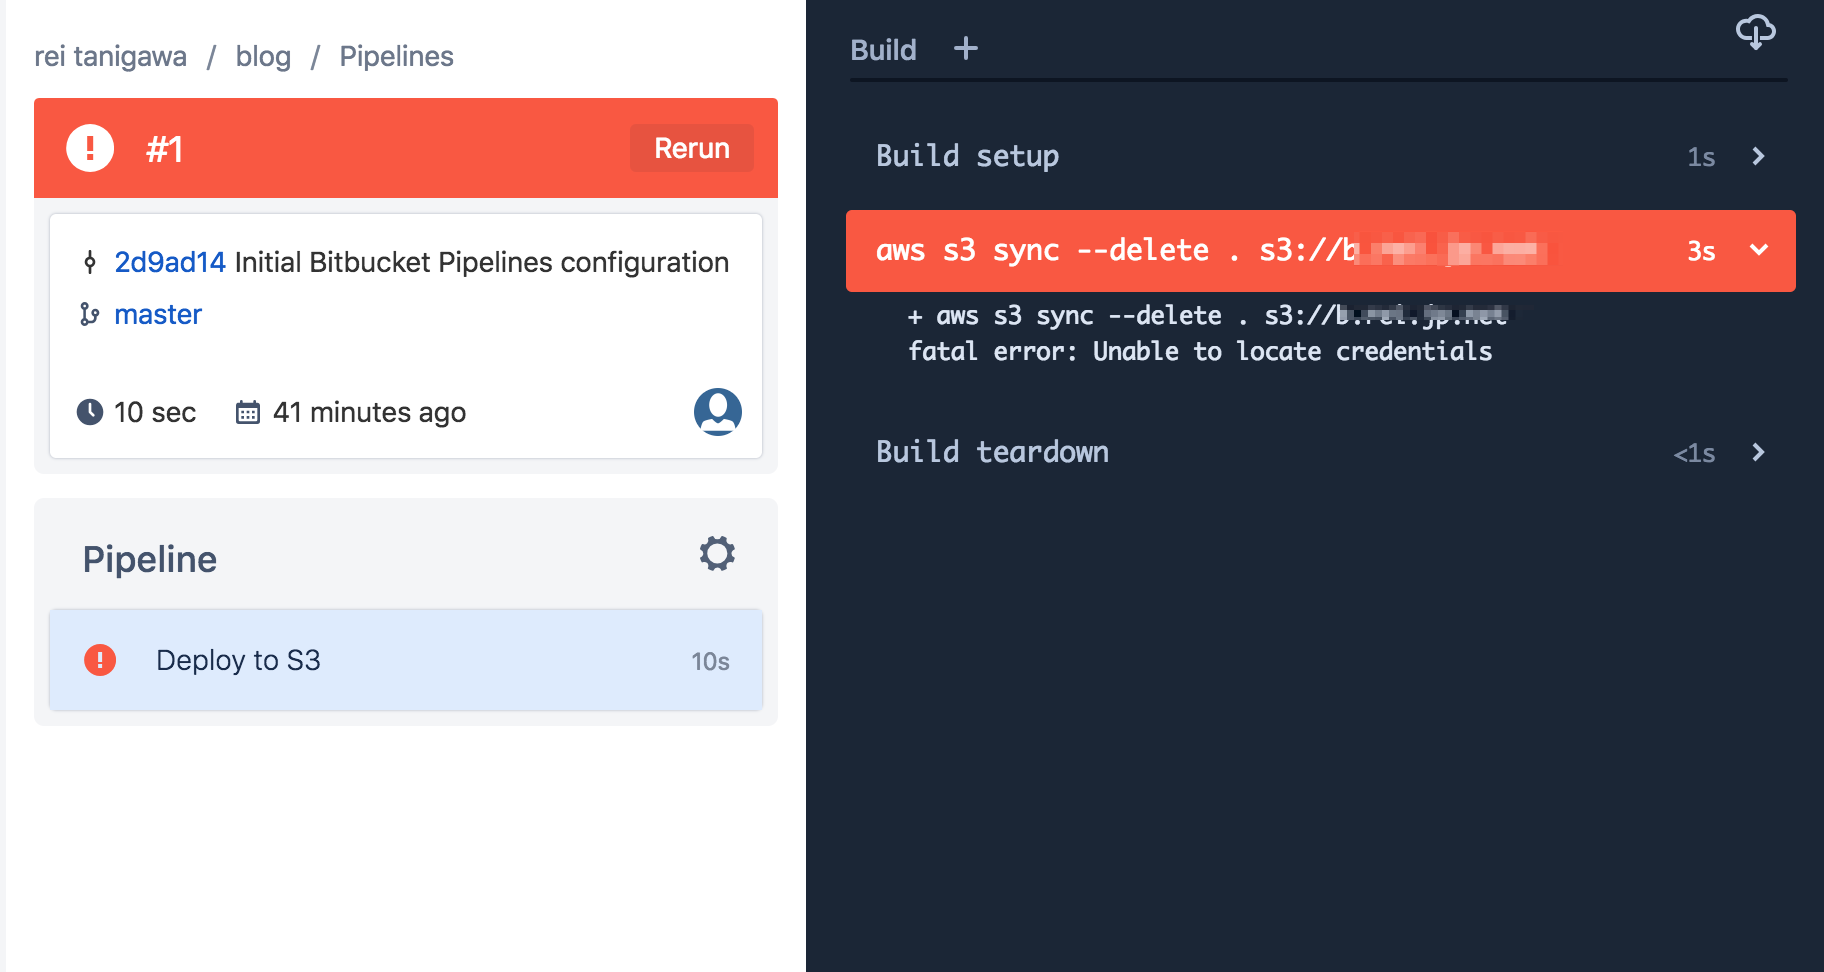
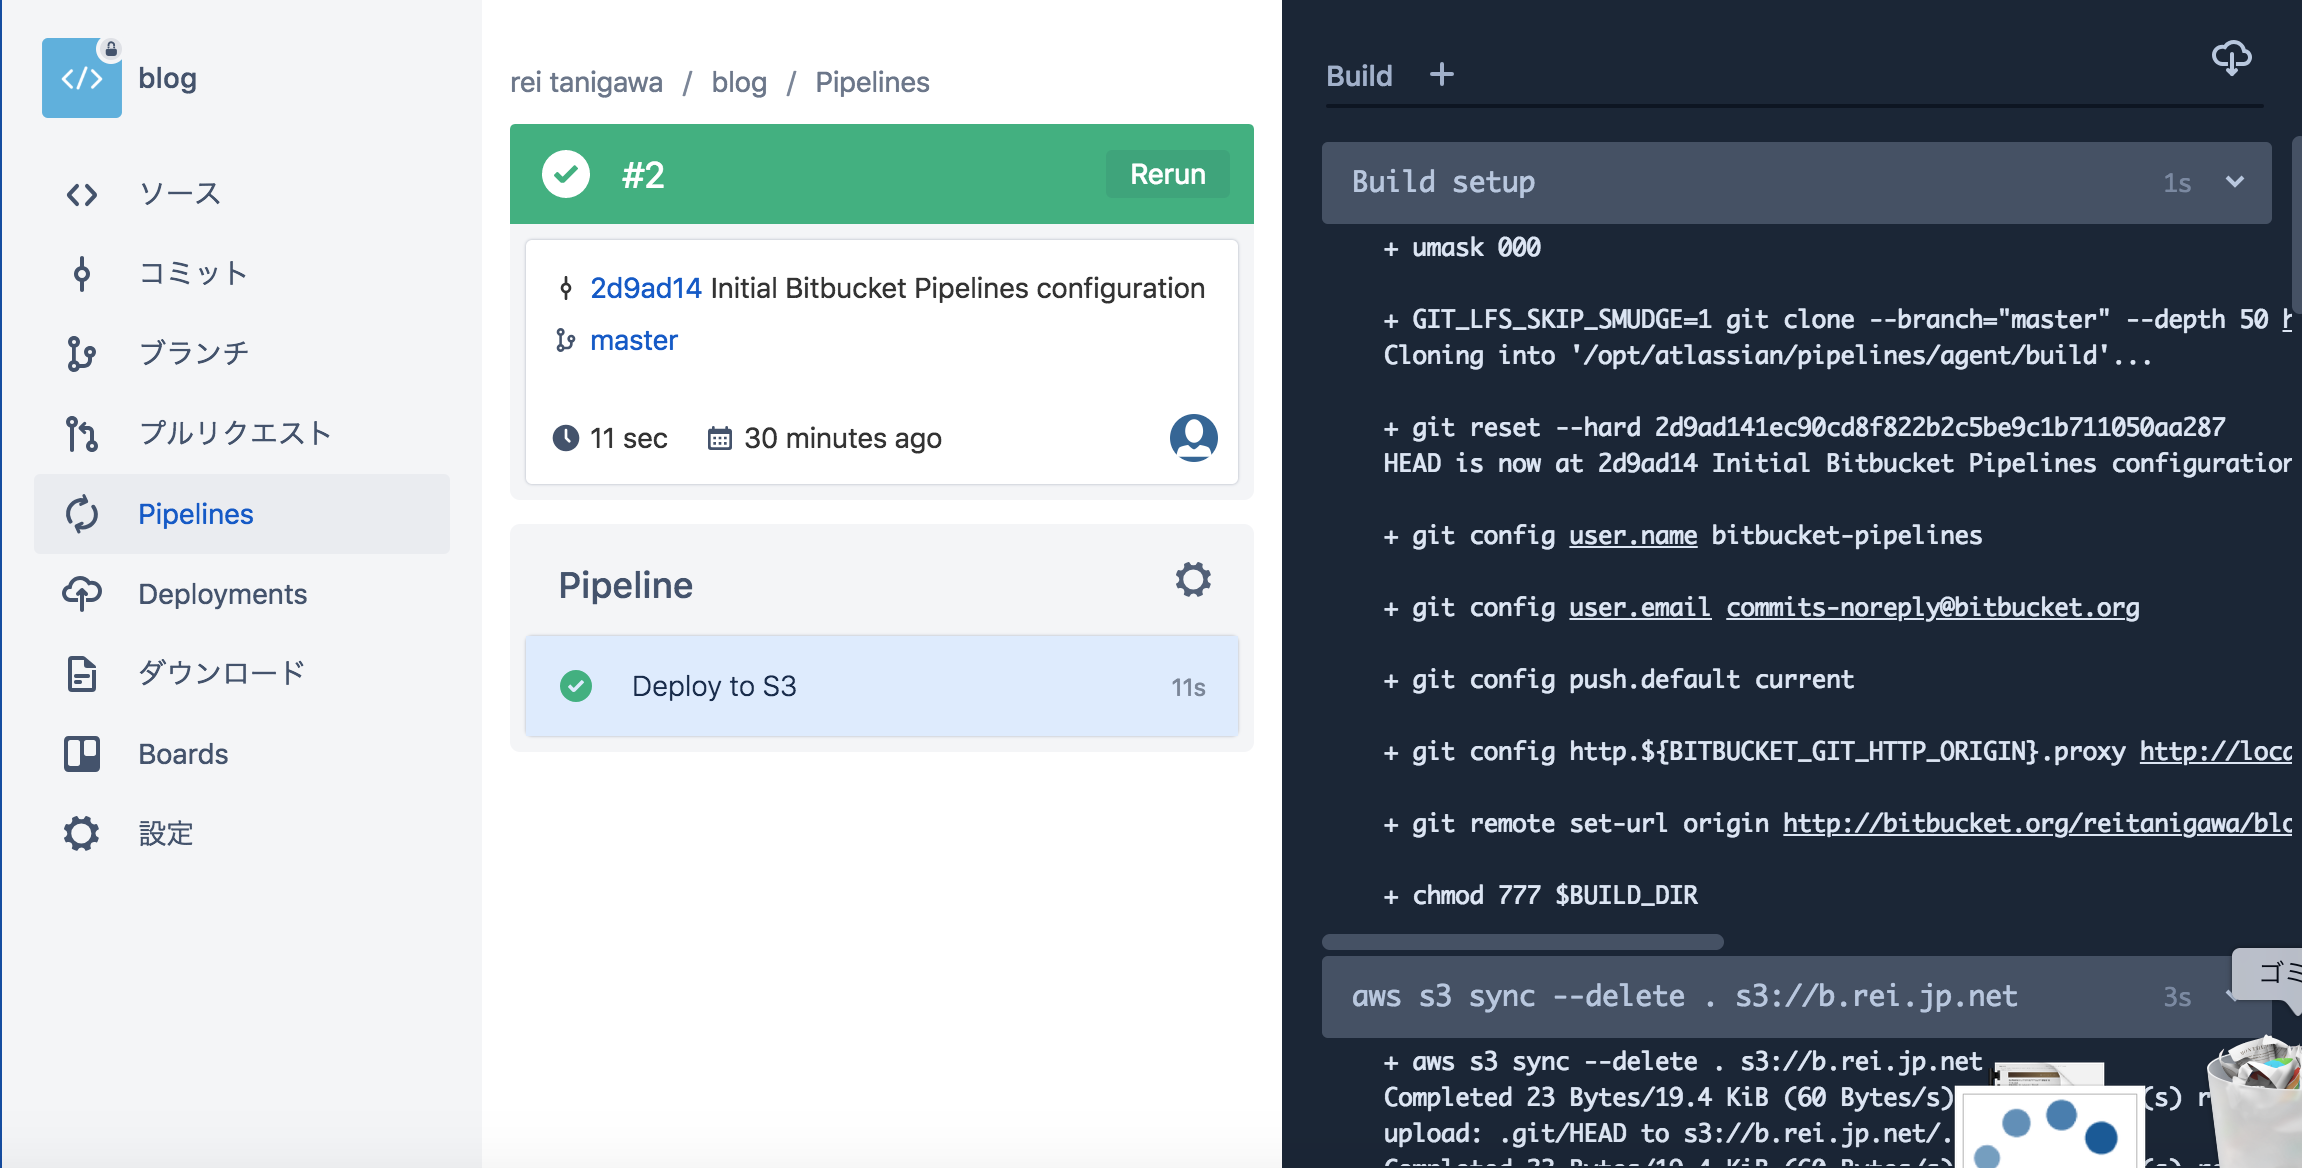
アップロードに成功
アクセスキーなどを設定しないと、unable to locate credentials