はじめに
TL;DR
- Djangoは簡単なウェブアプリ作るのには便利で楽。
- Python触ったことなくてもある程度書ける。
記事の内容について
- JavaエンジニアがDjangoに入門してみた内容
- Djangoの入門にあたり、以下の様なの簡単なアプリを作成
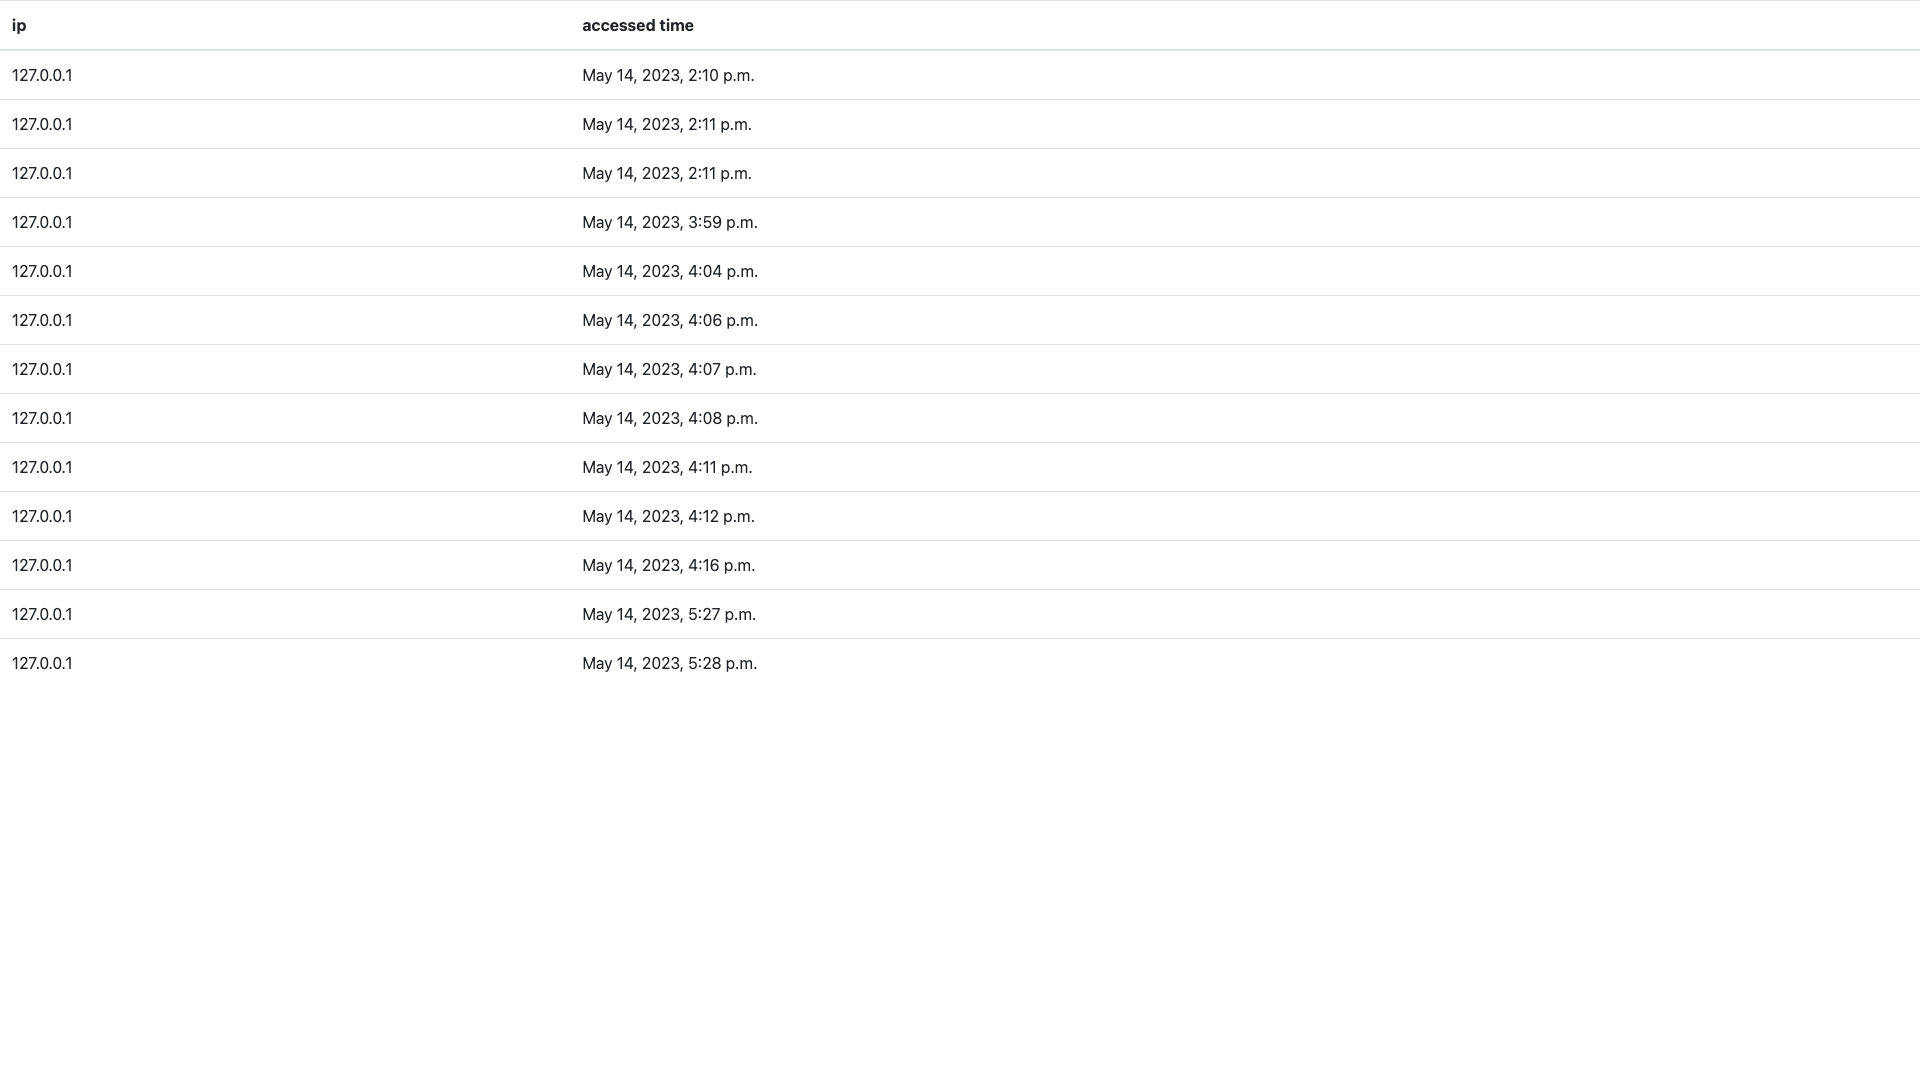
- ページにアクセスするたび、アクセス元IP、アクセス時間をページに表示する
- データベースにはPostgreSQLを使用する
- Python歴1日(ソース読んだだけ)でのチャレンジなので、文法・記法的なところでお見苦しいところがあるかもしれませんが、お許しください(おすすめページとかあれば教えていただけると幸いです。)
環境
- 端末:MacBookAir M1
- Python:3.10.6
- pip:23.1.1
- psql:psql (PostgreSQL) 14.8 (Homebrew)
- Docker:Docker Desktop 4.7.1 (77678)
参考ページ
作成したコード
Djangoのインストール
- pipを使用してインストール
$ pip install Django
今回のアプリを初期セットアップ
djang-admin startprojectを使用することで、簡単にDjangoの初期ファイルが作成できる
$ django-admin startproject access_history
$ ls -alh
total 24
drwxr-xr-x  21 username staff   672B  5 13 23:21 .
drwxr-xr-x+ 78 username staff   2.4K  5 13 23:22 ..
drwxr-xr-x   4 username staff   128B  5 13 23:21 access_history
$ cd access_history
$ ls -alh
total 8
drwxr-xr-x   5 username staff   160B  5 13 23:24 .
drwxr-xr-x  21 username staff   672B  5 13 23:21 ..
drwxr-xr-x   8 username staff   256B  5 13 23:24 access_history
-rwxr-xr-x   1 username staff   670B  5 13 23:21 manage.py
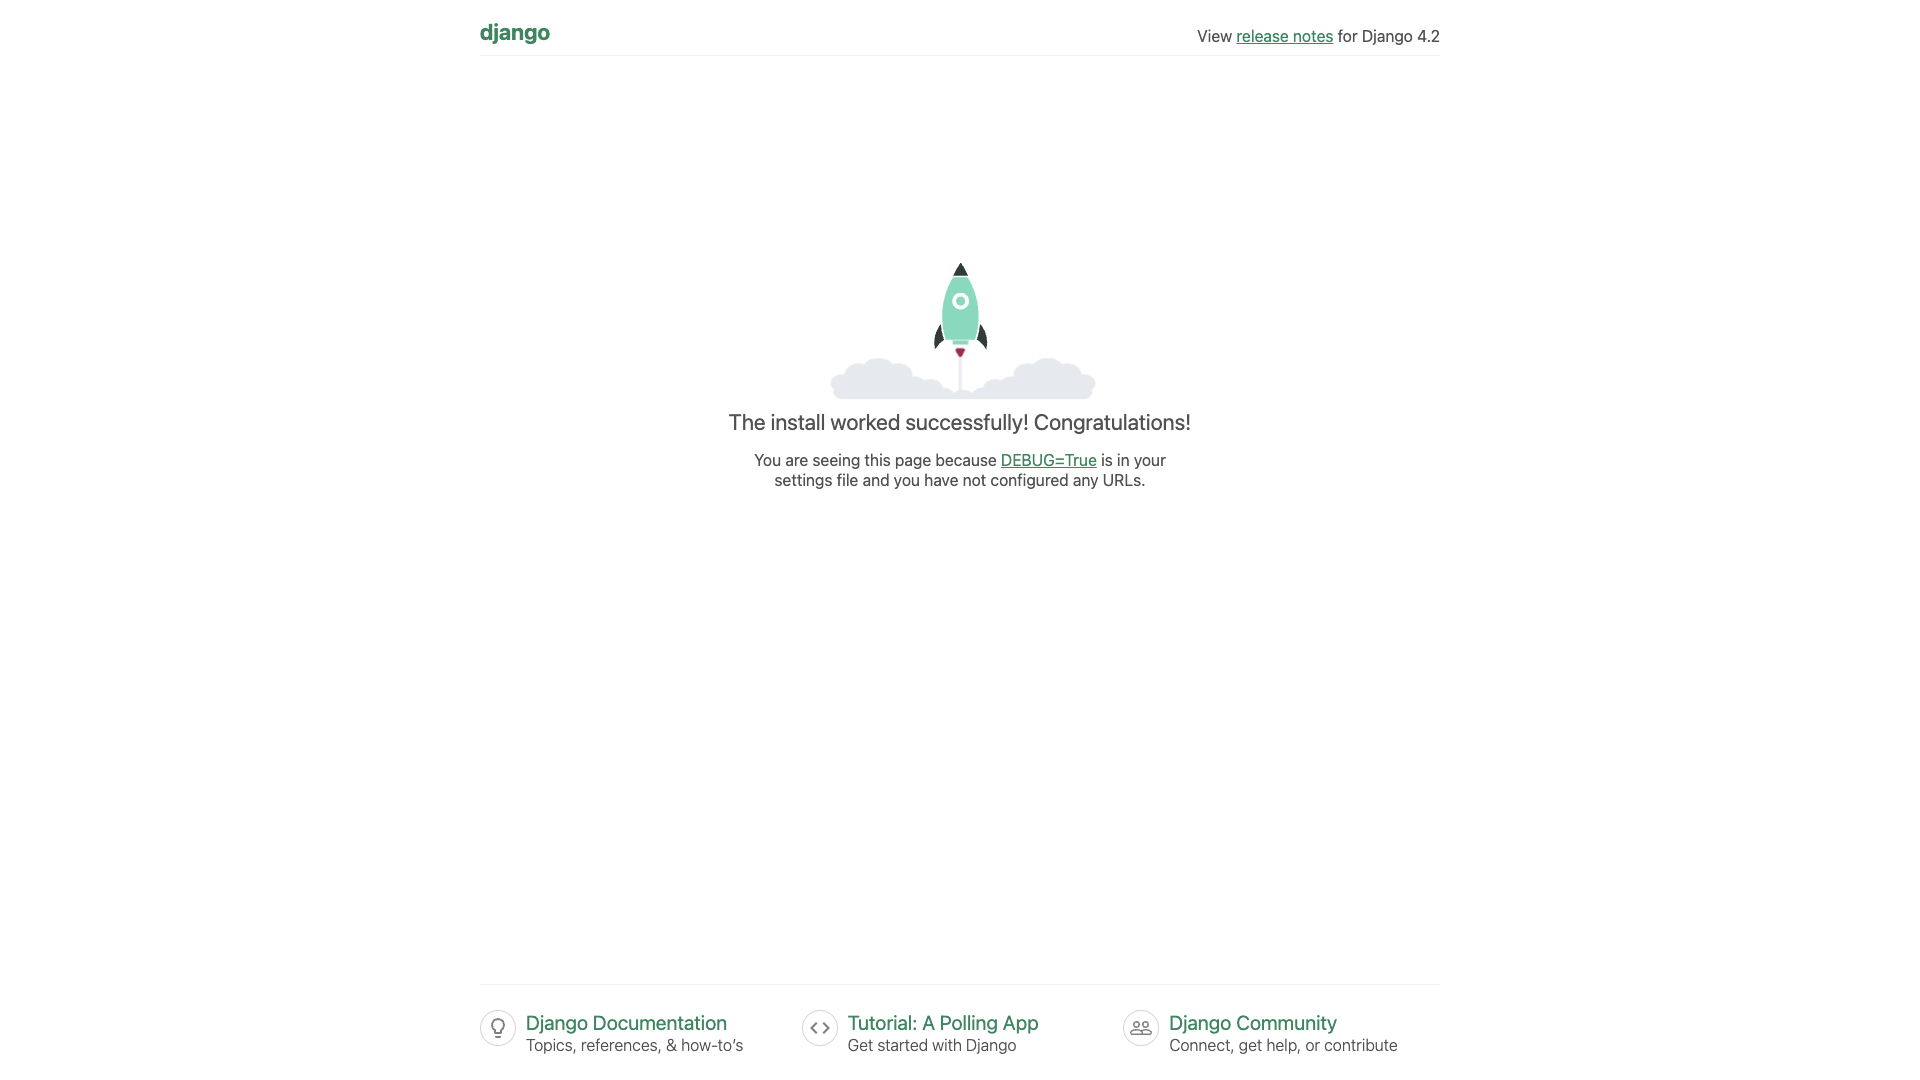
作成されたフォルダの中を見るとmanage.pyというファイルが存在し、どうやらこいつをサーバ起動等に使用するらしい。
ということで起動してみた。
$ python manage.py runserver
Watching for file changes with StatReloader
Performing system checks...

System check identified no issues (0 silenced).

You have 18 unapplied migration(s). Your project may not work properly until you apply the migrations for app(s): admin, auth, contenttypes, sessions.
Run 'python manage.py migrate' to apply them.
May 13, 2023 - 14:27:43
Django version 4.2.1, using settings 'access_history.settings'
Starting development server at http://127.0.0.1:8000/
Quit the server with CONTROL-C.
[13/May/2023 14:27:49] "GET / HTTP/1.1" 200 10731
[13/May/2023 14:27:50] "GET /static/admin/css/fonts.css HTTP/1.1" 404 1816
簡単にファイルを追加して動作確認
下記ファイルを追加。追加場所はaccess_history/access_history配下
from django.http import HttpResponse

def hello(request):
    return HttpResponse("Hello World")
access_history/access_history/urls.pyを修正
from django.contrib import admin
from django.urls import path

urlpatterns = [
    path('admin/', admin.site.urls),
]
from django.contrib import admin
from django.urls import path
from . import hello

urlpatterns = [
    path('hello/', hello.hello, name='hello'),
    path('admin/', admin.site.urls),
]
無事アクセス(&世界にあいさつ)できた
作り込み
まず今回作成するアクセス履歴表示画面用にDjangoプロジェクトに機能追加
$ python manage.py startapp history
作成されたファイルを下記通りに修正
(長いので折りたたみ→上から順に変更orファイル追加をしている。ファイル名:(追加or変更)で書いている)
修正内容
from django.db import models
from django.core.exceptions import ValidationError
import re

# ip アドレスのバリデーション用
pattern = "([0-9]{3}\.){3}\.[0-9]{3}"
matcher = re.compile(pattern)

def validate_ip(value):
    if not matcher.match(value):
        raise ValidationError(
            _("%{value} is not valid ip!"),
            params={"value",value}
        )

class AccessHistory(models.Model):
    # データの設定
    ip=models.CharField("ip",max_length=200,validators=[validate_ip])
    access_time=models.DateTimeField("date accessed")

    # __str__メソッドのオーバーライド
    # ページ表示する際に使用
    def __str__(self) -> str:
        return "ip : %s / access time : %s" % (self.ip,self.access_time)
from django.http import HttpResponse
from django.utils import timezone as tz
from history.models import AccessHistory

class ListPage:
    def list(request):
        # requestからIP情報を取得
        ip = request.META.get('REMOTE_ADDR')

        # テーブルへ保管
        AccessHistory(ip=ip,access_time=tz.datetime.now()).save()

        # レスポンスの組み立て
        query_set = AccessHistory.objects.all()
        response_str=''
        for qs in query_set:
            response_str = response_str + str(qs) + "<br>"
        # レスポンス返却
        return HttpResponse(response_str)
from django.urls import path
from history.list_page import ListPage

urlpatterns = [
    # 作成したListPage.listを登録。history配下では特にパスを付けない。
    path('', ListPage.list , name="list"),
]
from django.contrib import admin
from django.urls import path,include
from . import hello

urlpatterns = [
    path('hello/', hello.hello, name='hello'),
    # ↓が追加した行。ここでパスを指定するため、history/urls.pyでは指定なしとした。
    path('list/', include("history.urls")),
    path('admin/', admin.site.urls),
]
上記が、機能作成。
↓でDjangoに機能を登録し、データベースとの紐付けをさせる
INSTALLED_APPS = [
    #↓の1行が追加した行。history.aaps.HistoryConfigがDjangoでの機能登録に使用するクラス
    'history.apps.HistoryConfig',
    'django.contrib.admin',
    'django.contrib.auth',
    'django.contrib.contenttypes',
    'django.contrib.sessions',
    'django.contrib.messages',
    'django.contrib.staticfiles',
]
DjangoではModelとデータベースのを紐づけることができる。
今回作成したAccessHistoryの場合、そのフィールドである、ip,access_timeが、その型情報と一緒にデータベースと関連づけられる。
後ほど出てくるが、このModelをもとに、テーブルまで自動で作成することができる。
今回はデータベースにPostgreSQLを使いたいので追加でライブラリをインストール&一部ファイル修正
$ pip install psycopg
PostgreSQLをセットアップ
お試しなので、DockerでPostgreSQLを起動し、簡単に捨てられる様にしておく。
$ docker run -d --name postgres -e POSTGRES_PASSWORD='p@ssw0rd' -p 5432:5432  postgres:14.7-bullseye
$ psql -h localhost -U postgres # 今回使用するデータベースを作成するため、一度接続
Password for user postgres: <p@ssw0rdを入力しEnter>
psql (11.20, server 11.3 (Debian 11.3-1.pgdg90+1))
Type "help" for help.

postgres=# create database access_history;
CREATE DATABASE
postgres=# \q
DjangoがPostgreSQLへ接続できる様設定ファイルの一部を修正
DATABASES = {
    'default': {
        'ENGINE': 'django.db.backends.sqlite3',
        'NAME': BASE_DIR / 'db.sqlite3',
    }
}
DATABASES = {
    'default': {
        'ENGINE': 'django.db.backends.postgresql',
        'NAME': 'access_history',
        'HOST': 'localhost',
        'USER': 'postgres',
        'PASSWORD': 'p@ssw0rd',
        'PORT': '5432',
    }
}
manage.pyを使用してデータベースをセットアップ。
$ python manage.py makemigrations history # こいつで、history/models.pyをデータベースと紐付け
$ python manage.py migrate # データベースの初期化(テーブル作成等)。エラーが出なければOK
どうやら、models.pyから紐付けしたテーブル名は、<createappした時の名前>_<クラス名を小文字変換したもの>になるらしい。今回だと、history_accesshistory(少しださくなってしまったが…まぁよしとしよう…)
動作確認
$ paython manage.py runserver # 起動
Watching for file changes with StatReloader
Performing system checks...

System check identified no issues (0 silenced).
May 14, 2023 - 14:09:55
Django version 4.2.1, using settings 'access_history.settings'
Starting development server at http://127.0.0.1:8000/
Quit the server with CONTROL-C.
http://localhost:8000/list/にブラウザでアクセスすると

今回はDjangoのバックエンド的な観点での勉強がしたかったので、フロントエンドの作り込みは気が向いたらやろうと思う (多分) →少しだけやった。ページ下部の追記を参照
まとめ
- Django、すごく便利
- sql書かずにPostgreSQLが使えてしまった…
- 機能の拡張が簡単
- 他にもたくさん便利機能があるというのだから驚き
- Pythonが思ったより書きやすかった
2023/05/14 17:38追記
どうしても気になったので下記変更を追加
- フロントエンドをDjangoのテンプレート機能+Bootstrapを使用してもう少しまともに
- Djangoでは、DBに登録する際にUTCに変換されるため、DBから取得した値をフロントで使用する前にTZに合わせたものに変更するよう修正


