やる理由
できそうだから。
はじめに
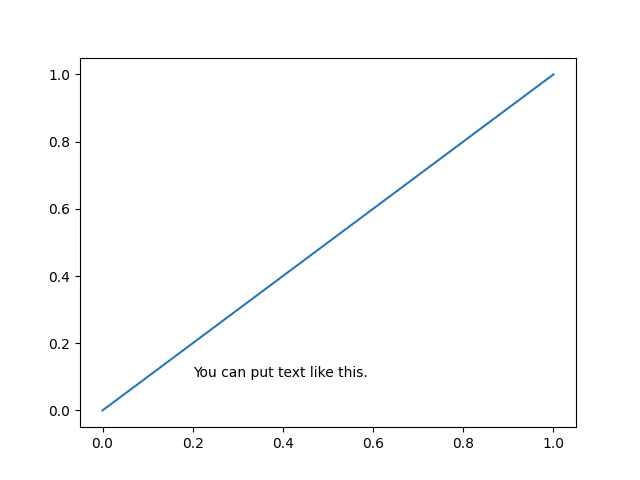
matplotlib.pyplotにはグラフの中にテキストを書き込む機能があります。
import matplotlib.pyplot as plt
plt.plot([0, 1], [0, 1])
plt.text(0.2, 0.1, 'You can put text like this.')
plt.show()
あれ、これ使ったら$\LaTeX$まがいのツール作れんじゃね???
が本記事を書くに至った背景です。
限界博士課程学生の私は学会数日前に発狂してしまいこの開発に着手しましたが、人生を有意義に過ごしたい方は即ブラウザバックしてください。
実験:とりあえずなんか作ってみよう
とりあえず、愚直な実装で書類っぽいものの作成にトライしてみて、実感をつかんでみようと思います。A4サイズ、1カラムで欧文を書いてみます。
紙面の作成
まずは紙面、すなわちplt.Figureをきっちり作るところから。
plt.Figureのサイズはインチ単位で指定する必要があります。一方、紙のサイズ規格であるISO 216ではミリメートル単位でサイズが決まっています。A4サイズ(210 mm $\times$ 297 mm)を作りたければ、インチ単位に変換して約8.26771654 in $\times$ 11.69291339 inで指定する必要があるのです。
import matplotlib.pyplot as plt
fig = plt.figure(figsize=(8.26771654, 11.69291339), facecolor='white')
plt.show()
わーい。真っ白な紙できた。これは見せてもどうしようもないので画像は載せません。
組版領域
中身を作っていきましょう。
LaTeXでは紙面上に幾つかの組版領域が作られ、そこに文字が描画されます。具体的には、本文領域、ヘッダ領域、フッタ領域、そして本文横の脚注領域の4つです。今回は本文、ヘッダ、フッタのみ作ります。
pyplotではAxesを使用して組版領域を表現できそうです。Axesを作成するメソッドはいくつかありますが、その中でも最も低レベルに位置とサイズを直接操作できるadd_axesを使うのがいいでしょう。
ax_body = fig.add_axes(rect=(0.1, 0.1, 0.8, 0.8))
ax_header = fig.add_axes(rect=(0.1, 0.92, 0.8, 0.05))
ax_footer = fig.add_axes(rect=(0.1, 0.05, 0.8, 0.05))
ここで引数rectは(左端, 下端, 幅, 高さ)のタプルです。それぞれの数字はFigureの幅と高さに対する割合になっています。ひと工夫加えればLaTeXのように実際の長さでマージンを指定できそうですが、それは後回しにして適当な値を設定しました。
現状だとAxesの軸や目盛りが丸見えになっています。以下のようにしてこれらを消すことができます。また、もし領域が被ったときのために背景色を透明にしておきます。
ax_body.set_facecolor((0, 0, 0, 0))
ax_body.set_xticks([])
ax_body.set_yticks([])
ax_body.spines['top'].set_visible(False)
ax_body.spines['bottom'].set_visible(False)
ax_body.spines['right'].set_visible(False)
ax_body.spines['left'].set_visible(False)
# ax_header, ax_footerも同様に
わーい。また真っ白な紙できた。
文字の入力
お待たせしました。ここからやっと文字入力を始めることができます。
まずフォントの設定。まあ欧文やしTimes New Romanやろ!
plt.rcParams['font.family'] = 'Times New Roman'
フォントが決まったら、適当に左上から文字を詰めてみます。
ax_body.text(x=0., y=1., s='Test letter '*100, va='top', ha='left', transform=ax_body.transAxes, wrap=True)
x, yで位置を指定します。通常はグラフ内のx, y座標を指定するものですが、transform=ax.transAxesを書くことでax_bodyの左下を(0, 0)、右上を(1, 1)とする相対座標になります。今回は何もプロットしていないので実は関係ないのですが、念のために。
また、デフォルトでは文字の左下端をx, yの位置に合わせようとするので、va='top'を指定することで左上端に合わせられます。念には念を入れ、一応ha='left'も書いておきました。

wrap=Trueを指定することで折り返しを行ってくれるのですが、これはFigureの端での折り返しになってしまいます。
以下のようにするとAxes内で折り返せました。
from types import MethodType
text = ax_body.text(x=0., y=1., s='Test letter '*100, va='top', ha='left', transform=ax_body.transAxes, wrap=True)
renderer = fig.canvas.get_renderer()
def wrap_line_width_override(self):
    return ax_body.get_window_extent(renderer).width
text._get_wrap_line_width = MethodType(wrap_line_width_override, text)
ここで何をしているのかを簡潔に言うとpyplotの内部実装にMonkey patchを行っているわけですが、詳しい解説をすると長くなりそうなので割愛します。
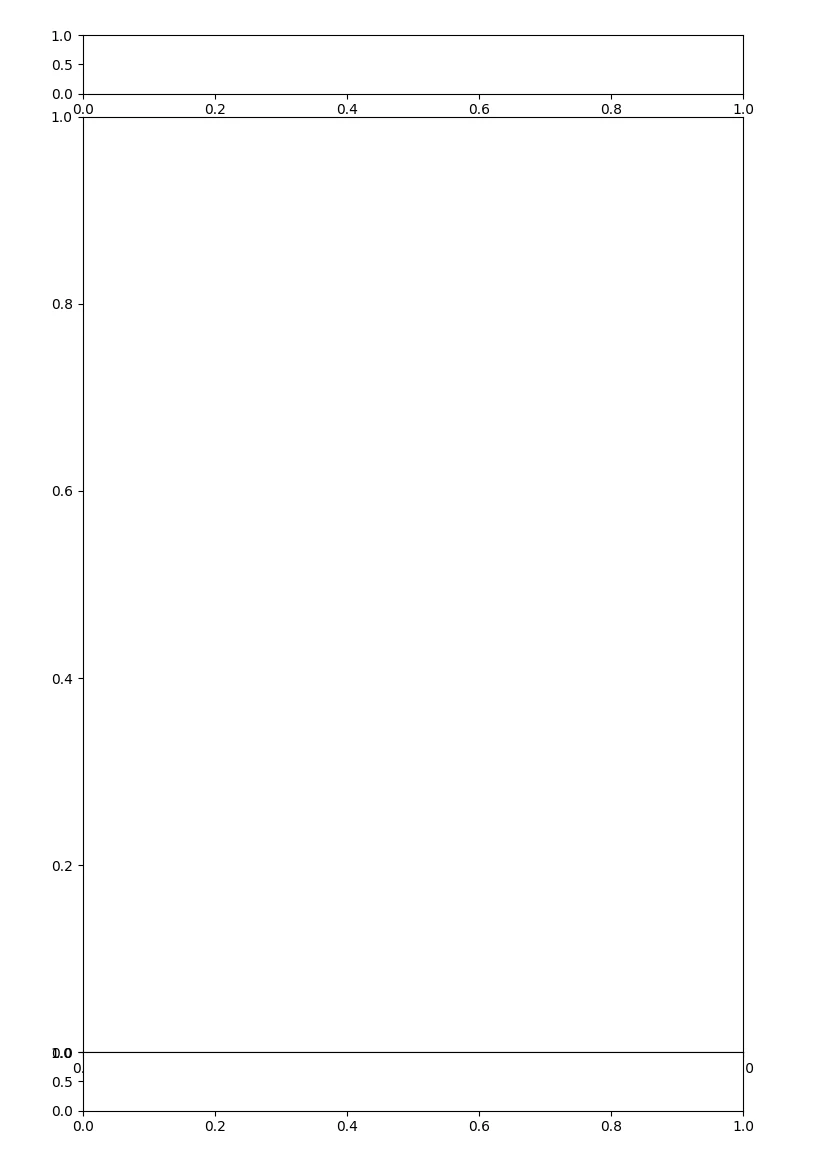
最後にヘッダとフッタに文字を入れてみましょう。名前、日付、ページ番号を入れてみます。
ax_header.text(x=0., y=0., s='My Name', va='bottom', ha='left', transform=ax_header.transAxes)
ax_header.text(x=1., y=0., s='yyyy/mm/dd', va='bottom', ha='right', transform=ax_header.transAxes)
ax_footer.text(x=0.5, y=0., s='1', va='bottom', ha='center', transform=ax_footer.transAxes)
ha='center'を指定するとテキストの中心を(x, y)の位置に持ってきてくれます.

一気に書類っぽくなったかも!
保存
plt.savefig()を使えば単ページでpdfに保存することができますし、matplotlibのPdfPagesクラスを使えば複数ページにすることも可能です。
from matplotlib.backends.backend_pdf import PdfPages
pdf = PdfPages('sample.pdf')

(1ページ目を書く処理)

pdf.savefig()

(2ページ目を書く処理)

pdf.savefig()

(3ページ目以降)

pdf.close()
本格的に実装
ここまでの実験を通して、pyplotで書類っぽいものが作れる実感が湧いてきました。しかし現状では様々なパラメータがコードにベタ打ちされていますし、機能も限られています。ここからは、実際のLaTeXの仕様を(軽く)参考により自由度の高いツールとして実装してみましょう。
クラス化
作成する書類をクラスにしてみましょう。「まさにドキュメントクラスってか」とサムいことを言っていて気づいたのですが、文書スタイルに合わせて何種類かクラスを作ると良さそうですね。今回はplatexでいうところのarticleクラスに相当するクラスを作成してみます。
とりあえず雛形から作ってみます。引数はLaTeXでarticleクラスを使用する際のオプションを参考に用意しました。今後の拡張を想定してtwocolumn, twosideというパラメータを用意していますが、とりあえずはFalseの場合のみ考慮します。
class Article:
    def __init__(
        self,
        papersize: str = "A4",
        fontsize: float = 10.,
        twocolumn: bool = False,
        twoside: bool = False,
    ):
        self.papersize = papersize
        self.fontsize = fontsize
        self.twocolumn = twocolumn
        self.twoside = twoside
用紙サイズ
さて、せっかくクラスを作ったのに恐縮ですが、ここからインスタンスメソッドではない関数をいくつか実装します。
まずは先ほど手動で設定した用紙サイズを自動で決定できるようにします。
"A4"とか"B5"のような文字列を入力すると用紙サイズを配列で返す関数を実装しました。
inch2mm = 25.4

def figsize_inch(size: str):
    series = size[0]
    num = int(size[1:])
    if series == "A":
        x =  int(1000 / 2**((2 * num + 1) / 4) + 0.2)
        y =  int(1000 / 2**((2 * num - 1) / 4) + 0.2)
    elif series == "B":
        x =  int(1000 / 2**(num / 2) + 0.2)
        y =  int(1000 / 2**((num - 1) / 2) + 0.2)
    return x / inch2mm, y / inch2mm
関数内ではWikipediaに載っていた式を用いて用紙サイズを計算しています。これによりAシリーズとBシリーズの任意のサイズに対応できますが、実際には例えばplatexのarticleクラスで使用できる用紙サイズはA4, A5, B5, letterpaper, legalpaper, executivepaperで、用紙サイズはarticle.clsにベタ打ちで設定されています。なのでこの実装は著者の完全な趣味だと思っておいてください。letterpaper, legalpaper, executivepaperなどの用紙サイズには対応していませんが、ご愛嬌。
Bシリーズの用紙サイズは、国際的なISO 216規格に従っています。日本で一般的なJIS規格のBシリーズよりも約3%ほど小さいので注意してください。
LaTeXの一般的なドキュメントクラスでは、B4やB5を指定した時に和文か欧文かに応じて規格が切り替わるようになっていますが、今回は欧文のみ取り扱うので実装をパスします。
Axesの位置
Axesの位置やサイズを先ほどは適当に決定していましたが、レイアウトパラメータを元に決定できた方が良さそうです。
LaTeXでのレイアウトに関連するパラメータとしては以下のようなものがあります。
| パラメータ | 意味 |
|---|---|
| \textheight | 本文領域の高さ |
| \textwidth | 本文領域の横幅 |
| \oddsidemargin | 奇数(右)ページの左余白 |
| \evensidemargin | 偶数(左)ページの左余白 |
| \topmargin | ページ上端の余白 |
| \headheight | ヘッダ領域の高さ |
| \headsep | ヘッダ領域下端と本文領域上端の間隔 |
| \topskip | 本文領域上端と第1行下端の間隔 |
| \footskip | 本文領域下端とフッタ領域下端の間隔 |
| \columnsep | 2段組時の左右2つのカラムの間隔 |
| \columnseprule | 2段組時の中央線の太さ |
こういったパラメータを元に、add_axesの引数rectを作成する関数を実装します。
def rect_body(
    paperwidth: float,
    paperheight: float,
    textwidth: float,
    textheight: float,
    sidemargin: float,
    topmargin: float,
    headheight: float,
    headsep: float,
):
    left = (1. + sidemargin) / paperwidth
    bottom = 1. - (1. + topmargin + headheight + headsep + textheight) / paperheight
    width = textwidth / paperwidth
    height = textheight / paperheight
    return left, bottom, width, height
この関数では本文領域の(左端, 下端, 幅, 高さ)を計算します。同様にフッタとヘッダも作成できるようにしました。この下のコードに載せてあります。
完成
__init__関数にはさらに、各パラメータのデフォルト値を設定する処理を追加しました。articleクラスの実装を参考にしています。
他にもパラメータの変更用の関数、ヘッダの設定、ページ作成関数、文字を書き込む関数などの処理を加えて、最終的なクラスは以下のようになりました。
クラス化したコード
def figsize_inch(size: str):
    series = size[0]
    num = int(size[1:])
    if series == "A":
        x =  int(1000 / 2**((2 * num + 1) / 4) + 0.2)
        y =  int(1000 / 2**((2 * num - 1) / 4) + 0.2)
    elif series == "B":
        x =  int(1000 / 2**(num / 2) + 0.2)
        y =  int(1000 / 2**((num - 1) / 2) + 0.2)
    return x / inch2mm, y / inch2mm


def set_invisible(ax):
    ax.set_facecolor((0, 0, 0, 0))
    ax.set_xticks([])
    ax.set_yticks([])
    ax.spines['top'].set_visible(False)
    ax.spines['bottom'].set_visible(False)
    ax.spines['left'].set_visible(False)
    ax.spines['right'].set_visible(False)


def rect_body(
    paperwidth: float,
    paperheight: float,
    textwidth: float,
    textheight: float,
    sidemargin: float,
    topmargin: float,
    headheight: float,
    headsep: float,
):
    left = (1. + sidemargin) / paperwidth
    bottom = 1. - (1. + topmargin + headheight + headsep + textheight) / paperheight
    width = textwidth / paperwidth
    height = textheight / paperheight
    return left, bottom, width, height


def rect_footer(
    paperwidth: float,
    paperheight: float,
    textwidth: float,
    textheight: float,
    sidemargin: float,
    topmargin: float,
    headheight: float,
    headsep: float,
    footskip: float,
):
    left = (1. + sidemargin) / paperwidth
    bottom = 1. - (1. + topmargin + headheight + headsep + textheight + footskip) / paperheight
    width = textwidth / paperwidth
    height = footskip / paperheight
    return left, bottom, width, height


def rect_header(
    paperwidth: float,
    paperheight: float,
    textwidth: float,
    headheight: float,
    sidemargin: float,
    topmargin: float,
):
    left = (1. + sidemargin) / paperwidth
    bottom = 1. - (1. + topmargin + headheight) / paperheight
    width = textwidth / paperwidth
    height = headheight / paperheight
    return left, bottom, width, height

class Article:
    def __init__(
        self,
        file: Any,
        papersize: str = "A4",
        fontsize: float = 10.,
        twocolumn: bool = False,
        twoside: bool = False,
    ):
        self.pdf = PdfPages(file)
        self.papersize = papersize
        self.paperwidth, self.paperheight = figsize_inch(self.papersize)
        self.fontsize = fontsize
        self.twocolumn = twocolumn
        self.twoside = twoside

        # Default parameters
        tempdima = self.paperwidth - 2.
        tempdimb = 345 / inch2pt
        if self.twocolumn:
            tempdimb *= 2
        self.textwidth = min(tempdima, tempdimb)
        self.textheight = self.paperheight - 3.5
        self.headheight = 12. / inch2pt
        self.headsep = 25. / inch2pt
        self.topskip = fontsize / inch2pt
        self.footskip = 30. / inch2pt
        if self.twocolumn:
            self.marginparsep = 10.
        else:
            if self.fontsize <= 10.:
                self.marginparsep = 11.
            else:
                self.marginparsep = 10.
        tempdima = (self.paperwidth - self.textwidth)
        if self.twoside:
            self.oddsidemargin = (self.paperwidth - self.textwidth) * 0.4 - 1.
            self.marginparwidth = (self.paperwidth - self.textwidth) * 0.5 - self.marginparsep - 0.8
        else:
            self.oddsidemargin = (self.paperwidth - self.textwidth) * 0.5 - 1.
            self.marginparwidth = (self.paperwidth - self.textwidth) * 0.6 - self.marginparsep - 0.4
        self.marginparwidth = min(self.marginparwidth, 2.)
        self.evensidemargin = self.paperwidth - 2. - self.textwidth - self.oddsidemargin
        self.topmargin = (self.paperheight - 2. - self.headheight - self.headsep - self.textheight - self.footskip) * 0.5
        self.columnsep = 10. / inch2pt
        self.columnseprule = 0.

        self.thepage: int = 0
        self.lhead_text = ""
        self.chead_text = ""
        self.rhead_text = ""
        self.lfoot_text = ""
        self.cfoot_text = ""
        self.rfoot_text = ""

        self._updatable = [
            'paperwidth',
            'paperheight',
            'textwidth',
            'textheight',
            'headheight',
            'headsep',
            'topskip',
            'footskip',
            'oddsidemargin',
            'evensidemargin',
            'marginparsep',
            'marginparwidth',
            'topmargin',
            'columnsep',
            'columnseprule',
        ]

    def set_layout(self, **kwargs):
        for key, value in kwargs.items():
            if hasattr(self, key):
                if key in self._updatable:
                    setattr(self, key, value)
            else:
                raise AttributeError(f"{key} is not a valid attribute")

    def lhead(self, string: str):
        self.lhead_text = string

    def chead(self, string: str):
        self.chead_text = string

    def rhead(self, string: str):
        self.rhead_text = string

    def lfoot(self, string: str):
        self.lfoot_text = string

    def cfoot(self, string: str):
        self.cfoot_text = string

    def rfoot(self, string: str):
        self.rfoot_text = string

    def render_header(self):
        self.ax_header.text(x=0, y=0, s=self.lhead_text, ha='left', va='bottom', transform=self.ax_header.transAxes, fontsize=self.fontsize)
        self.ax_header.text(x=0.5, y=0, s=self.chead_text, ha='center', va='bottom', transform=self.ax_header.transAxes, fontsize=self.fontsize)
        self.ax_header.text(x=1, y=0, s=self.rhead_text, ha='right', va='bottom', transform=self.ax_header.transAxes, fontsize=self.fontsize)

    def render_footer(self):
        self.ax_footer.text(x=0, y=0, s=self.lfoot_text, ha='left', va='bottom', transform=self.ax_footer.transAxes, fontsize=self.fontsize)
        self.ax_footer.text(x=0.5, y=0, s=self.cfoot_text, ha='center', va='bottom', transform=self.ax_footer.transAxes, fontsize=self.fontsize)
        self.ax_footer.text(x=1, y=0, s=self.rfoot_text, ha='right', va='bottom', transform=self.ax_footer.transAxes, fontsize=self.fontsize)

    def new_page(self):
        self.thepage += 1
        self.fig = plt.figure(figsize=(self.paperwidth, self.paperheight), facecolor='white')
        if not self.twoside or self.thepage % 2 == 1:
            sidemargin = self.oddsidemargin
        else:
            sidemargin = self.evensidemargin
        self.ax_body = self.fig.add_axes(
            rect=rect_body(
                self.paperwidth,
                self.paperheight,
                self.textwidth,
                self.textheight,
                sidemargin,
                self.topmargin,
                self.headheight,
                self.headsep
            ),
        )
        self.ax_header = self.fig.add_axes(
            rect=rect_header(
                self.paperwidth,
                self.paperheight,
                self.textwidth,
                self.headheight,
                sidemargin,
                self.topmargin
            )
        )
        self.ax_footer = self.fig.add_axes(
            rect=rect_footer(
                self.paperwidth,
                self.paperheight,
                self.textwidth,
                self.textheight,
                sidemargin,
                self.topmargin,
                self.headheight,
                self.headsep,
                self.footskip
            )
        )
        set_invisible(self.ax_body)
        set_invisible(self.ax_footer)
        set_invisible(self.ax_header)
        self.render_header()
        self.render_footer()

    def write(self, string: str):
        text = self.ax_body.text(x=0., y=1., s=string, va='top', ha='left', transform=self.ax_body.transAxes, wrap=True, fontsize=self.fontsize)
        renderer = self.fig.canvas.get_renderer()
        def wrap_line_width_override(self_text):
            return self.ax_body.get_window_extent(renderer).width
        text._get_wrap_line_width = MethodType(wrap_line_width_override, text)
このクラスの使用法を軽く解説します。
まず出力ファイル名を与えてインスタンスを作成します。
doc = Article('sample.pdf')
用紙サイズとフォントサイズも設定できますが、デフォルトではA4, 10ptです。
この時点でレイアウトパラメータのデフォルト値が決定されますが、set_layoutメソッドで変更可能です。
ヘッダやフッタに書く文字列は事前に設定しておきます。
doc.lhead('My Name')
doc.rhead('yyyy/mm/dd')
doc.cfoot('1')
ページの作成、書き込みは以下のようにできます。現状は自動で改ページできないので、1ページごとに入力する必要があります。ページの最後でsavefig()してください。
doc.new_page()
text = 'First page ' * 300
doc.write(text)
doc.pdf.savefig()

doc.cfoot('2')
doc.new_page()
text = 'Second page ' * 300
doc.write(text)
doc.pdf.savefig()
最後に以下を書くのをお忘れなきよう。
doc.pdf.close()
完成したドキュメントはこんな感じです。
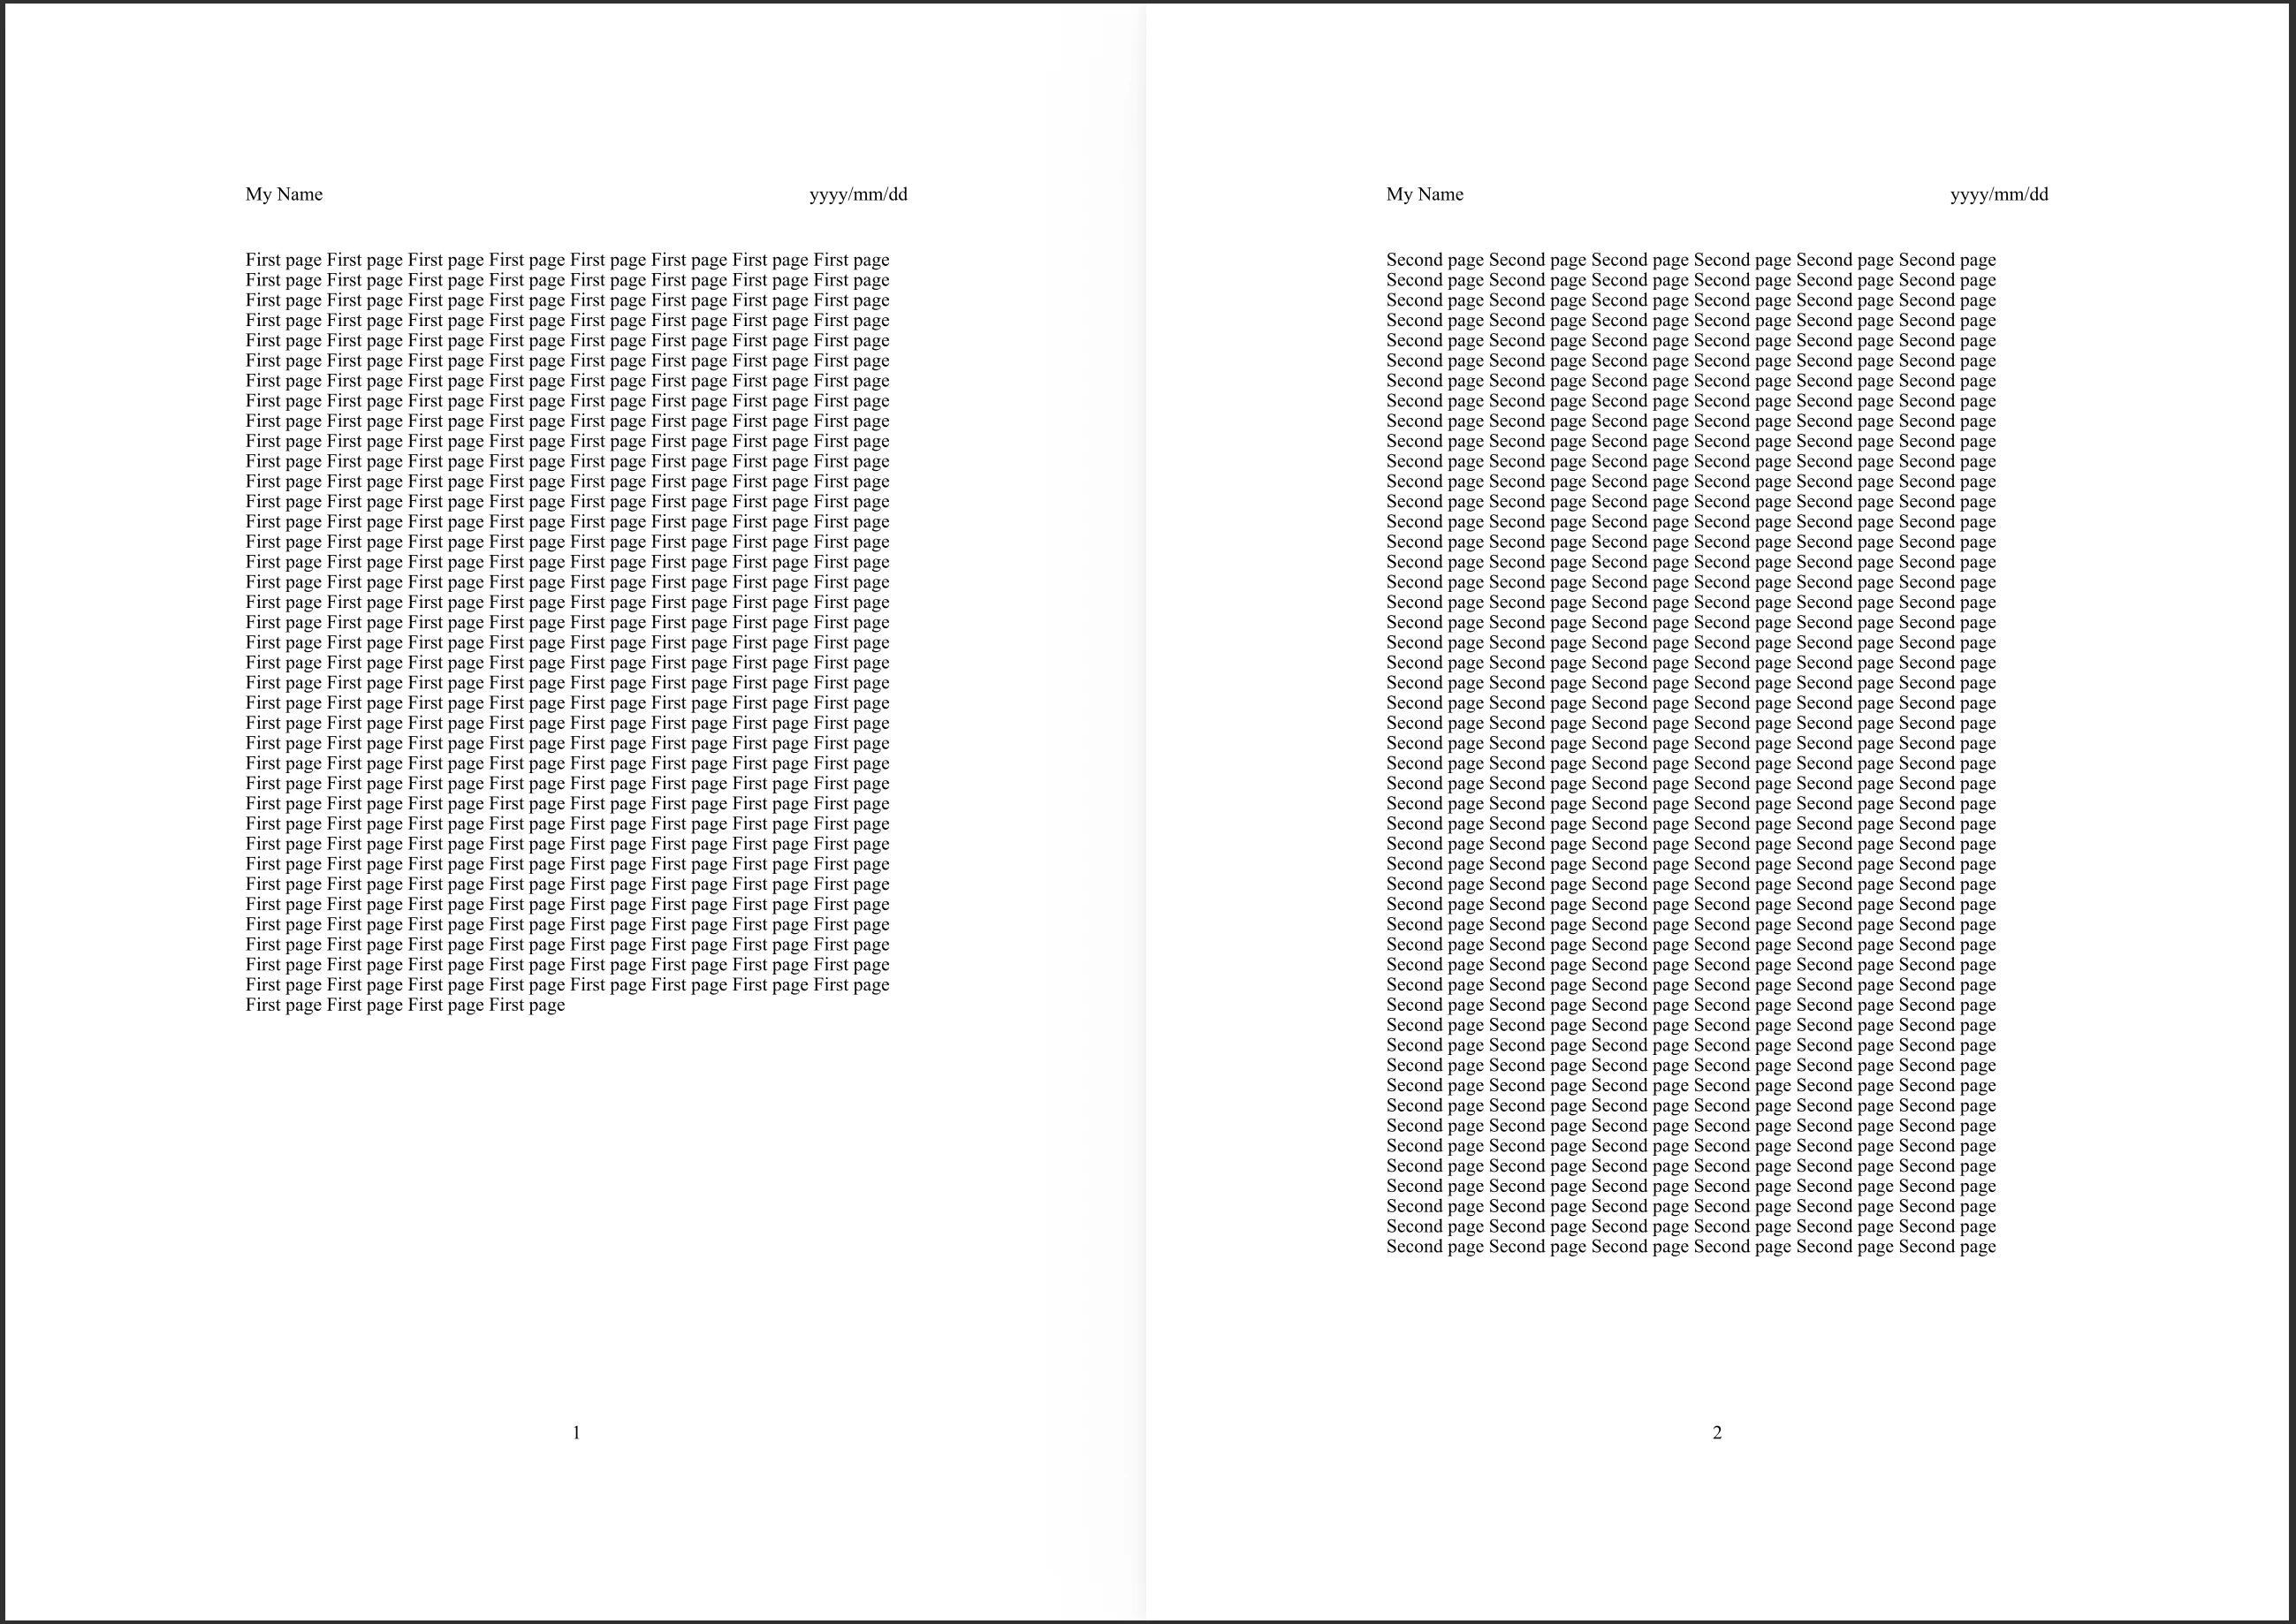
おわかりいただけたでしょうか、超絶使い勝手が悪いことを...。
主に足りていないのは以下の要素でしょう。
- 改ページ機能
- ページ番号の自動付与
-
savefigやcloseの自動化
改ページは若干トリッキーですが、少なくともあと2つは楽に実装できそうです。
...ところがおっと。ここまでコーディングしたところで突然我に返ってしまいました。なにしてんの?
シラフに戻ってしまっては、こんなアホくさいツールの開発はもうできません。また発狂したら続きを書きます。では。