本記事の目的
本記事では、IBM Cloud上で提供される Cloud Pak for Data as a Service(以降CP4DaaSと表記)において、LightGBMモデルをデプロイする方法についてご紹介します。
はじめに
2024年12月より、CP4DaaSにおいてONNX形式に変換された機械学習モデルをデプロイすることが可能となりました。
そのためLightGBMやCatBoostなど、Watson Machine Learningで直接サポートされていないフレームワークのモデルも、ONNX形式に変換することでデプロイすることができるようになりました。
本記事ではLightGBMモデルについて取り上げますが、以下のフレームワークも同様にONNX形式に変換して、CP4DaaSでデプロイすることが可能です。
- PyTorch
- TensorFlow
- CatBoost
- XGBoost
- Scikit-learn
ノートブック実行
今回は、IBMが提供しているこちらのサンプルプロジェクトを実行して、LightGBM モデルをONNX形式に変換し、CP4DaaSでデプロイしていきます。
1. 環境のセットアップ
サンプルノートブックを実行していきます。まずは、環境のセットアップです。

最初のセルでは、必要なライブラリをインストールします。
!pip install -U ibm-watsonx-ai | tail -n 1
!pip install scikit-learn==1.3.0 | tail -n 1
!pip install lightgbm==4.2.0 | tail -n 1
!pip install onnxruntime==1.16.3 | tail -n 1
!pip install onnx==1.16.2 | tail -n 1
!pip install scikit-learn==1.3 | tail -n 1
!pip install skl2onnx | tail -n 1
!pip install onnxmltools
次のセルでは、必要なツールをインポートします。
import json
import getpass
import onnx
import onnxruntime as ort
from ibm_watsonx_ai import APIClient, Credentials
from lightgbm import LGBMClassifier
from onnxmltools import convert_lightgbm
from onnxmltools.utils import save_model
from skl2onnx.common.data_types import FloatTensorType
from sklearn import datasets
from sklearn.model_selection import train_test_split
続いて、IBM CloudのAPIキーを取得し、入力する必要があります。また、次のセルでは使用しているIBM Cloudのロケーションを記載します。

api_key = getpass.getpass("Please enter your api key (hit enter): ")
location = "IBM Cloudのロケーション"
続いてノートブックの指示に従い、新規デプロイメントスペースを作成してスペースIDを記載する必要があります。

space_id = "使用するデプロイメントスペースのスペースID"
2. LightGBM モデルをトレーニングする
次に、サンプルのLightGBMモデルをトレーニングします。

まずサンプルデータ(Irisデータセット)を読み込み、訓練用とテスト用に分割します。
iris = datasets.load_iris()
x, y = iris.data, iris.target
x_train, x_test, y_train, y_test = train_test_split(x, y, test_size=0.20, random_state=42)
そしてIrisデータを使ってLightGBMモデルをトレーニングします。
model = LGBMClassifier(objective='multiclass')
model.fit(x_train, y_train)
最後にトレーニング済みのモデルに対し、テストデータの一部を使って予測を実行します。
eval_data = x_test[:3]
model.predict(eval_data)
3. LightGBM モデルをONNX形式に変換する
続いて、モデルをONNX形式に変換します。

以下のセルで LightGBM モデルを ONNX 形式に変換しています。
initial_types = [("float_input", FloatTensorType([None, model.n_features_]))]
onnx_model = convert_lightgbm(model=model, initial_types=initial_types, zipmap=False, target_opset=9)
onnx_model_filename = "lgbm_model.onnx"
save_model(onnx_model, onnx_model_filename)
続いてモデルが正しく機能するかを確認します。
ここでは、onnx checkerを使用して、エクスポートされたONNXモデルの検証を行っています。またonnxruntimeを使用してモデルをロードし、テストデータに対して推論を実行します。

「does not match actual shape…」という警告メッセージが出てきますが、推論結果には影響がないため無視してOKです。
onnx.checker.check_model(onnx_model)
session = ort.InferenceSession(onnx_model_filename)

input_data = {session.get_inputs()[0].name: eval_data.tolist()}
session.run([], input_data)
4. 変換したモデルを watsonx.ai ランタイムリポジトリに永続化する
次に、watsonx.aiランタイムにモデルを保管します。

まずwatsonx.aiランタイムに保存するためにモデルをzip化します。
sofware_spec_id = client.software_specifications.get_id_by_name("onnxruntime_opset_19")
onnx_model_zip = "lgbm_onnx.zip"
!zip {onnx_model_zip} {onnx_model_filename}
そしてwatsonx.aiランタイムにモデルを保存します。
metadata = {
    client.repository.ModelMetaNames.NAME: 'LGBM to ONNX converted model',
    client.repository.ModelMetaNames.TYPE: 'onnxruntime_1.16',
    client.repository.ModelMetaNames.SOFTWARE_SPEC_ID: sofware_spec_id
}

published_model = client.repository.store_model(
    model=onnx_model_zip,
    meta_props=metadata
)
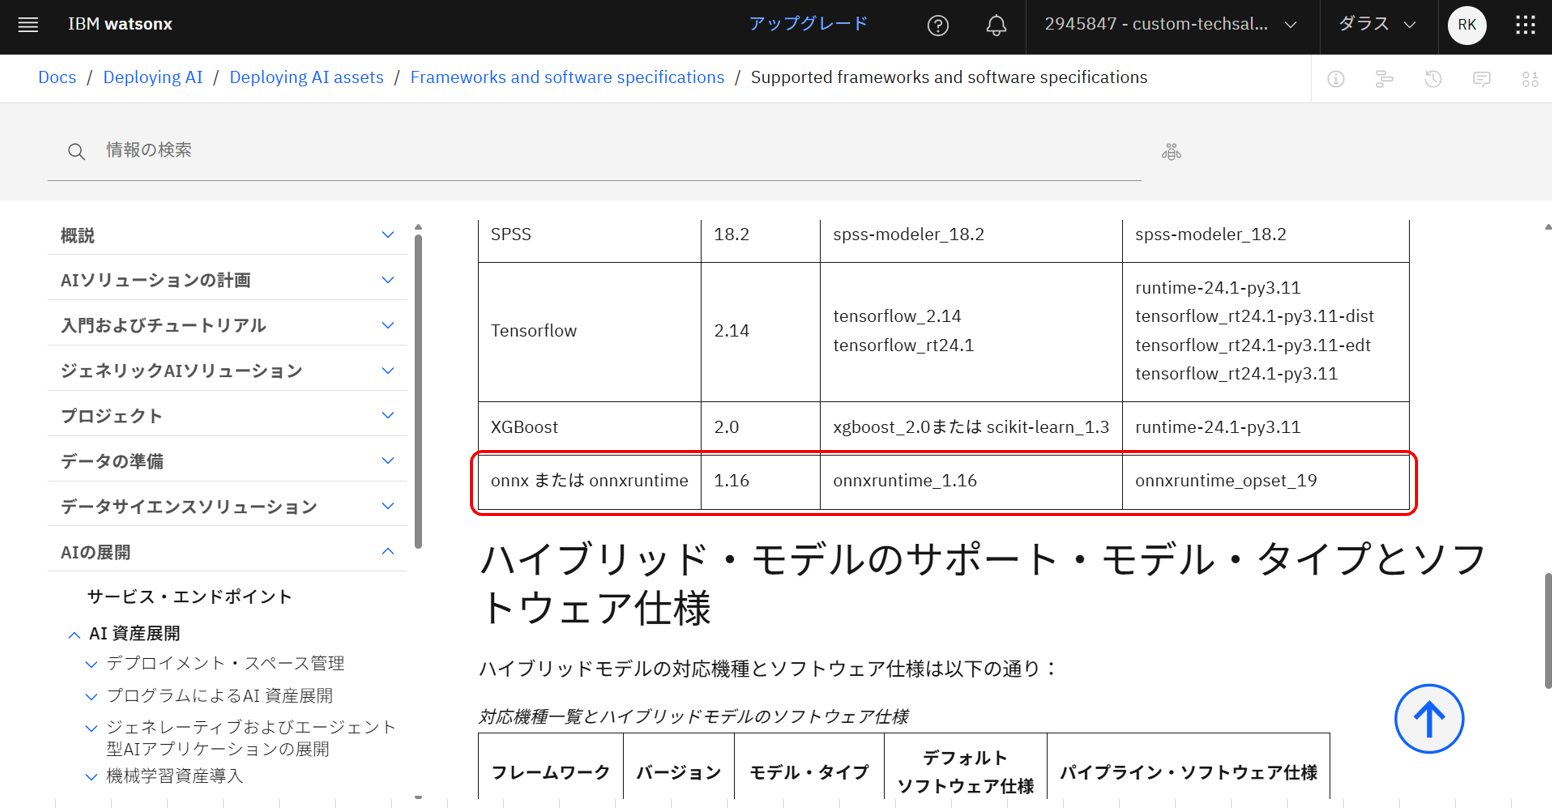
現在(2025年6月時点)サポートされているモデルタイプはonnxruntime_1.16であるため、今回はモデルタイプにonnxruntime_1.16を指定しています。
サポートされるバージョンは随時更新されるため、都度確認が必要です。
こちらの公式ドキュメントよりご確認いただけます。
5. クライアントライブラリを使用してオンラインスコアリング用にモデルをデプロイする
次に、モデルをデプロイします。

metadata = {
    client.deployments.ConfigurationMetaNames.NAME: "Deployment of LGBM to ONNX converted model",
    client.deployments.ConfigurationMetaNames.ONLINE: {}
}

created_deployment = client.deployments.create(published_model_id, meta_props=metadata)
デプロイしたモデルに対し、スコアリングを実行します。

scoring_payload = {
    "input_data": [
        {
            "values": eval_data
        }
    ]
}
predictions = client.deployments.score(deployment_id, scoring_payload)
予測結果をJSON形式で表示させます。
print(json.dumps(predictions, indent=2))
6.デプロイメントの確認
最後に、モデルが正しくデプロイされているかを確認します。
「1. 環境のセットアップ」にて指定したデプロイメントスペースに、オンラインデプロイメントが作成されていればOKです。

エンドポイントURLなどもこちらの画面から確認できます。

7.デプロイしたモデルに対してスコアリングを実行する
オンラインデプロイメントの「テスト」タブから、スコアリングを実行することができます。
JSONの欄に手動でJSON形式のデータを入力し、右下の青い「予測」ボタンを押下します。

今回使用したデータは以下です。
{
  "input_data": [
    {
      "fields": ["feature1", "feature2", "feature3", "feature4"],
      "values": [
        [5.1, 3.5, 1.4, 0.2],
        [6.2, 2.9, 4.3, 1.3]
      ]
    }
  ]
}
すると、予測結果がこのような画面で表示されます。

今回の予測結果は以下の通りです。
[
	{
		"id": "label",
		"values": [
			0,
			1
		]
	},
	{
		"id": "probabilities",
		"values": [
			[
				0.9999876022338867,
				0.000011821748557849787,
				6.486750976364419e-7
			],
			[
				0.00001045464159687981,
				0.9996751546859741,
				0.00031440649763680995
			]
		]
	}
]
まとめ
以上、LightGBMモデルをONNX形式に変換し、CP4DaaSでデプロイする方法についてご紹介しました。
LightGBM以外のモデルをONNXに変換してデプロイするサンプルプロジェクトについては、以下の公式ドキュメントからご参照ください。
「ONNX形式に変換されたモデルの展開」(https://jp-tok.dataplatform.cloud.ibm.com/docs/content/wsj/analyze-data/deploy-onnx-overview.html?locale=ja&context=cpdaas&audience=wdp)