初めに
以下のチュートリアルをやってみました。これまで API Gateway の基本的な部分が分からなかったのですが、カスタム統合のチュートリアルに着手することで理解できました。マッピングテンプレートやクエリ文字列パラメータ、リソース・メソッド、API のデプロイについて理解が深まりました。
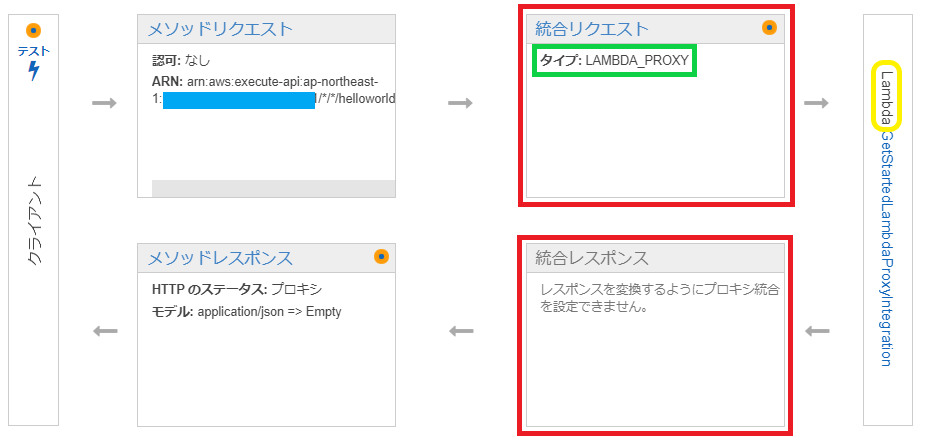
Lambda プロキシ統合とは
API Gateway の API 統合の種類の一つです。バックエンドが Lambda であり、 統合リクエスト・統合レスポンスの設定が不要な統合タイプです。
| 統合エンドポイントのタイプ | 使用可能なAPI統合タイプ |
|---|---|
| Lambda関数 | Lambdaプロキシ統合 Lambdaカスタム統合 |
| HTTPエンドポイント | HTTPプロキシ統合 HTTPカスタム統合 |
| AWSサービスアクション | 非プロキシタイプの AWS 統合のみ |
Lambda 関数を作成する
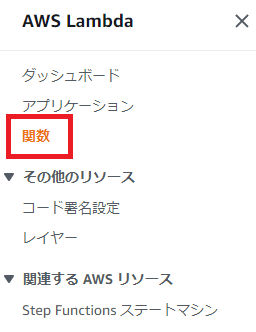
ナビゲーションペインから「関数」を選択します。
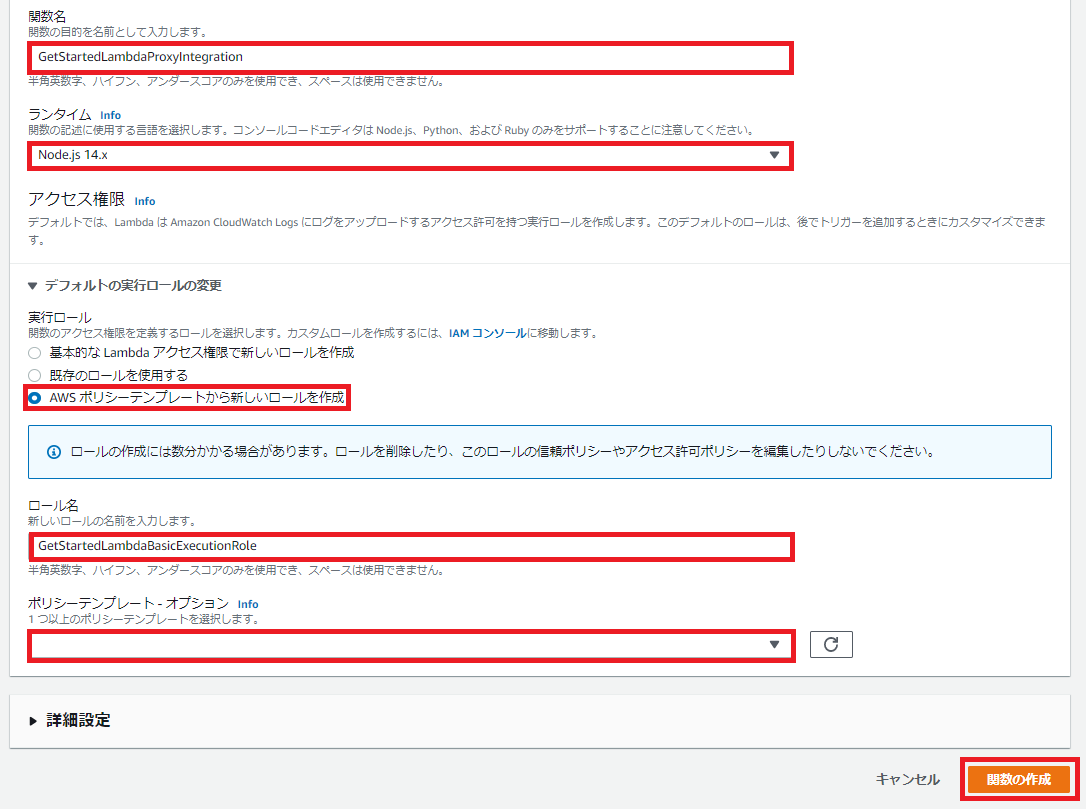
「関数の作成」をクリックします。

関数の名前、ランタイム、ロールを設定します。ポリシーテンプレートは空白にしておきます。
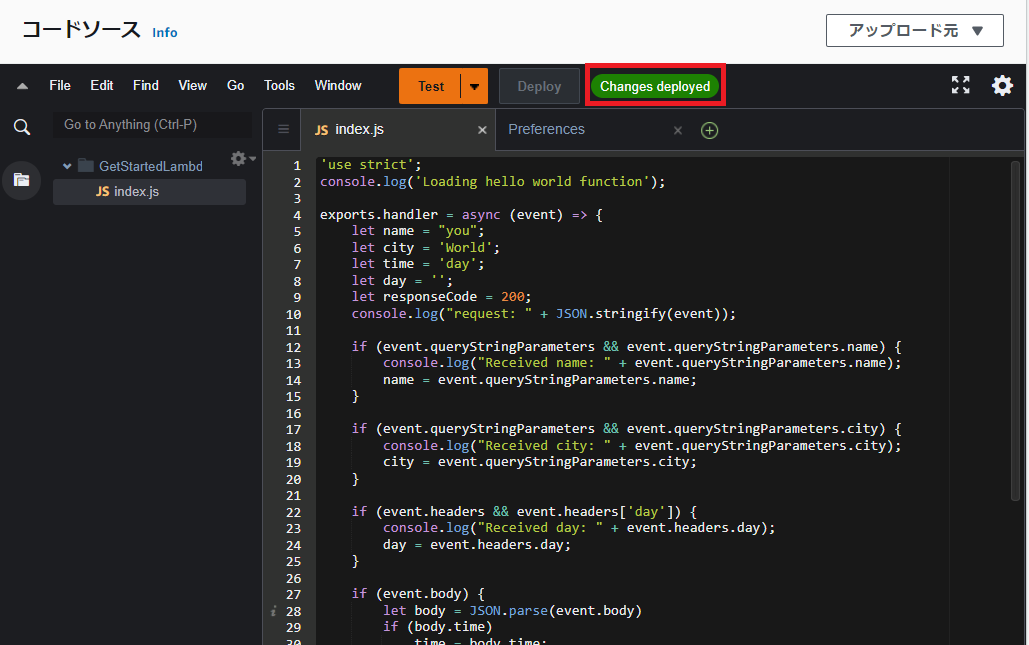
関数のコードに以下をペーストします。
'use strict';
console.log('Loading hello world function');

exports.handler = async (event) => {
    let name = "you";
    let city = 'World';
    let time = 'day';
    let day = '';
    let responseCode = 200;
    console.log("request: " + JSON.stringify(event));

    if (event.queryStringParameters && event.queryStringParameters.name) {
        console.log("Received name: " + event.queryStringParameters.name);
        name = event.queryStringParameters.name;
    }

    if (event.queryStringParameters && event.queryStringParameters.city) {
        console.log("Received city: " + event.queryStringParameters.city);
        city = event.queryStringParameters.city;
    }

    if (event.headers && event.headers['day']) {
        console.log("Received day: " + event.headers.day);
        day = event.headers.day;
    }

    if (event.body) {
        let body = JSON.parse(event.body)
        if (body.time)
            time = body.time;
    }

    let greeting = `Good ${time}, ${name} of ${city}.`;
    if (day) greeting += ` Happy ${day}!`;

    let responseBody = {
        message: greeting,
        input: event
    };

    // The output from a Lambda proxy integration must be
    // in the following JSON object. The 'headers' property
    // is for custom response headers in addition to standard
    // ones. The 'body' property  must be a JSON string. For
    // base64-encoded payload, you must also set the 'isBase64Encoded'
    // property to 'true'.
    let response = {
        statusCode: responseCode,
        headers: {
            "x-custom-header" : "my custom header value"
        },
        body: JSON.stringify(responseBody)
    };
    console.log("response: " + JSON.stringify(response))
    return response;
};
「Deploy」をクリックします。
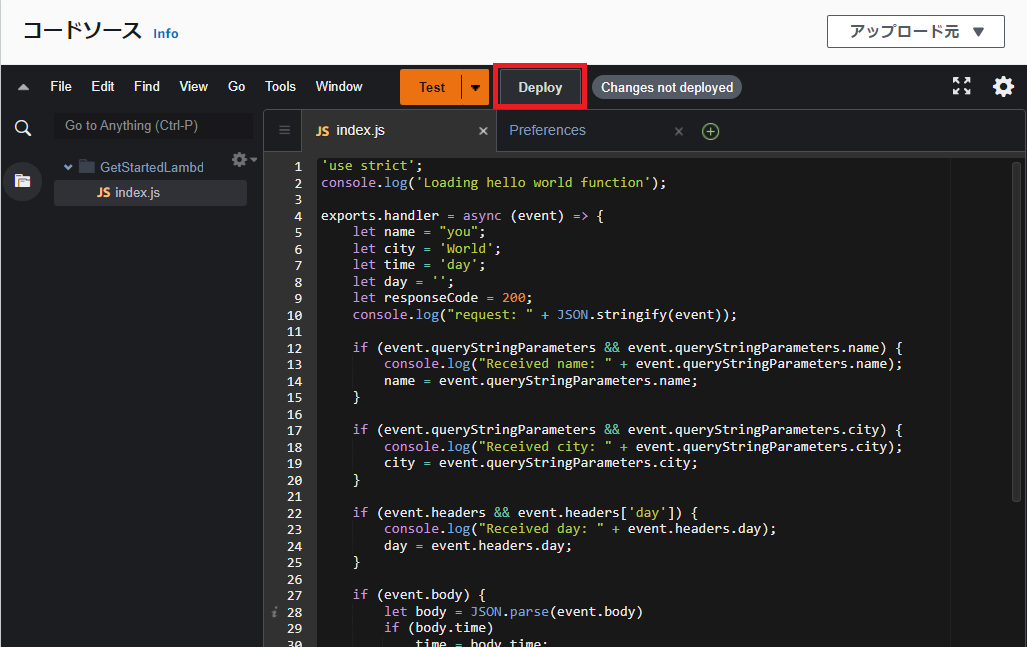
「Changes deployed」が表示されたことを確認します。
REST API を作成する
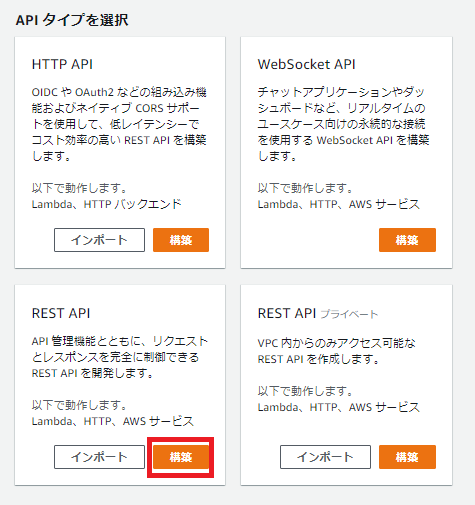
「APIを作成」をクリックします。

REST API の「構築」をクリックします。
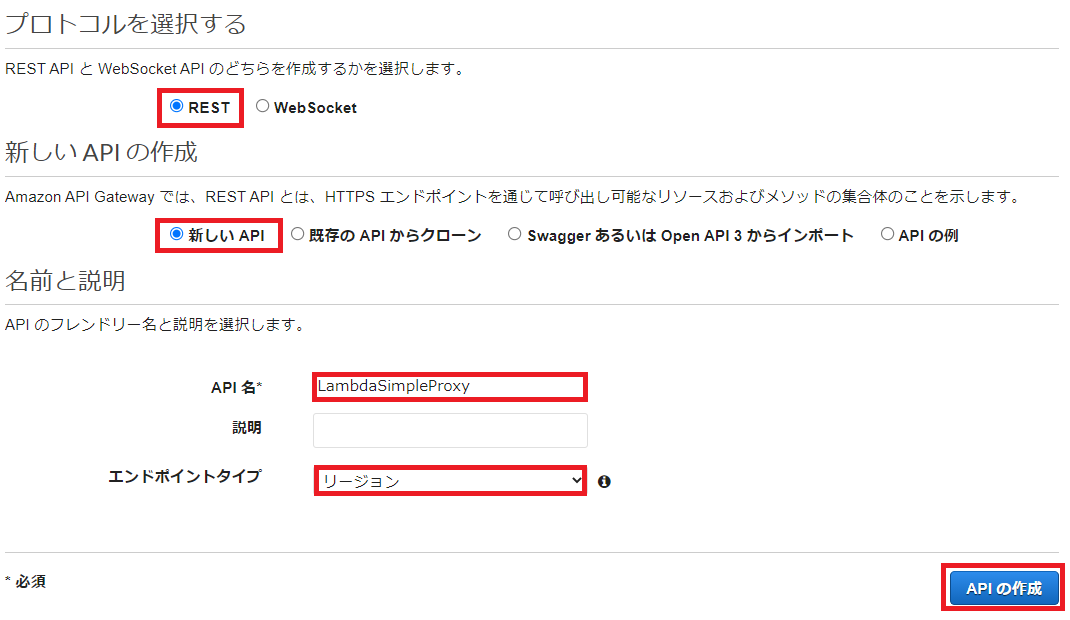
以下のようにプロトコルを設定します。
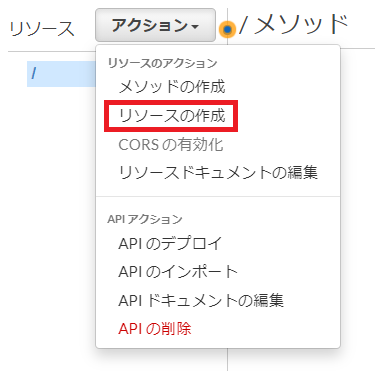
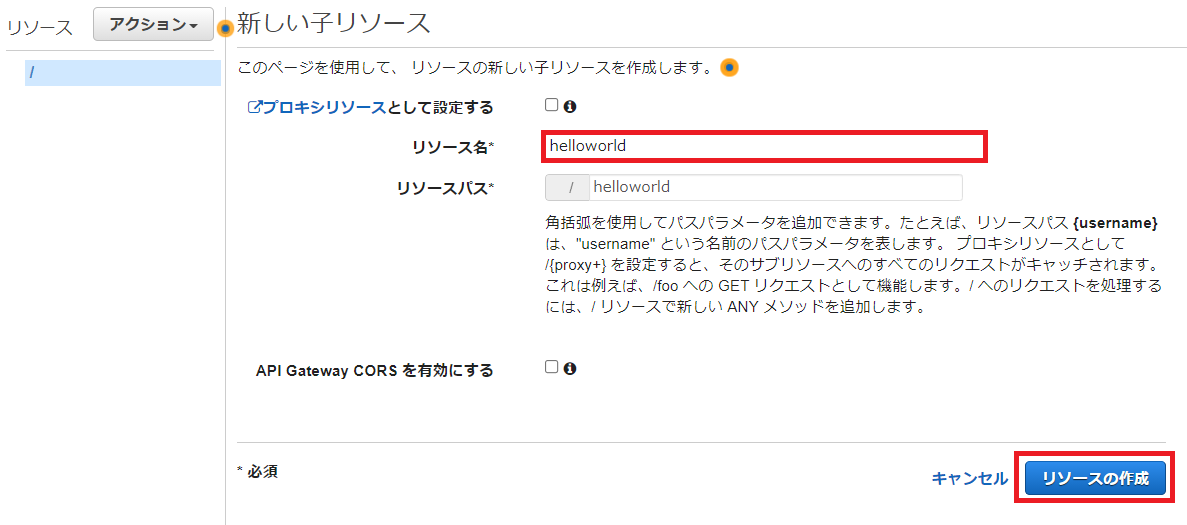
「アクション」のドロップダウンから「リソースの作成」をクリックします。
リソース名を入力し、「リソースの作成」をクリックします。
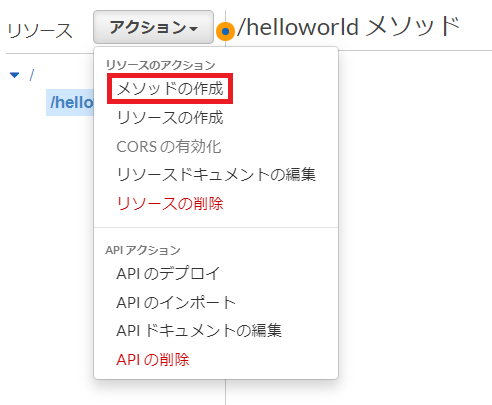
作成したリソースを選択した状態で「メソッドの作成」をクリックします。
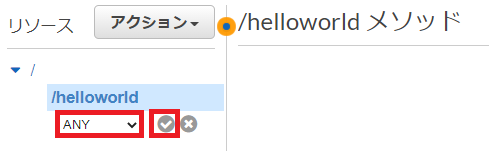
「ANY」を選択し、横のチェックマークをクリックします。
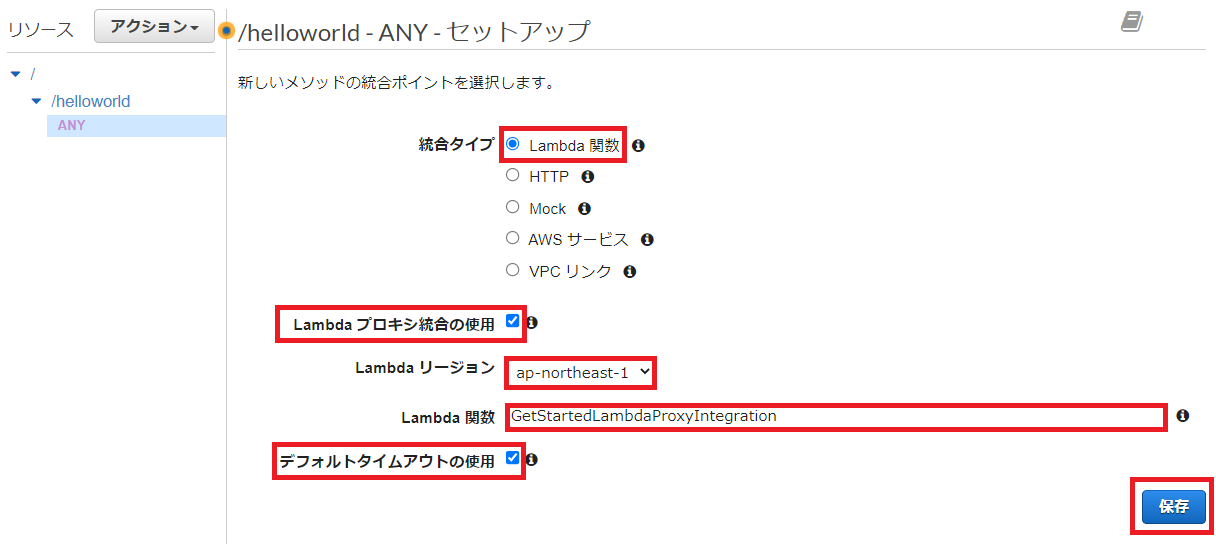
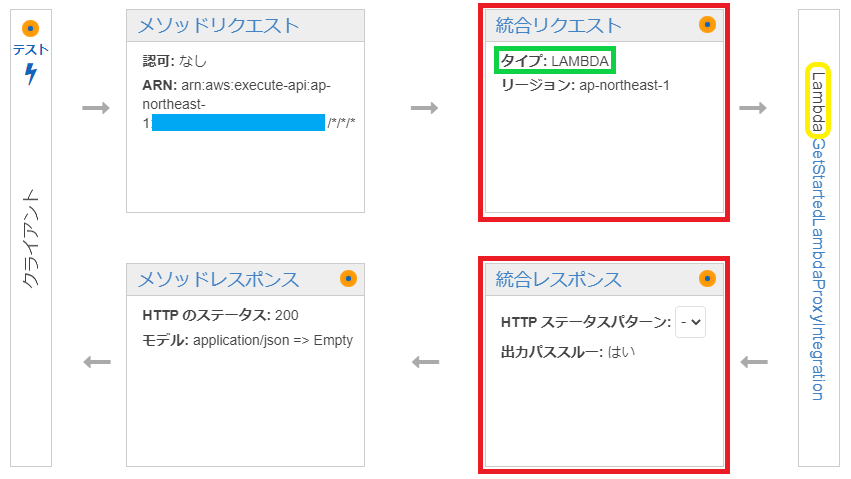
以下のように設定します。
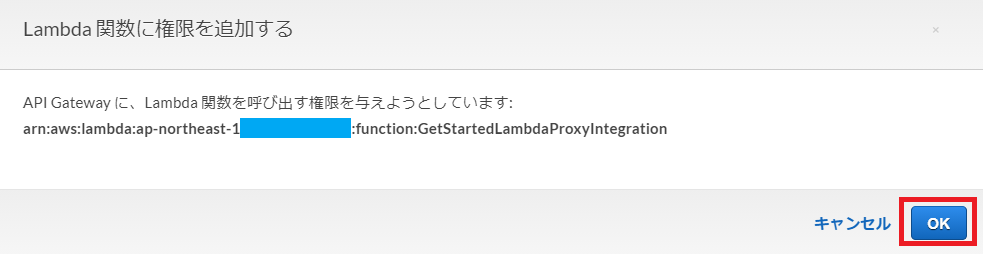
権限を追加するかどうか聞かれるので「OK」をクリックします。
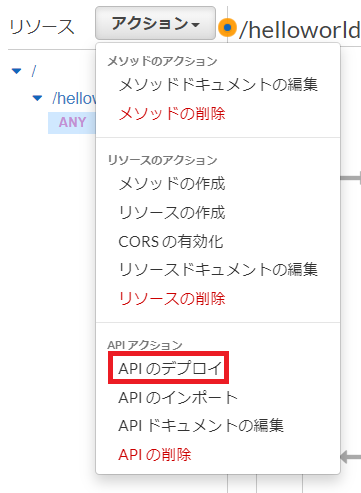
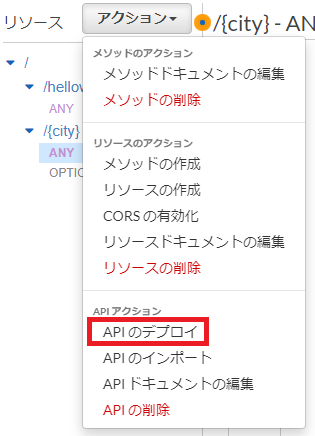
「API のデプロイ」をクリックします。
以下の URL はリクエストに使用します。

リクエスト
PS C:\tutorial> curl.exe -v -X POST "https://API_Gateway_ID.execute-api.ap-northeast-1.amazonaws.com/test/helloworld?name=John&city=Seattle" -H "content-type: application/json" -H "day: Thursday" -d '{ "time": "evening" }'
Lambda が受け取ったイベント
API Gateway は上記のリクエストを Lambda に渡すために次のような JSON フォーマットに変換します。
{
    "resource": "/helloworld",
    "path": "/helloworld",
    "httpMethod": "GET",
    "headers": {
        "Accept": "*/*",
        "content-type": "application/json",
        "day": "Thursday",
        "Host": "API_Gateway_ID.execute-api.ap-northeast-1.amazonaws.com",
        "User-Agent": "curl/7.55.1",
        "X-Amzn-Trace-Id": "Root=1-60fbfb9a-70429bfb1ef089820112571c",
        "X-Forwarded-For": "11.22.333.44",
        "X-Forwarded-Port": "443",
        "X-Forwarded-Proto": "https"
    },
    "multiValueHeaders": {
        "Accept": [
            "*/*"
        ],
        "content-type": [
            "application/json"
        ],
        "day": [
            "Thursday"
        ],
        "Host": [
            "API_Gateway_ID.execute-api.ap-northeast-1.amazonaws.com"
        ],
        "User-Agent": [
            "curl/7.55.1"
        ],
        "X-Amzn-Trace-Id": [
            "Root=1-60fbfb9a-70429bfb1ef089820112571c"
        ],
        "X-Forwarded-For": [
            "11.22.333.44"
        ],
        "X-Forwarded-Port": [
            "443"
        ],
        "X-Forwarded-Proto": [
            "https"
        ]
    },
    "queryStringParameters": {
        "city": "Seattle",
        "name": "John"
    },
    "multiValueQueryStringParameters": {
        "city": [
            "Seattle"
        ],
        "name": [
            "John"
        ]
    },
    "pathParameters": null,
    "stageVariables": null,
    "requestContext": {
        "resourceId": "il7kor",
        "resourcePath": "/helloworld",
        "httpMethod": "GET",
        "extendedRequestId": "C-RANGv6tjMFtiA=",
        "requestTime": "24/Jul/2021:11:38:02 +0000",
        "path": "/test/helloworld",
        "accountId": "123456789012",
        "protocol": "HTTP/1.1",
        "stage": "test",
        "domainPrefix": "API_Gateway_ID",
        "requestTimeEpoch": 1627126682797,
        "requestId": "7a6335b9-554b-43a7-a228-3a9fb9f10a73",
        "identity": {
            "cognitoIdentityPoolId": null,
            "accountId": null,
            "cognitoIdentityId": null,
            "caller": null,
            "sourceIp": "11.22.333.44",
            "principalOrgId": null,
            "accessKey": null,
            "cognitoAuthenticationType": null,
            "cognitoAuthenticationProvider": null,
            "userArn": null,
            "userAgent": "curl/7.55.1",
            "user": null
        },
        "domainName": "API_Gateway_ID.execute-api.ap-northeast-1.amazonaws.com",
        "apiId": "API_Gateway_ID"
    },
    "body": null,
    "isBase64Encoded": false
}
レスポンス
{
    "message":"Good day,John of Seattle. Happy Thursday!",
        "input":{
            "resource":"/helloworld",
            "path":"/helloworld",
「CloudWatch のログを表示」をクリックすれば、Lambda 関数のログを確認できます。

Lambda 非プロキシ統合(カスタム統合)とは
メソッドリクエストをどのように統合リクエストにマッピングするか、統合レスポンスをどのようにメソッドレスポンスにマッピングするかを設定する Lambda 統合です。
Lambda 関数のコードを置き換える
以下のコードで最初に作成したコードを置き換えます。
'use strict';
var days = ['Sunday', 'Monday', 'Tuesday', 'Wednesday', 'Thursday', 'Friday', 'Saturday'];
var times = ['morning', 'afternoon', 'evening', 'night', 'day'];

console.log('Loading function');

exports.handler = function(event, context, callback) {
  // Parse the input for the name, city, time and day property values
  let name = event.name === undefined ? 'you' : event.name;
  let city = event.city === undefined ? 'World' : event.city;
  let time = times.indexOf(event.time)<0 ? 'day' : event.time;
  let day = days.indexOf(event.day)<0 ? null : event.day;

  // Generate a greeting
  let greeting = 'Good ' + time + ', ' + name + ' of ' + city + '. ';
  if (day) greeting += 'Happy ' + day + '!';

  // Log the greeting to CloudWatch
  console.log('Hello: ', greeting);

  // Return a greeting to the caller
  callback(null, {
      "greeting": greeting
  });
};
REST API を作成する
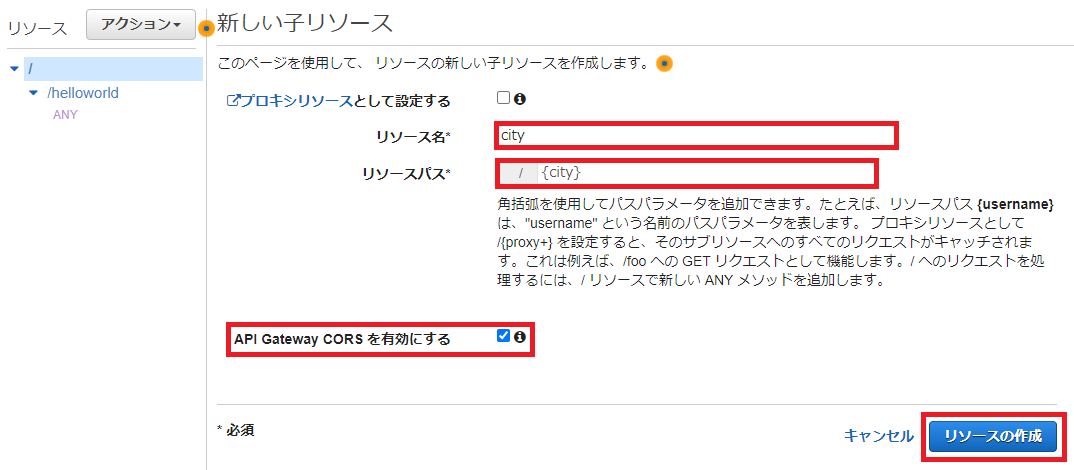
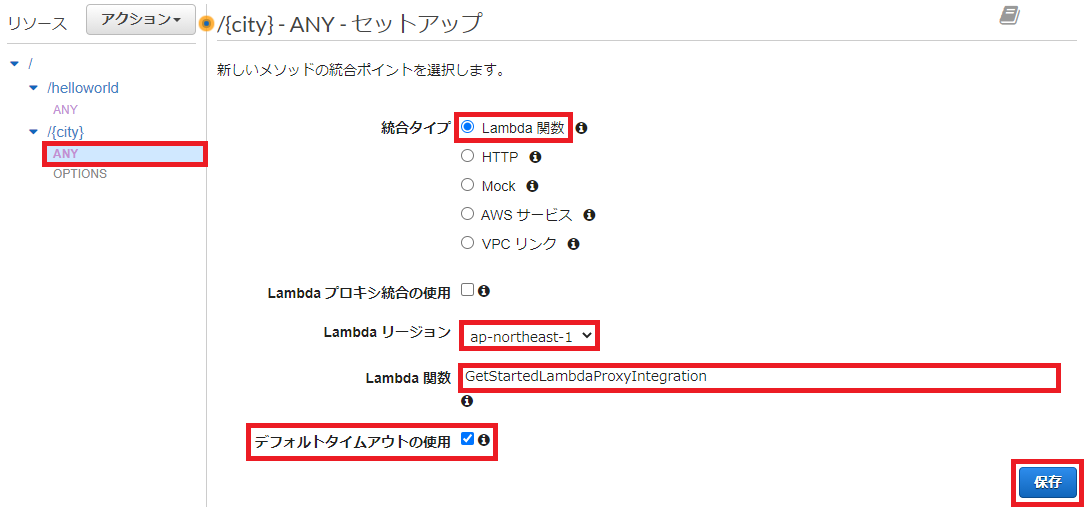
/ の下に city というリソースを作成します。リソースパスは波括弧を付けて {city} とします。「API Gateway CORS を有効にする」にチェックを入れます。
メソッドは「ANY」を選択し、Lambda 関数を指定します。プロキシ統合にチェックを入れずにを「保存」をクリックします。
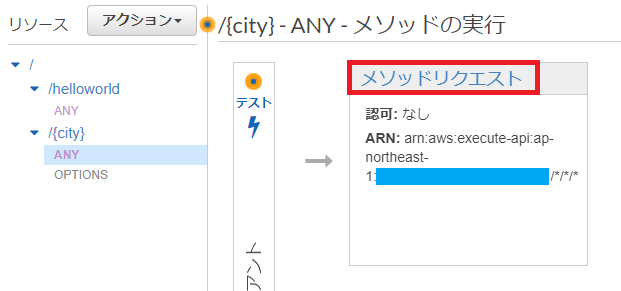
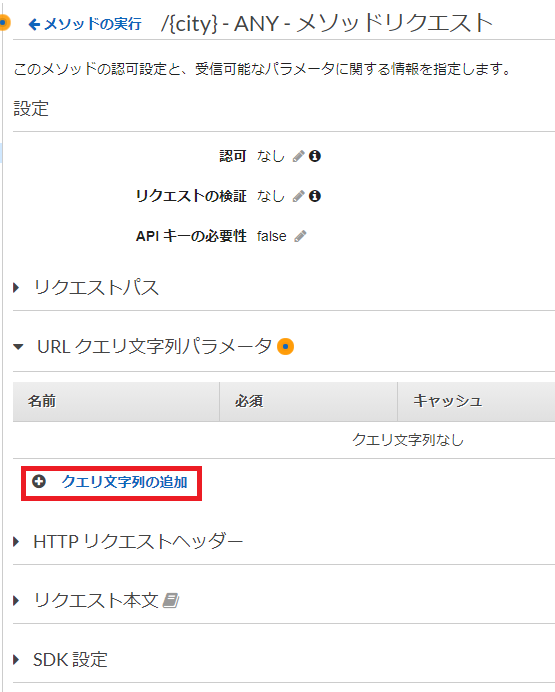
メソッドリクエストを編集します。
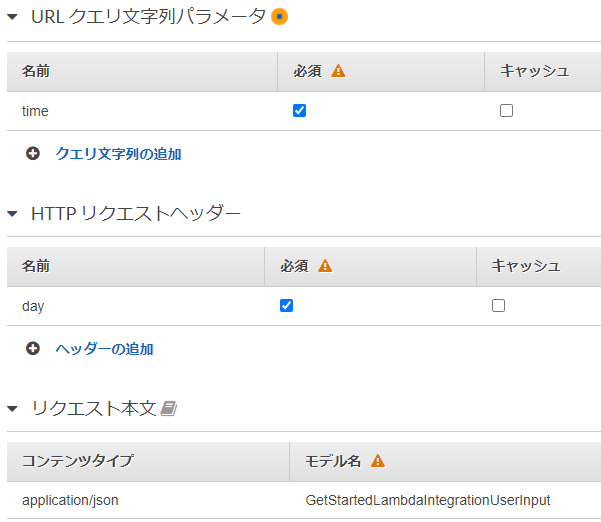
「クエリ文字の追加」をクリックします。
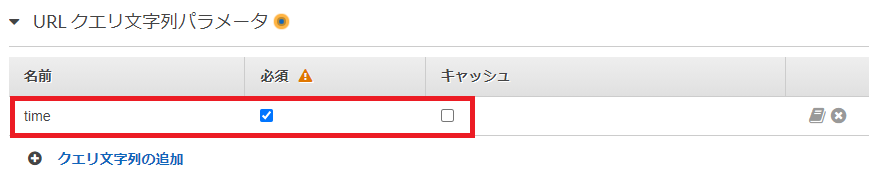
以下のように設定します。
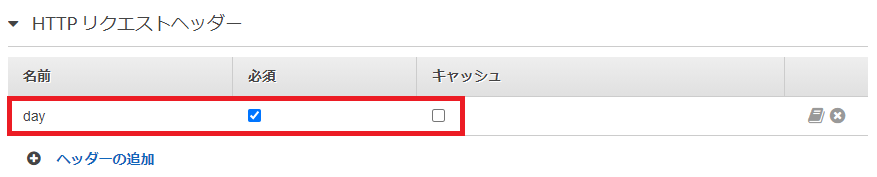
ヘッダーを以下のように追加します。
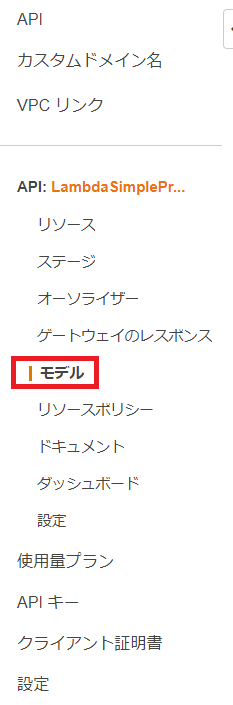
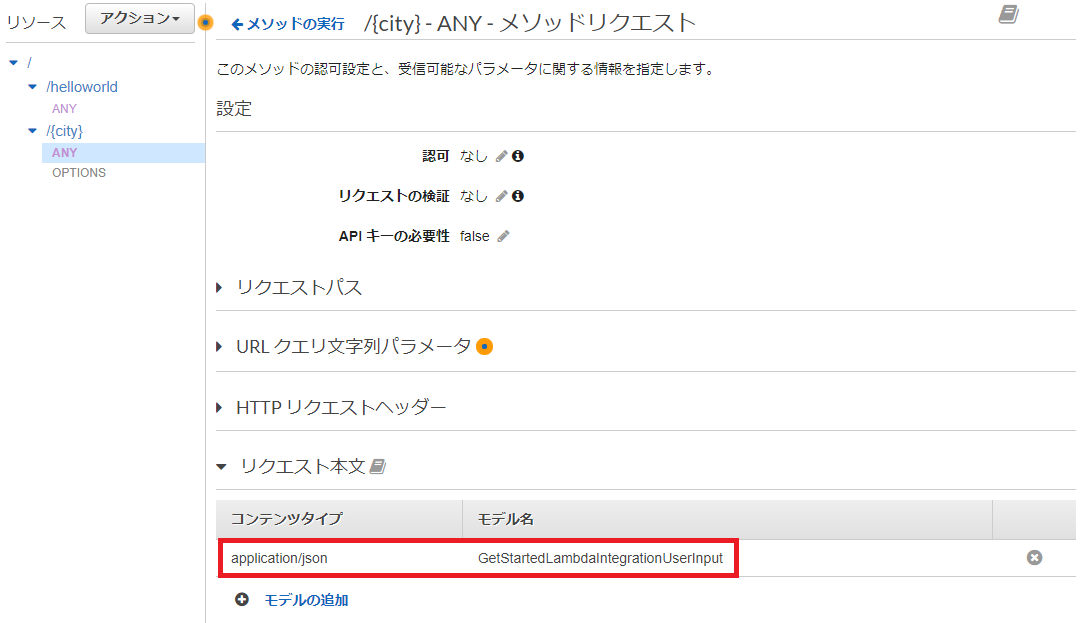
「モデル」を選択します。
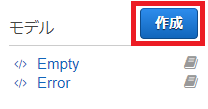
「作成」をクリックします。
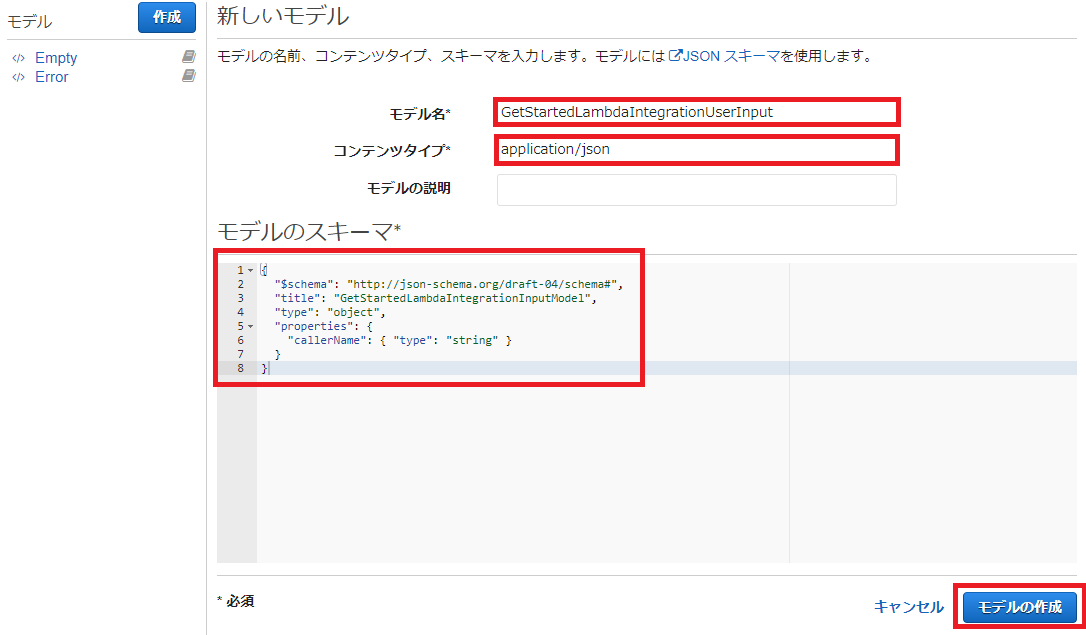
モデル名を入力し、コンテントタイプに「application/json」と入力します。モデルのスキーマは以下を貼り付けます。
{
  "$schema": "http://json-schema.org/draft-04/schema#",
  "title": "GetStartedLambdaIntegrationInputModel",
  "type": "object",
  "properties": {
    "callerName": { "type": "string" }
  }
}
リクエスト本文に作成したモデルを指定します。
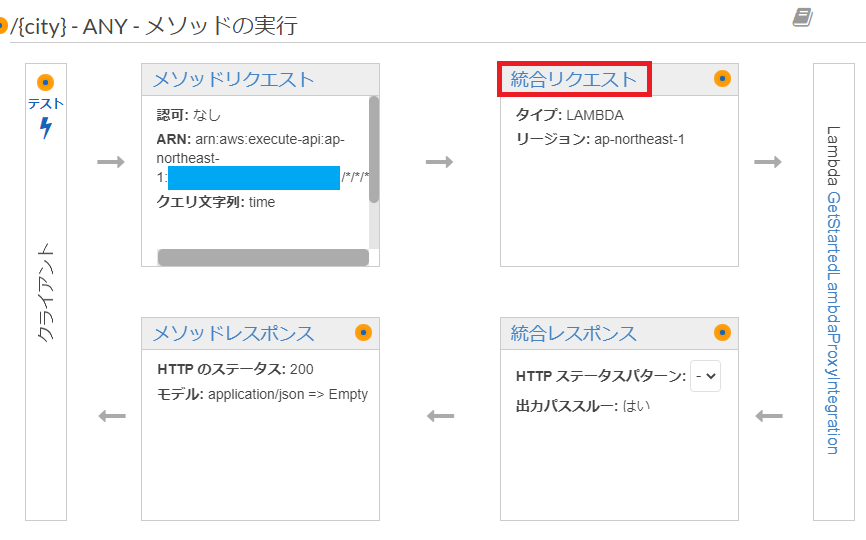
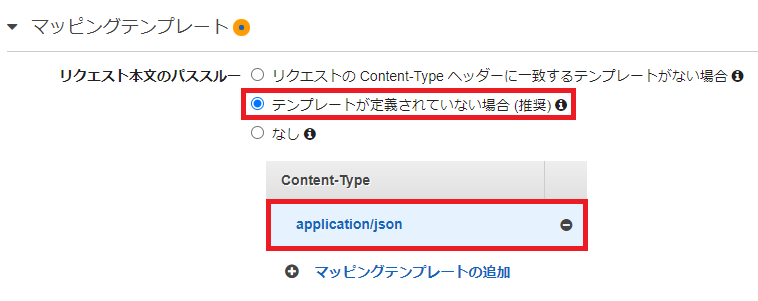
統合リクエストを編集します。
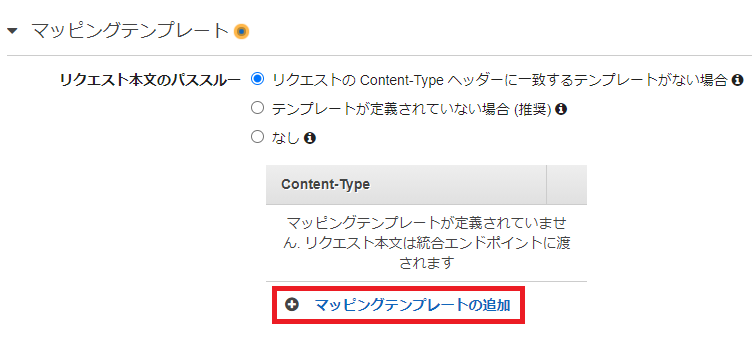
「マッピングテンプレートの追加」をクリックします。「application/json」と入力し、チェックマークをクリックします。
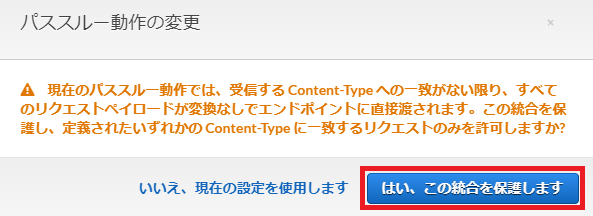
「はい、この統合を保護します」をクリックします。
以下のように設定されていることを確認します。
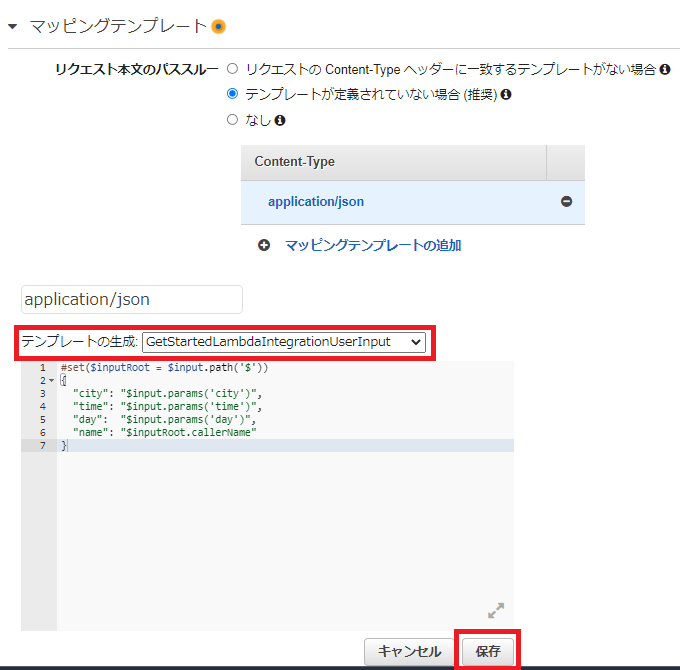
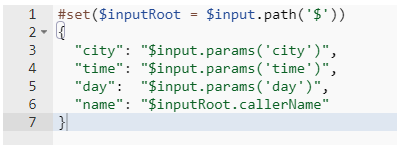
テンプレートの生成に作成したモデルを選択します。本文は以下で置き換えます。
# set($inputRoot = $input.path('$'))
{
  "city": "$input.params('city')",
  "time": "$input.params('time')",
  "day":  "$input.params('day')",
  "name": "$inputRoot.callerName"
}
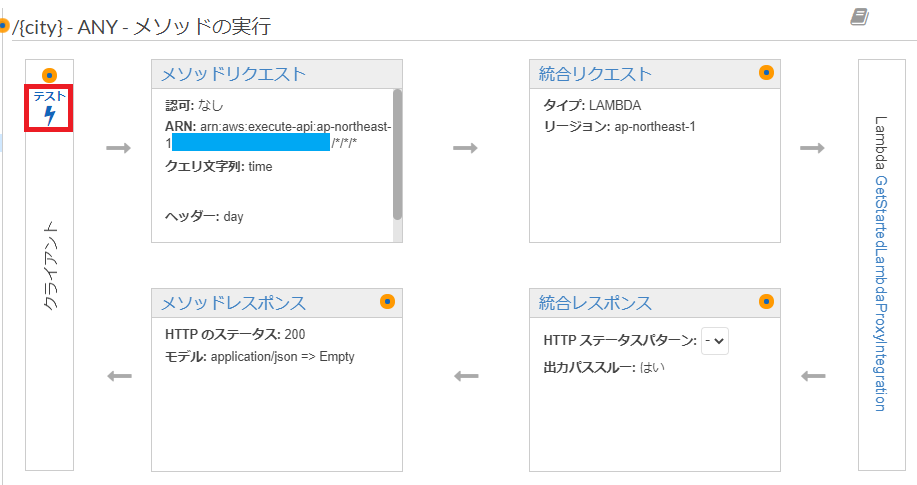
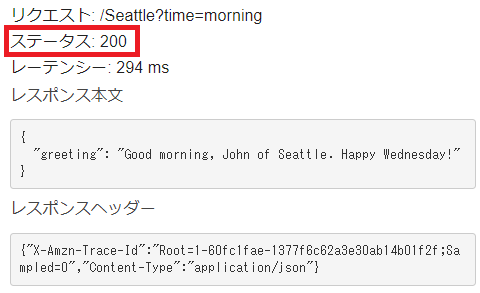
テストの稲妻マークをクリックします。
メソッドは「POST」、パスは「Seattle」、クエリ文字列は「time=morning」、ヘッダーは「day:Wednesday」、リクエスト本文は「{ "callerName":"John" }」を入力します。
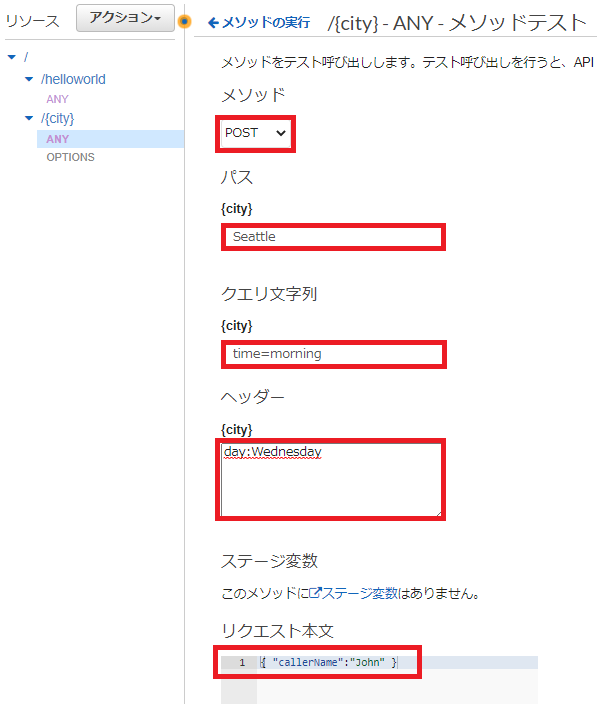
ステータスが 200 となっていれば成功です。
API のデプロイをします。ステージ変数は「custom」と入力します。
以下の URL にリクエストを送ります。

リクエスト
PS C:\tutorial> curl.exe -v -X POST "https://API_Gateway_ID.execute-api.ap-northeast-1.amazonaws.com/custom/Seattle?time=evening" -H "content-type: application/json" -H "day: Thursday" -H "x-amz-docs-region: ap-northeast-1" -d '{"callerName": "John"}'
-
/Seattle・・・ リソース。これがcity: 'Seattle'にマッピングされる。 -
?time=evening・・・ クエリ文字列パラメータ。これがtime: 'evening'にマッピングされる。 -
day: Thursday・・・ HTTP リクエストヘッダー。これがday: 'Thursday'にマッピングされる。 -
{"callerName": "John"}・・・ リクエスト本文。これがname: 'John'にマッピングされる。
上記のパラメータは以下の設定に対応しています。
Lambda が受け取ったイベント
{ city: 'Seattle', time: 'evening', day: 'Thursday', name: 'John' }
上記のイベントは統合リクエストのマッピングテンプレートによって作成されます。
レスポンス
{"greeting":"Good evening, John of Seattle. Happy Thursday!"}
参考記事