初めに
CloudShellを使えば、認証情報やEC2を使わずにS3の操作ができるので便利。
- バケット作成
バケット作成、フォルダ作成、Put・Get
$ aws s3api create-bucket --bucket my-bucket-2021-0313 --region ap-northeast-1
- ファイル作成
- CloudShellでは
viコマンドが使える
- CloudShellでは
vi sample.txt
- 作成したファイルをアップロード
$ aws s3 cp sample.txt s3://my-bucket-2021-0313/
- フォルダ作成
$ aws s3api put-object --bucket my-bucket-2021-0313 --key myfolder/
- バケット内のオブジェクト一覧
$ aws s3 ls s3://my-bucket-2021-0313
                           PRE myfolder/
2021-03-13 09:09:19         14 sample.txt
- オブジェクトの情報を取得
-
--key sample.txt content.txtは、sample.txtというオブジェクト名の情報を取得し、sample.txt の中身はcontent.txtに書き込む
-
$ aws s3api get-object --bucket my-bucket-2021-0313 --key sample.txt content.txt
{
    "AcceptRanges": "bytes",
    "LastModified": "2021-03-13T09:09:19+00:00",
    "ContentLength": 14,
    "ETag": "\"25dd5dedf3d565b1ac293eabeb2932da\"",
    "ContentType": "text/plain",
    "Metadata": {}
}
- フォルダ内のすべてのファイルを指定したディレクトリにダウンロード
$ aws s3 cp s3://my-bucket-2021-0313/myfolder/ ./testdir --recursive
download: s3://my-bucket-2021-0313/myfolder/file2.txt to testdir/file2.txt
download: s3://my-bucket-2021-0313/myfolder/file1.txt to testdir/file1.txt
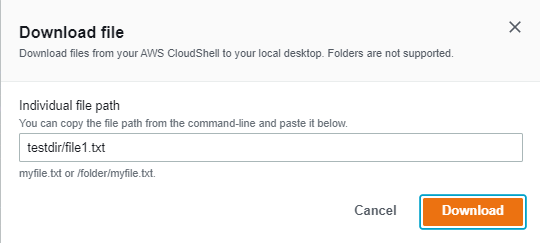
S3からCloudShellにダウンロードしたファイルをローカルにダウンロード
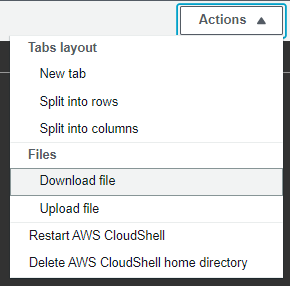
1.ActionsのDownload fileを選択
2.ファイルパスを入力
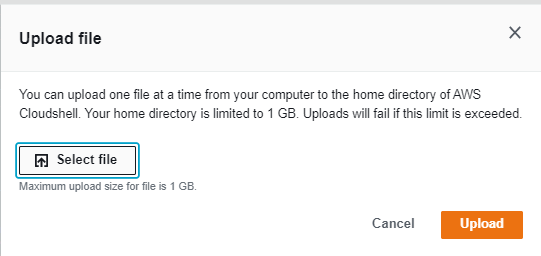
ローカルからCloudShellにファイルをアップロード
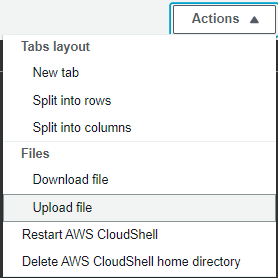
1.ActionsのUpload fileを選択
2.ファイルを選択