初めに
今回は、htmlで簡単な自動販売機を作成します。
ファイル構成
今回は、htmlファイル一つで作ります。
コードを張り付ける。
それでは、以下のコードをコピペしてください。(アニメーションはchatGPTにやってもらいました。)(まだアニメーションに少しバグがあります。)
main.html
<!DOCTYPE html>
<html>
<head>
  <title>自動販売機</title>
  <style>
    .box {
      margin: 0 auto;
      width: 400px;
      height: 500px;
      border: 1px solid black;
      border-radius: 15px;
      margin-top: 100px;
      background-color: white;
      color: black;
      position: relative; /* 相対位置指定 */
    }

    .container {
      display: none; /* 初期状態で非表示 */
      position: absolute;
      top: 0;
      left: 200px; /* 成功メッセージを右から200pxの位置に配置 */
      width: 200px;
      height: 30px;
      display: flex;
      justify-content: center;
      align-items: center;
      border: 1px solid black;
      background-color: white;
      opacity: 0;
      transition: transform 1s, opacity 1s; /* アニメーションの設定 */
      transform: translateY(-50px); /* 追加 */
    }

    .container.animate {
      transform: translateY(0); /* 表示時のアニメーション */
      opacity: 1;
    }

    @keyframes translateOut {
      0% {
        transform: translateY(0);
        opacity: 1;
      }
      100% {
        transform: translateY(-50px);
        opacity: 0;
      }
    }

    body {
      background-color: skyblue;
    }

    .text {
      width: 100px;
      height: 30px;
      border-radius: 10px;
      border: 1px solid #9c9b9b;
    }

    .text:hover {
      background-color: rgb(93, 82, 255);
    }

    .select {
      width: 200px;
      height: 30px;
      border-radius: 5px;
      background-color: white;
      color: black;
    }

    .button {
      width: 100px;
      height: 30px;
      margin-top: 20px;
      background-color: skyblue;
      color: black;
      border: none;
      border-radius: 10px;
    }

    button:hover {
      background-color: #5a5de7;
    }

    .success-message {
      color: black;
      font-weight: bold;
    }

  </style>
</head>
<body>
  <center>
    <div id="errorContainer"></div> <!-- エラーメッセージ表示用のコンテナ -->
    <div class="container" id="successContainer">
      <p id="successMessage" class="success-message"></p>
    </div>
    <div class="box">
      <h1>自動販売機</h1>
      <p>自動販売機のサンプルプログラムです</p>
      <select id="name" class="select" onchange="price()">
        <option value="Select drinks to purchase" selected>Select drinks to purchase</option>
        <option value="coca cola">coca cola</option>
        <option value="cocoa">cocoa</option>
        <option value="soda">soda</option>
      </select>
      <p id="price"></p>
      <p>値段を入力</p>
      <input type="number" id="enterprice" class="text">
      <br><button onclick="buyDrinks()" class="button" type="button">商品を購入</button>
      <p id="paymentTotal">支払い合計: 0円</p>
    </div>
  </center>
</body>
<script>
  let drink = "";
  let text = document.getElementById("price");
  let drinkprice = 0;
  let paymentTotal = 0; // paymentTotal の初期化
  let successContainer = document.getElementById("successContainer");
  let successMessage = document.getElementById("successMessage");

  function price() {
    drink = document.getElementById('name').value;
    switch(drink) {
      case "coca cola":
        drinkprice = 100;
        break;
      case "cocoa":
        drinkprice = 120;
        break;
      case "soda":
        drinkprice = 98;
        break;
      default:
        alert("プログラムに新しいコードが追加されたようです。新たにswitch文に処理を追加するか、ほかの商品を選択してください。\nEnglish...It appears that new code has been added to the program. Please add a new switch statement or select another drink.")
        drinkprice = 0;
        break;
    }
    showdisplay();
  }

  function showdisplay() {
    text.textContent = `${drink}の値段は${drinkprice}円です`;
  }

  function buyDrinks() {
  let enterprice = document.getElementById("enterprice").value;
  if (enterprice >= drinkprice) {
    paymentTotal += parseInt(enterprice); // 購入金額を支払い合計に追加
    document.getElementById("paymentTotal").textContent = `支払い合計: ${paymentTotal}円`;

    // 成功メッセージを表示
    successContainer.style.display = "flex";
    successContainer.classList.remove("animate"); // アニメーションをリセット
    successMessage.textContent = "購入が成功しました";

    // アニメーションの適用後にクラスを再度追加してアニメーションを再生する
    setTimeout(function() {
      successContainer.classList.add("animate");
    }, 100); // 短い遅延を挿入してアニメーションを再生する

    // 成功メッセージを削除した後にcontainerを非表示にする
    setTimeout(function() {
      successContainer.style.transform = "translateY(-50px)"; // translateYアニメーションを適用
      successContainer.style.opacity = 0; // opacityを0にすることでフェードアウト効果を追加
      setTimeout(function() {
        successContainer.style.display = "none"; // container を非表示にする
        successContainer.style.transform = "translateY(0)"; // アニメーション完了後にtransformを元に戻す
        successContainer.style.opacity = 1; // アニメーション完了後にopacityを元に戻す
      }, 1000); // アニメーション時間の後に非表示にする
    }, 2000); // 2秒後にアニメーションを開始する
  } else {
    let errorContainer = document.getElementById("errorContainer");
    errorContainer.textContent = "支払い金額が不足しています";

    setTimeout(function() {
      errorContainer.textContent = ""; // エラーメッセージを削除
    }, 2000);
  }
}

</script>
</html>
貼り付けて実行したら以下のような画面になると思います。
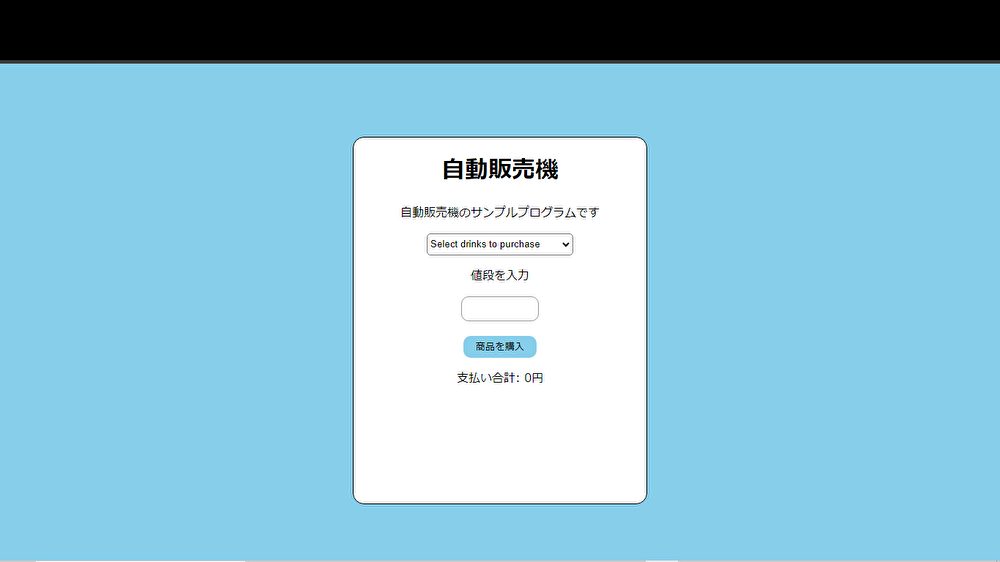
これで、自動販売機のプログラムが完成しました。
プログラムの仕組み
1,商品を選択(select属性)すると、price()が呼び出されて、選択した商品の値段を指定します。(coca colaなら100円,cocoaなら120円,sodaなら98円に、それ以外の場合はエラーメッセージになります。)
2,購入金額を入力して商品を購入ボタンをクリックすると、buyDrinks()が呼び出されます。
Buydrinksの処理内容 {
htmlのenterprice上にある[enterprice]idを読み取ります。
もしenterpriceの金額が商品の値段より高いなら成功メッセージのアニメーションを表示し、商品の値段より少ない場合は、エラーメッセージを表示します。
最後に
今回は、htmlで簡単な自動販売機のプログラムを書きました。
でも、まだアニメーションにバグが残っているので、間違っているところを教えてくれたらうれしいです。
それでは、またお会いしましょう。