前回GoogleMapSDKを使ってMap表示 してみました
今回はここにコードを追加してGeofenceを実装してみます
*ほとんどこちらと同じになります
認証リクエストを変更
info.plistの方をまず修正します
前回のままだとinfo.plist位置情報利用の設定がPrivacy - Location When In Use Usage Descriptionのみだったため、「使用中のみ許可」に設定していいか聞かれるだけで「常に許可」が選択肢として表示されませんでした
今回はバッググラウンドでも利用できるようにしたいので、Privacy - Location Always and When In Use Usage Descriptionも追加します
あとはコードでlocationManager.requestWhenInUseAuthorizationだったところをlocationManager.requestAlwaysAuthorization()に変更すれば完了
ちなみに、「使用中のみ許可」のみを認証リクエストに表示することはできても、「常に表示」のみを認証リクエストに表示することはできないようです
この記事にかかれていますが、iOS10までは「常に許可」「使用中のみ許可」のどちらかがサポートしてあればよかったですが
iOS11から「使用中のみ許可」のみサポートが必須になったからです
モニタリングしたい緯度経度と領域を設定
import GoogleMaps

class ViewController: UIViewController, CLLocationManagerDelegate {

    // モニタリングしたい場所の緯度経度を設定
    let moniteringCoordinate = CLLocationCoordinate2DMake(-33.86,151.20)

     (以下省略)
}

extension ViewController {
    func startGeofenceMonitering() {
        // モニタリングしたい領域を作成
        let moniteringRegion = CLCircularRegion(center: moniteringCoordinate, radius: 100, identifier: "シドニー")
        // モニタリング開始
        locationManager.startMonitoring(for: moniteringRegion)

    }
}

extension ViewController {
     // 認証ステータスが変わったときに呼ばれる
    func locationManager(_ manager: CLLocationManager, didChangeAuthorization status: CLAuthorizationStatus) {
        switch status {
        case .notDetermined:
            print("ユーザー認証未選択")
            break
        case .denied:
            print("ユーザーが位置情報取得を拒否しています。")
            //位置情報取得を促す処理を追記
            break
        case .restricted:
            print("位置情報サービスを利用できません")
            break
        case .authorizedWhenInUse:
            print("アプリケーション起動時のみ、位置情報の取得を許可されています。")
            break
        case .authorizedAlways:
            print("このアプリケーションは常時、位置情報の取得を許可されています。")
            break
        default:
            break
        }
    }

    // ジオフェンスモニタリング
    // モニタリング開始成功時に呼ばれる
    func locationManager(_ manager: CLLocationManager, didStartMonitoringFor region: CLRegion) {
        print("モニタリング開始")
    }

    // モニタリングに失敗したときに呼ばれる
    func locationManager(_ manager: CLLocationManager, monitoringDidFailFor region: CLRegion?, withError error: Error) {
        print("モニタリングに失敗しました")
    }

    // ジオフェンス領域に入ったときに呼ばれる
    func locationManager(_ manager: CLLocationManager, didEnterRegion region: CLRegion) {
        print("設定したジオフェンスに入りました")
    }

    // ジオフェンス領域から出たときに呼ばれる
    func locationManager(_ manager: CLLocationManager, didExitRegion region: CLRegion) {
        print("設定したジオフェンスから出ました")
    }

    // ジオフェンスの情報が取得できないときに呼ばれる
    func locationManager(_ manager: CLLocationManager, didFailWithError error: Error) {
        print("モニタリングエラーです")
    }
}
動作確認はしていませんがおそらくこれで正常に動くはずです
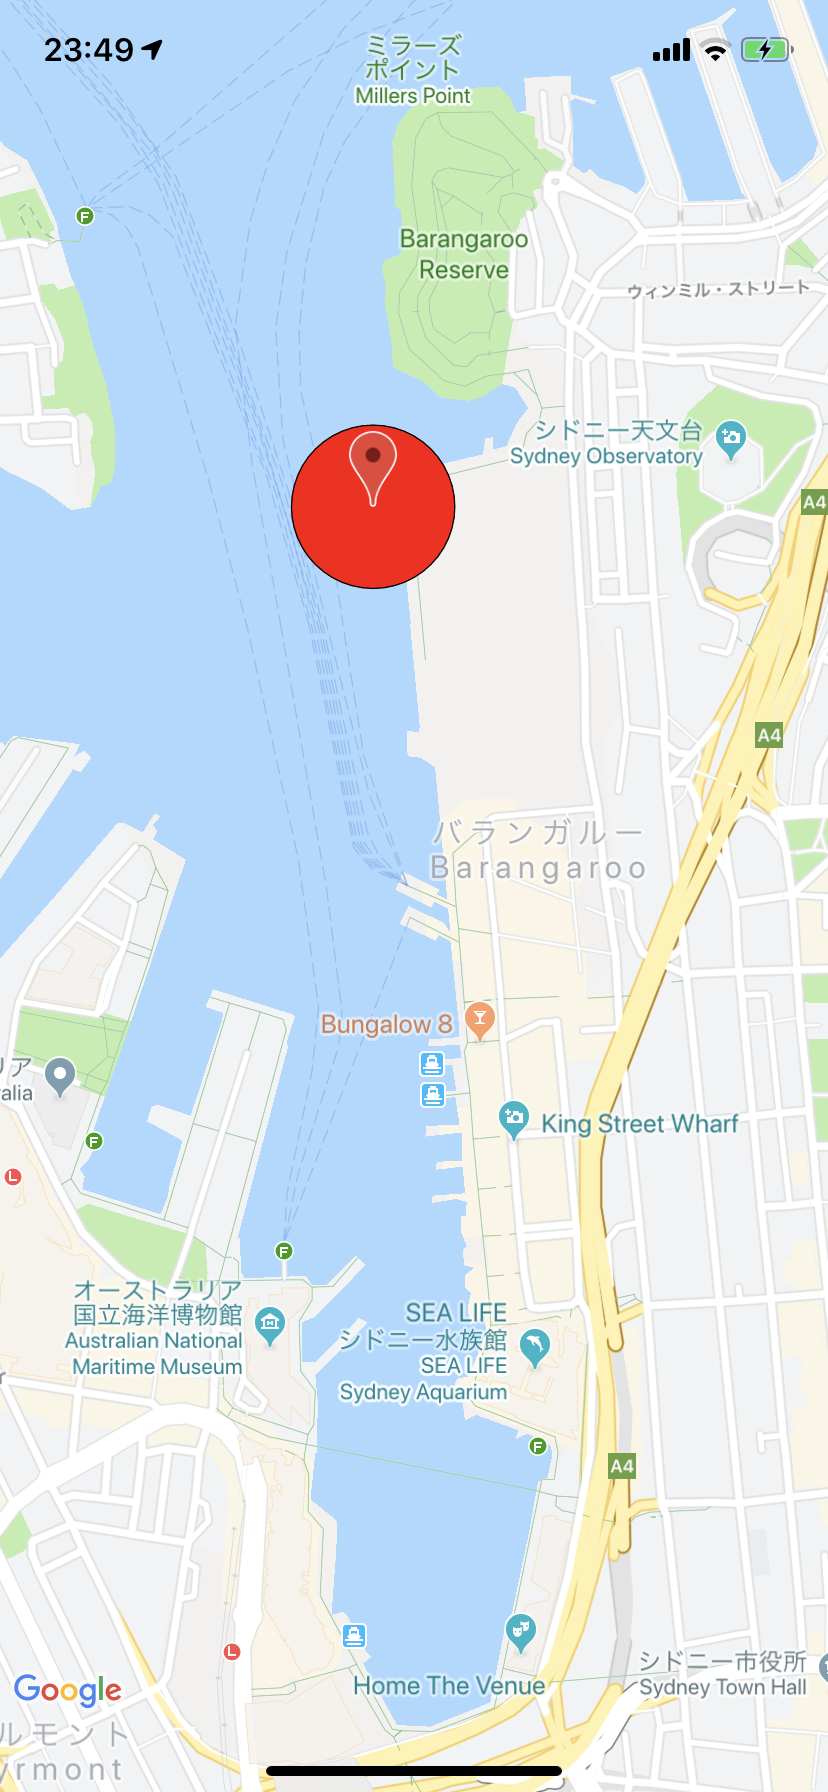
領域を可視化
おそらくこれで正常に動くはずですが、設定した領域がどこなのかユーザーからは見ることができないので可視化します
前回ピンを立てたように以下のコードを追加する
 let circle = GMSCircle.init(position: moniteringCoordinate, radius: 100)
     circle.position = moniteringCoordinate
     circle.radius = 100
     circle.fillColor = .red
     circle.map = mapView
これで領域が可視化されます
コード全体
import GoogleMaps

class ViewController: UIViewController, CLLocationManagerDelegate {

    let locationManager = CLLocationManager()
    // モニタリングしたい場所の緯度経度を設定
    let moniteringCoordinate = CLLocationCoordinate2DMake(-33.86,151.20)
    override func viewDidLoad() {
        super.viewDidLoad()
        setUpMapView()
        setupLocationManager()
    }

    func setUpMapView() {
        // マップに指定の緯度経度の場所を指定の倍率で表示するように指示
        let camera = GMSCameraPosition.camera(withLatitude: -33.86, longitude: 151.20, zoom: 10.0)

        // 指定のフレームとcameraPositionでmapviewをビルドして返す
        let mapView = GMSMapView.map(withFrame: CGRect.zero, camera: camera)
        mapView.isMyLocationEnabled = true

        // markerはピンの場所
        let marker = GMSMarker()
        marker.position = CLLocationCoordinate2D(latitude: -33.86, longitude: 151.20)
        marker.title = "Sydney"
        marker.snippet = "Australia"
        marker.map = mapView

        let circle = GMSCircle.init(position: moniteringCoordinate, radius: 100)
        circle.position = moniteringCoordinate
        circle.radius = 100
        circle.fillColor = .red
        circle.map = mapView

        view = mapView
    }


    func setupLocationManager() {
        // ユーザーに対して位置情報を取得する許可をリクエストする
        // 常に使用する許可を得るrequestAlwaysAuthorizationとアプリ使用中のみ許可を得るrequestWhenInUseAuthorizationがある
        // ここでrequestWhenInUseAuthorization()でリクエストするならinfo.plistの方もPrivacy - Location When In Use Usage Descriptionにする必要がある
        // ここでrequestAlwaysAuthorization()でリクエストするならinfo.plistの方も Privacy - Location Always and When In Use Usage Descriptionにする必要がある
        // info.plistが違う項目を設定しているとリクエストができないため現在地が取得できない
        locationManager.requestAlwaysAuthorization()

        // 「アプリ使用中の位置情報取得」の許可が得られた場合のみ、CLLocationManagerクラスのstartUpdatingLocation()を呼んで、位置情報の取得を開始する

        if .authorizedAlways == CLLocationManager.authorizationStatus() {
            // 許可が得られた場合にViewControllerクラスがCLLoacationManagerのデリゲート先になるようにする
            locationManager.delegate = self
            // 何メートル移動ごとに情報を取得するか。ここで設定した距離分移動したときに現在地を示すマーカーも移動する
            locationManager.distanceFilter = 1
            // 位置情報取得開始
            locationManager.startUpdatingLocation()
            // モニタリング開始
            startGeofenceMonitering()
        }
    }
}

extension ViewController {
    func startGeofenceMonitering() {
        // モニタリングしたい領域を作成
        let moniteringRegion = CLCircularRegion(center: moniteringCoordinate, radius: 100, identifier: "シドニー")
        // モニタリング開始
        locationManager.startMonitoring(for: moniteringRegion)

    }
}

extension ViewController {
    // 位置情報を取得・更新するたびに呼ばれる
    func locationManager(_ manager: CLLocationManager, didUpdateLocations locations: [CLLocation]) {
        let location = locations.first
        let latitude =  location?.coordinate.latitude
        let longitude = location?.coordinate.longitude

        print("latitude: \(latitude!)\n longitude: \(longitude!)")
    }

    func locationManager(_ manager: CLLocationManager, didChangeAuthorization status: CLAuthorizationStatus) {
        switch status {
        case .notDetermined:
            print("ユーザー認証未選択")
            break
        case .denied:
            print("ユーザーが位置情報取得を拒否しています。")
            //位置情報取得を促す処理を追記
            break
        case .restricted:
            print("位置情報サービスを利用できません")
            break
        case .authorizedWhenInUse:
            print("アプリケーション起動時のみ、位置情報の取得を許可されています。")
            break
        case .authorizedAlways:
            print("このアプリケーションは常時、位置情報の取得を許可されています。")
            break
        default:
            break
        }
    }

    // ジオフェンスモニタリング
    // モニタリング開始成功時に呼ばれる
    func locationManager(_ manager: CLLocationManager, didStartMonitoringFor region: CLRegion) {
        print("モニタリング開始")
    }

    // モニタリングに失敗したときに呼ばれる
    func locationManager(_ manager: CLLocationManager, monitoringDidFailFor region: CLRegion?, withError error: Error) {
        print("モニタリングに失敗しました")
    }

    // ジオフェンス領域に入ったときに呼ばれる
    func locationManager(_ manager: CLLocationManager, didEnterRegion region: CLRegion) {
        print("設定したジオフェンスに入りました")
    }

    // ジオフェンス領域から出たときに呼ばれる
    func locationManager(_ manager: CLLocationManager, didExitRegion region: CLRegion) {
        print("設定したジオフェンスから出ました")
    }

    // ジオフェンスの情報が取得できないときに呼ばれる
    func locationManager(_ manager: CLLocationManager, didFailWithError error: Error) {
        print("モニタリングエラーです")
    }
}
参照
https://qiita.com/powerispower/items/39203e1e908149fead19
https://qiita.com/koogawa/items/83883a0282207be7751c
追記
2点追記
-
iOS13から位置情報の認証リクエスト周りが大きく変更するみたいで
新しい認証リクエストが出るらしい
https://jp.techcrunch.com/2019/06/05/2019-06-03-apple-ios-13-location-privacy/
「1回だけ」ってどういうユースケースだろう
しかもかなり大きいのがこれによってrequestAlwaysAuthorization を叩いてもiOS13から「常に許可」という選択肢は表示されないらしく、表示するにはユーザーに一度「使用時に許可」を選択してもらわないと「常に許可」は表示できない
詳しく は以下の記事を参照
https://qiita.com/YujiHamada3/items/3d750c336ecfb51677d0
https://japanese.engadget.com/2019/08/19/ios-13-ceo/ -
info.plistに
Privacy - Location Always and When In Use Usage DescriptionとPrivacy - Location When In Use Usage Descriptionの2つを設定した場合
valueが異なるようにしないとサポート必須の「使用時のみ許可」が表示されるだけで「常に許可」は選択肢に表示されない
というか、Privacy - Location Always Usage Descriptionって必要あるのか...