ESP32から、LINEメッセージやSlackメッセージの送信をします。
最初に、各メッセージの送信の方法を説明した後に、ESP32上のJavascript実行環境から送信する方法を示します。
LINEメッセージ送信方法
便利なLINE Notifyを利用します。
以下、参考ページです。
京急線の運行情報をLINE Notifyする
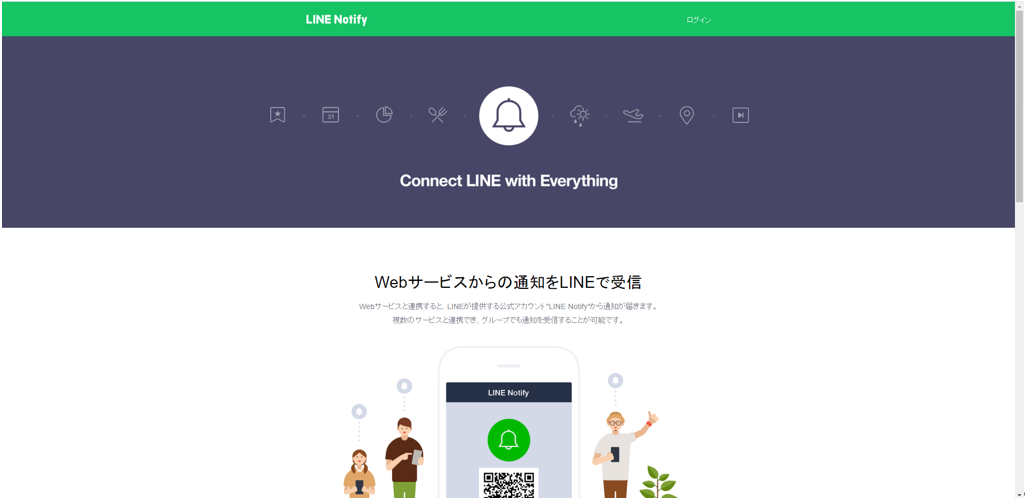
まずは、以下をブラウザから開きます。
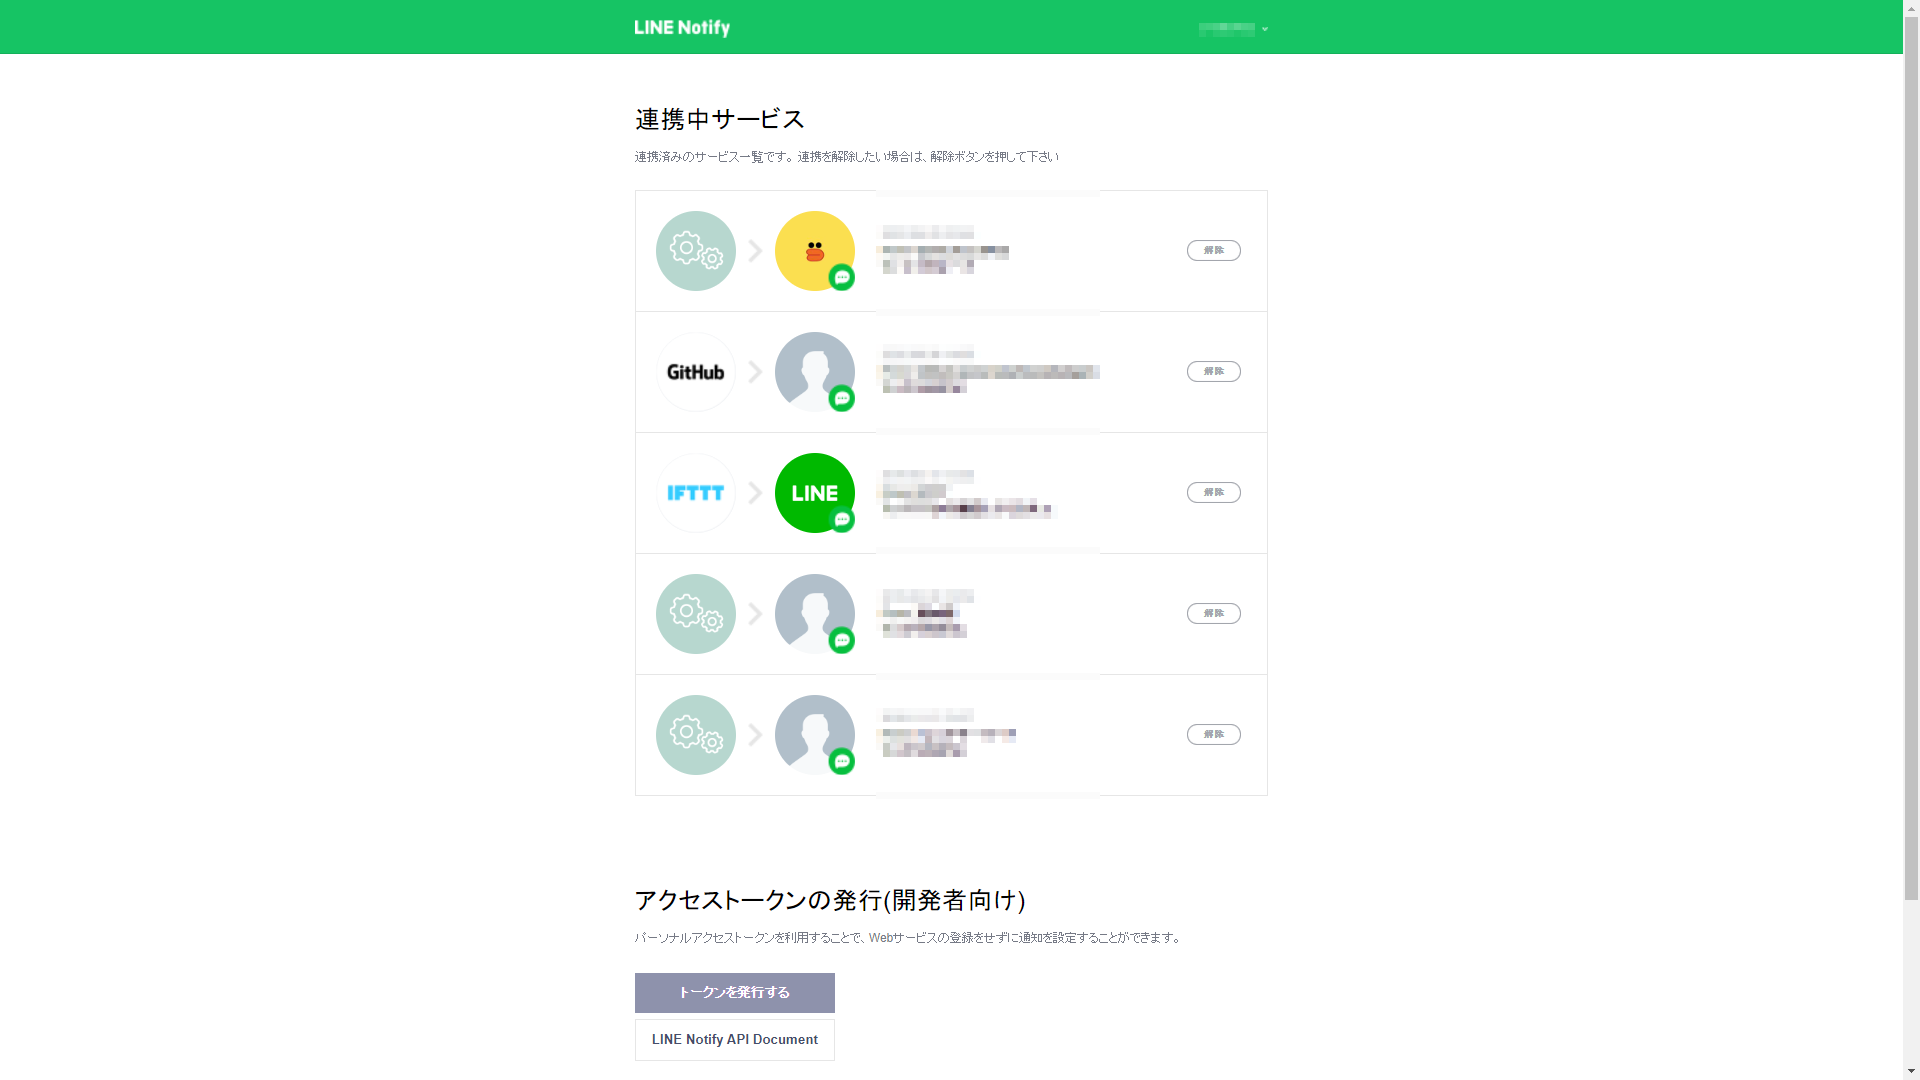
右上のログインをクリックして、ログインします。その後、同じ右上のところから、「マイページ」を選択します。
連携中のサービスにいくつか登録されている状態ですが、最初は何も登録されていません。
「トークンを発行する」を押下します。
トークン名には適当な名前を入力します。今回は「QuickJS_ESP32」とします。
送信するトークルームには、送りたい先のグループを選択します。
最後に発行すると、トークンが発行されます。後で使いますので覚えておきます。
あとは、このトークンとともにHTTP Postで呼び出せば、相手のグループにメッセージが送られ、結果としてJSONが返ってきます。
Node.jsで送る場合の例を以下に示します。
(node-fetchは、v2.6.7を使います。)
引数messageに送信したいメッセージを、引数tokenに先ほど生成したトークンを指定します。
const fetch = require('node-fetch');
const { URL, URLSearchParams } = require('url');
const Headers = fetch.Headers;

function line_notify(message, token){
  var params = {
      message: message
  };
  return do_post_urlencoded_token('https://notify-api.line.me/api/notify', params, token);
}

function do_post_urlencoded_token(url, params, token) {
  const headers = new Headers({ 'Content-Type': 'application/x-www-form-urlencoded', 'Authorization' : 'Bearer ' + token });
  var body = new URLSearchParams(params);

  return fetch(url, {
      method: 'POST',
      body: body,
      headers: headers
    })
    .then((response) => {
      if (!response.ok)
        throw 'status is not 200';
      return response.json();
    })
}
Slackメッセージ送信方法
以下参考ページです。
今更ながらSlackBotを作ってみた:Incoming Webhooks
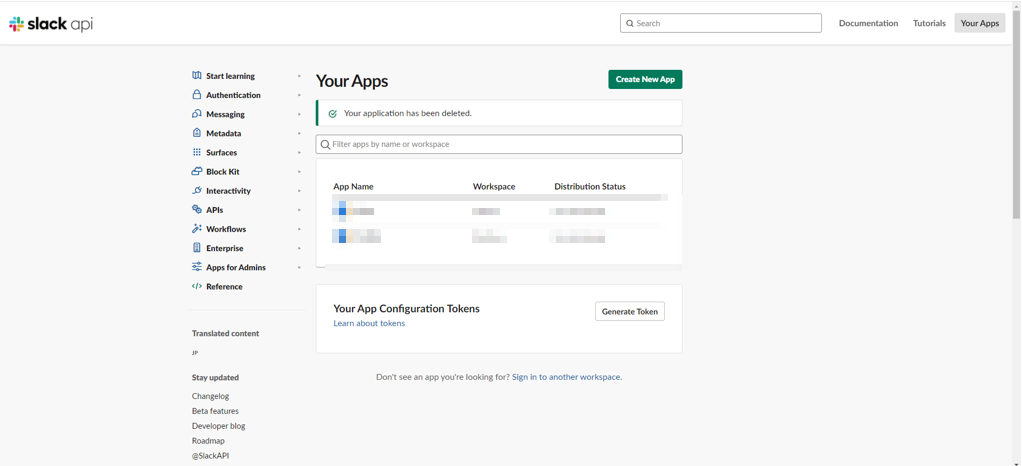
SlackのApps管理画面にログインします。
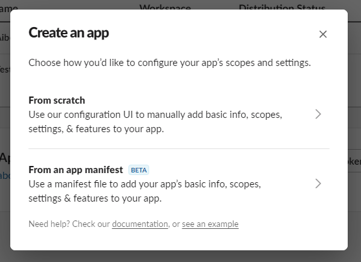
「Create New App」ボタンを押下します。ダイアログが表示されますので、「From scratch」を選択します。
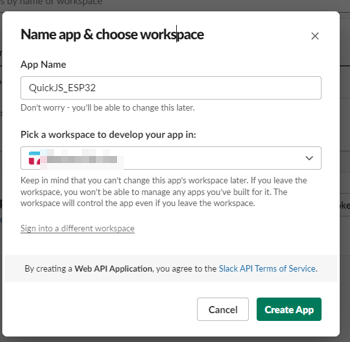
App Nameに適当名前を入力します。例えば、「QuickJS_ESP32」と入力します。
Pick a workspace to develop your app in: には、メッセージを送りたいワークスペースを選択します。
最後に、「Create App」ボタンを押下します。
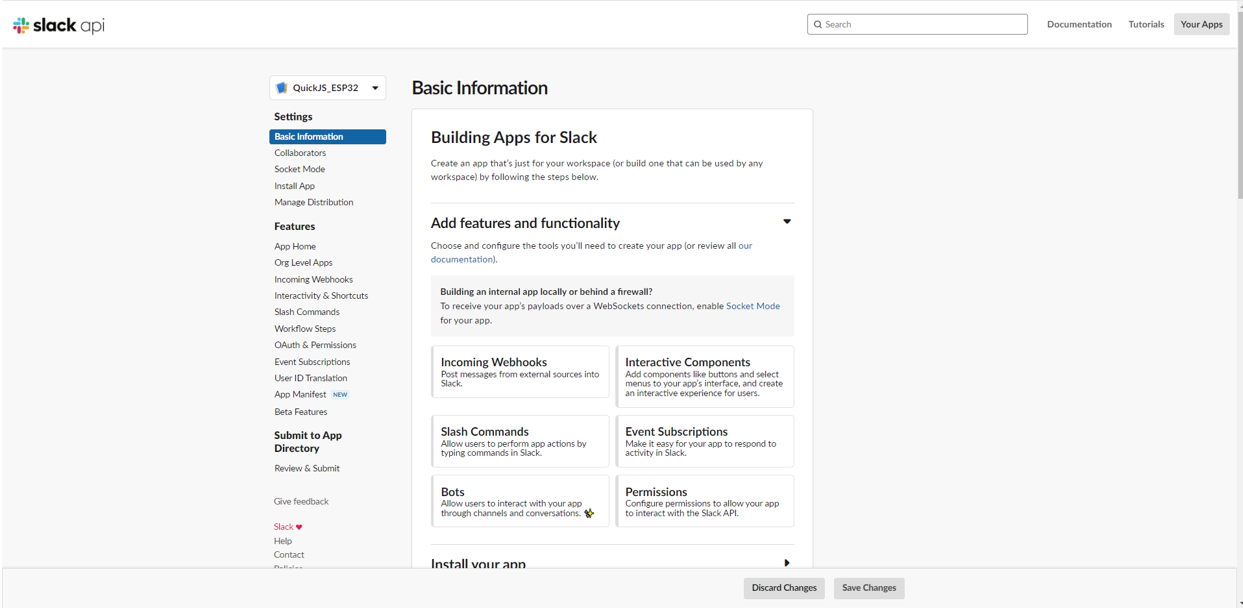
Appの管理画面が表示されます。
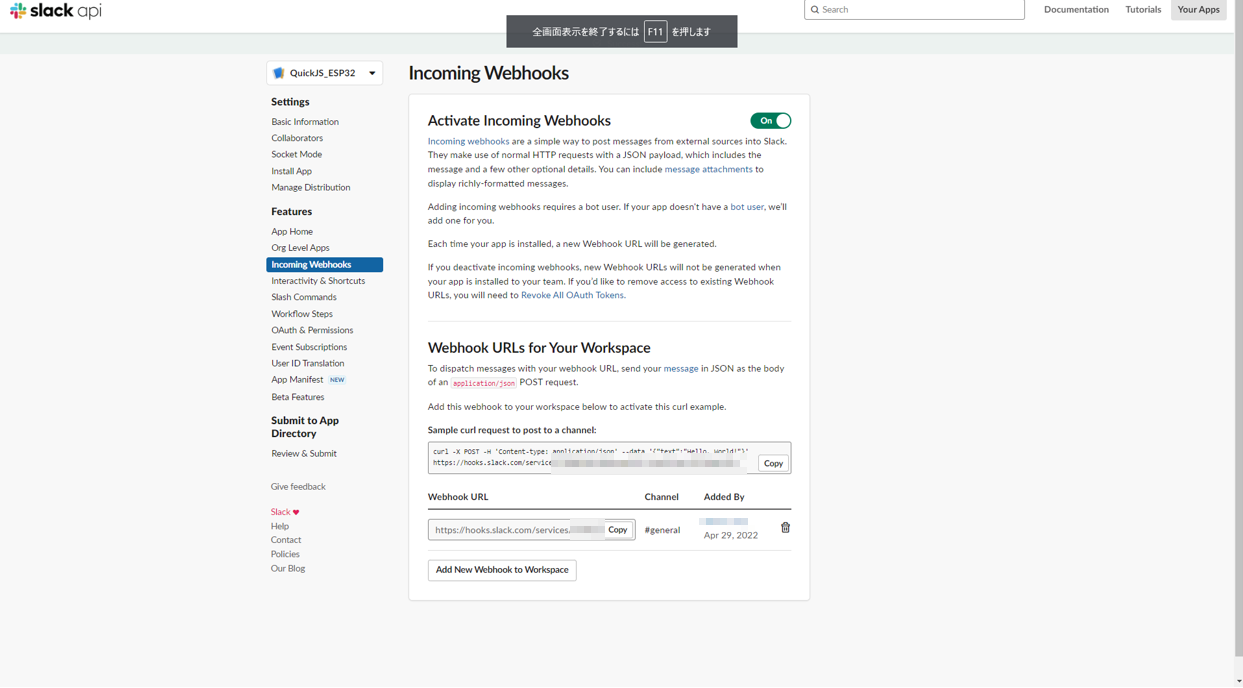
Incomming WebHooksをクリックします。
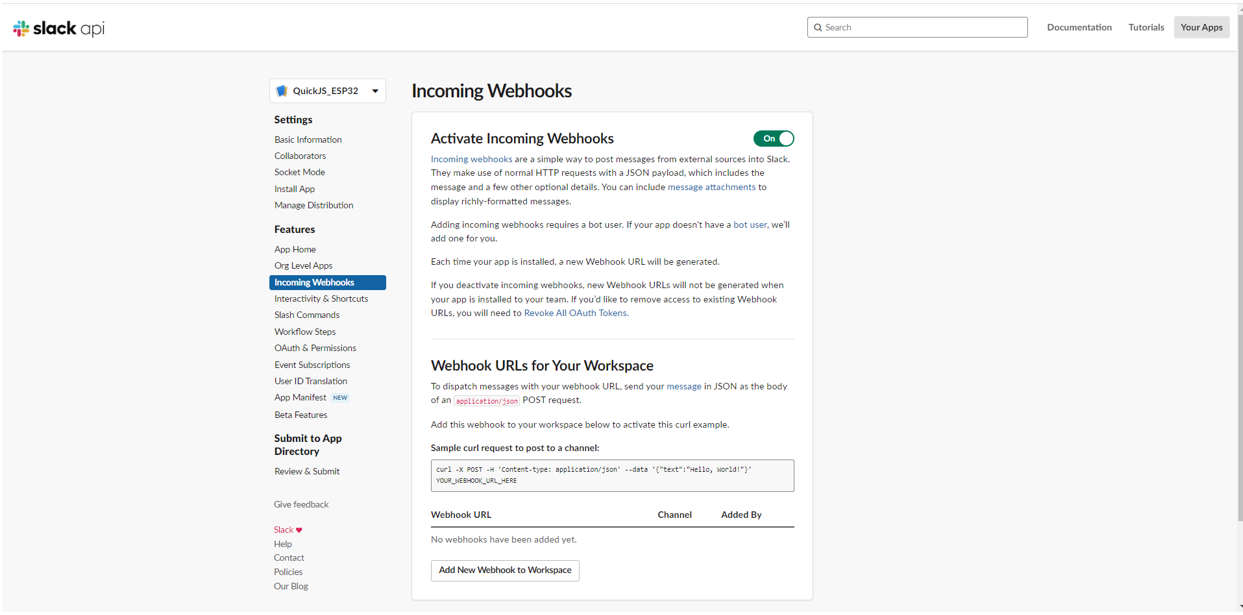
以下のOn/OffスイッチをOnにします。
「Add New Webhook to Workspace」ボタンをクリックします。
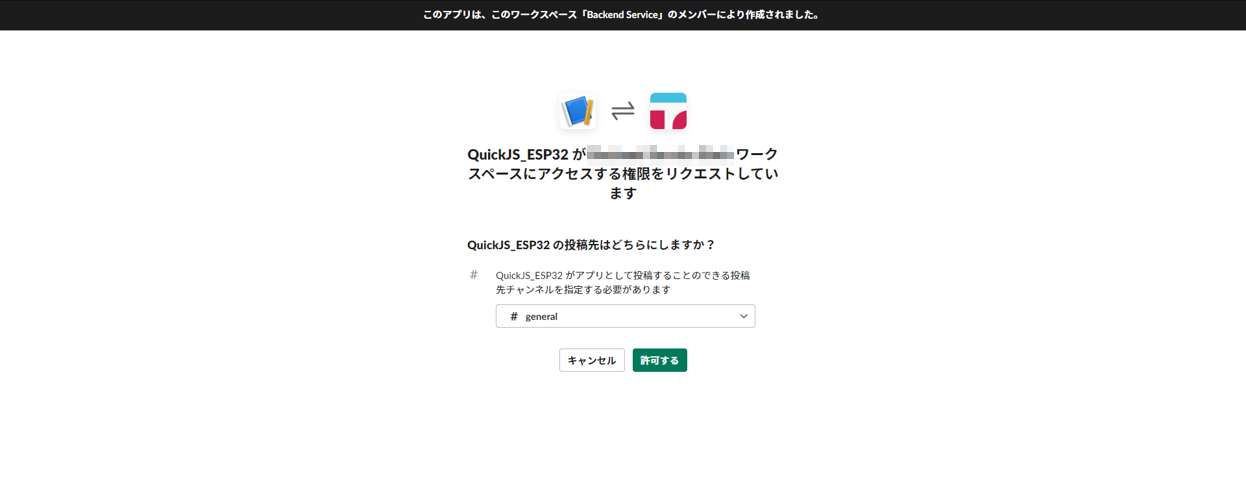
そうすると、選択したワークスペースのどのチャネルにメッセージを送信するかの選択画面が表示されます。今回は、#generalを選択しました。
最後に「許可する」ボタンを押下します。
そうすると、「Webhook URL」に項目が増えているのがわかります。URLをメモっておきます。
あとは、このURLに対して送信したいメッセージを送るだけです。
Node.jsで送信する場合の例を示します。
(node-fetchは、v2.6.7を使います。)
引数messageに送信したいメッセージを、引数urlに先ほど生成したWebhook URLを指定します。
const fetch = require('node-fetch');
const Headers = fetch.Headers;

function slack_notify(message, url){
  var params = {
      text: message
  };
  return do_post(url, params);
}

function do_post(url, body) {
  const headers = new Headers({ "Content-Type": "application/json" });

  return fetch(url, {
      method: 'POST',
      body: JSON.stringify(body),
      headers: headers
    })
    .then((response) => {
      if (!response.ok)
        throw 'status is not 200';
      return response.json();
    });
}
ESP32のJavascript実行環境で送信
動作環境としては、以下のESP32用のJavascript実行環境のファームウェアを使います。
電子書籍:M5StackとJavascriptではじめるIoTデバイス制御
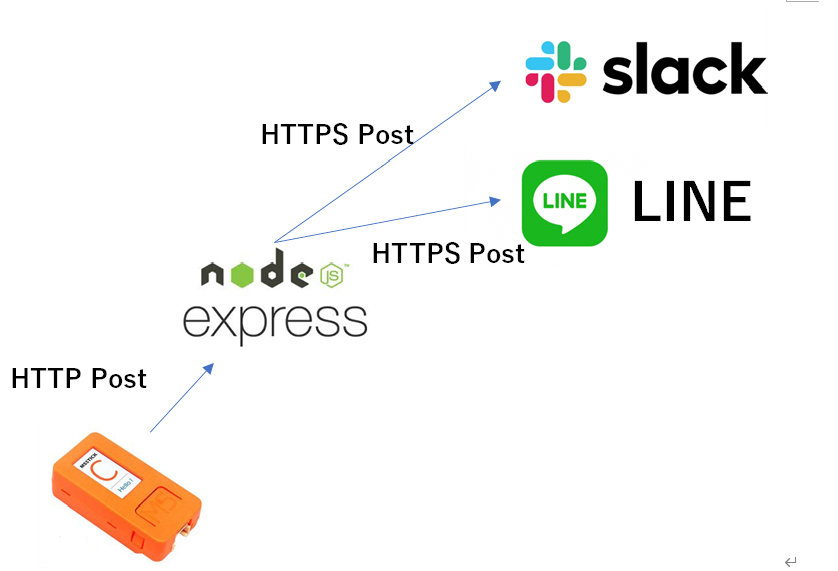
このJavascript実行環境では、メモリ使用量の関係で、HTTP通信しかできません。
そこで、外部にHTTPS通信に変換する中継サーバを設置して送信します。
中継サーバは、Node.jsで作成しました。
あらかじめ、Node.js v12以降がインストールされている必要があります。
以下のGitHubに上げておきました。
poruruba/HttpGateway
ZIPダウンロードして以下のようにセットアップします。
> unzip HttpGateway-master.zip
> cd HttpGateway-master
> npm install
あとは、Node.jsで実行するだけですが、もし中継サーバのポート番号を変えたい場合は、.envファイルを作成して、以下のように記載します。以下は、ポート番号40080の場合です。
PORT=40080
実行は以下のようにします。
> node app.js
中継サーバの実体は「api/controllers/httpgateway/index.js」にありますが、特に変更は不要です。
あとは、以下のようなJavascriptをESP32で実行すればよいです。
Httpモジュールを使います。
import * as http from "Http";

http.setGatewayServer('http://[立ち上げたNode.jsサーバのホスト名]:40080/httpgateway-call');

const slack_url = '[SlackのWebhook URL]';
const line_token = '[LINEのトークン]';

var method_type = http.content_urlencode | http.method_post | http.resp_json;
var params = {
	message: "Hello World"
};
var headers = {
	Authorization: 'Bearer ' + line_token
};
var result = http.fetch(method_type, 'https://notify-api.line.me/api/notify', params, headers);
console.log(JSON.stringify(result));
console.log('end');

var message = {
	text: "Hello World"
};
var result = http.postText(slack_url, message);
console.log(JSON.stringify(result));
console.log('end');
少し解説します。
http.setGatewayServer()は、中継サーバのURLを設定するためのものです。一度実行すれば、不揮発に記憶するため、この行の実行は1回だけよいです。
まずは、LINEメッセージ送信の部分です。
Content-Typeがちょっと特殊で、http.fetch()にて、application/x-www-form-urlencoded の形式で送信しています。LINEのトークンはHTTP ヘッダに指定しています。Body部に送信したいメッセージを指定します。
次は、Slackメッセージ送信部分です。
一般的な、HTTP PostのJson形式での送信であるため、http.postText()を使っています。必要なシークレットは、URLに含まれていますので、Body部に送信したいメッセージを指定するだけです。
以上
