第1回投稿で、SwaggerでLambdaのデバッグ環境を作りました。
今回は、Google Cloud Platform(以降GCP)のCloudEndpointsをデバッグします。
GCPへの設定は、以下に書いてある手順に従って進めます。
https://cloud.google.com/endpoints/docs/openapi/get-started-app-engine?hl=ja
ですが、GCPのCloudEndpointsをデバッグするのではなく、Swagger定義ファイルを使って動作していたLambdaのNode.jsのコードを、CloudEndpointsに移設するイメージです。
CloudEndpointsは、Swagger定義ファイル(別名OpenAPI)に基づいて動作します。
したがって、これまでSwagger定義ファイルに基づくRESTfulサーバがあるのであれば、(実行環境に依存した処理がなければ)そのまま移設することができるわけです。
今回は、GCPのCloudEndpointsの実装として、App EngineのNode.jsを選択しました。もし、GCPのCompute Engineで構築したい場合は、以下を参考にしてください。
AWS Cognitoで認証しないと呼び出せない何かのサーバを作る
RESTfulサーバで動作するアプリを用意する
ぜひ、今までの記事を参考にRESTfulサーバで動作するアプリを作成してください。
特に、Node.js使いの方は、Swagger-nodeという素晴らしいツールがありますので、苦も無くRESTfulサーバを構築できるかと思います。
SwaggerでLambdaのデバッグ環境を作る(1)
SwaggerでLambdaのデバッグ環境を作る(2):Helperライブラリを使ったLambdaの書き方
GCPのプロジェクトを作成する。
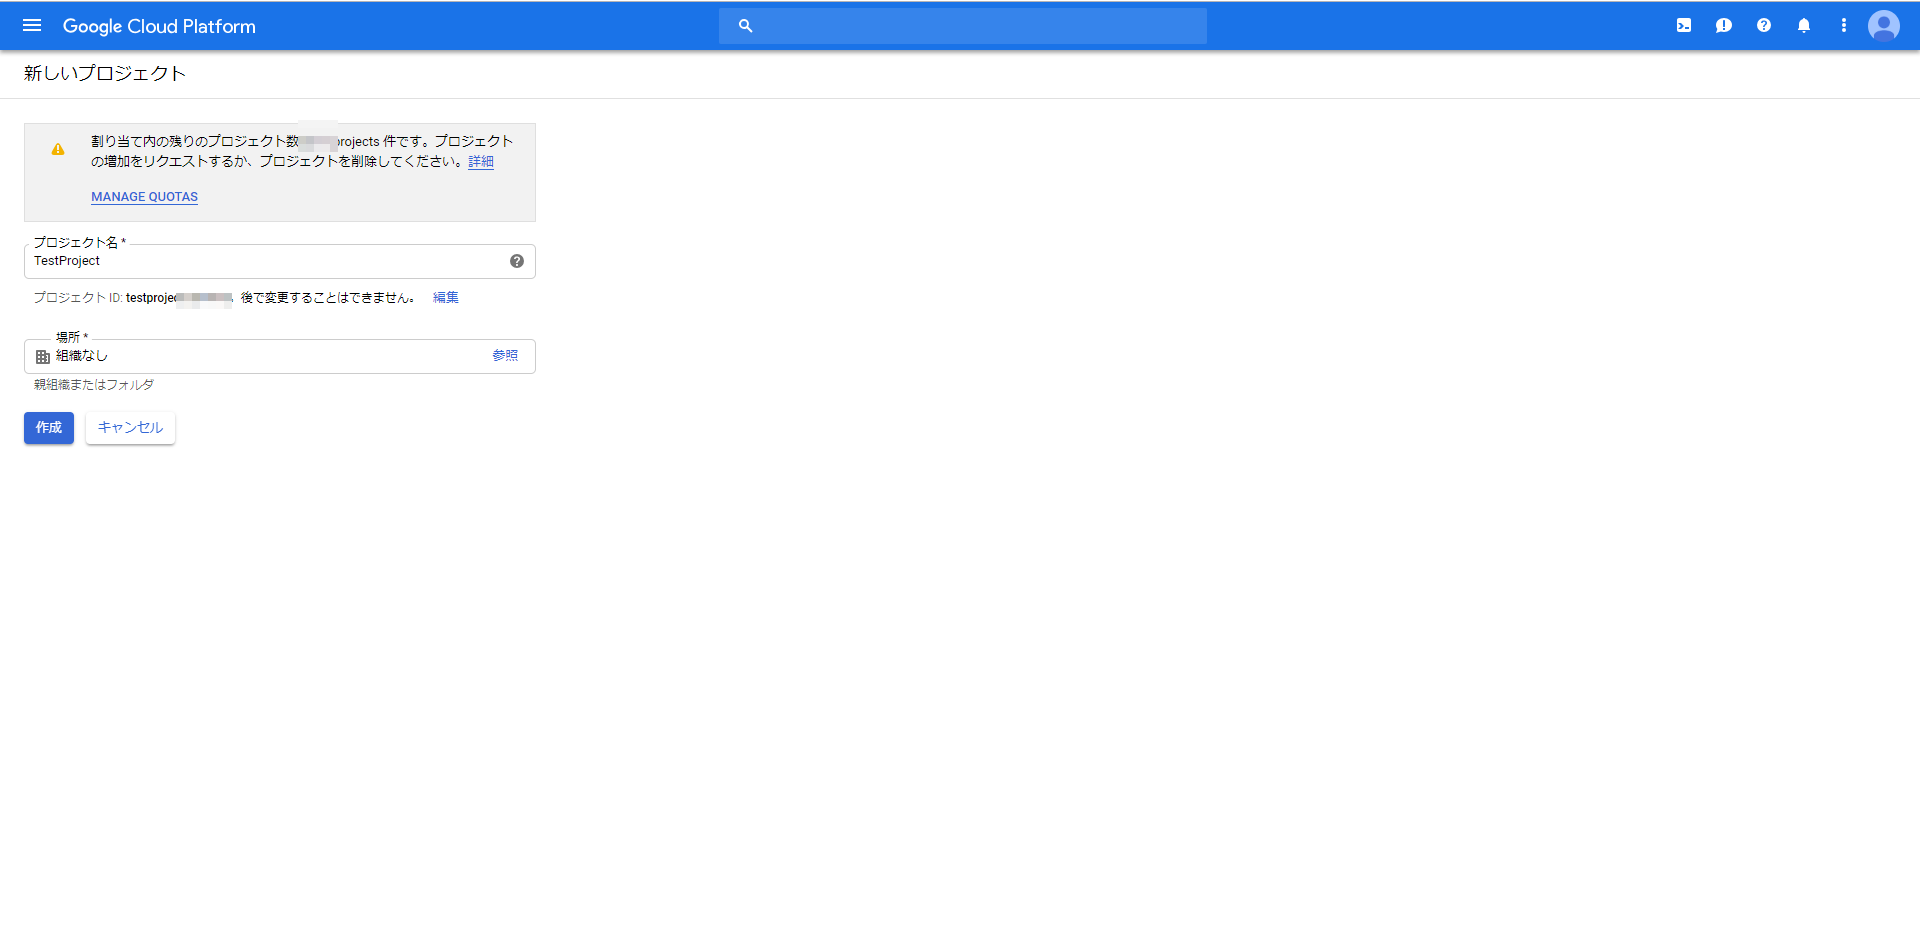
まずは、以下のWebページから、プロジェクトを作成しましょう。すでに作ってある場合はそれを使います。
Google Cloud Console
https://console.cloud.google.com/?hl=ja
プロジェクト名は適当ですが、たとえば、「TestProject」としました。
Google Cloud SDKのインストールやアプリの作成など、もろもろの準備が必要でして、以下のページの「始める前に」の作業はあらかじめ済ませておいてください。(手抜きですみません)
https://cloud.google.com/endpoints/docs/openapi/get-started-app-engine?hl=ja
途中、regionが聞かれますが、asia-northeast1 を選択しましょう。
Swagger定義ファイルをGCPの環境に合わせる
これからが本番です。
ローカルのRESTful環境でアプリのデバッグが終わっている想定です。
GCPのCloud Endpointsにデプロイするために、Swagger定義ファイルを編集する必要があります。具体的には、host:の部分です。
こんな感じに変更します。
host: "【プロジェクトID】.appspot.com"
修正はそれだけです。
デプロイしましょう。
gcloud endpoints services deploy api\swagger\swagger.yaml
以下のような表示が出れば、成功とのことです。
Service Configuration [2019-02-16r0] uploaded for service [【プロジェクトID】.appspot.com]
次に、「app.yaml」ファイルを作成します。Swaggerプロジェクトフォルダのルートに置きます。
# Copyright 2015-2016, Google, Inc.
# Licensed under the Apache License, Version 2.0 (the "License");
# you may not use this file except in compliance with the License.
# You may obtain a copy of the License at
#
#    http://www.apache.org/licenses/LICENSE-2.0
#
# Unless required by applicable law or agreed to in writing, software
# distributed under the License is distributed on an "AS IS" BASIS,
# WITHOUT WARRANTIES OR CONDITIONS OF ANY KIND, either express or implied.
# See the License for the specific language governing permissions and
# limitations under the License.

runtime: nodejs
env: flex

# [START configuration]
endpoints_api_service:
  # The following values are to be replaced by information from the output of
  # 'gcloud endpoints services deploy openapi-appengine.yaml' command.
  name: 【プロジェクトID】.appspot.com
  rollout_strategy: managed
# [END configuration]
【プロジェクトID】の部分を環境に合わせて変更してください。
修正はこれだけです。
実装の方は、適当で構わないのですが、シンプルに以下で作ってみました。
・・・
  /test-get:
    get:
      x-swagger-router-controller: routing
      operationId: test-get
      responses:
        200:
          description: Success
          schema:
            $ref: "#/definitions/CommonResponse"
・・・
・・・
const func_table = {
//  "test-func" : require('./test_func').handler,
//  "test-dialogflow" : require('./test_dialogflow').fulfillment,
"test-get" : require('./test-get').handler,
};
・・・
'use strict';

const HELPER_BASE = process.env.HELPER_BASE || '../../helpers/';
const Response = require(HELPER_BASE + 'response');
const Redirect = require(HELPER_BASE + 'redirect');

exports.handler = async (event, context, callback) => {
	console.log(event.queryStringParameters);
	return new Response({ message: process.env.MESSAGE });
};
MESSAGE="Good Morning"
/test-getにGETでアクセスすると、.envに書いたメッセージがJSON文字列で返ってくる、という単純なものです。
早速、デプロイを始めましょう。
デプロイによって、アプリの実装がGCPのCloud Endpointsにアップロードされます。
gcloud app deploy
途中、continueしますか?と聞かれますが、当然y(Yes)を入力します。
数分かかります。(これを繰り返したくなければ、しっかりローカルのデバッグ環境でデバッグしておきましょう!)
以下のようなメッセージが表示されて、デプロイが完了です。
Setting traffic split for service [default]...done.
本当にデプロイができたのか、以下のURLをブラウザからたたいてみましょう
https://【プロジェクトID】.appspot.com/test-get
こんな感じで結果が返ってきましたでしょうか?
ちなみに、以下を入力すると、console.log出力していたデバッグメッセージが表示されます。(ちょっと反応は遅いですが)
gcloud app logs tail -s default
以上

