はじめに
以下のリポジトリを使用してDocker環境でLIVOX MID-360を使ってFAST_LIOを実行する手順をまとめる。
以前同じ内容の記事を書きましたが別のリポジトリを使った方法で書き直しました。
LIVOX MID-360をROS2で使用する手順はこちらのページを参照
追記)
元祖リポジトリの方にROS2版がマージされました。
Docker使わず実行したい方はこちらを参照してください。
動作確認環境
ホストPC
| 項目 | 値 |
|---|---|
| CPU | Intel® Core™ i7-12700H |
| GPU | GeForce RTX 3050 Ti Mobile |
| Ubuntu | 22.04 |
| docker | 24.0.6 |
| docker compose | v2.21.0 |
Dockerコンテナ
| 項目 | 値 |
|---|---|
| Ubuntu | 22.04 |
| ROS2 | Humble |
- 使用センサ
LIVOX MID-360
事前準備
ネットワークの設定
MID-360 のIPアドレスは'192.168.1.160'になっているとする。
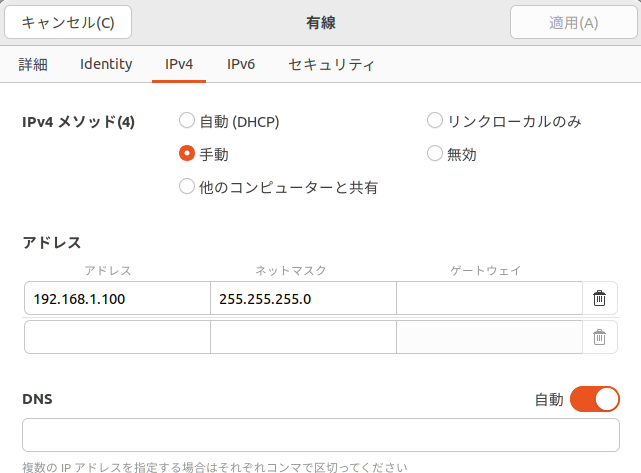
MID-360 をEthernetでPCに接続した状態でubuntuの設定画面からPCのIPアドレスの値を設定
('192.168.1.100'の100には160 を除く 1 ~ 254 の範囲の適当な値を設定)
設定を適応したらpingで疎通確認
ping 192.168.1.160
Docker/ nvidia-docker2 のインストール
Docker 環境の構築
Docker イメージの作成
git clone --recursive https://github.com/Taeyoung96/FAST_LIO_ROS2.git
cd FAST_LIO_ROS2/docker/
docker build -t fast-lio-ros2:latest .
Docker イメージに含まれるもの
- ubuntu22.04
- ROS 2 humble desktop
- LIVOX-SDK2
- PCLなどの依存パッケージ
以下はdocker run時に --volumeオプションでコンテナにマウントする。
- livox_ros_driver2
- FAST_LIO
Dockerコンテナの作成と実行
xhost +local:docker
 ./container_run.sh fast-lio-ros2 fast-lio-ros2:latest
Current working directory: /home/porizou/FAST_LIO_ROS2
==============FAST-LIO ROS2 Docker Env Ready================
root@porizou-RM7C-R35T:~/ros2_ws#
livox_ros_driver2とFAST_LIOのbuild
あとでFAST_LIOの設定ファイルを編集できるようにlivox_ros_driver2
/build.shを編集
-    colcon build --cmake-args -DROS_EDITION=${VERSION_ROS2} -DHUMBLE_ROS=${ROS_HUMBLE}
+    colcon build  --symlink-install --cmake-args -DROS_EDITION=${VERSION_ROS2} -DHUMBLE_ROS=${ROS_HUMBLE}
コンテナ内でbuild.shを使ってlivox_ros_driver2とFAST_LIOをcolcon buildする
cd ~/ros2_ws/src/livox_ros_driver2
./build.sh humble
livox_ros_driver2のIPアドレスの設定変更
livox_ros_driver2/config/MID360_config.json
の中のPCとLIVOXのIPアドレスを先ほど設定したIPに書き換える。
root@porizou-RM7C-R35T:~/ros2_ws/src/livox_ros_driver2/config# cat MID360_config.json
{
  "lidar_summary_info" : {
    "lidar_type": 8
  },
  "MID360": {
    "lidar_net_info" : {
      "cmd_data_port": 56100,
      "push_msg_port": 56200,
      "point_data_port": 56300,
      "imu_data_port": 56400,
      "log_data_port": 56500
    },
    "host_net_info" : {
      "cmd_data_ip" : "192.168.1.100",
      "cmd_data_port": 56101,
      "push_msg_ip": "192.168.1.100",
      "push_msg_port": 56201,
      "point_data_ip": "192.168.1.100",
      "point_data_port": 56301,
      "imu_data_ip" : "192.168.1.100",
      "imu_data_port": 56401,
      "log_data_ip" : "",
      "log_data_port": 56501
    }
  },
  "lidar_configs" : [
    {
      "ip" : "192.168.1.160",
      "pcl_data_type" : 1,
      "pattern_mode" : 0,
      "extrinsic_parameter" : {
        "roll": 0.0,
        "pitch": 0.0,
        "yaw": 0.0,
        "x": 0,
        "y": 0,
        "z": 0
      }
    }
  ]
}
FAST_LIOの実行
2つターミナルを開いてそれぞれDocker containerに入り、livox_ros_driver2とFAST_LIOを実行する。
livox_ros_driver2の実行
xhost +local:docker
docker exec -it fast-lio-ros2 /bin/bash
source ~/ros2_ws/install/setup.bash
ros2 launch livox_ros_driver2 rviz_MID360_launch.py
FAST_LIOの実行
xhost +local:docker
docker exec -it fast-lio-ros2 /bin/bash
source ~/ros2_ws/install/setup.bash
ros2 launch fast_lio mapping_mid360.launch.py
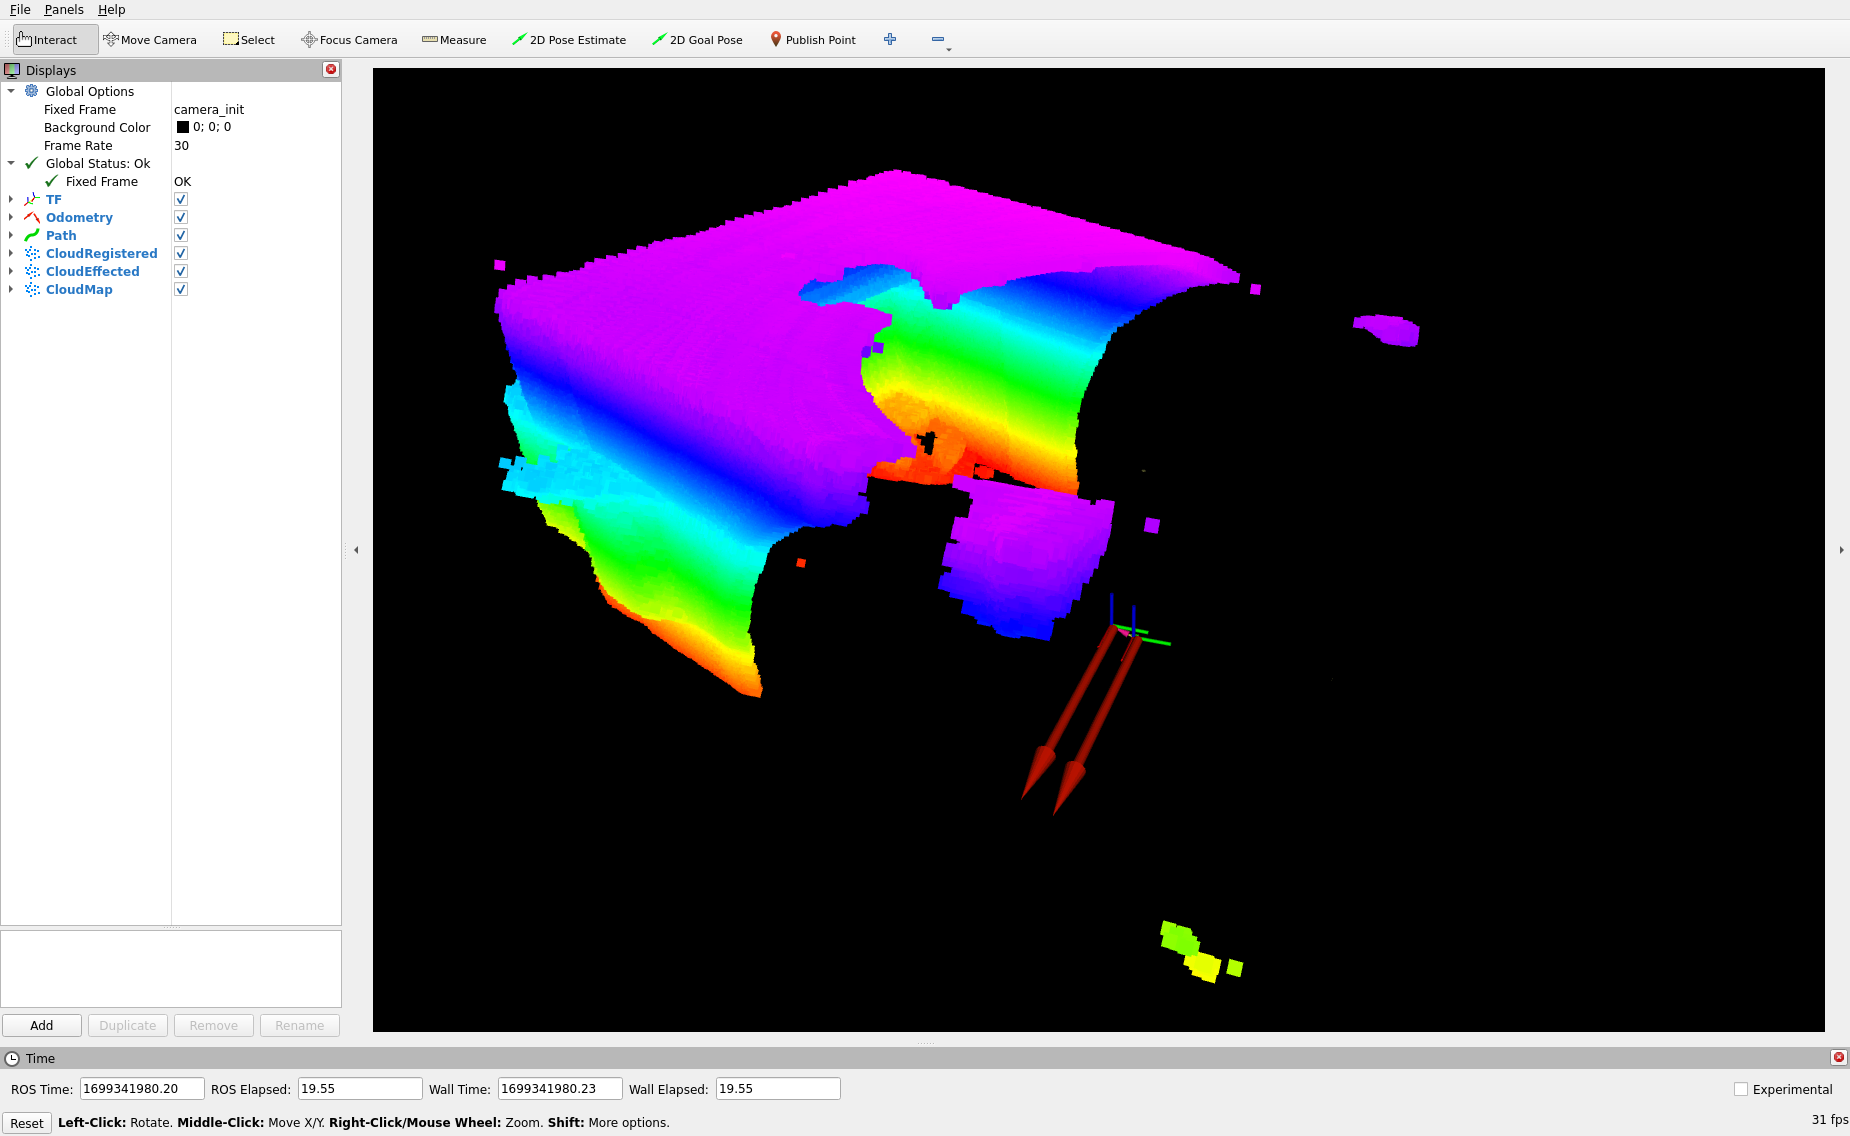
- rviz2 画面
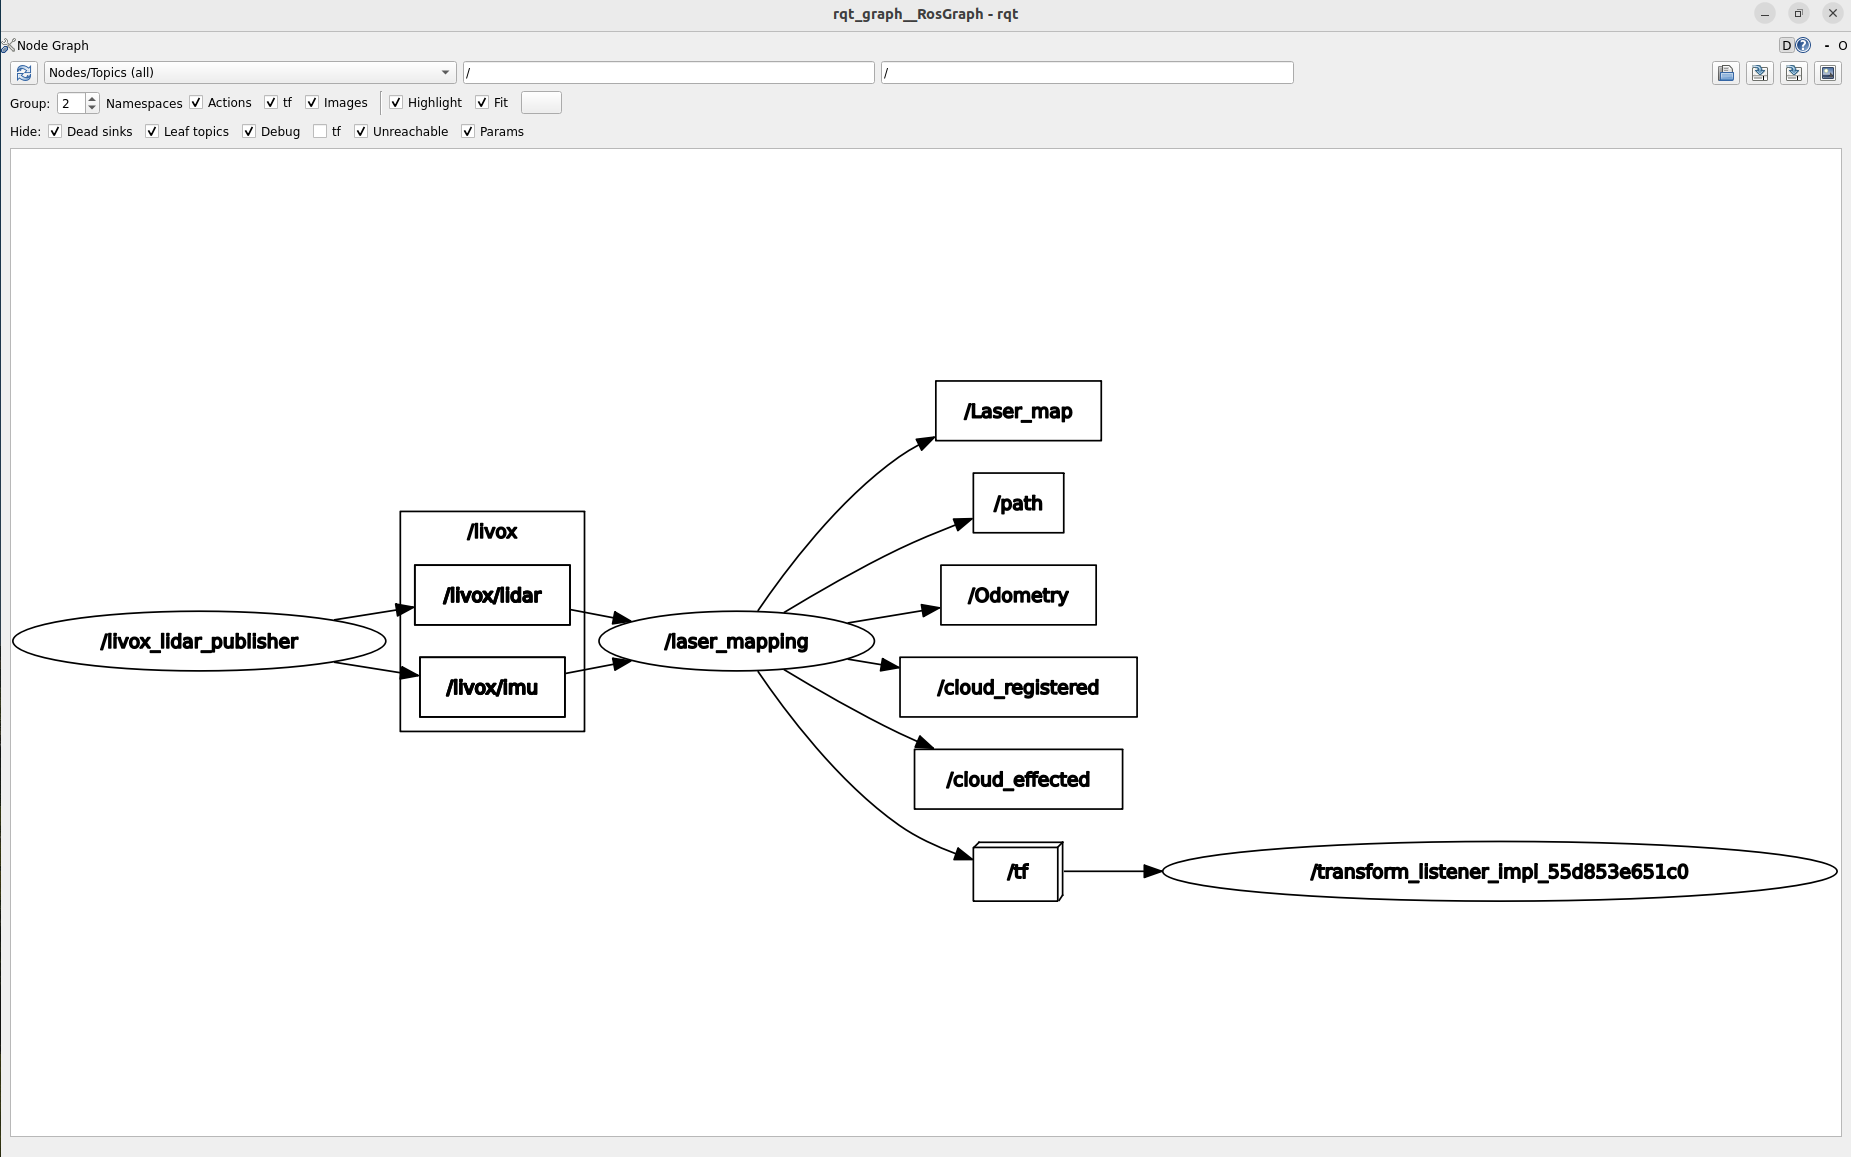
- rqt_graph
Livoxカスタムメッセージで実行する場合
mid360.yamlを編集し、lidar_typeを1にする。
        preprocess:
            lidar_type: 1                # 1 for Livox serials LiDAR, 2 for Velodyne LiDAR, 3 for ouster LiDAR,
            scan_line:  64
            blind: 2.0
            timestamp_unit: 3
            scan_rate: 10
rviz_MID360_launch.pyで点群をsensor_msgs/msg/PointCloud2型で出力、msg_MID360_launch.py でLIVOXカスタムメッセージのlivox_ros_driver2/msg/CustomMsg型で出力。
CustomMsgはrviz2で表示できないので注意。
ros2 launch livox_ros_driver2 msg_MID360_launch.py
ros2 launch livox_ros_driver2 rviz_MID360_launch.py
livoxカスタムメッセージを使った方がうまくマップ作成できる気がする。
PCDファイルの保存
FAST_LIO/config/mid360.yaml を編集してpcd_save_enをtrueにする。
map_file_pathに保存したいpathを設定
        map_file_path: "/root/ros2_ws/src/FAST_LIO/PCD/result.pcd"
        pcd_save:
            pcd_save_en: true
            interval: -1                 # how many LiDAR frames saved in each pcd file;
                                        # -1 : all frames will be saved in ONE pcd file, may lead to memory crash when having too much frames.
ros2 service call /map_save std_srvs/srv/Trigger {}
設定したpathにPCDファイルが保存される。
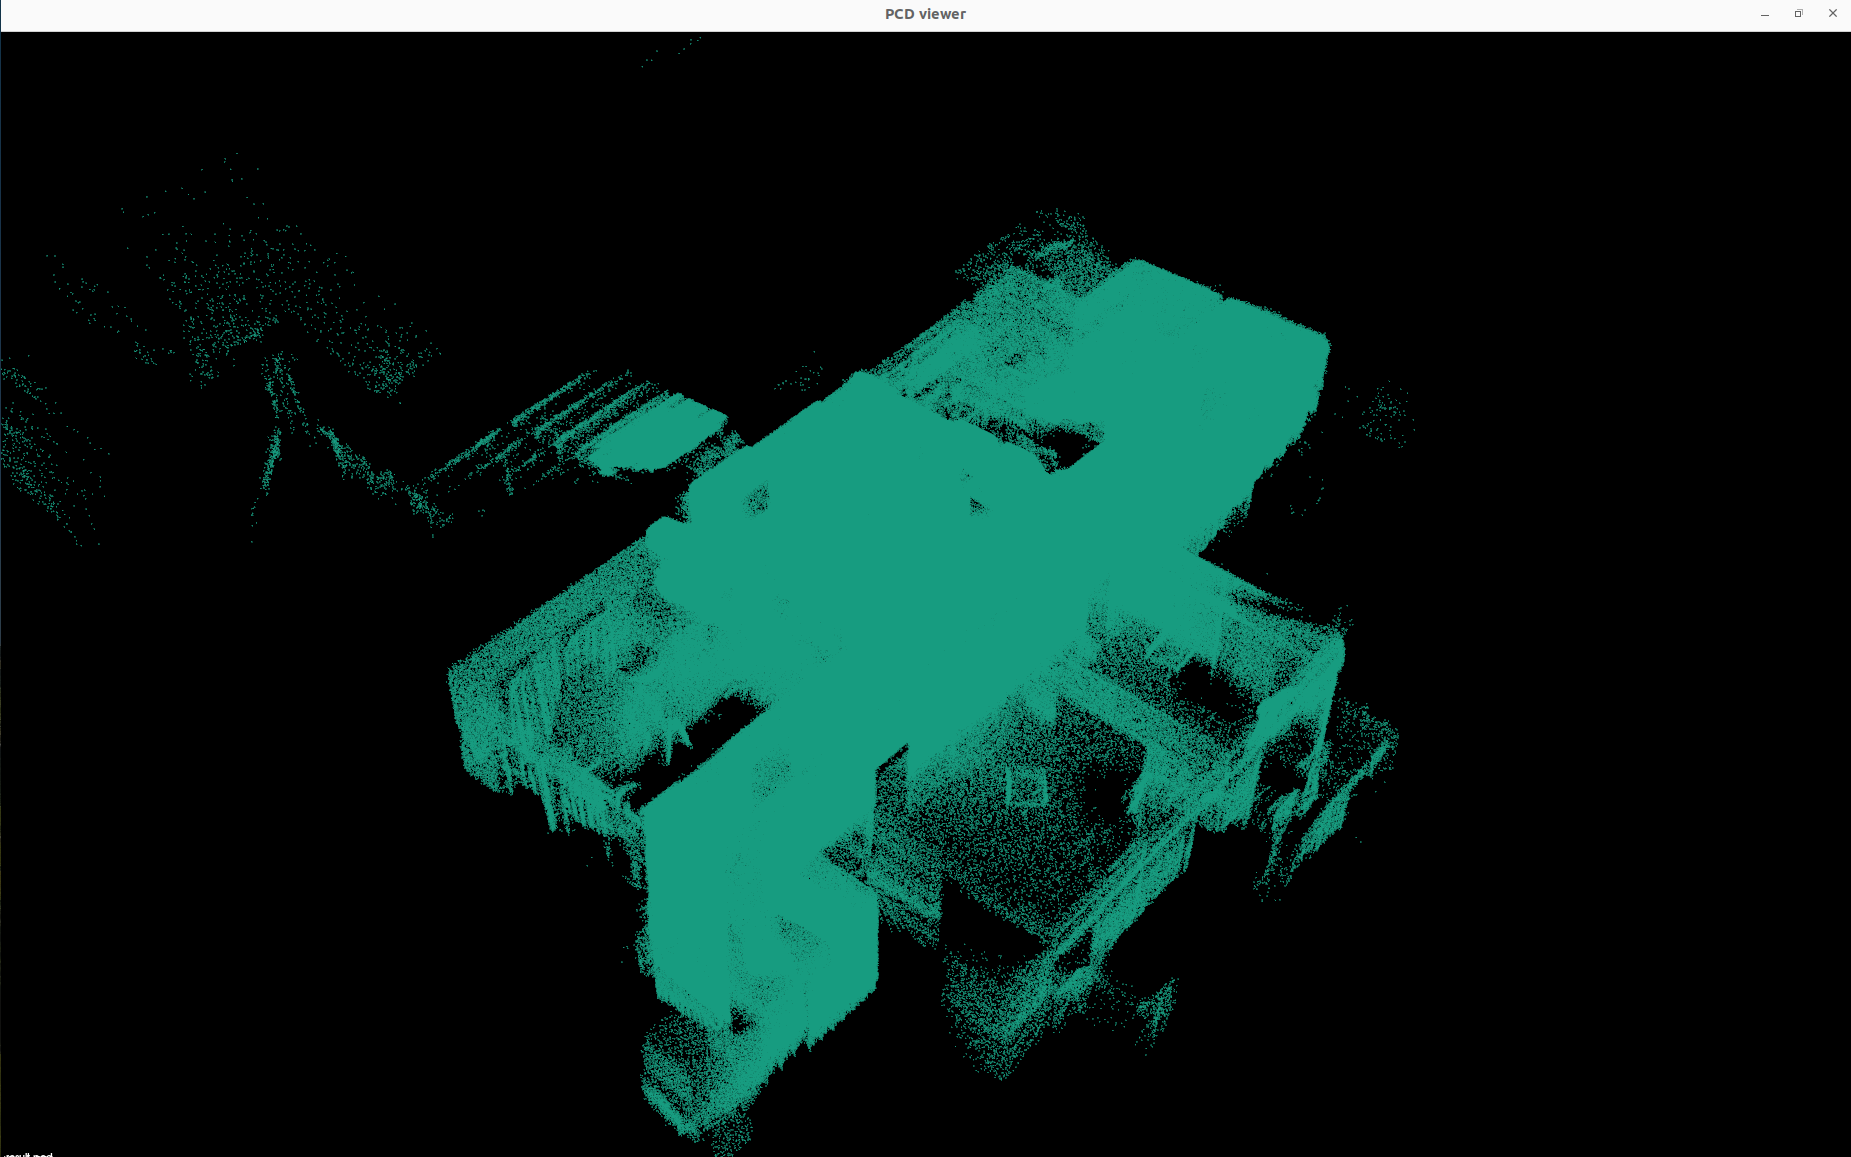
- 作成したPCD ファイルの確認
sudo apt install pcl-tools
pcl_viewer result.pcd
おわりに
なるべくDocker , ROS2 慣れていない方向けに書いたつもりですが、実際にやってみて分からないことがあればコメント欄で質問下さい。
参考
本家のリポジトリ


