今回はObjective-CでiOS端末をBLEで1つのセントラルを使って2つのペリフェラルを同時に接続する方法について書きたいと思います。
なんでそんなことをやろうかと思ったかというとFirstVRを両手で使ってみようと思ったんですよね。SDK自体はあるんだけど両手の対応はまだみたいだし他の場面でも使えるかなと思って2つのデバイスから同時にBLEで通信する方法を調べ始めたのがきっかけでした。ちなみにFirstVRは開発者が相談する用のSlackがあるみたいです [FirstVRの開発者Slack]"https://goo.gl/wpu63X"
1つのデバイスと繋いでデータを読むのはあるんですけどそもそものBLEの接続の方法すらわからない状態から始めたのでめちゃくちゃ苦戦しました。
正直なところ普通につなぐ繋ぎ方をよく理解すれば、2つつなぐやり方も簡単にできるんですけど、Objective-CでのBLEの繋ぎ方すらわからない状態から始めたということもあって2つつなぐのにどはまりしたのでまとめました。
そもそものObjective-CでのBLE接続の流れがわからない人は以下の記事を読んでください。(自分も以下の記事を参考にしました。ちなみにこの方が書いた『iOS x BLEプログラミング』という本も持ってます。)
https://qiita.com/shu223/items/78614325ce25bf7f4379
1,CBPeripheral型の変数を2つとデバイスが繋がっている数を保持する変数を用意する。
@property (nonatomic, strong) CBPeripheral *peripheral1;
@property (nonatomic, strong) CBPeripheral *peripheral2;
@property (nonatomic) int deviceNum;
2,ペリフェラルが見つかった後の関数の中で1つ繋がっても待つようなコードを書く
-(void)centralManager:(CBCentralManager *)central didDiscoverPeripheral:(nonnull CBPeripheral *)peripheral advertisementData:(nonnull NSDictionary<NSString *,id> *)advertisementData RSSI:(nonnull NSNumber *)RSSI{

    NSString *peripheralName = [advertisementData objectForKey:@"kCBAdvDataLocalName"];
       if(peripheralName){
        if([peripheralName containsString:FVR_DEVICE_NAME]){
            if(self.deviceNum < 1){
                self.peripheral1 = peripheral;
                self.peripheral2.delegate = self;

                self.deviceNum += 1;
            }else if(self.deviceNum == 1 && ![peripheral.identifier.UUIDString isEqualToString:self.peripheral1.identifier.UUIDString]){
                self.keepScanning = NO;
                self.peripheral2 = peripheral;
                self.peripheral2.delegate = self;

                [self.centralManager connectPeripheral:self.peripheral1 options:nil];
                [self.centralManager connectPeripheral:self.peripheral2 options:nil];

                [self.centralManager stopScan];
            }
        }
    }
}
3,サービスを探索する
-(void)centralManager:(CBCentralManager *)central didConnectPeripheral:(CBPeripheral *)peripheral{
    NSLog(@"Connected!!!");

    self.peripheral1.delegate = self;
    self.peripheral2.delegate = self;
    [self.peripheral1 discoverServices:nil];
    [self.peripheral2 discoverServices:nil];

}
4,キャラクタリスティックを探索する
- (void) peripheral:(CBPeripheral *)peripheral didDiscoverCharacteristicsForService:(nonnull CBService *)service error:(nullable NSError *)error{

    if(error){
        NSLog(@"error %@",error);
        return;
    }

    NSArray *characteristics = service.characteristics;

    NSLog(@"Found %lu characteristics! : %@", (unsigned long)characteristics.count, characteristics);

    [peripheral setNotifyValue:YES forCharacteristic:characteristics[1]];
    [NSThread sleepForTimeInterval:0.001];
    [peripheral readValueForCharacteristic:characteristics[1]];

}
5,読み出し
- (void) peripheral:(CBPeripheral *)peripheral didUpdateValueForCharacteristic:(CBCharacteristic *)characteristic error:(NSError *)error{
if(error){
NSLog(@"error %@",error);
return;
}
NSString *test = [[NSString alloc] initWithBytes:[characteristic.value bytes] length:[characteristic.value length] encoding:NSUTF8StringEncoding];
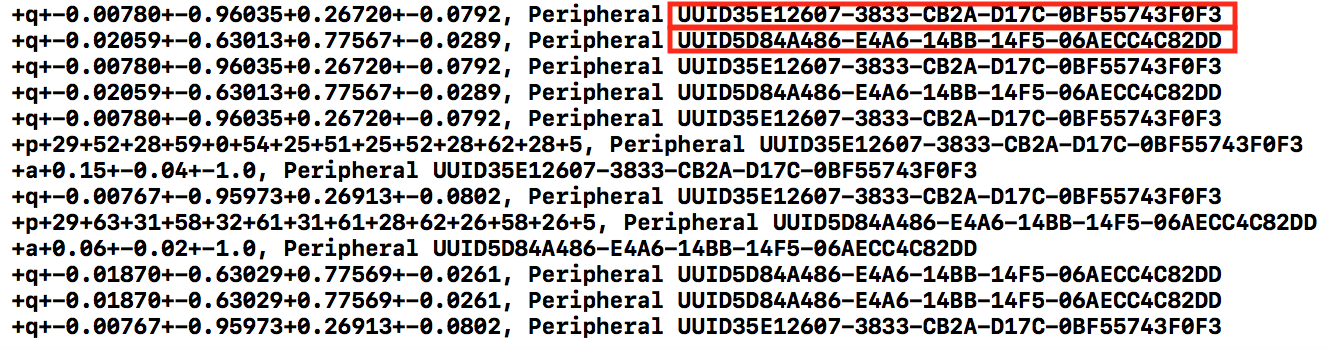
//次の1行で1つのデバイスで2つのインスタンスを掴んでしまっていないかperipheral.identifier.UUIDStringを表示してチェックする。
NSLog(@"characteristic %@ Peripheral UUID:%@“,test,peripheral.identifier.UUIDString);
[peripheral readValueForCharacteristic:characteristic];
}
こんな感じでチェックします。