前回の記事から、もっとVRに近づけていこう!ということで今回はVR対応させようと思います。
GoogleVRのインポート
FirstVRはスマートフォン対応なので、GoogleVRで開発します。
ということで、まずはGoogleVRを実装していきましょう。
以下のリンクから、GoogleVRForUnity_*.unitypackageをダウンロードします。
https://github.com/googlevr/gvr-unity-sdk/releases
ダウンロードしたパッケージを、Unityプロジェクトにインポートしてください。(今回は、前回作ったプロジェクトをそのまま活用したいと思います。)
その他詳細な設定は、以下のGoogleVRのデベロッパーサイトを参考にしてください。
https://developers.google.com/vr/develop/unity/get-started-android
GoogleVRの実装
GoogleVRの実装に必要なPrefabをヒエラルキーに追加していきます。
必ず必要なのは以下の2つになります。
GoogleVR / Prefabs / EventSystem / GvrEventSystem
GoogleVR / Prefabs / Cardboard / GvrReticlePointer
GvrReticlePointerは、カメラの子オブジェクトにしてください。
また、Unity上で実行確認したいときは、
GoogleVR / Prefabs / GvrEditorEmulatorをヒエラルキーに置くと、マウスでヘッドセットの動きを再現できます。
ビルドせずに実機確認したいときは、
GoogleVR / Prefabs / InstantPreview / GvrInstantPreviewMainをヒエラルキーに置くことで、確認可能です。
これで、GoogleVRの実装は完了です。
レティクルでリセンター
せっかくVR対応させたので、前回ボタンで行なっていたリセンターをレティクルで実装しましょう。
今回は、ボタンを2.5秒間見つめたときにリセンターされるようにしました。
まず、前回も書き換えたSampleViewerManager.csを以下のように書き換えます。
using System.Collections;
using System.Collections.Generic;
using UnityEngine;
using UnityEngine.UI;
using FVRlib;

public class SampleViewerManager : MonoBehaviour {

	// FVR
	public FVRConnection fvr;

	// vars
	public GameObject hand;
	bool touched = false;
    private float time = 0;
    private bool lookingFlg = false;

	void Start () {
        hand = GameObject.Find("Hand_right");
	}


	void Update () {
        hand.transform.rotation = fvr.centeredRotation;

        //if (Input.touchCount == 1&&!touched) {
        //	fvr.Recenter ();
        //	touched = true;
        //}
        //if (Input.touchCount == 0&&touched) {
        //	touched = false;
        //}

        //lookingFlgが立ったら時間カウント開始
        if (lookingFlg)
        {
            time += Time.deltaTime;
        }

        //見つめ続けている時間が2.5秒以上になったらリセンター
        if(time >= 2.5f)
        {
            fvr.Recenter();
            time = 0;
            lookingFlg = false;
        }
    }

    //public void RecenterButton(){
    //    fvr.Recenter();
    //}

    //ボタンにレティクルがあたったとき
    public void Looking()
    {
        lookingFlg = true;
    }

    //ボタンからレティクルが外れたとき
    public void RemoveEyes()
    {
        lookingFlg = false;
        time = 0;
    }
}
今回使用するEvent Triggerでは、レティクルが乗った瞬間を判定する(後述)ので、Looking()に直接time += Time.deltaTime;を入れてしまうと、一瞬しかカウントアップがされないので気をつけてください。
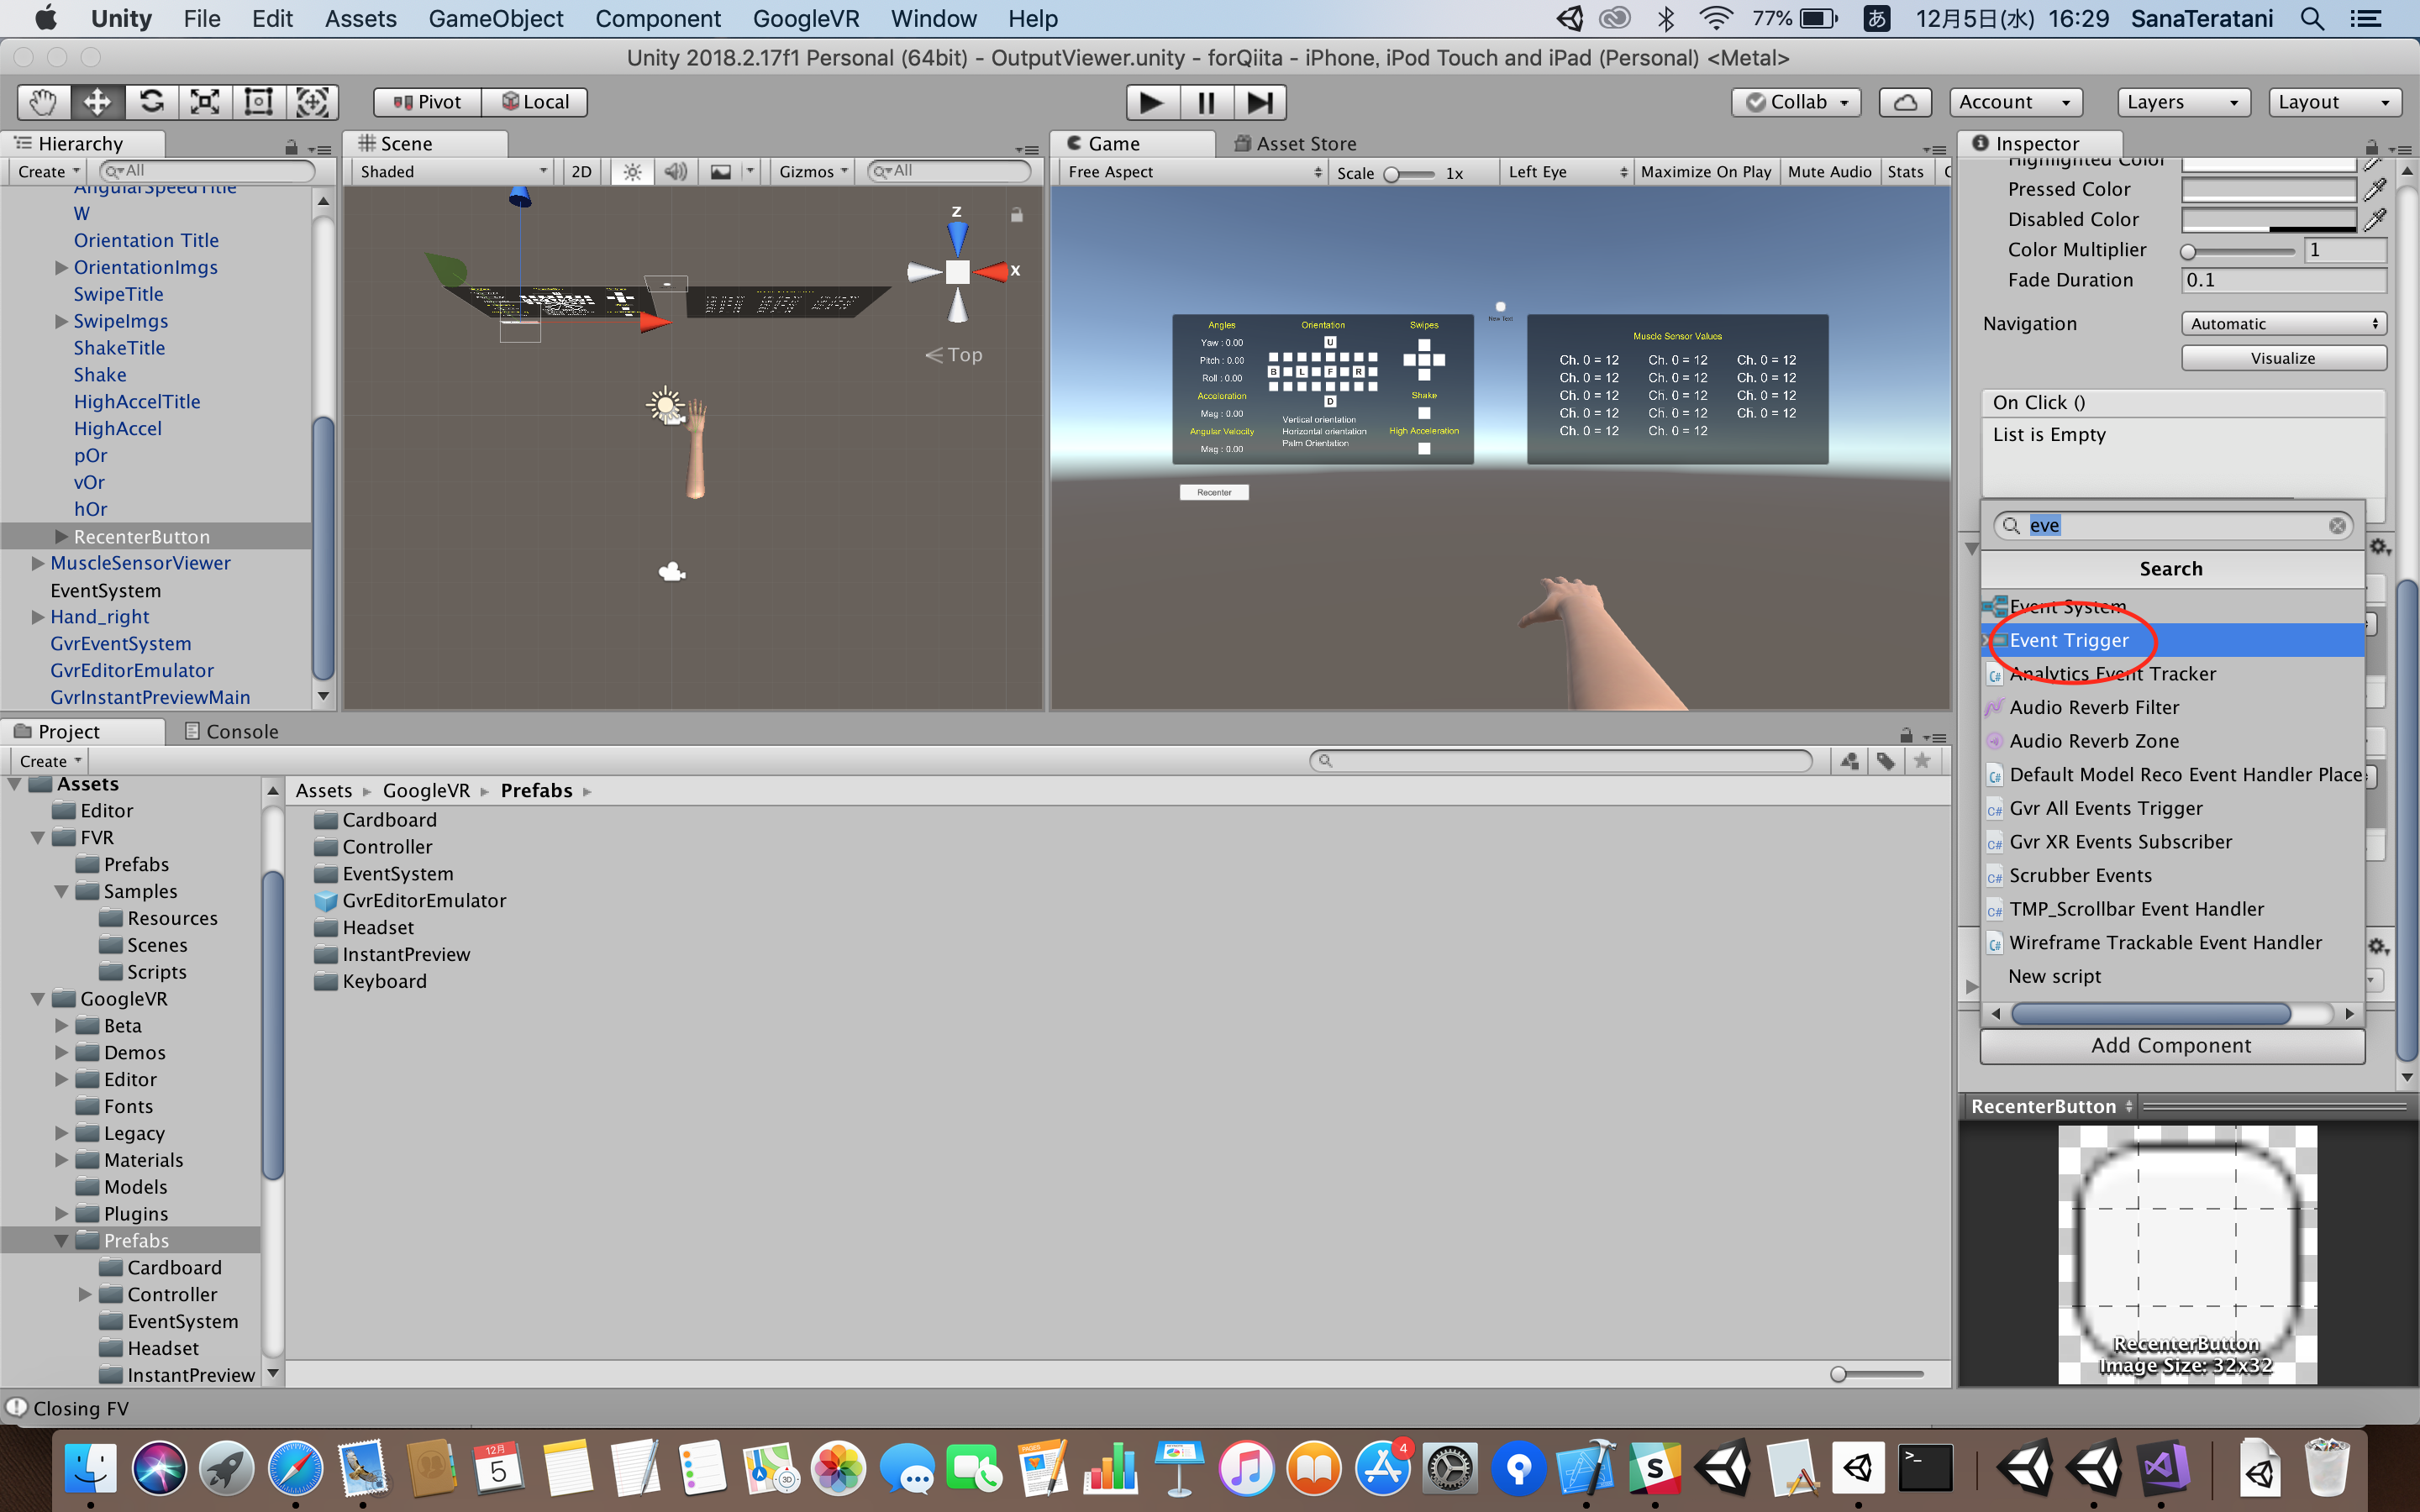
SampleViewerManager.csを書き換えたら、RecenterButtonのインスペクターにEvent Triggerを追加してください。

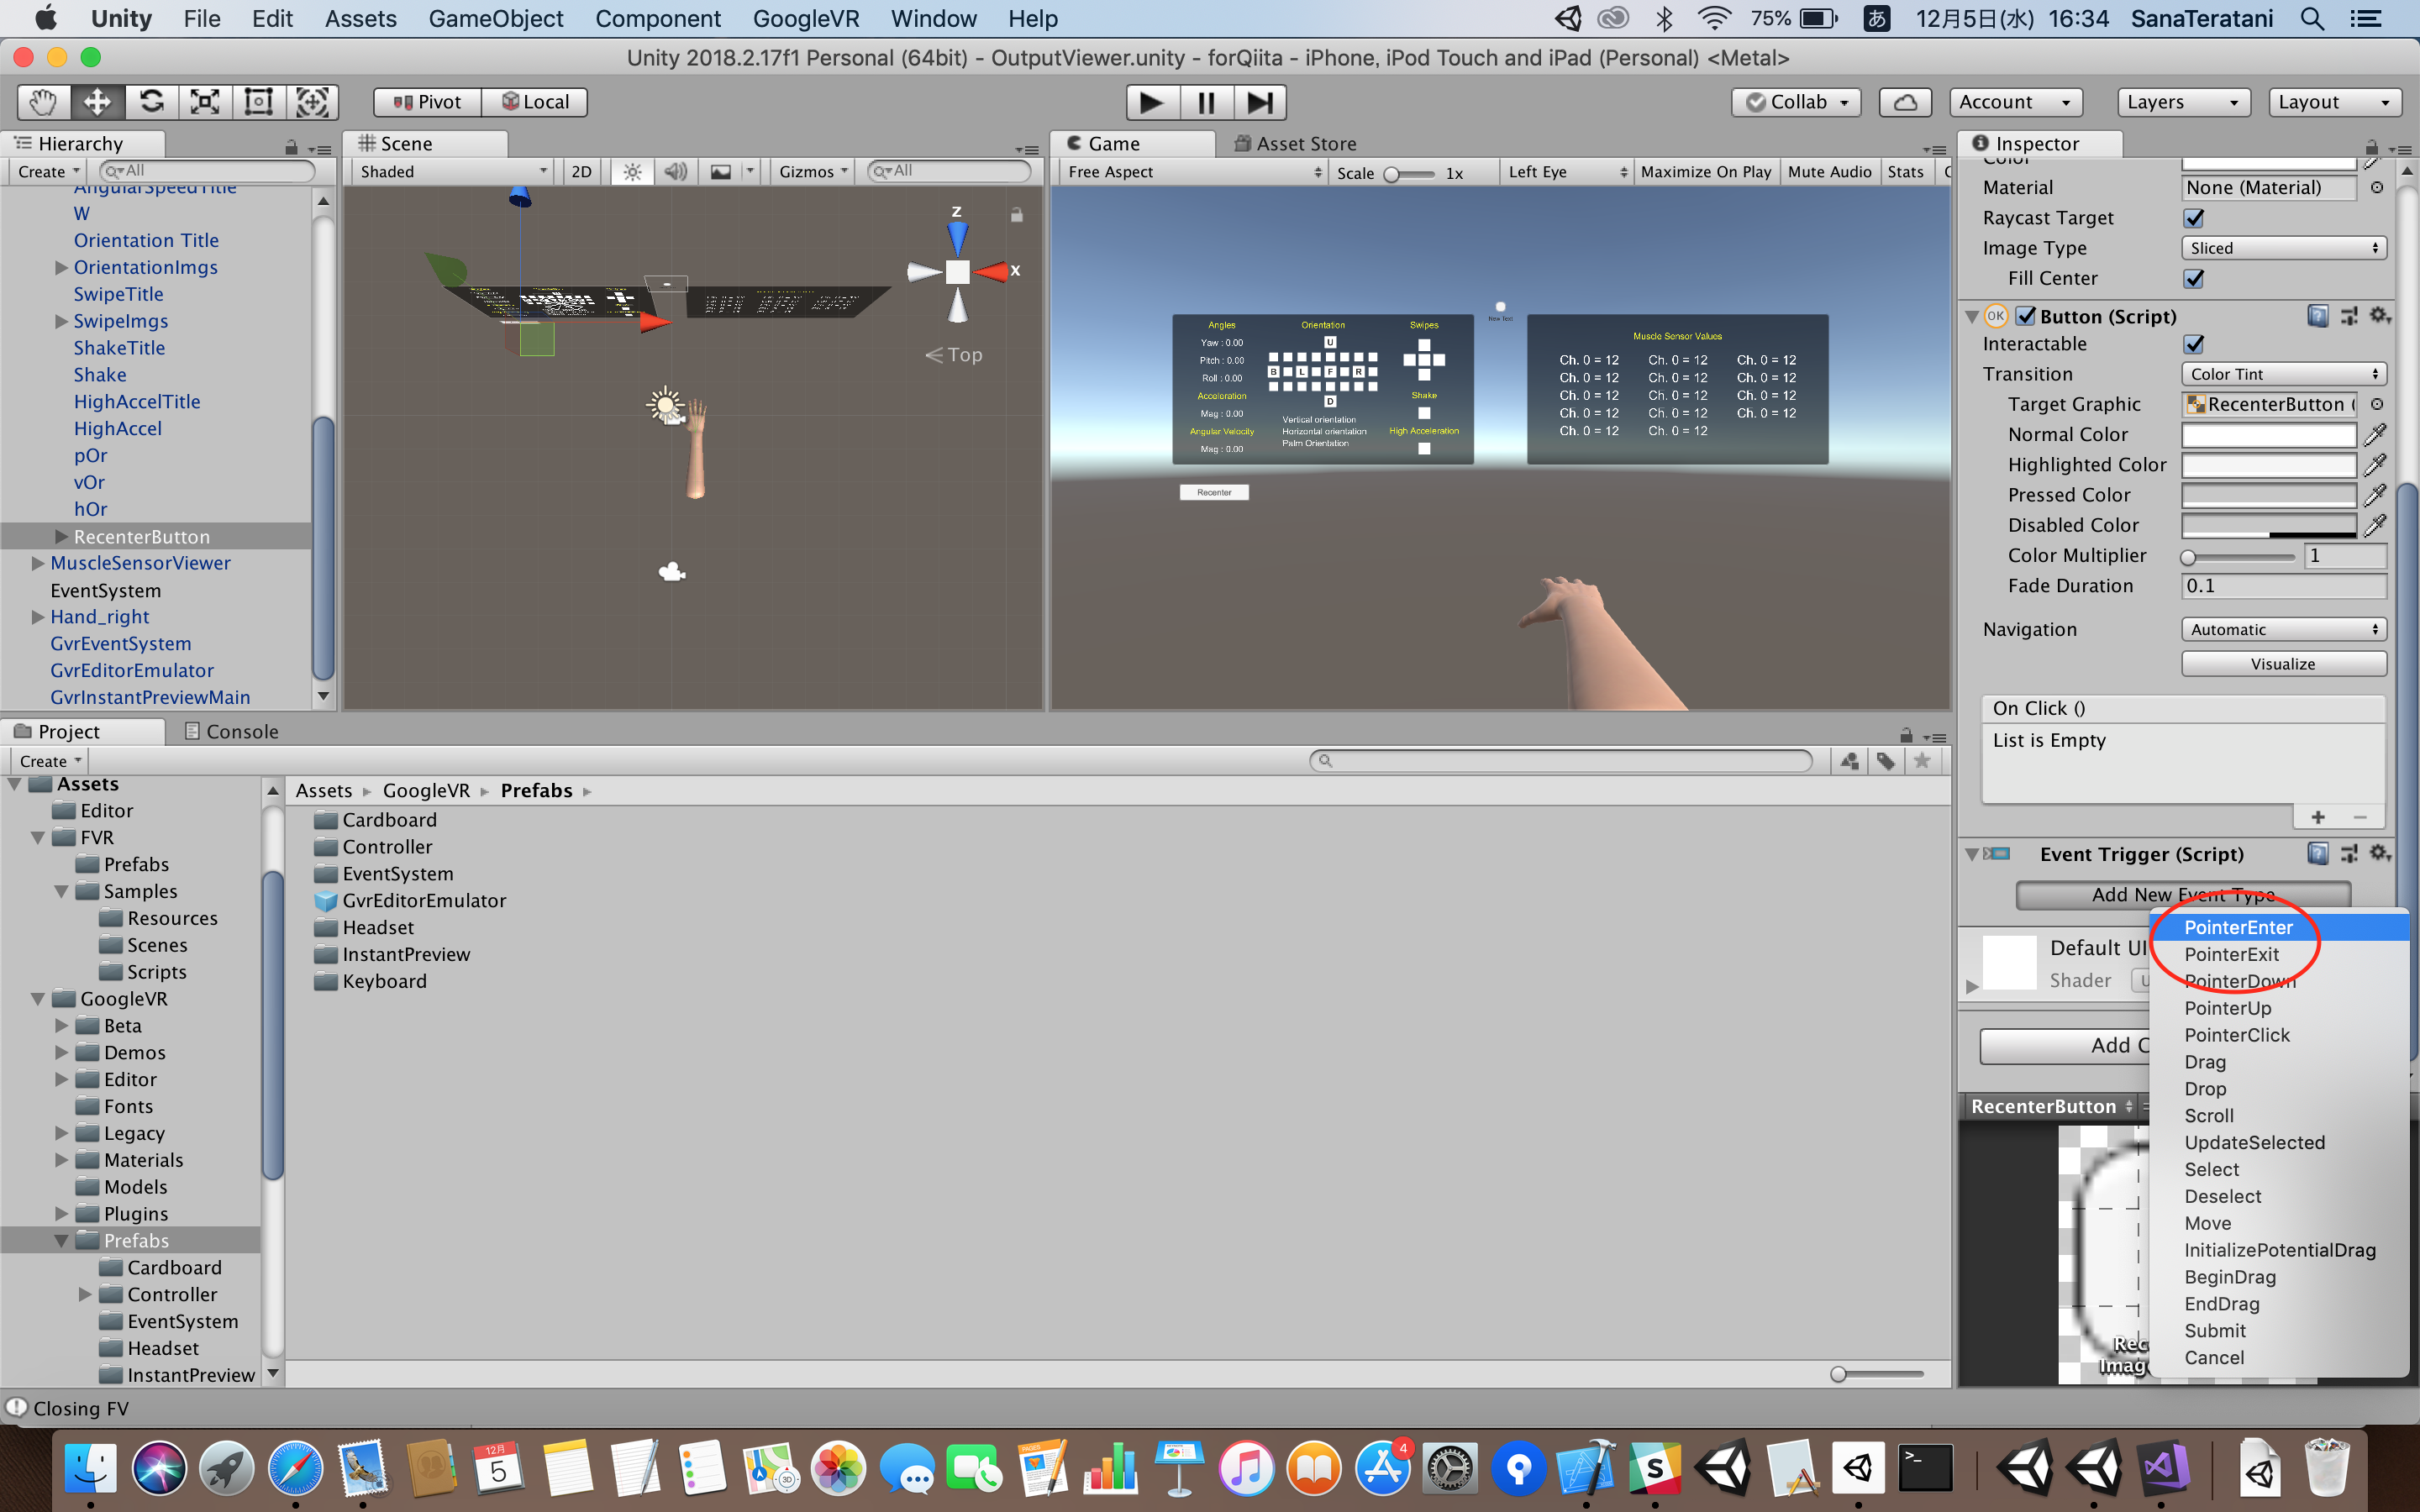
そして、Pointer EnterとPointer ExitのふたつのEvent Typeを追加してください。

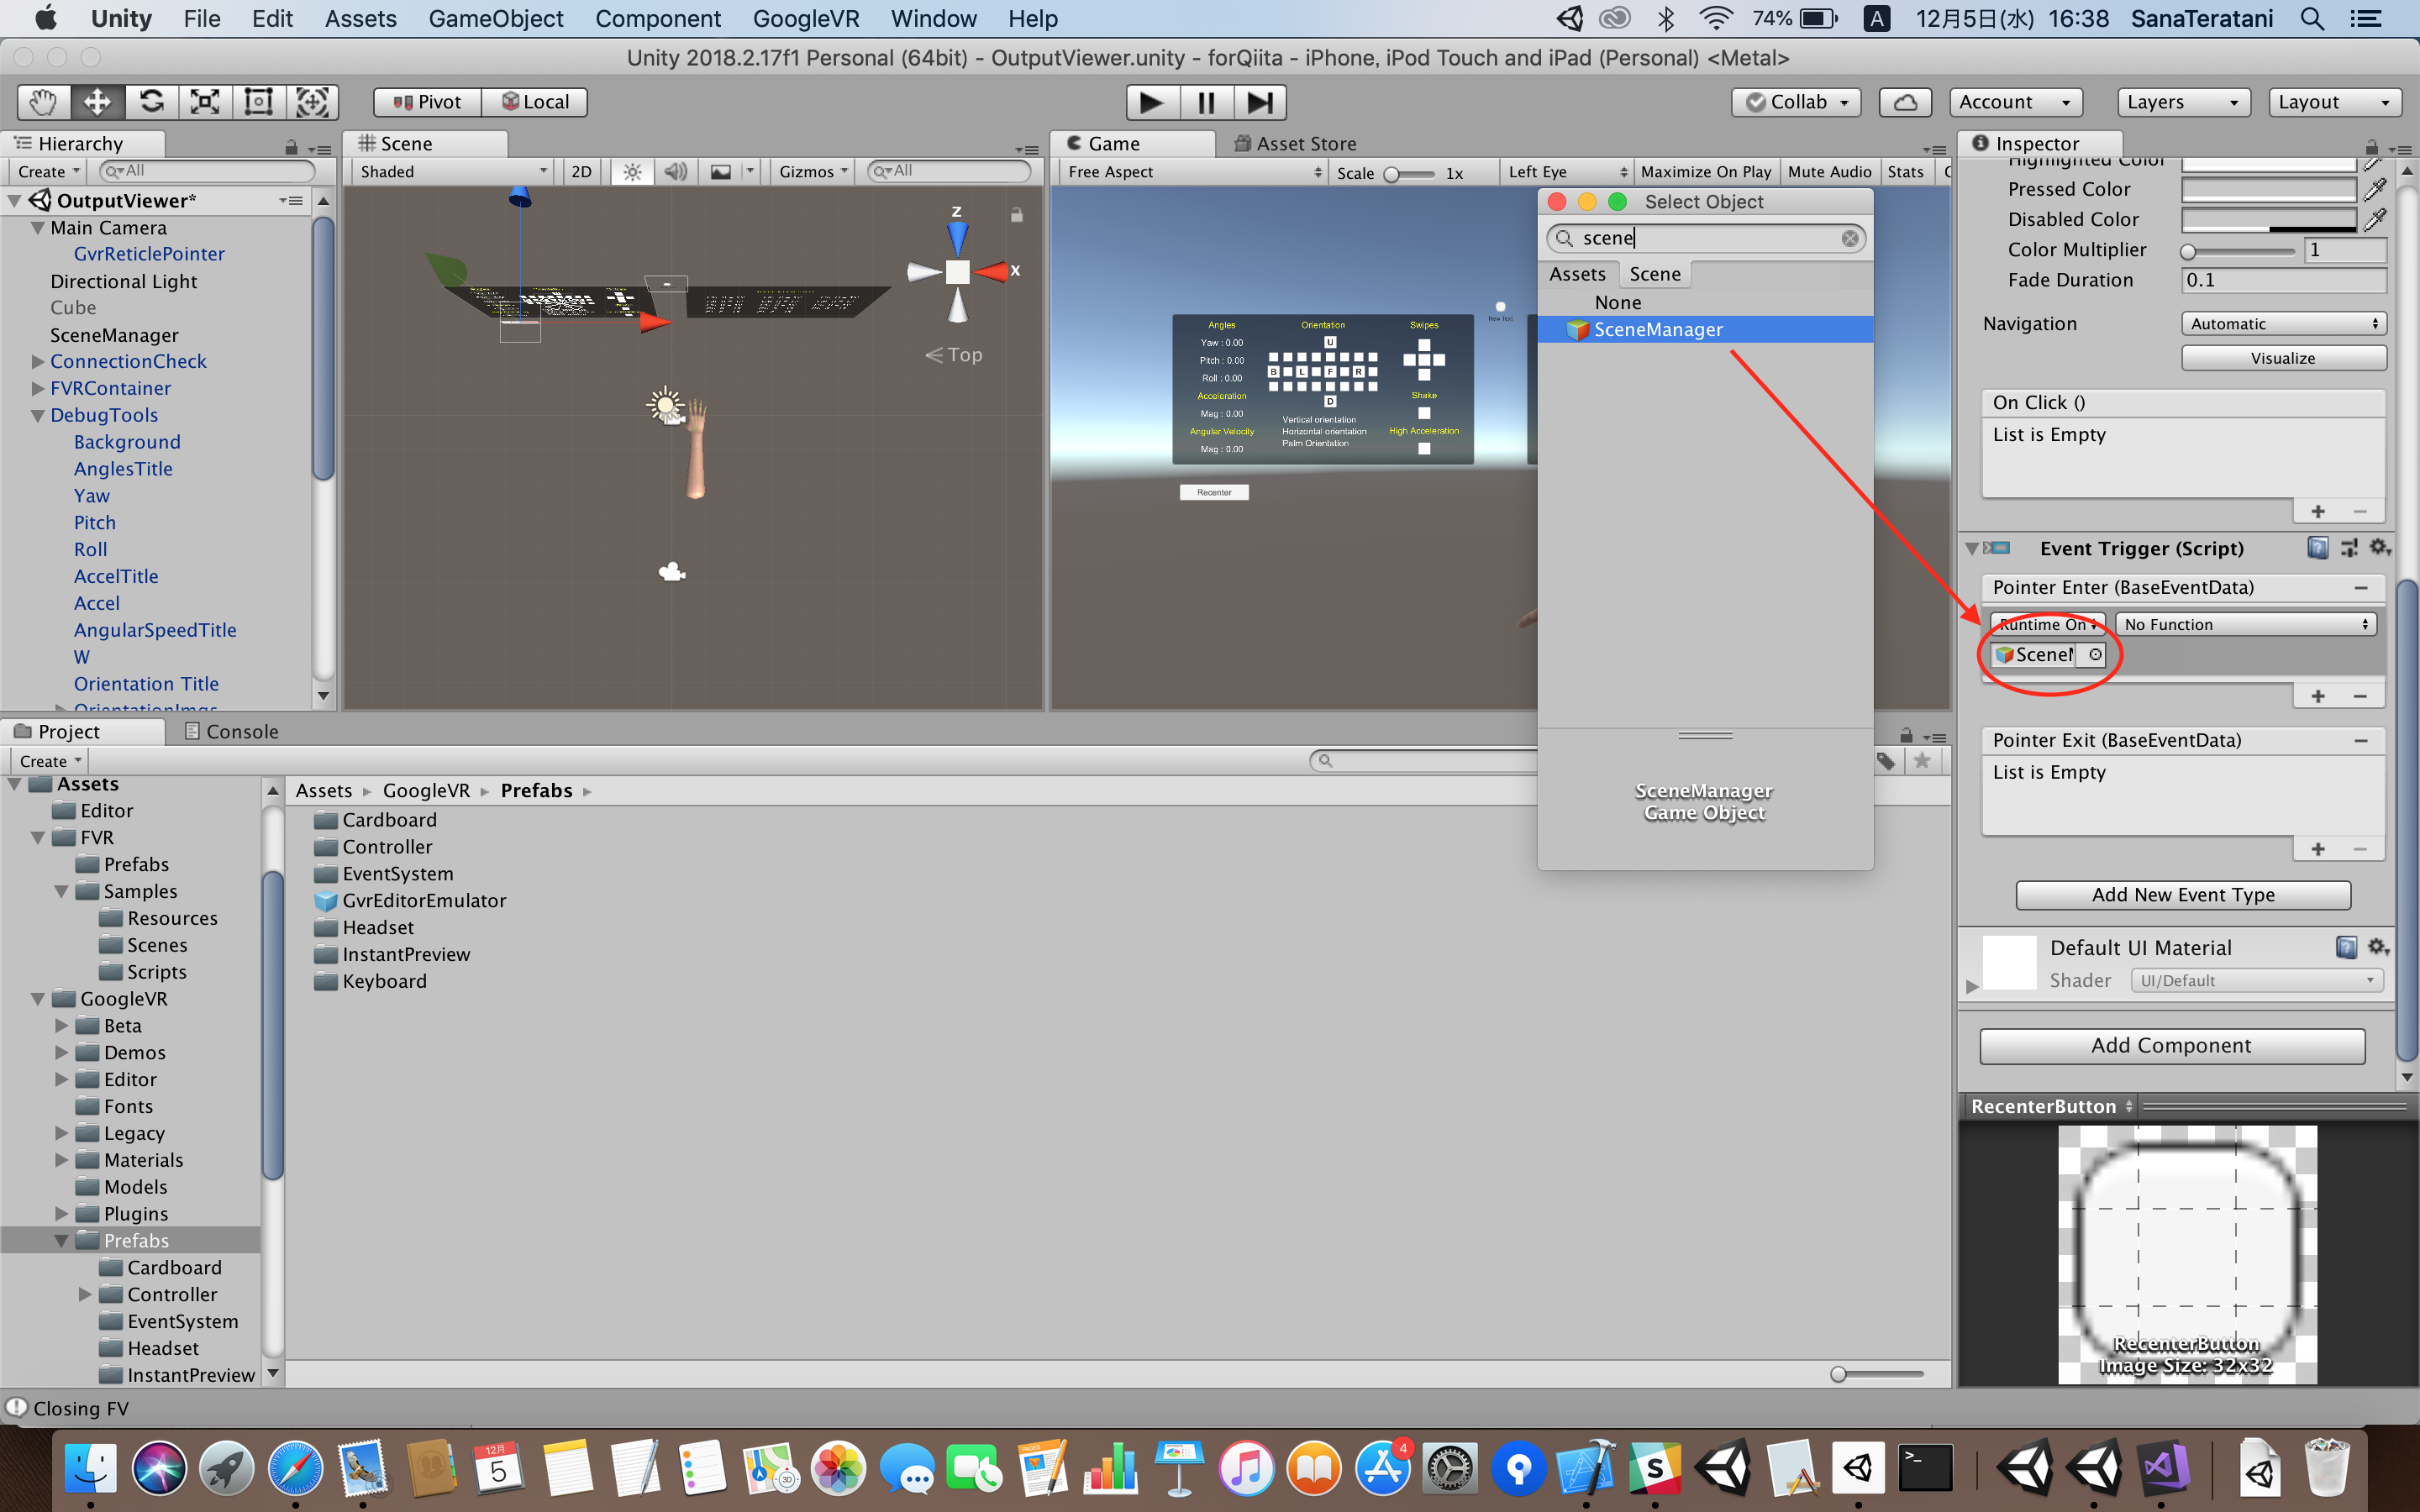
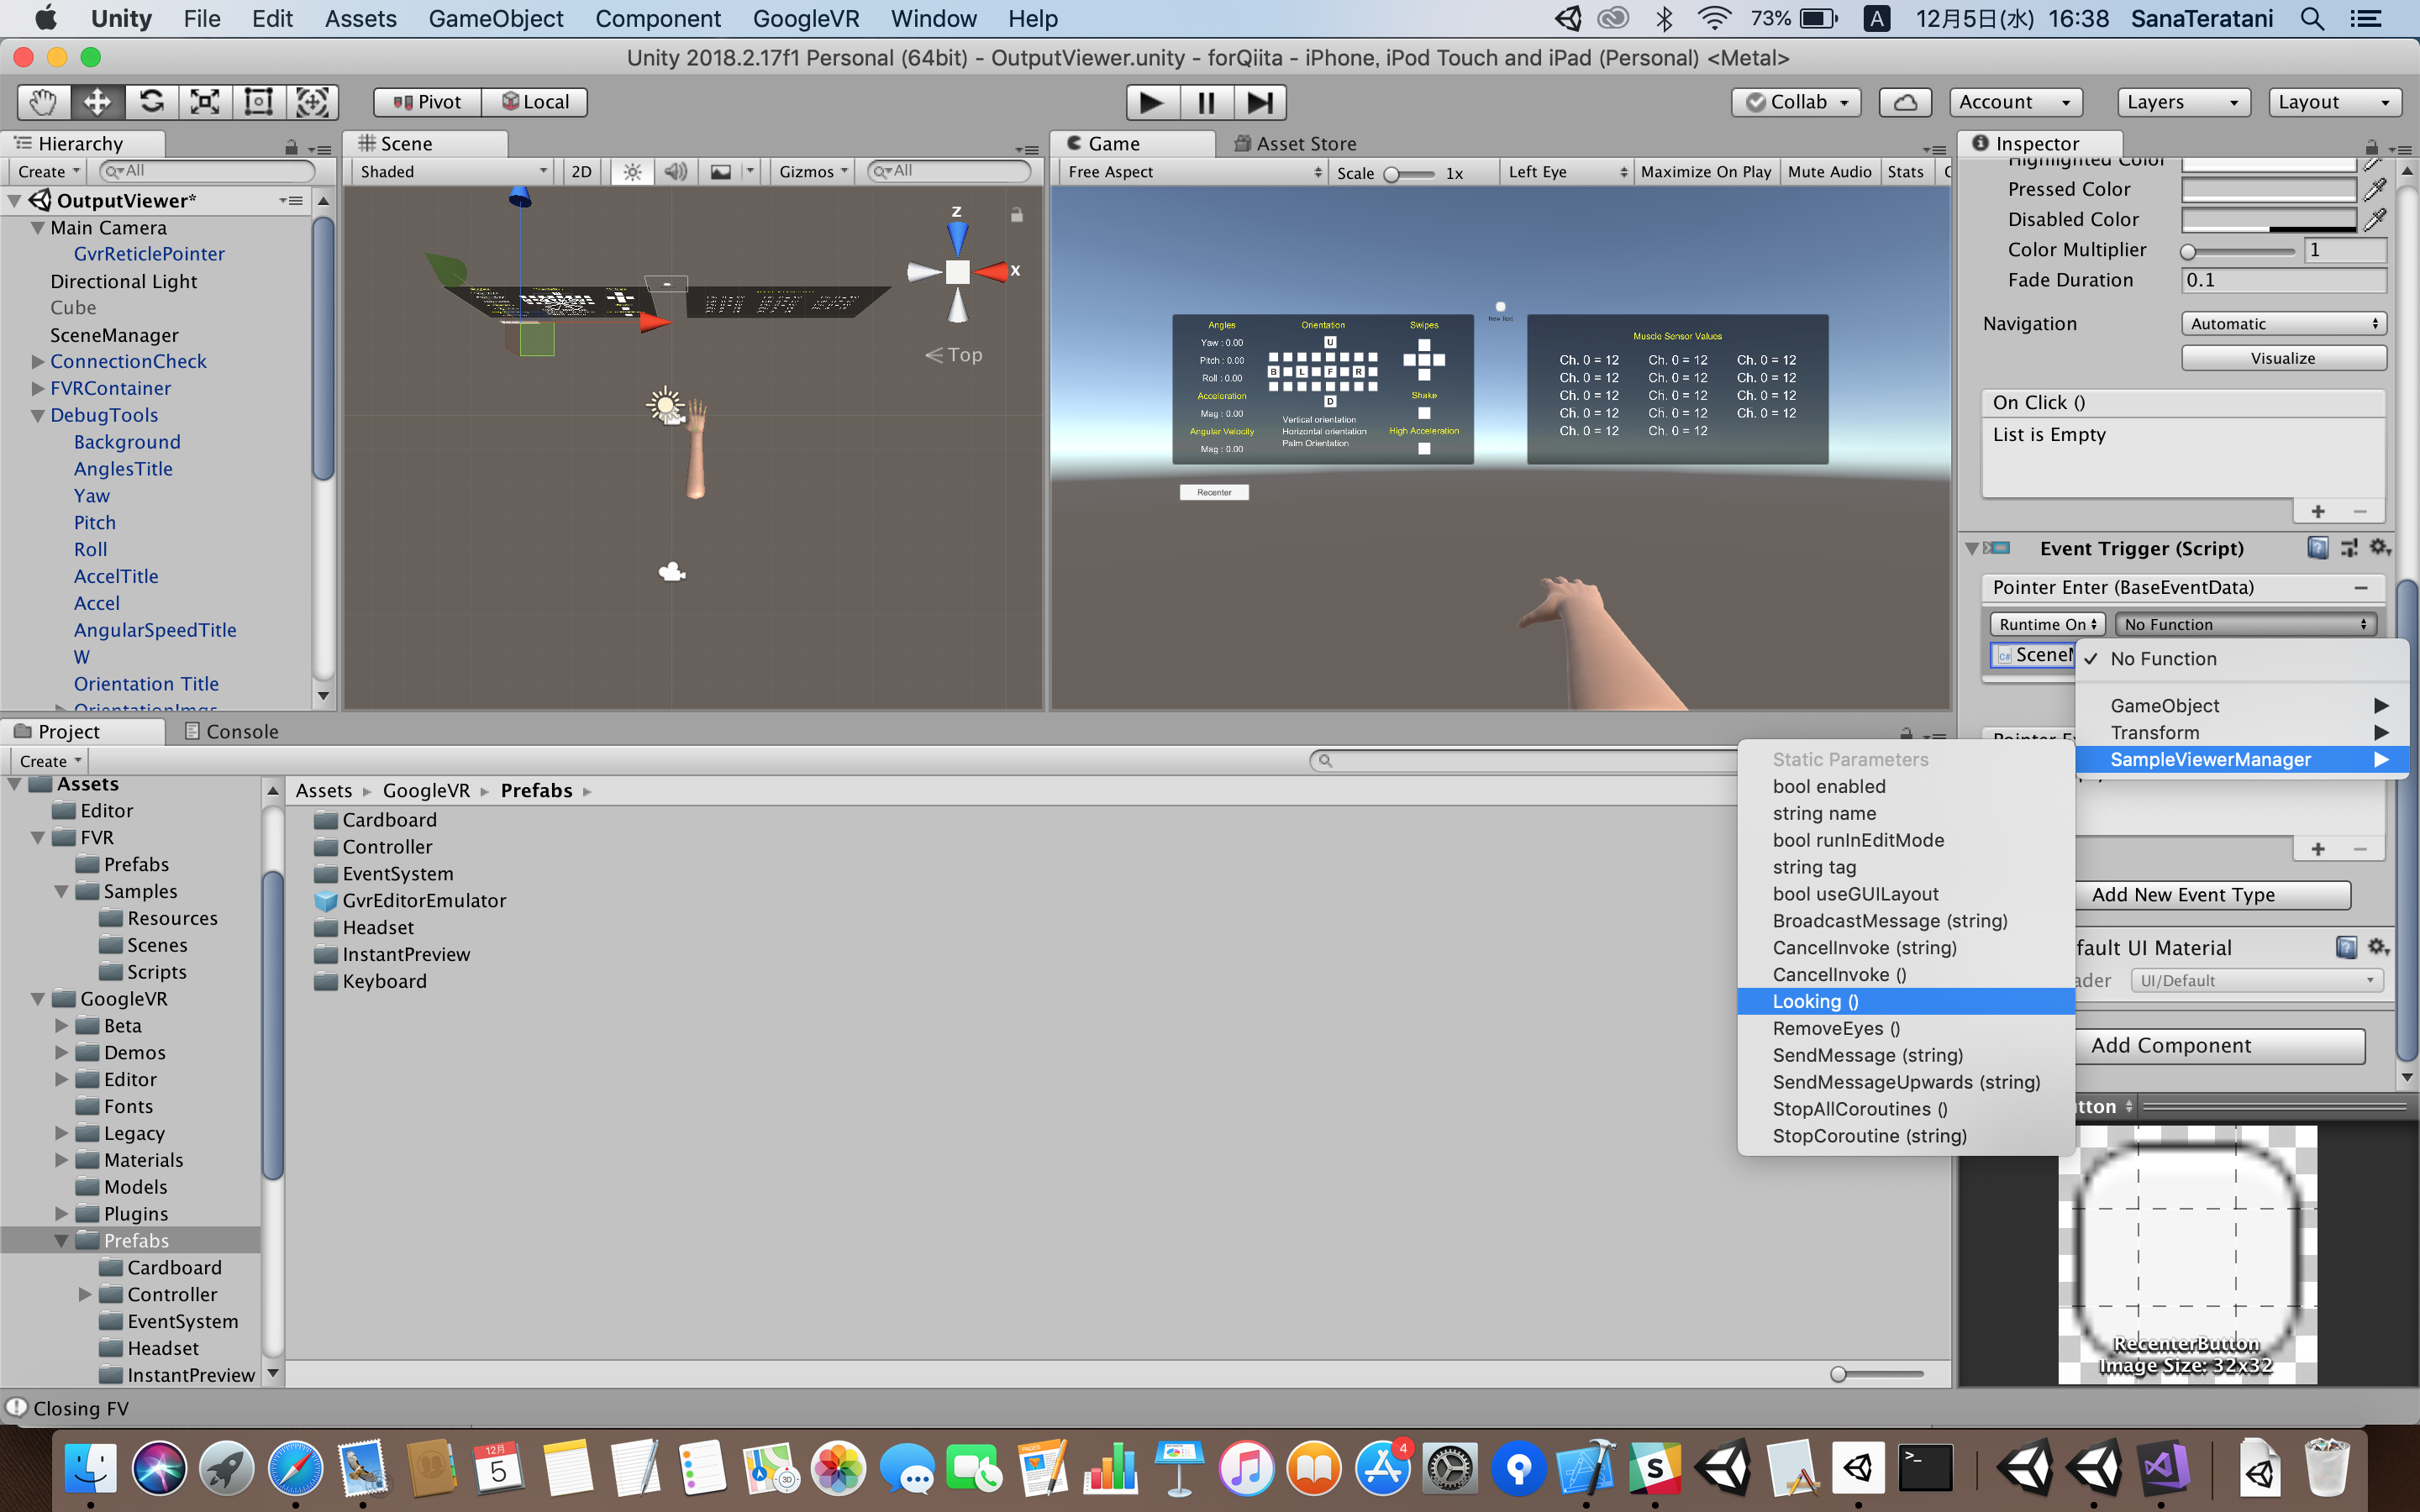
Pointer Enterのリストを追加して、SceneManagerにアタッチされているSampleViewerManager > Looking()を設定します。


Pointer Exitも同様に、RemoveEyes()を設定してください。
これで、リセンターボタンにレティクルが乗ったときとはずれたときの設定ができました。
実行
無事にレティクルでリセンターすることができました!
