前回の記事で、FirstVRにもともと実装されているリセンター機能について説明しました。
今回は、このリセンター機能をボタンに実装してみようと思います。
SDKのダウンロード等の説明は、前回の記事を参照してください。
実装
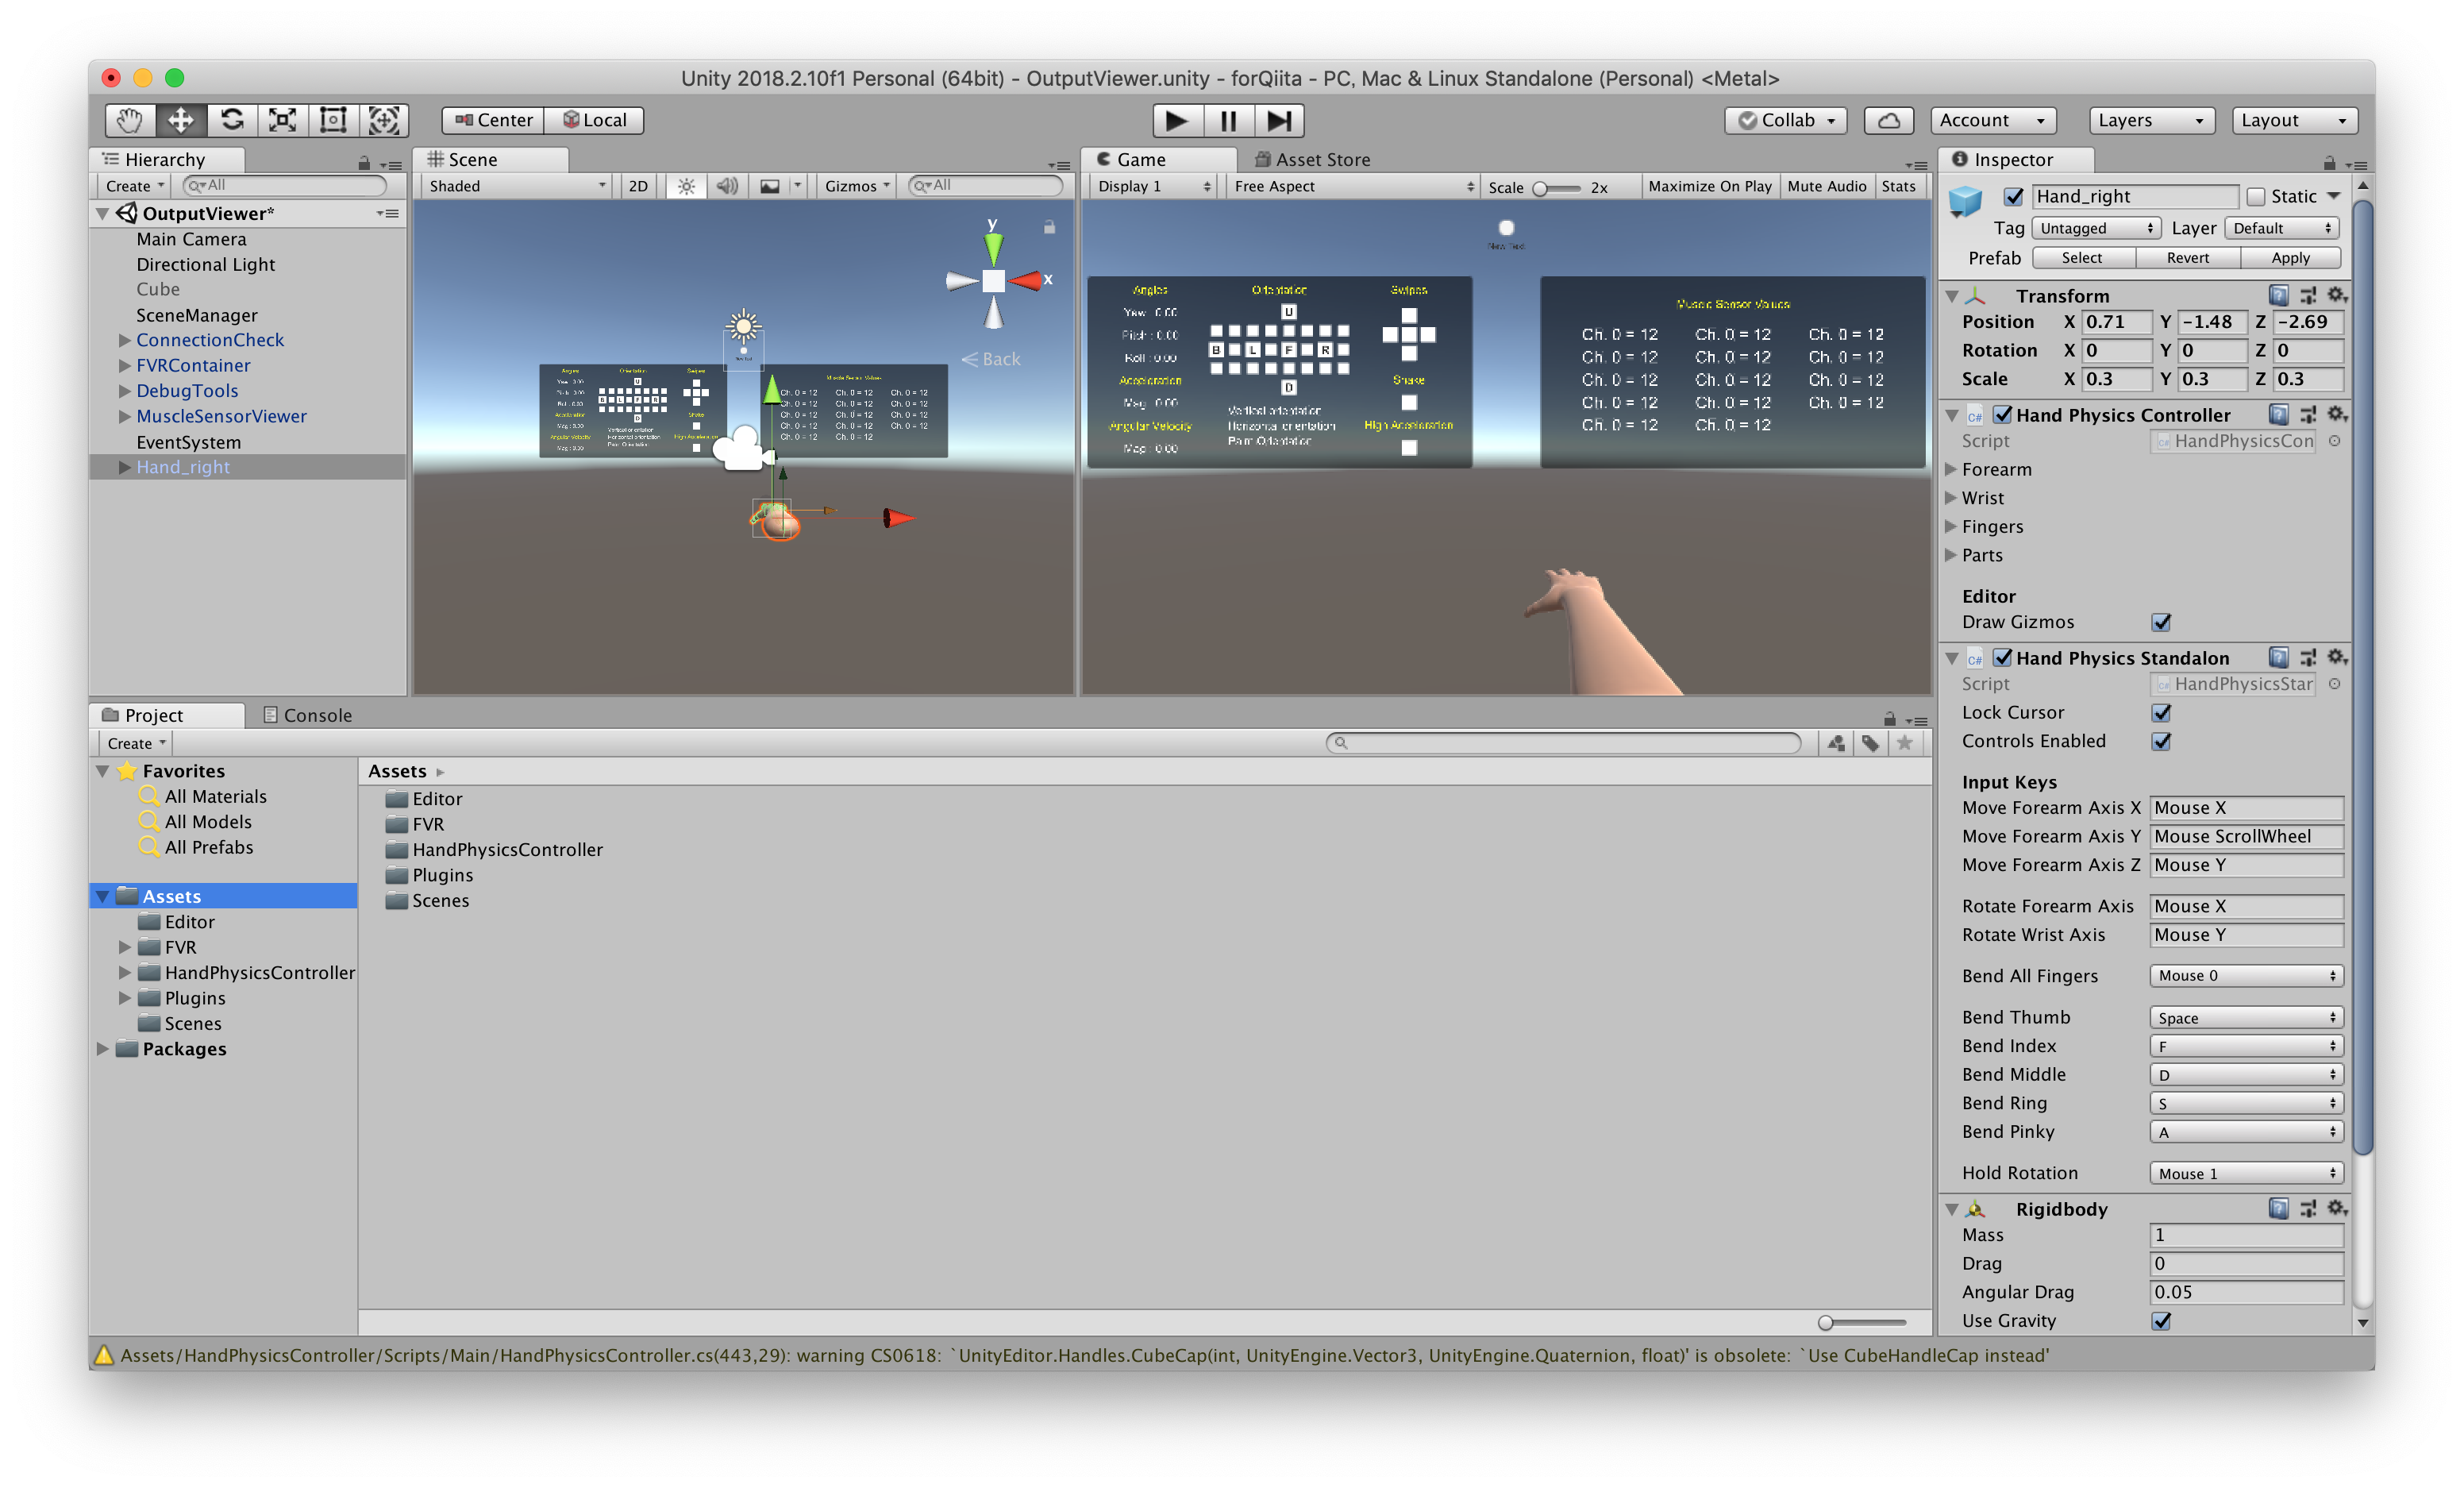
FVR/Samples/Scenesの中のOutputViewerを開きます。
今回もわかりやすいように、Cubeを手に入れ替えました。
SceneManagerにアタッチされているSampleViewerManager.csを以下のように書き換えます。
SampleViewerManager.cs
using System.Collections;
using System.Collections.Generic;
using UnityEngine;
using UnityEngine.UI;
using FVRlib;

public class SampleViewerManager : MonoBehaviour {

	// FVR
	public FVRConnection fvr;

	// vars
	public GameObject hand;
	bool touched = false;

	void Start () {
        hand = GameObject.Find("Hand_right");
	}


	void Update () {
        hand.transform.rotation = fvr.centeredRotation;

        /*** 以下をコメントアウト ***/
        //if (Input.touchCount == 1&&!touched) {
		//	fvr.Recenter ();
		//	touched = true;
		//}
		//if (Input.touchCount == 0&&touched) {
		//	touched = false;
		//}
        /*** ここまでコメントアウト ***/
	}

    /*** 以下を追加 ***/
    public void RecenterButton(){
        fvr.Recenter();
    }
    /*** ここまで追加 ***/
}
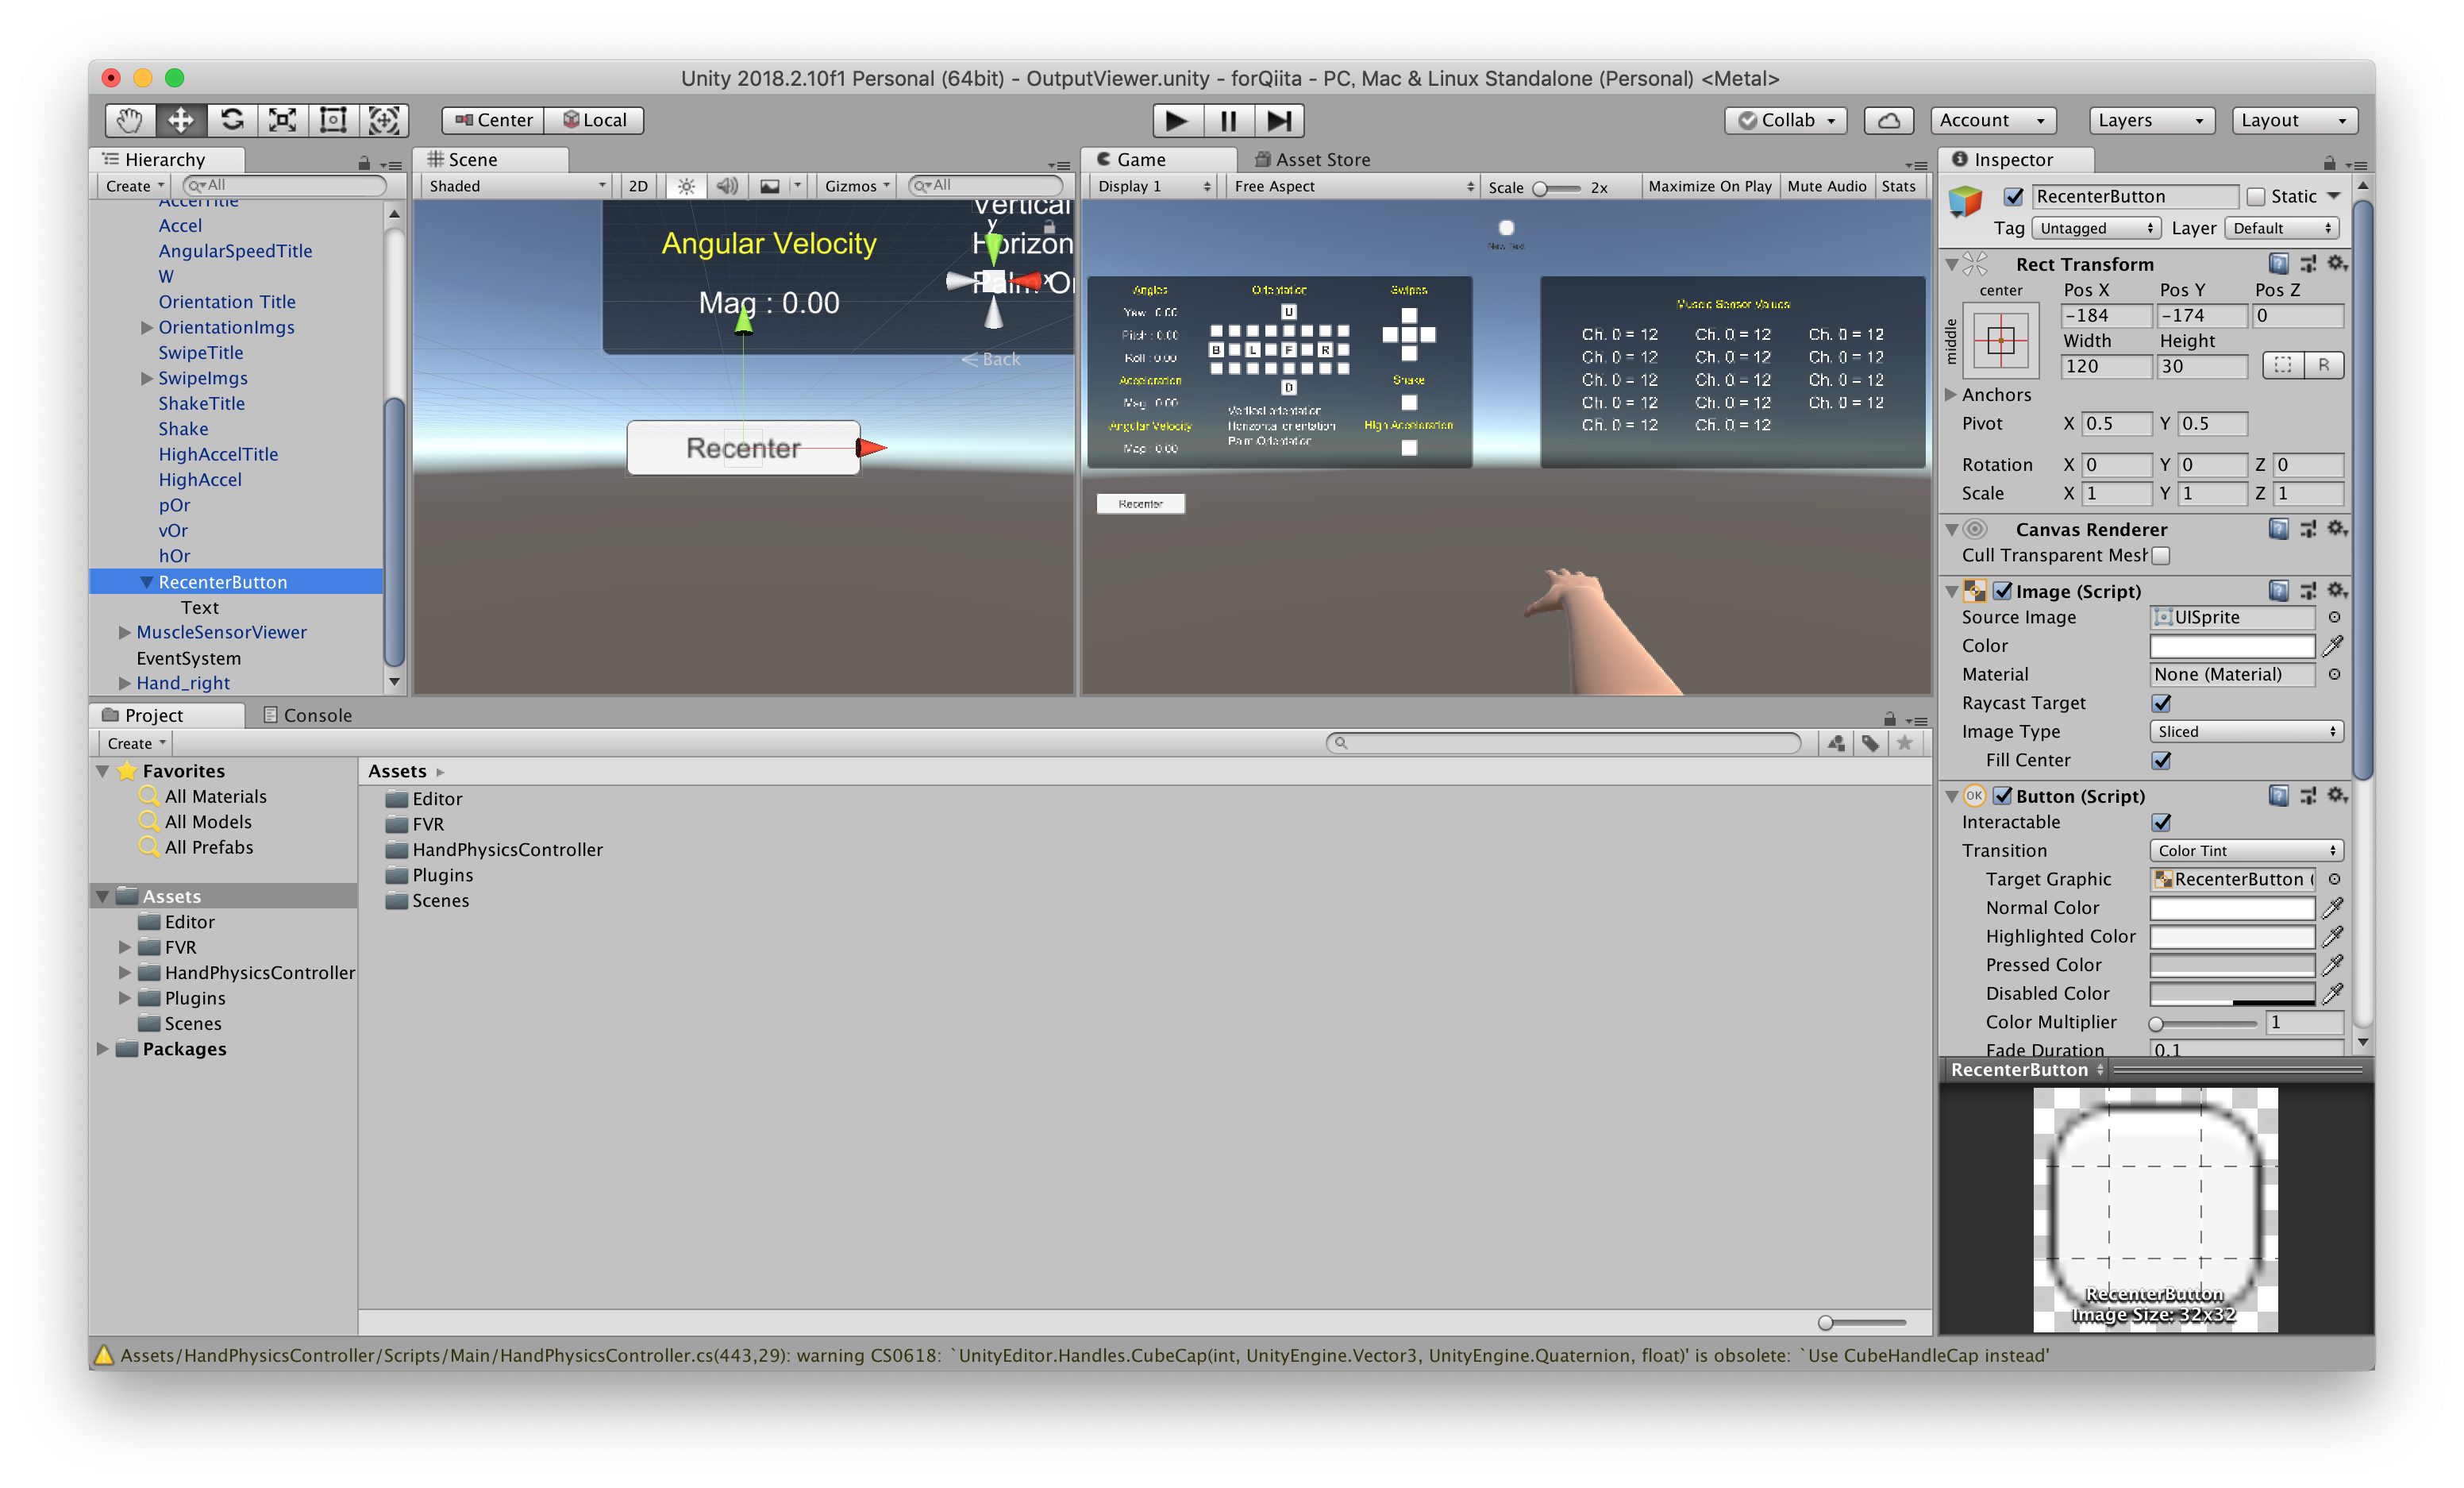
コードを書き換えたら、シーンにボタンを設置します。

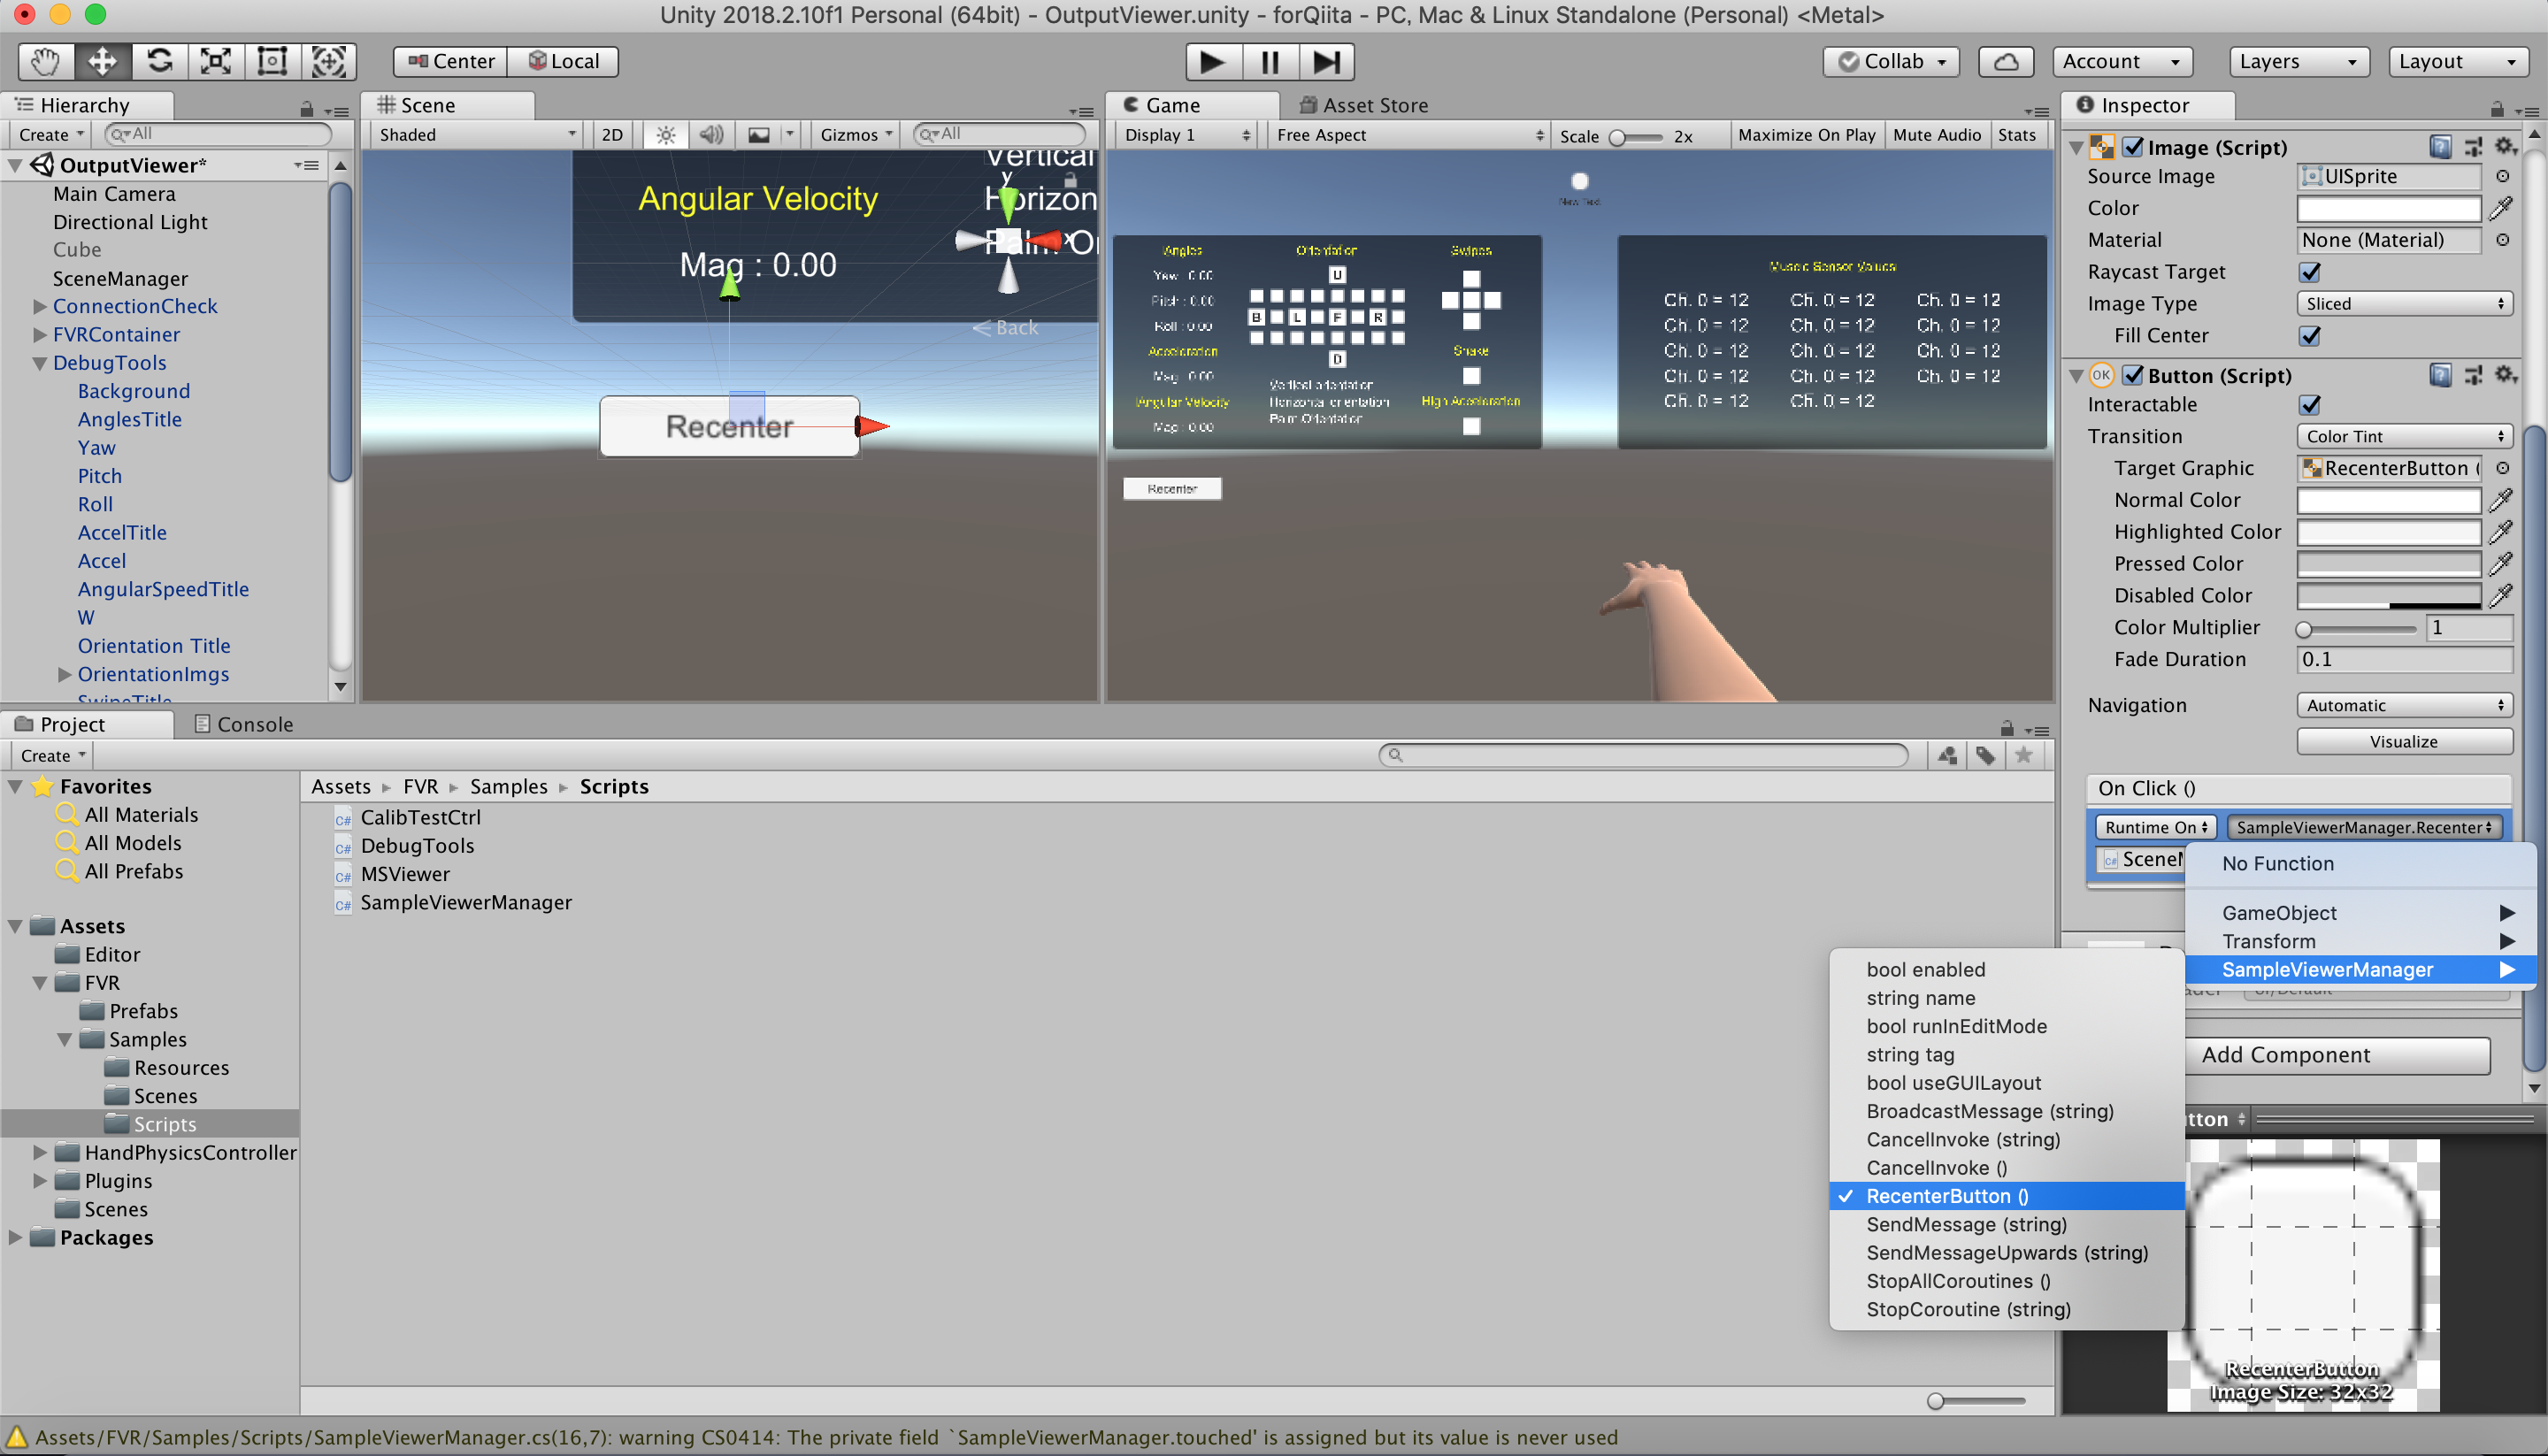
設置したら、ButtonオブジェクトのInspectorにあるOn Click()に項目を追加します。
SceneManagerをアタッチし、SampleViewerManager > RecenterButton()を選択します。
これで、実装完了です。
実機確認
スマホで実行してみると、こんな感じになります。
