この記事は、pythonista3 advent calendar 2022 の 09 日目の記事です。
👇 : 08 日目
👇 : 10 日目
一方的な偏った目線で、Pythonista3 を紹介していきます。
ほぼ毎日 iPhone(Pythonista3)で、コーディングをしている者です。よろしくお願いします。
以下、私の 2022 年 12 月時点の環境です。
--- SYSTEM INFORMATION ---
* pythonista 3.3 (330025), default interpreter 3.6.1
* ios 16.1.1, model iphone12,1, resolution (portrait) 828.0 x 1792.0 @ 2.0
他の環境(ipad や端末の種類、ios のバージョン違い)では、意図としない挙動(エラーになる)なる場合もあります。ご了承ください。
ちなみに、model iphone12,1 は、iphone11 です。
どっちも好きだから 1 番なんて決められないよぉ、、、
ネイティブアプリの gui を提供してくれるui モジュール。
ゲームなど 2d グラフィックスに特化したscene モジュール。
ui ちゃん
- 強み
- ios アプリのような見た目で実装可能
- slider や switch など gui を気軽に呼び出せる
- view を跨いだ画面変遷も可能
- touch 以外のインタラクティブな処理も気軽
- 苦手なところ
- グラフィック処理
- 毎フレーム決まった処理
scene ちゃん
- 強み
- グラフィック処理
- 全画面前提の設計
- フレーム処理を前提
- 経過時間やフレーム時間が管理されている(取得ができる)
- コントローラー操作も可能
- 苦手なところ
- gui パーツ的なものがないので、自作が必須
- 画面変遷も自作
やれやれだぜ
そのどちらにも一長一短があるので、合体させましょう!
アプリの見た目でグラフィックスをゴリゴリやりましょう!
早速コード紹介
import scene
import ui


def create_button(icon_name):
  button_icon = ui.Image.named(icon_name)
  button = ui.ButtonItem(image=button_icon)
  return button


class mainview(ui.View):
  def __init__(self, canvas):
    self.bg_color = tint_color
    self.tint_color = title_color
    self.name = title
    self.height_ratio = 0.96  # todo: safe area

    self.canvas = canvas
    self.scene_view = None

    self.setup_navigationbuttons()
    self.setup_scene()
    self.show_scene()

  def draw(self):
    # todo: init background color
    w = self.width
    h = self.height * self.height_ratio
    wrap = ui.Path.rect(0, 0, w, h)
    ui.set_color(bg_color)
    wrap.fill()

  def layout(self):
    self.scene_view.width = self.width
    self.scene_view.height = self.height * self.height_ratio
    self.scene_view.x = self.width / 2 - self.scene_view.width / 2

  def setup_scene(self):
    scene_view = scene.SceneView()
    scene_view.frame_interval = 2
    scene_view.shows_fps = True
    scene_view.alpha = 0
    scene_view.scene = self.canvas
    self.add_subview(scene_view)
    self.scene_view = scene_view

  @ui.in_background
  def show_scene(self):
    def dissolve():
      self.scene_view.alpha = 1

    ui.animate(dissolve, duration=.3)

  def setup_navigationbuttons(self):
    show_console_icon = 'iob:ios7_download_outline_32'
    show_console_button = create_button(show_console_icon)
    show_console_button.action = self.show_console

    self.right_button_items = [show_console_button]

  @ui.in_background
  def show_console(self, sender):
    raw_image = self.canvas.view._debug_quicklook_()
    image = ui.image.from_data(raw_image, 2.0)
    image.show()


class canvas(scene.Scene):
  def __init__(self, *args, **kwargs):
    super().__init__(*args, **kwargs)
    self.background_color = bg_color

  @ui.in_background
  def setup(self):
    self.set_line(128)

  def set_line(self, dire):
    w2, h2 = self.size / 2
    path = ui.Path()
    path.move_to(w2 - dire, h2 - dire)
    path.line_to(w2 + dire, h2 + dire)
    line = scene.ShapeNode(parent=self)
    line.path = path
    line.stroke_color = 'red'
    line.position = self.size / 2

  @ui.in_background
  def update(self):
    #print(f'{self.t}')  # 画面左下にlog として表示される
    pass


if __name__ == '__main__':
  title = 'プログラミングでお絵描き'

  bg_color = 0.872
  tint_color = 0.128
  title_color = 0.872
  af_color = tint_color

  canvas = canvas()

  view = mainview(canvas)
  view.present(
    style='fullscreen',
    orientations='portrait',
    title_bar_color=tint_color,
    title_color=title_color)
まるで processing のように
canvas class 内で、scene を使い processing 風の書き味にしつつ、外側をui で包みアプリライクな見た目にしました。
ui モジュールが使えることにより、navigationview よりタイトルを追加し、右側アイコンをタップすると、押したタイミングの描画状況を保存できるようにしています。
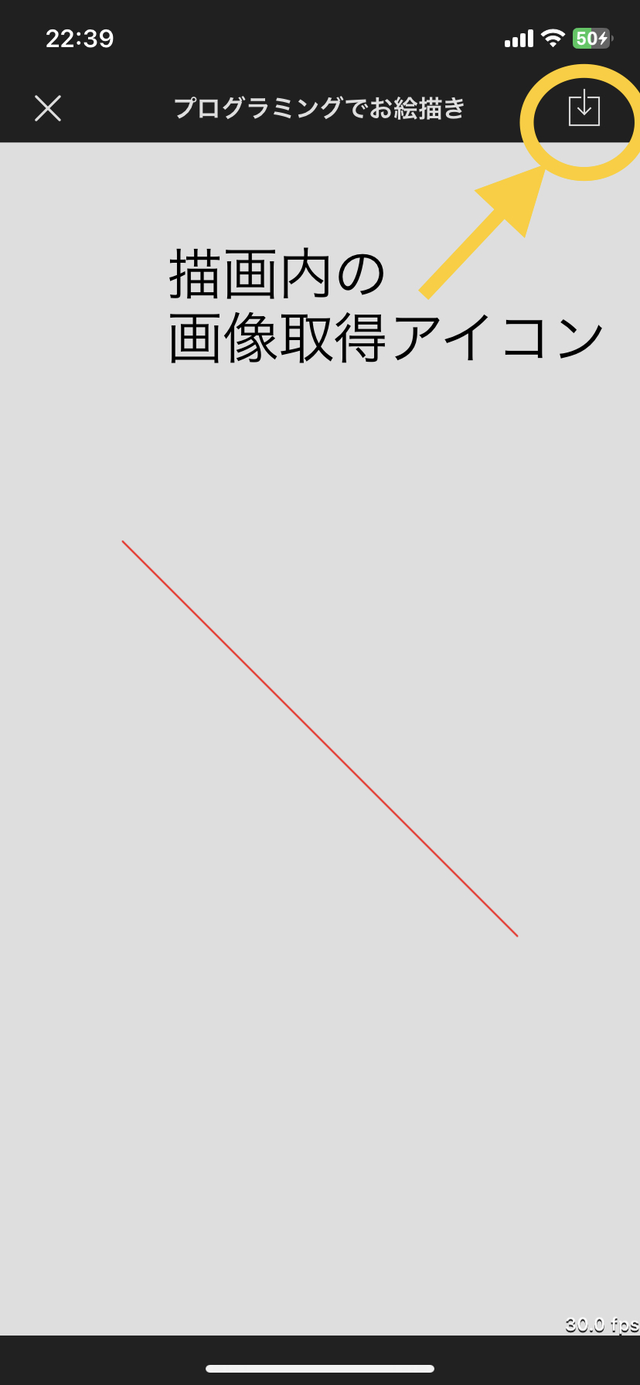
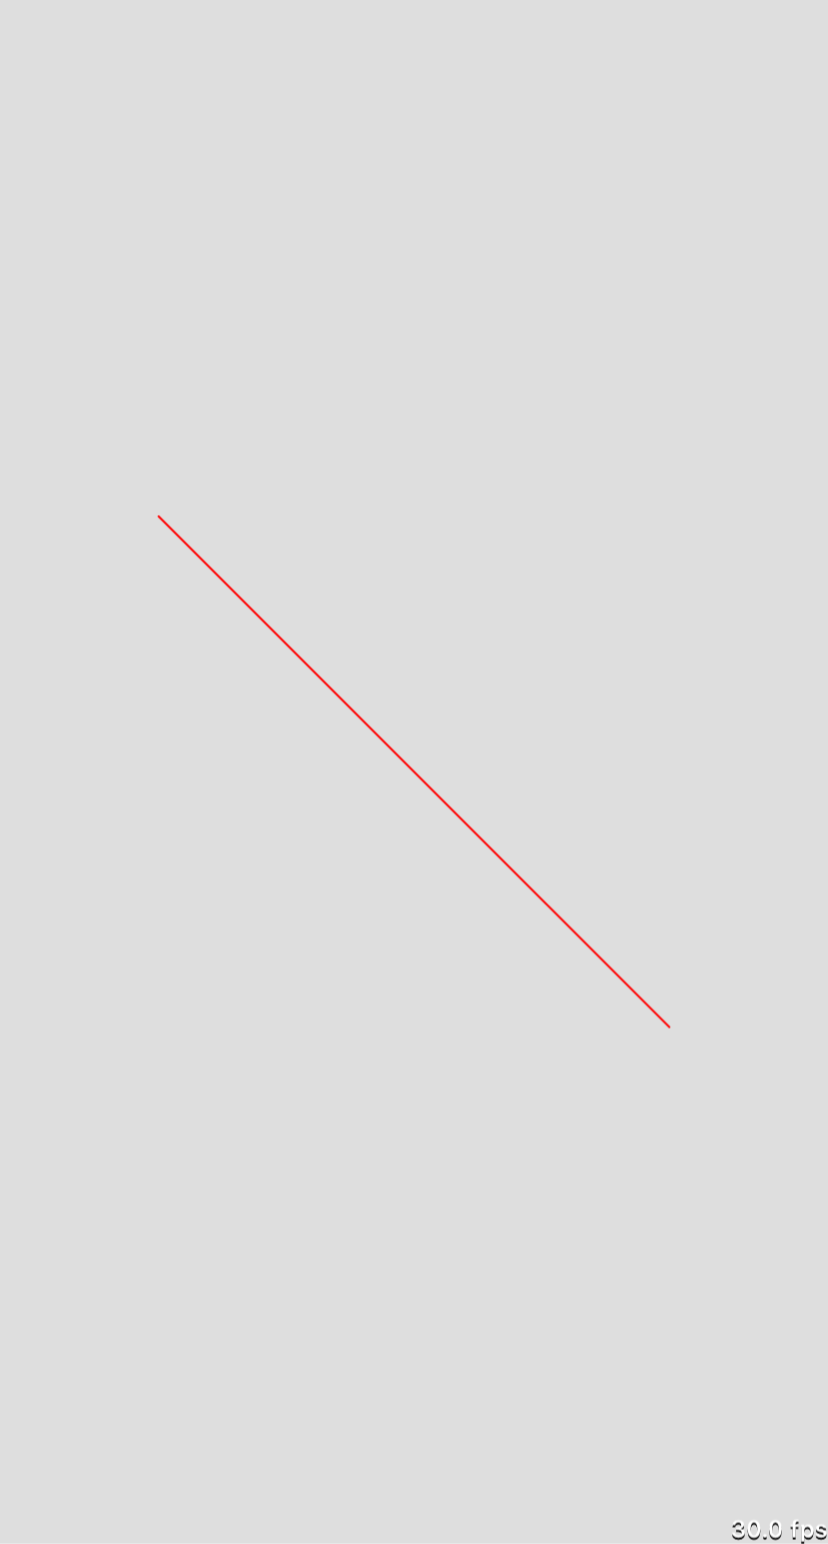
実行中の画面をスクリーンショットすれば、タイトルを含んだ情報がキャプチャできますし、アイコンをタップすれば、描画内の画像を一枚絵として取得できます。
残したい形式を自ら選択し、sns でシェアしてみるのもいいでしょう。大バズり間違いなし(実例なし)!!
コードの解説
scene.sceneview を使う
まず、ui とscene オブジェクトが個別のものなので、それらを繋ぎ合わせる必要があります。
scene.sceneview | scene — 2d games and animations — python 3.6.1 documentation
ui の view となるscene.sceneview で、scene.sceneview.scene にてscene を指定してあげることになります。
scene.sceneview のインスタンスに、scene 実行時(run())の処理たちを設定します。
def setup_scene(self):
  scene_view = scene.sceneview()  # ui.view

  # todo: run() の時に設定する引数たち
  scene_view.frame_interval = 2
  scene_view.shows_fps = true

  scene_view.alpha = 0  # サイズ確定まで見えなくしておく(特別必要な設定ではない)
  scene_view.scene = self.canvas  # 実際表示させたい scene
  self.add_subview(scene_view)
  self.scene_view = scene_view
ui のview.present が実行されるタイミングで、scene のrun() が呼ばれている。というイメージで問題ないと思います。
各オブジェクトのサイズ連携
ui の view となる関係で、scene の size が view 依存になっています。
layout メソッド呼び出し時に、scene の size を fix させることとします(下部では、セーフエリアの設定もしています)。
ui.view の size が確定、続いてscene の size が確定の流れになると、コード実行時に view が「ガチャ」ついてしまいます。
そのままでも、もちろん問題はないのですが、グラフィックスのアウトプットなので、いい感じにガチャつき感を誤魔化す方法をとっています。
「ガチャ」となっている場面をフェードインで表示させましょう。全体の layout が fix する頃合いでscene_view をフワッと登場させれば、ガチャついたイメージは軽減されそうですね。
ui.animate を使い、scene_view.alpha = 0 だった透過状態をduration=.3 後に、scene_view.alpha = 1 と、完全に見える状態にしました。
@ui.in_background のデコレータにより、ガチャガチャui が構築してる中で、処理を止めずにいい具合にscene_view を登場させることができています。
@ui.in_background の使い道は奥が深いので、今回のコードよりコメントアウトし、結果を見比べるのも面白いです。
複数の場所で使用しています。
canvas
scene モジュールの記述方法で、専念して処理が書けます。
最初のフレームでsetup が呼ばれて、以降update が毎フレーム実行されます。
今回のset_line メソッドは、自分用に線を引くために実装したものです。このように関数を独自に作り用意したり、setup やupdate にゴリゴリ書いてしまっても問題ありません。
次回は
自分の中で「こうありたい」と思い描く内容が実際にカタチになると、モチベーションがあがりますよね。
基本scene モジュールで完結するものなのですが、なんとなく自分としてモヤっとしてしまっていた部分をui モジュールを組み合わせることで、幾分か解消できたような気がしています。
私はグラフィックスのプログラミングが好きで、processing 入門勢なので、こんな感じに実装してみました。
ui モジュール初回から、グラフィックスプログラミングをするための思想強めの紹介誘導となってしまっていたのは、そのためです。。。
グラフィックスプログラミングハラスメント。大変失礼したしました 🙇
次回は、ガラッと趣きを変えて iPhone や Pythonista3 のデータ構造の捜索探検を行う予定です。
ここまで、読んでいただきありがとうございました。
👇 : 10 日目
せんでん
Discord
Pythonista3 の日本語コミュニティーがあります。みなさん優しくて、わからないところも親身に教えてくれるのでこの機会に覗いてみてください。
書籍
iPhone/iPad でプログラミングする最強の本。
その他
- サンプルコード
Pythonista3 Advent Calendar 2022 でのコードをまとめているリポジトリがあります。
コードのエラーや変なところや改善点など。ご指摘や PR お待ちしておりますー
なんしかガチャガチャしていますが、お気兼ねなくお声がけくださいませー
やれるか、やれないか。ではなく、やるんだけども、紹介説明することは尽きないと思うけど、締め切り守れるか?って話よ!(クズ)
— pome-ta (@pome_ta93) November 4, 2022
Pythonista3 Advent Calendar 2022 https://t.co/JKUxA525Pt #Qiita
- GitHub
基本的に GitHub にコードをあげているので、何にハマって何を実装しているのか観測できると思います。