はじめに
react、ts、redux、eslint、prettier、webpackな環境を一から作った時の作業メモ。
create-react-appなどは用いずに作る。
いろんなnpmをインストールしていくことになるが、あちこちの記事を見て回るのがちょっとめんどかったので、作業記録を残しておく。
typescript,webpackの環境を作る。
webpackの環境は以下のような感じ。
- sass,css-moduleが使える
- 画像がバンドルできる。
- 開発環境では、webpack-dev-serverを利用し、ソースマップがある
- 本番環境では、build時にclean-webpack-pluginでdist配下を消す
$ npm init
$ npm i -D typescript ts-loader webpack webpack-cli
$ ./node_modules/.bin/tsc --init # tsconfig.jsonの作成
$ npm i -D node-sass style-loader css-loader sass-loader url-loader file-loader
$ npm i -D clean-webpack-plugin html-webpack-plugin webpack-dev-server webpack-merge
webpack.base.config.js
const path = require('path');
const HtmlWebpackPlugin = require('html-webpack-plugin');

module.exports = {
  entry: [path.resolve(__dirname, 'src/index.ts')],
  output: {
    filename: 'bundle.js',
    path: path.resolve(__dirname, 'dist'),
    publicPath: '/',
  },
  module: {
    rules: [
      {
        test: /\.(js|ts|tsx)$/,
        exclude: /node_modules/,
        loader: 'ts-loader',
        options: {
          transpileOnly: true,
        },
      },
      {
        test: /\.(scss|css)$/,
        use: ['style-loader', 'css-loader?modules', 'sass-loader'],
      },
      {
        test: /\.(png|jpg|gif|svg)$/i,
        loader: 'url-loader',
        options: {
          limit: 8192,
          name: '[name].[ext]',
        },
      },
    ],
  },
  resolve: {
    extensions: ['.js', '.ts', '.tsx', '.json', '.mjs', '.wasm'],
  },
  plugins: [
    new HtmlWebpackPlugin({
      template: path.resolve(__dirname, 'src/index.html'),
    }),
  ],
};
webpack.dev.config.js
const path = require('path');
const { merge } = require('webpack-merge');
const baseConfig = require('./webpack.base.config.js');

module.exports = merge(baseConfig, {
  mode: 'development',
  devServer: {
    open: true,
    port: 9000,
    contentBase: path.resolve(process.cwd(), 'dist'),
    publicPath: '/',
  },
  devtool: 'cheap-module-eval-source-map',
});
webpack.prod.config
const { merge } = require('webpack-merge');
const { CleanWebpackPlugin } = require('clean-webpack-plugin');
const baseConfig = require('./webpack.base.config.js');

module.exports = merge(baseConfig, {
  mode: 'production',
  plugins: [new CleanWebpackPlugin()],
});
src/index.ts
document.querySelector('body').innerText='HelloWorld';
package.json
  "scripts": {
    "start": "webpack-dev-server --config ./webpack.dev.config.js",
    "build": "webpack --config ./webpack.prod.config.js",
    "typecheck": "tsc -p . --noEmit",
  },
$ npm start
ここまでの成果

lintの環境を整備
$ npm i -D eslint @typescript-eslint/parser @typescript-eslint/eslint-plugin
$ npm i -D prettier eslint-config-prettier
$ npx mrm lint-staged
手順はこちらの記事を参考に。
reactの導入
$ npm i -S react react-dom @types/react @types/react-dom
$ npm i -D eslint-plugin-react
こちらの記事で作成したeslintrc.jsにreactの設定を追加
.eslintrc.js
module.exports = {
  root: true,
  env: {
    es6: true,
    node: true,
  },
  parser: '@typescript-eslint/parser',
  parserOptions: {
    sourceType: 'module',
    ecmaVersion: 2019,
    tsconfigRootDir: __dirname,
    project: ['./tsconfig.eslint.json'],
  },
  plugins: ['@typescript-eslint'],
  extends: [
    'eslint:recommended',
    'plugin:react/recommended', // 追加
    'plugin:@typescript-eslint/recommended',
    'plugin:@typescript-eslint/recommended-requiring-type-checking',
    'prettier',
    'prettier/@typescript-eslint',
    'prettier/react',           // 追加
  ],
  rules: {},
};
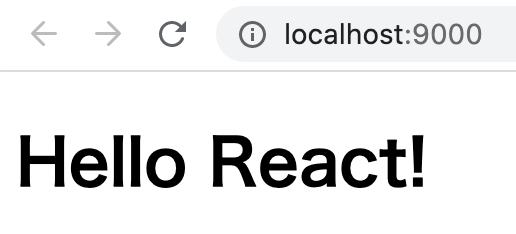
src/index.tsx
import * as React from 'react';
import * as ReactDOM from 'react-dom';

ReactDOM.render(
  <div>
    <h1>Hello React!</h1>
  </div>,
  document.getElementById('root')
);
src/index.html
<!DOCTYPE html>
<html>
  <head>
    <meta charset="UTF-8" />
    <title>Webpack App</title>
  </head>
  <body>
    <div id="root"></div>
  </body>
</html>
webpack.base.config.js
const path = require('path');
const HtmlWebpackPlugin = require('html-webpack-plugin');

module.exports = {
  entry: [path.resolve(__dirname, 'src/index.tsx')], // index.ts => index.tsx に変更
$ npm start
ここまでの成果
typesyncの導入
typesyncを使えば、@typesを手動で導入する必要がなくなる。
$ npm i -D typesync
package.json
  "scripts": {
    "preinstall": "typesync || :",
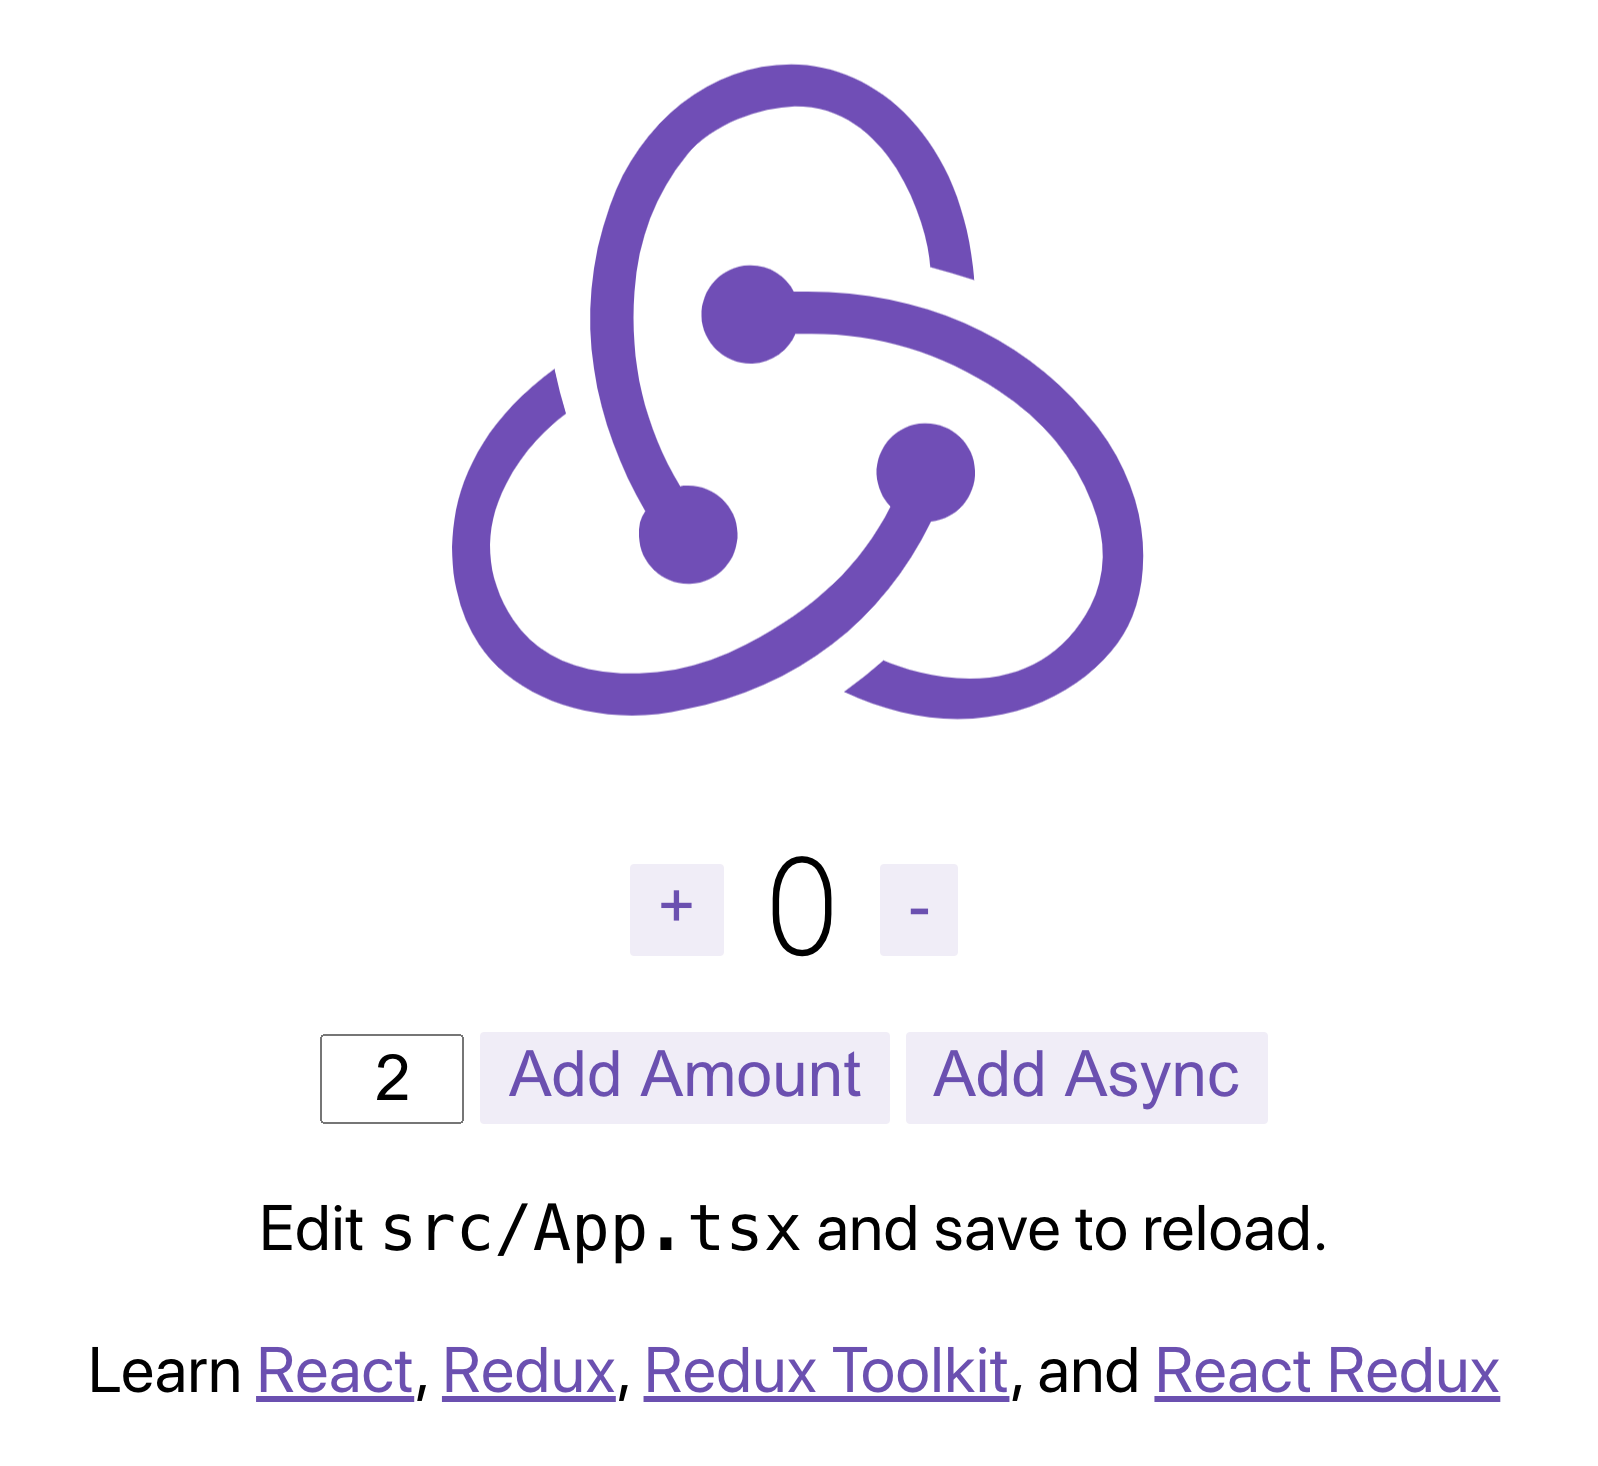
redux、redux toolkitの導入
$ npm i -D @reduxjs/toolkit react-redux
reduxのコードはcraのボイラープレートからコピペで拝借する。以下を現在作成しているプロジェクトとは別の場所で実行する。
$ npx create-react-app tmp-react-app --template redux-typescript
実行すると、こんな感じのコードが展開される。
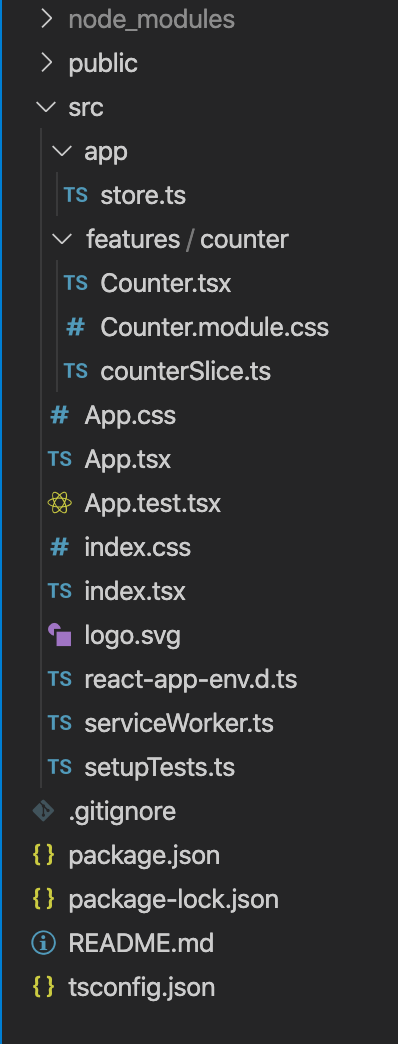
上記のコードから
- appディレクトリ
- featuresディレクトリ
- App.css
- App.tsx
- index.css
- index.tsx
- logo.svg
をコピペしてくる。
注意するところとして、コピペする際、コピペ元のindex.tsxで以下のようにcssを読み込んでいるところは
import './index.css';
このように読み込むようにする。
import '!style-loader!css-loader!./index.css';
$ npm start
ここまでの成果
最終的なコードはこちら。
細かなところなどは端折ったので、参考にする際は直接コードを見てもらった方がいいかも