環境
windows7 64bit
Gefore GTX 680MX GPU
anaconda
環境準備
condaでkeras_work作成
conda create -n keras_work
activate keras_work
tensorflow,keras,pillow,matplotlib,opencv-pythonインストール
conda install tensorflow
conda install keras
pip install pillow
conda install -c anaconda matplotlib
pip install opencv-python
windows git インストール
conda install git
windows wget インストール
conda install -c menpo wget
資材準備
Githubからソース取得
cd c:\temp
git clone https://github.com/zzh8829/yolov3-tf2.git
cd yolov3-tf2
pjreddie.comからyolo3.weightをダウンロード
※2時間かかる
wget https://pjreddie.com/media/files/yolov3.weights --no-check-certificate
上記pjreddie.comからyolov3.weights取得のは遅いのため、下記URLもダウンロードできる
https://pan.baidu.com/s/1G2Qh-V8kyLOq4oDbTwK6HQ
提取码(パスワード):vogw
ファイルは「yolo_tf2.1\data\yolov3.weights」
yolo3.weightファイルをyolov3-tf2パスに移動
ファイル移動したことを確認
(keras_work) C:\temp\yolov3-tf2>dir /B *.weights
yolov3.weights
変換(事前トレーニング済みのdarknet weightを変換する)
python convert.py --weights ./yolov3.weights --output ./checkpoints/yolov3.tf
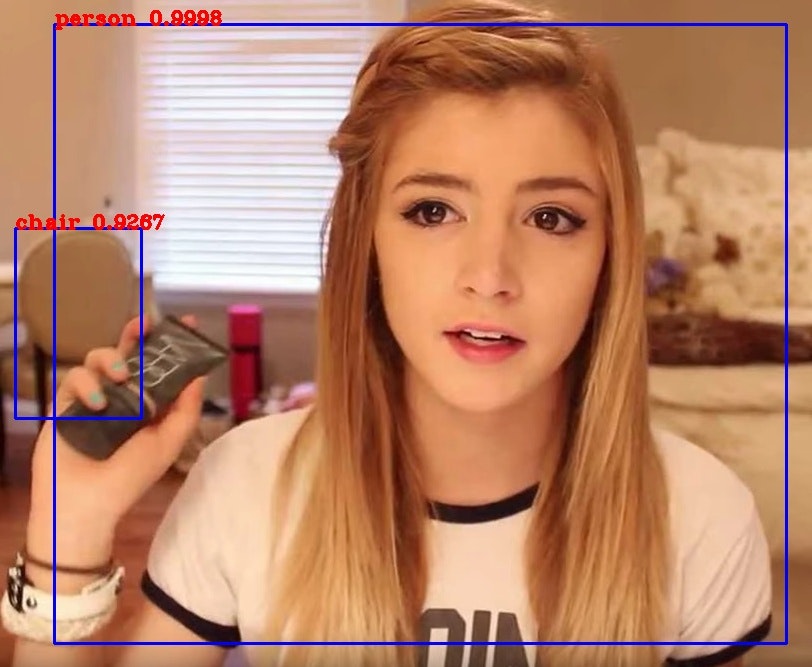
確認(detection)
python detect.py --image ./data/girl.png