はじめに
Notionでログインするサイトを作ろうと思いました。
できるだけ運用コストを抑えるために、静的サイト+サーバーレス関数で組みたかったので、Firebaseを選択しました。
自分の作業用に記録していますので、要点だけ記載しています。
リポジトリはこちらにあります。
Firebaseセットアップ
$ firebase init
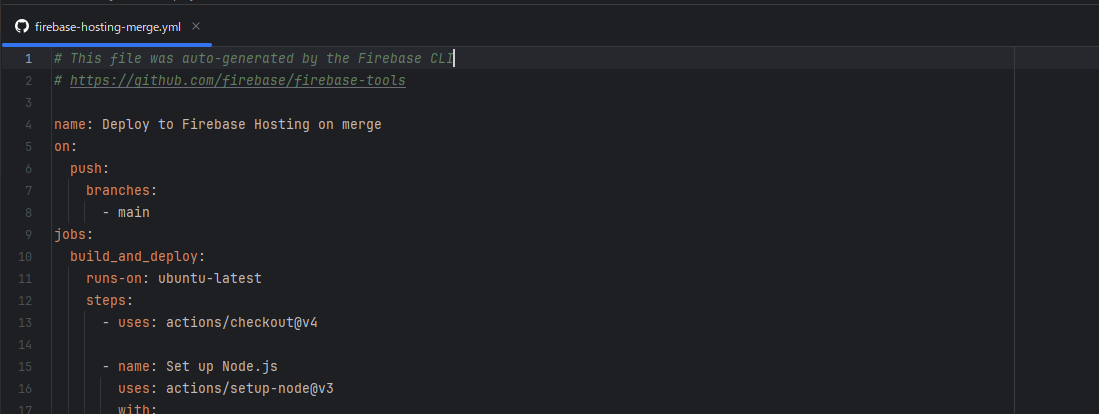
Firebase Hosting用のGitHub Actionsのファイルとシークレットが自動的に作成されます。
またサービスアカウントも自動的に作成してくれます。どういうロールを付けたらいいのか参考になりますね。
GitHub Actionsのファイルも自動的に生成してくれます。Hostingへのデプロイはこれで設定完了ですね。
Notionでインテグレーションを作成
クライアントIDとクライアントシークレットを取得します。
メールアドレスを取得したいので、こちらのオプションもチェックします。
リダイレクトURIを設定します。このパスに対応するFirebase Functionsを後で作ります。
Firebase FunctionsでとりあえずNotionのアクセストークンを取得するOAuthフローを実装
いったん以下の流れを実装します
Firebase Functionsの環境変数
Functions側の環境変数については、シークレットマネージャーを使用します。
$ firebase functions:secrets:set NOTION_CLIENT_ID
$ firebase functions:secrets:set NOTION_CLIENT_SECRET
$ firebase functions:secrets:set NOTION_REDIRECT_URI
するとシークレットが設定されます。
参考情報
Functionsのコード
Notionログイン後、Notionアクセストークンを取得してから、それを画面に表示するテストコードです。
import functions = require('firebase-functions');
import express = require('express');
const app = express();
const router = express.Router();

router.get('/oauth/callback', async (req, res) => {

  const NOTION_CLIENT_ID = process.env.NOTION_CLIENT_ID;
  const NOTION_CLIENT_SECRET = process.env.NOTION_CLIENT_SECRET;
  const NOTION_REDIRECT_URI = process.env.NOTION_REDIRECT_URI;

  const code = req.query.code as string;

  try {
    const basic = Buffer.from(`${NOTION_CLIENT_ID}:${NOTION_CLIENT_SECRET}`).toString('base64');
    const tokenResponse = await fetch('https://api.notion.com/v1/oauth/token', {
      method: 'POST',
      headers: {
        'Content-Type': 'application/json',
        'Authorization': `Basic ${basic}`
      },
      body: JSON.stringify({
        code: code,
        grant_type: 'authorization_code',
        redirect_uri: NOTION_REDIRECT_URI,
      })
    }).then((res) => res.json())

    return res
      .send(tokenResponse)
      .header('Content-Type', 'application/json');
  } catch (error) {
    functions.logger.error(error);
    return res
      .send('error')
      .status(500);
  }

});

app.use('/api/notion', router);

exports.api = functions
  .region('asia-northeast1')
  .runWith({ secrets: [
      "NOTION_CLIENT_ID",
      "NOTION_CLIENT_SECRET",
      "NOTION_REDIRECT_URI"
    ] })
  .https
  .onRequest(app);
動かす
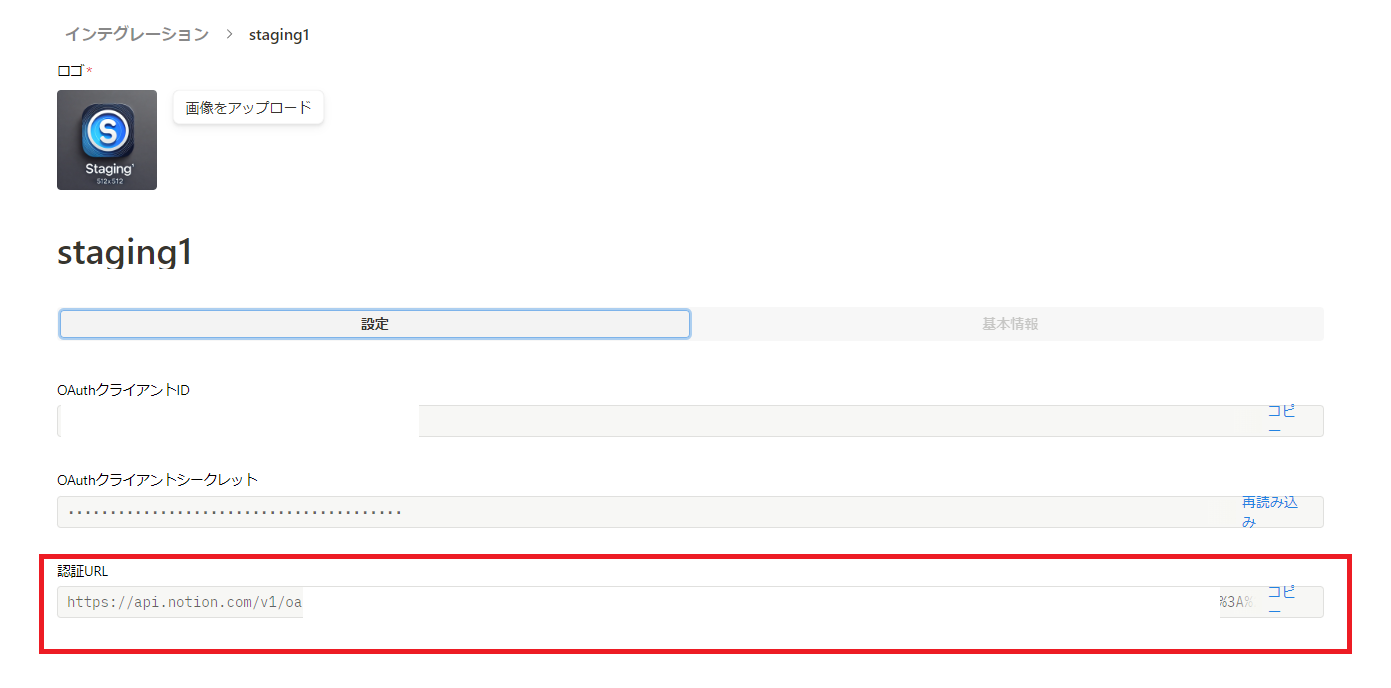
Notionインテグレーションのここにある認証URLをコピーして、
ブラウザにペーストすると、Notionログイン画面が表示されます。
次にページのアクセス許可の設定があります。今はまだテストなので何も選択しません。
うまくいくと、このような画面になります
Firebase Authenticationにカスタムトークンでログインする
カスタムトークン作成者のロールを付与する
サービスアカウントトークン作成者、というロールをFirebase Functionsに付与します。
このロール付与、反映に数分くらいかかるみたいですね。
Functionsを編集
ちょっと最後の方に、NotionのユーザーIDを指定して、Firebase Authenticationにカスタムトークンを発行してもらって、それを表示するようにします。
router.get('/oauth/callback', async (req, res) => {

  const NOTION_CLIENT_ID = process.env.NOTION_CLIENT_ID;
  const NOTION_CLIENT_SECRET = process.env.NOTION_CLIENT_SECRET;
  const NOTION_REDIRECT_URI = process.env.NOTION_REDIRECT_URI;

  const code = req.query.code as string;

  try {
    const basic = Buffer.from(`${NOTION_CLIENT_ID}:${NOTION_CLIENT_SECRET}`).toString('base64');
    const tokenResponse = await fetch('https://api.notion.com/v1/oauth/token', {
      method: 'POST',
      headers: {
        'Content-Type': 'application/json',
        'Authorization': `Basic ${basic}`
      },
      body: JSON.stringify({
        code: code,
        grant_type: 'authorization_code',
        redirect_uri: NOTION_REDIRECT_URI,
      })
    }).then((res) => res.json());

    const notionUserId = tokenResponse.owner.user.id;
    const customToken = await admin.auth().createCustomToken(notionUserId);

    return res
      .send({ customToken })
      .header('Content-Type', 'application/json');
  } catch (error) {
    functions.logger.error(error);
    return res
      .send('error')
      .status(500);
  }

});
動かす
このように、カスタムトークンが返ってきます。
あとはこれをフロント側でFirebase Authenticationに入力してログインします。
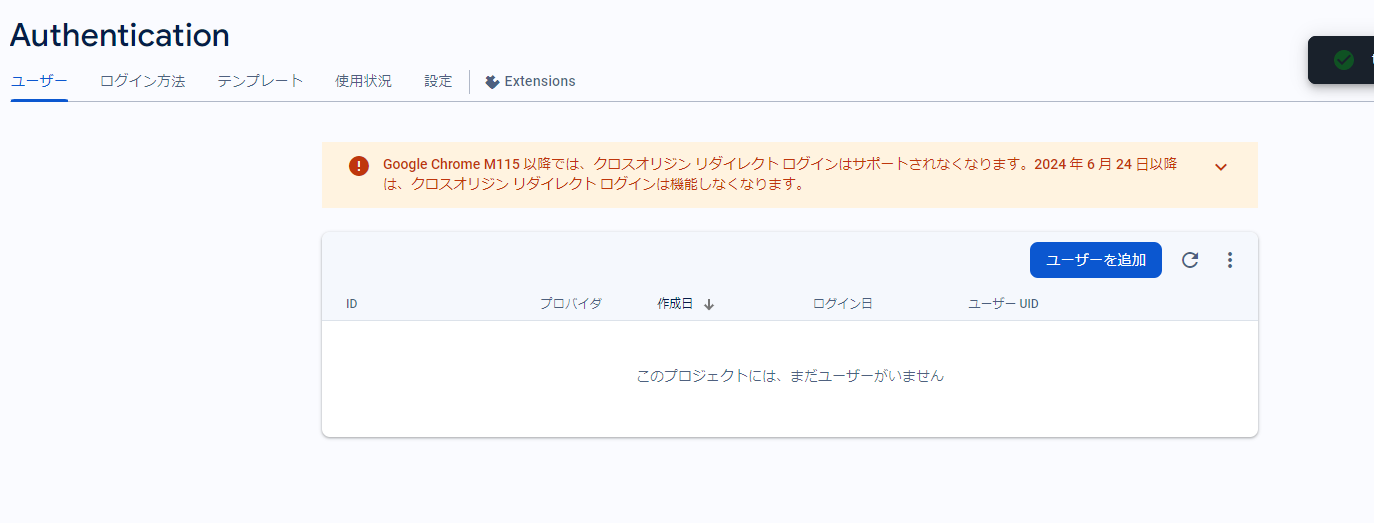
この段階では、まだユーザーが作成されていません。
フロントエンドを含めて処理をする
流れはこんな感じです。
フロントエンドは何でもいいですが、使い慣れているVueで作りました。
Notionログインへ行くためのページ
ログインリンクには、owner=userを付けるのを忘れないように。これをつけるのとつけないのでは、アクセストークンを取得したときの返り値が異なります。
<script setup>
const clientId = import.meta.env.VITE_NOTION_CLIENT_ID
const redirectUri = import.meta.env.VITE_NOTION_REDIRECT_URI
const loginUrl = `https://api.notion.com/v1/oauth/authorize?client_id=${clientId}&response_type=code&owner=user&redirect_uri=${encodeURIComponent(redirectUri)}`
</script>

<template>
  <main>
    <section>
      <h1>Login</h1>
      <a :href="loginUrl">
        Login with Notion
      </a>
    </section>
  </main>
</template>
画面
コールバックURL用のページ。
Notionからもらったcodeをバックエンドへ送信します。バックエンドからは、Firebase AuthenticationのJWTが返ってくる(ように作る)ので、それを使ってsignInWithCustomTokenします。
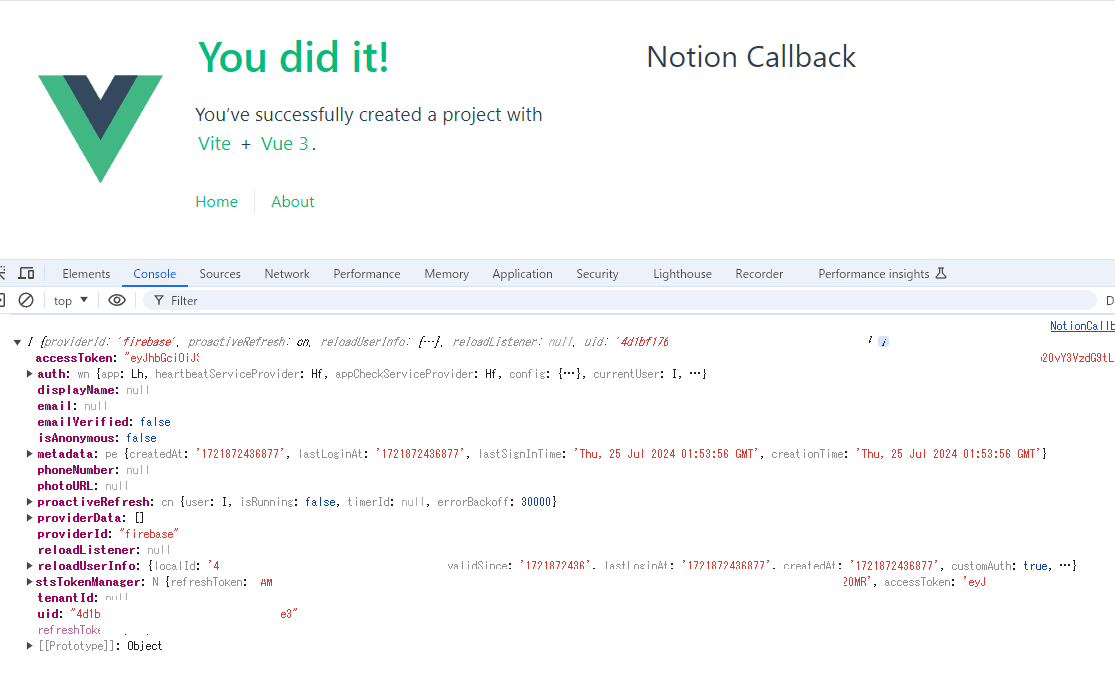
で、ログインが成功したら、ユーザー情報をconsole.logします。
<script setup>
import { onMounted } from 'vue'
import { getAuth, signInWithCustomToken } from 'firebase/auth'

onMounted(async () => {
  const urlParams = new URLSearchParams(window.location.search)
  const code = urlParams.get('code')
  if (!code) {
    console.error('No code provided')
    return
  }

  const response =  await fetch(
    `${import.meta.env.VITE_API_BASE_URL}/notion/token`,
    {
      method: 'POST',
      headers: {
        'Content-Type': 'application/json',
      },
      body: JSON.stringify({ code }),
    }
  ).then((res) => res.json())

  const auth = getAuth()
  signInWithCustomToken(auth, response.token)
    .then((userCredential) => {
      const user = userCredential.user
      console.log(user)
    })
    .catch((error) => {
      const errorCode = error.code;
      const errorMessage = error.message;
      console.error(error)
    })
})
</script>

<template>
  <div>
    <h1>Notion Callback</h1>
  </div>
</template>

<style scoped>

</style>
バックエンド
少しだけ変えます。POSTリクエストを受けるようにします。
- router.get('/oauth/callback', async (req, res) => {
+ router.post('/token', async (req, res) => {


-   const code = req.query.code as string;
+   const code = req.body.code as string;

-   return res
-     .send({ customToken })
-     .header('Content-Type', 'application/json');
+   return res
+     .send({ token: customToken })
+     .header('Content-Type', 'application/json');
動かす
このように、ログイン情報を表示することができました。
Firebas Authenticationを見ると、ユーザーが作成されています。
フロントエンドを整える
ログインページ
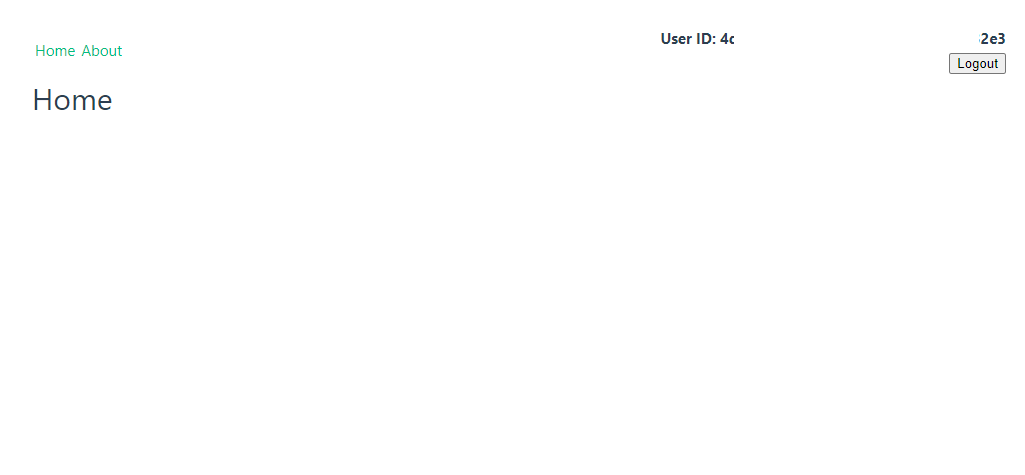
ログインしたときだけ表示できるようにする。また、そこにはログアウトボタンを用意、ついでにユーザーIDを表示
コンテンツは何もない


