この記事の目的
- Next.jsでブログを作成したときの備忘録
- 最初の環境構築(tailwiwind CSSインストール)について
概要
- プロジェクト作成
- tailwiwind CSSインストール
プロジェクト作成
Next.jsのプロジェクト作成blogの部分はプロジェクト名です
npx create-next-app blog
下記のように出てきますが全てEnterを押します
✔ Would you like to use TypeScript with this project? … No / Yes
✔ Would you like to use ESLint with this project? … No / Yes
✔ Would you like to use `src/` directory with this project? … No / Yes
✔ Would you like to use experimental `app/` directory with this project? … No / Yes
✔ What import alias would you like configured? … @/*
作成されたpackage.jsonクリックして表示
{
  "name": "blog",
  "version": "0.1.0",
  "private": true,
  "scripts": {
    "dev": "next dev",
    "build": "next build",
    "start": "next start",
    "lint": "next lint"
  },
  "dependencies": {
    "@types/node": "18.15.0",
    "@types/react": "18.0.28",
    "@types/react-dom": "18.0.11",
    "eslint": "8.36.0",
    "eslint-config-next": "13.2.4",
    "next": "13.2.4",
    "react": "18.2.0",
    "react-dom": "18.2.0",
    "typescript": "4.9.5"
  }
}
作成したプロジェクトに移動しnpm run devでNext.jsアプリケーションを実行
cd blog
npm run dev
> blog@0.1.0 dev
> next dev

ready - started server on 0.0.0.0:3000, url: http://localhost:3000
Attention: Next.js now collects completely anonymous telemetry regarding usage.
This information is used to shape Next.js' roadmap and prioritize features.
You can learn more, including how to opt-out if you'd not like to participate in this anonymous program, by visiting the following URL:
https://nextjs.org/telemetry
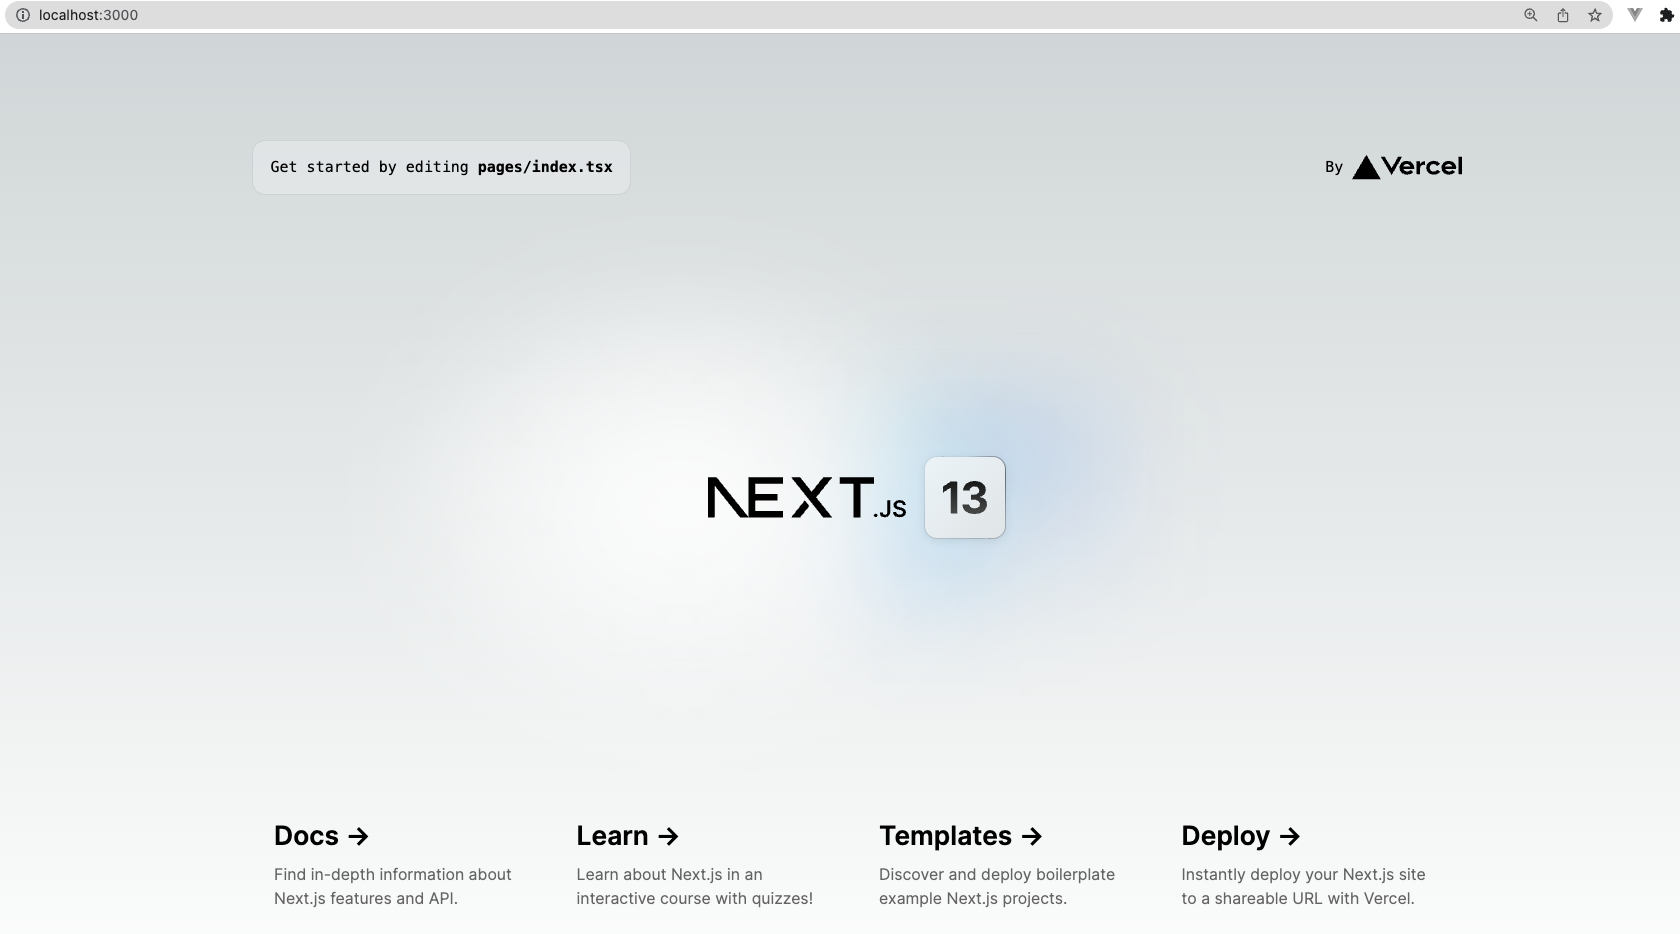
実行すると上記のような感じで出ると思うので記載されているURLを叩く(ここではhttp://localhost:3000)
以下のような画面が表示されることを確認する
tailwiwind CSSインストール
tailwiwind CSSインストールについてはtailwind公式ドキュメント(Next.js)に従って行なっています。
先ほどのnpm run devで起動したサーバーをctrl+Cでサーバー落とす
下記のコマンドでtailwiwind CSSインストール
これでtailwindcss postcss autoprefixerの3つのパッケージがインストールされます
npm install -D tailwindcss postcss autoprefixer
設定ファイルを作成します
これでtailwind.config.jsとtsconfig.jsonが作成されます
npx tailwindcss init -p
作成されたpostcss.config.jsクリックして表示
module.exports = {
  plugins: {
    tailwindcss: {},
    autoprefixer: {},
  },
}
変更したtailwind.config.jsクリックして表示
/** @type {import('tailwindcss').Config} */
module.exports = {
  content: [],
  theme: {
    extend: {},
  },
  plugins: [],
}
tailwind.config.jsにテンプレートのパスを設定する
tailwind.config.jsを以下のように変更します。
/** @type {import('tailwindcss').Config} */
module.exports = {
  content: [
    "./app/**/*.{js,ts,jsx,tsx}",
    "./pages/**/*.{js,ts,jsx,tsx}",
    "./components/**/*.{js,ts,jsx,tsx}",

    // Or if using `src` directory:
    "./src/**/*.{js,ts,jsx,tsx}",
  ],
  theme: {
    extend: {},
  },
  plugins: [],
}
こちらはtailwind公式ドキュメント(Next.js)に記載しているものをコピーして貼り付けている作業になります
CSSにTailwindを追加する
globals.cssの内容を全て削除し下記のように変更する
@tailwind base;
@tailwind components;
@tailwind utilities;
デフォルトで存在しているHome.module.cssファイルは使用しないので削除しておく
プロジェクトでTailwindが使用できるか確認
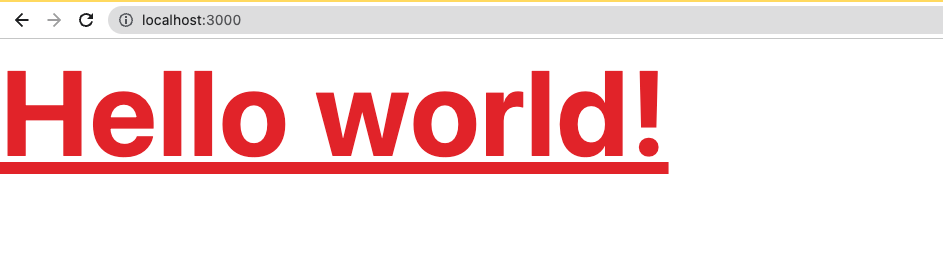
pages/index.tsxを下記のように編集しhttp://localhost:3000/で確認する
わかりやすいように公式ドキュメントのスタイルに文字を赤くするtext-red-600を追加しています
import { Inter } from 'next/font/google'

const inter = Inter({ subsets: ['latin'] })

export default function Home() {
  return (
    <h1 className="text-3xl font-bold underline text-red-600">
      Hello world!
    </h1>
  )
}
再度npm run devを実行し確認すると次のようにスタイルが当たっているのが確認できるかと思います。
※わかりやすいように拡大したスクショを載せています
ちなみにtailwindCSSのスタイルについては、こちらのサイトに載っているので参考にしてみてください。
その他
プロジェクトに後から追加したものについても下記に載せました