目的
- nginxで静的なコンテンツを分離してみる
本編
前回まで
PythonのフレームワークFlaskを使用してWebアプリ作成の物語(4)DBに接続して操作してみよう
フォルダ構成
.
├── README.md
├── client
│   ├── css
│   │   └── index.css
│   ├── html
│   │   └── index.html
│   └── js
│       └── index.js
├── docker-compose.yml
├── nginx
│   ├── Dockerfile
│   └── nginx.conf
├── postgresql
│   └── init
│       ├── 1_create_db.sql
│       └── 2_create_table.sh
├── requirements.txt
├── src
│   ├── UserModel.py
│   ├── __pycache__
│   │   ├── UserModel.cpython-36.pyc
│   │   └── setting.cpython-36.pyc
│   ├── main.py
│   └── setting.py
└── test.http
編集or追加分
.
├── README.md
├── client
│   ├── css
│   │   └── index.css
│   ├── html
│   │   └── index.html
│   └── js
│       └── index.js
├── docker-compose.yml
├── nginx
│   ├── Dockerfile
│   └── nginx.conf
└── requirements.txt
nignxって何??
説明をすると本筋から外れてしまいそうなので、ざっくりと知っておいて欲しいことを並べておく
- エンジンエックスって読むよ
- フリーかつオープンソースなWebサーバ
- 今回は静的なコンテンツ(HTML、画像など)を配信するために使用している
- 他にも負荷分散の機能とかがあるよ
- よく比較されるのがApache
使用すると何が嬉しいの??
この構成だと、Flaskは大きく分けて2つのタスクを行うことになります。
- ユーザとのやりとりで静的コンテンツの配信
- アプリケーション内部の処理とDBとのやりとり
静的なコンテツの配信をnginxにお願いすることで、flaskはアプリケーションの内部の実装のみに専念させることができます。
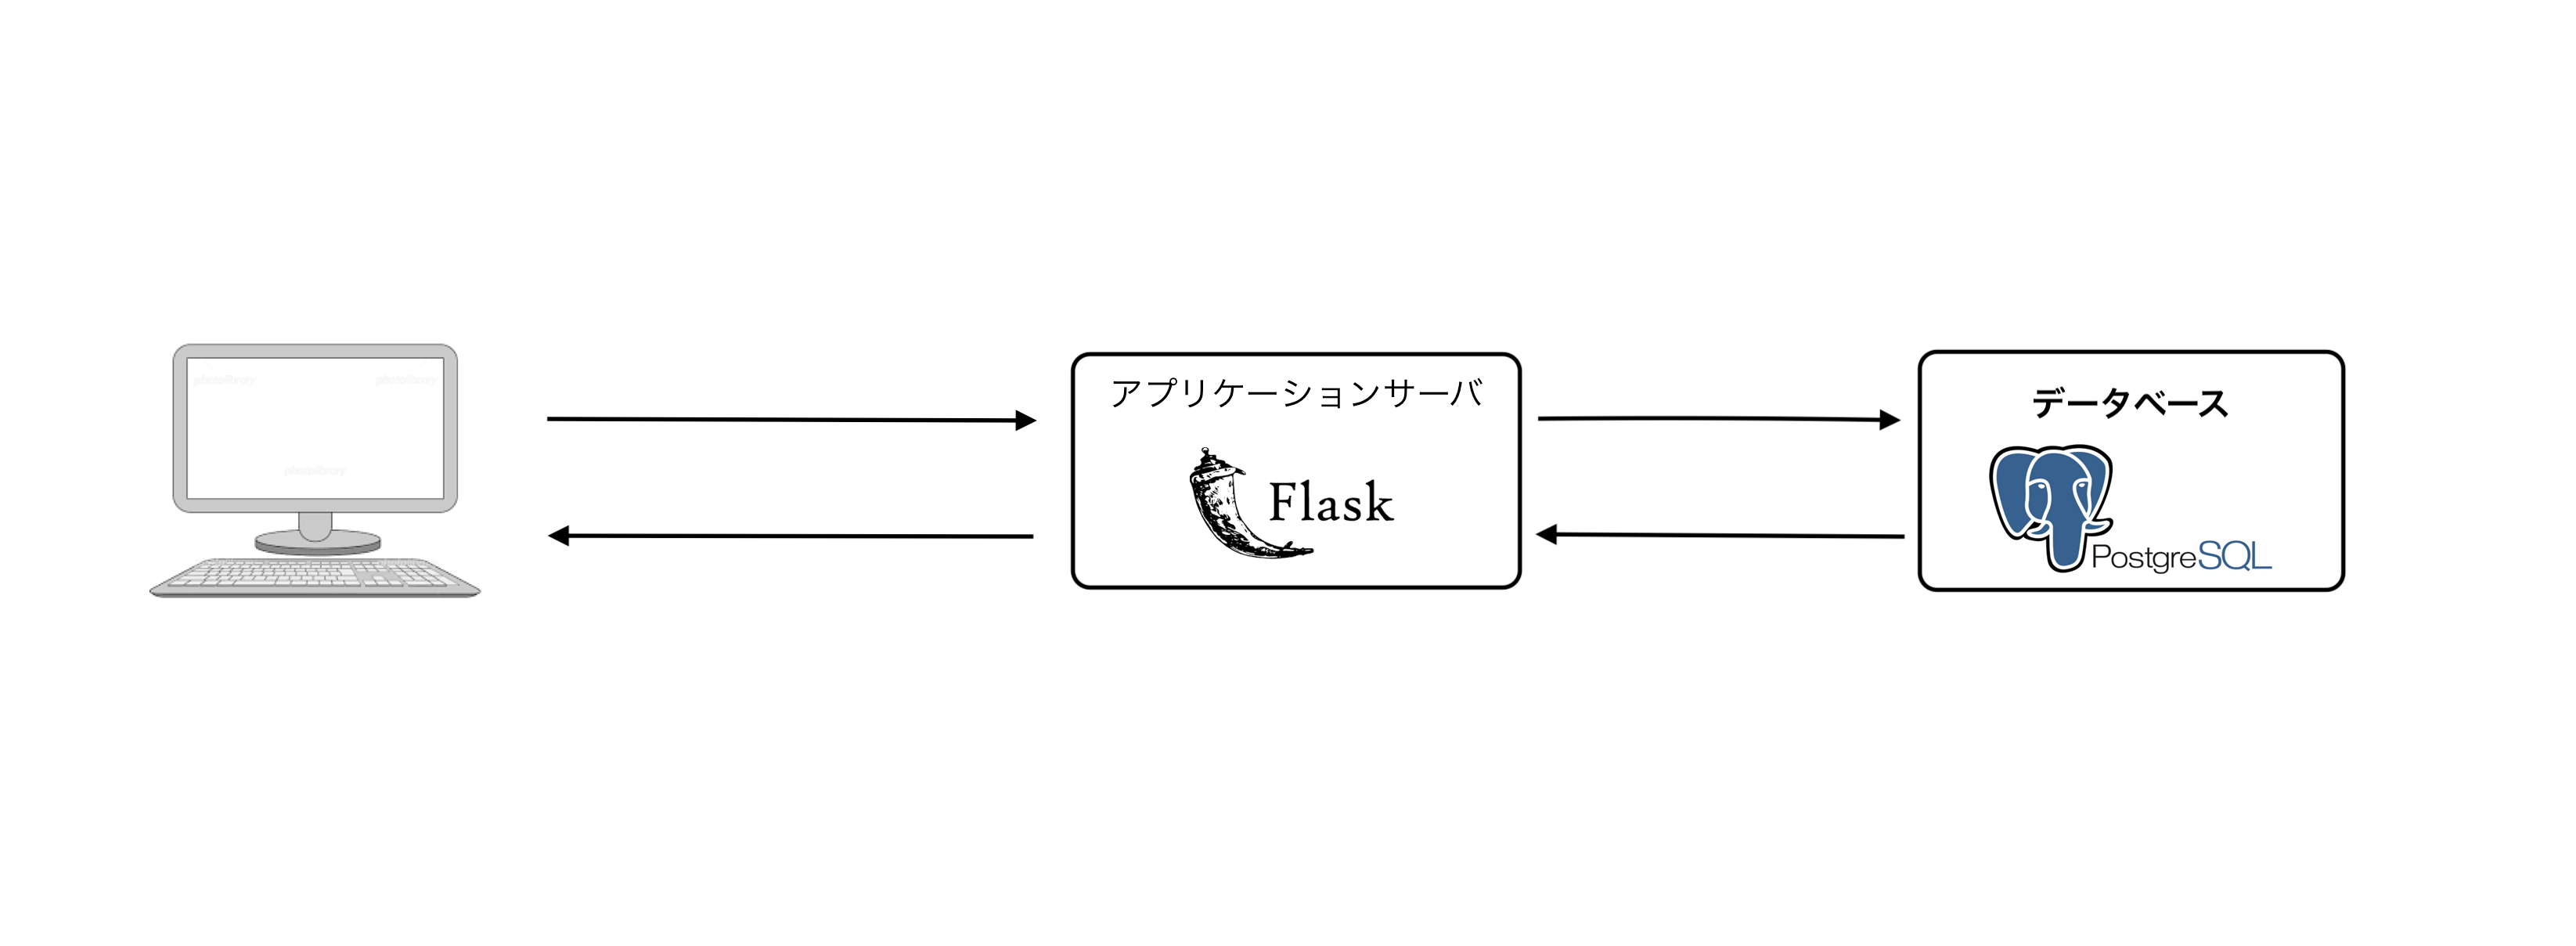
今回の記事の構成は以下の様になります。

nginxコンテナの準備
nginxを準備していきます。今回はDockerを使用してサクッと終わらせましょう。
dockerfileの準備から始めましょう
ファイルの中身は
nginxのイメージを取得して、起動のコマンドを記述しているのみ
FROM nginx
CMD ["nginx", "-g", "daemon off;", "-c", "/etc/nginx/nginx.conf"]
nginxの設定ファイルを用意します。
設定ファイルの書き方は、他のサイトにお願いすることにして
ここでは、ページの配信に必要な箇所にのみコメントをしてあります。
user  nginx;
worker_processes  auto;

error_log  /var/log/nginx/error.log warn;
pid        /var/run/nginx.pid;


events {
    worker_connections  1024;
}


http {
    include       /etc/nginx/mime.types;
    default_type  application/octet-stream;

    log_format  main  '$remote_addr - $remote_user [$time_local] "$request" '
                      '$status $body_bytes_sent "$http_referer" '
                      '"$http_user_agent" "$http_x_forwarded_for"';

    access_log  /var/log/nginx/access.log  main;

    sendfile        on;

    keepalive_timeout  75;

    # サーバの設定
    server {
        listen 80;
        charset utf-8;

        # localhostでアクセスした際に最初に表示されるページを設定
        location /{
            root   /var/www/html;
            index  index.html;
        }

        # サーバに含めるファイルの拡張子を指定している
        location ~ .*\.(js|JS|css|CSS)$ {
        root    /var/www;
        }

    }
}
docker-composeを編集します。
追加したのは、nginxの箇所のみ。
version: "3"

services:

  postgresql:
    image: postgres:10.5
    container_name: flask_tutorial_postgresql
    ports:
      - 5432:5432
    volumes:
      - ./postgresql/init/:/docker-entrypoint-initdb.d
      - /Users/${USER}/Volumes/flask_tutorial/postgres:/var/lib/postgresql/data
    environment:
      POSTGRES_USER: ${POSTGRES_USER}
      POSTGRES_PASSWORD: ${POSTGRES_PASSWORD}
      POSTGRES_INITDB_ARGS: "--encoding=UTF-8"
    hostname: postgres
    user: root
    environment:
      TZ: "Asia/Tokyo"

  pgadmin4:
    image: dpage/pgadmin4:3.3
    container_name: flask_tutorial_pgadmin4
    ports:
      - 5050:80
    volumes:
      - ./pgadmin:/var/lib/pgadmin
    environment:
      PGADMIN_DEFAULT_EMAIL: ${PGADMIN_DEFAULT_EMAIL}
      PGADMIN_DEFAULT_PASSWORD: ${PGADMIN_DEFAULT_PASSWORD}
    depends_on:
          - postgresql
    hostname: pgadmin4

  nginx:
    build: ./nginx
    container_name: flask_tutorial_nginx
    volumes:
      - ./client/:/var/www/
      - ./nginx/nginx.conf:/etc/nginx/nginx.conf
    ports:
      - 80:80
    environment:
      TZ: "Asia/Tokyo"
静的コンテンツの準備
簡単なページを用意してあげました。
<!DOCTYPE html>
<html lang="ja">
  <head>
    <meta charset="UTF-8">
    <title>flask</title>
    <link rel="stylesheet" href="../css/index.css">
  </head>
  <body>
    <header class="header" id="float-menu">
      <h1>Flask Tutorial</h1>
    </header>
    <main>
      <section>
        <h2>nginxの利用</h2>
        <p>nginxを静的なコンテンツのWebサーバとして使用しているよ</p>
        <section>
            <h2>flaskと通信</h2>
            <p>ユーザ名</p>
            <input type="text" id="user_name">
            <button id="check">確認</button>
            <button id="register">登録</button>
            <p id="message"></p>
      </section>
    </main>
    <script type="text/javascript" src="../js/index.js"></script>
  </body>
</html>
コンテナ起動
ここまで準備ができたら
docker-compose up -dでコンテナを立ち上げて
ブラウザ上からhttp://localhost/にアクセス
次回
- 非同期通信でflaskに問い合わせをしてみよう

