RubyMotionでもStoryBoardが使えるらしいので,試してみた.
ひな形作成
$ motion create SB
$ cd SB
XcodeでStoryboardを作成
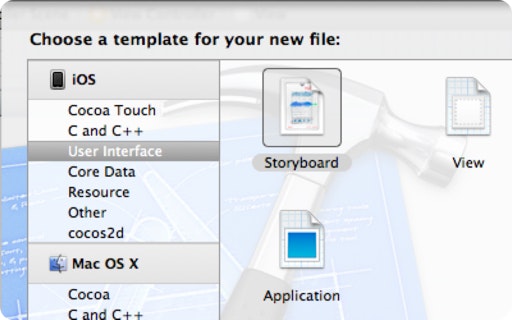
おもむろにXCodeを開きます.
File>New>FileでiOS>User Interface>Storyboardを選びます.
初めに表示されるViewControllerを作成
UIViewController設置.
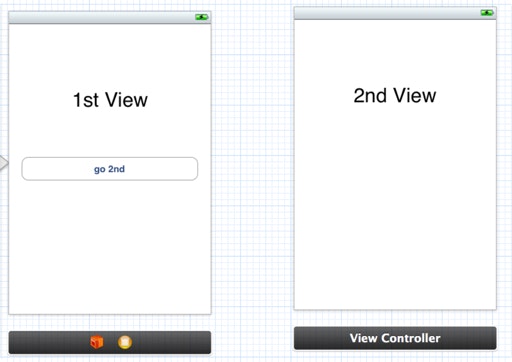
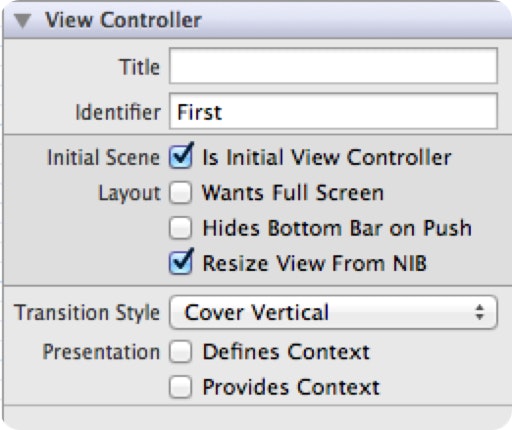
IdentifierをFirstとか付けます.
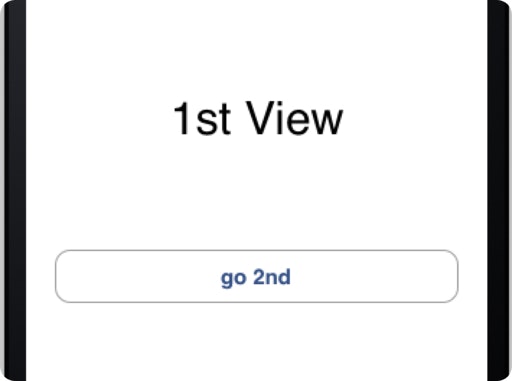
UILabelとUIButtonを追加します.
Segueで遷移する先のViewControllerを作成
もう一つUIViewController設置.
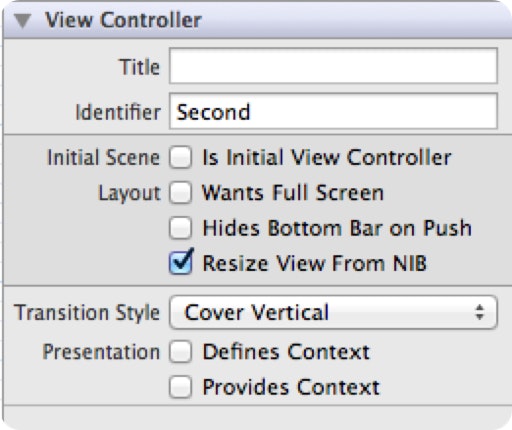
IdentifierをSecondとか付けときます.
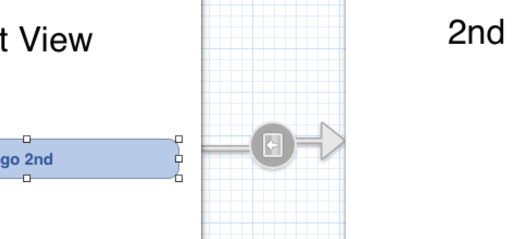
Segueの設定
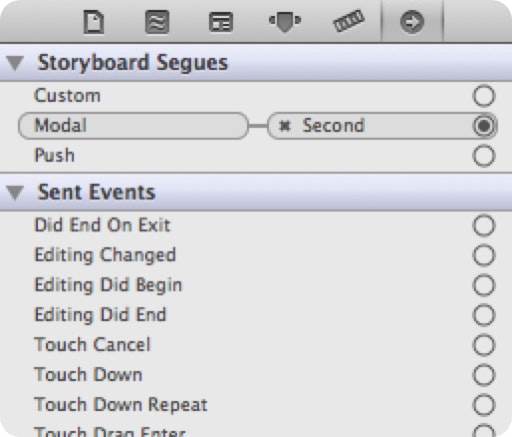
Firstに配置したButtonを,Ctrlを押しながら引っ張ってSecondのViewControllerへ繋ぎます.
Storyboard Seguesの設定が出るので,Modalとかを選ぶ.
Storyboardの保存
Cmd+sでStoryboardをresources/Storyboard.storyboardとか名前を付けて保存します.
storyboardのコンパイル
$ ibtool --compile resources/Storyboard.storyboardc resources/Storyboard.storyboard
コーディング
app/app_delegate.rbを書く.
Storyboardからロードします.
class AppDelegate
  def application(application, didFinishLaunchingWithOptions:launchOptions)
    @window = UIWindow.alloc.initWithFrame(UIScreen.mainScreen.bounds)
    @sb = UIStoryboard.storyboardWithName('Storyboard', bundle: nil)
    rvc = @sb.instantiateViewControllerWithIdentifier("First")
    @window.rootViewController = rvc
    @window.rootViewController.wantsFullScreenLayout = true
    @window.makeKeyAndVisible
    true
  end
end
ちなみに,Buttonの動作を変えたい場合などは,Firstと付けたUIViewControllerをCustom Classに変更してUIViewControllerを継承したクラスを作成して,prepareForSegue:sender:で遷移前に処理を行うとか,UIButtonのaddTarget:senderとかにselectorを登録して処理を行うとかします.
コンパイルして実行
$rake
とすれば,Simulatorが立ち上がります.
設置したButtonを押せばSecondのViewへ切り替わります.
