やりたい事
DatadogでWindowsのサービス(SMTPとか)の死活監視を行う。
やってみた環境
Windows Server 2016 (AWSのEC2でサーバー用意)
Datadog Agent version 6.10.1
やってみた手順
- WindowsにDatadogエージェントをインストールします
- タスクマネージャーのサービスタブから死活監視を行いたいサービス名を確認します
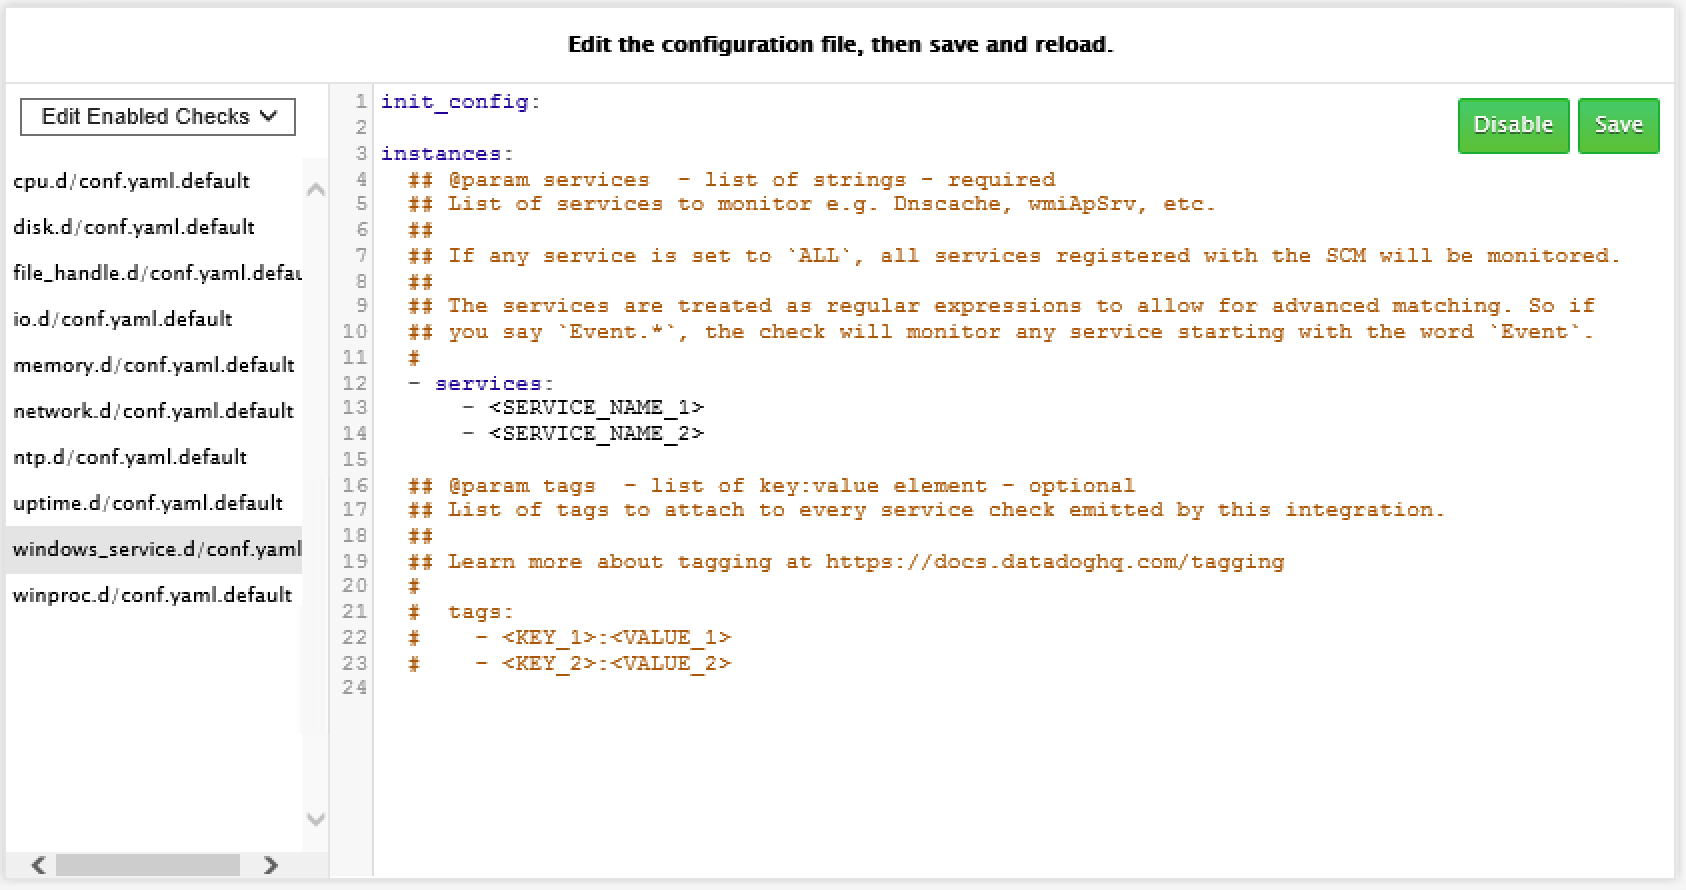
 - サービス監視を有効化するためにyamlファイルを作成します(デフォルトだと下記内容)
C:\ProgramData\Datadog\conf.d\windows_service.d

conf.yaml.exampleをコピーしてconf.yamlを作成すればOK
- Datadog Agetn Managerを起動します
- ChecksメニューのManage Checksを選択します(以下画面が表示されます)

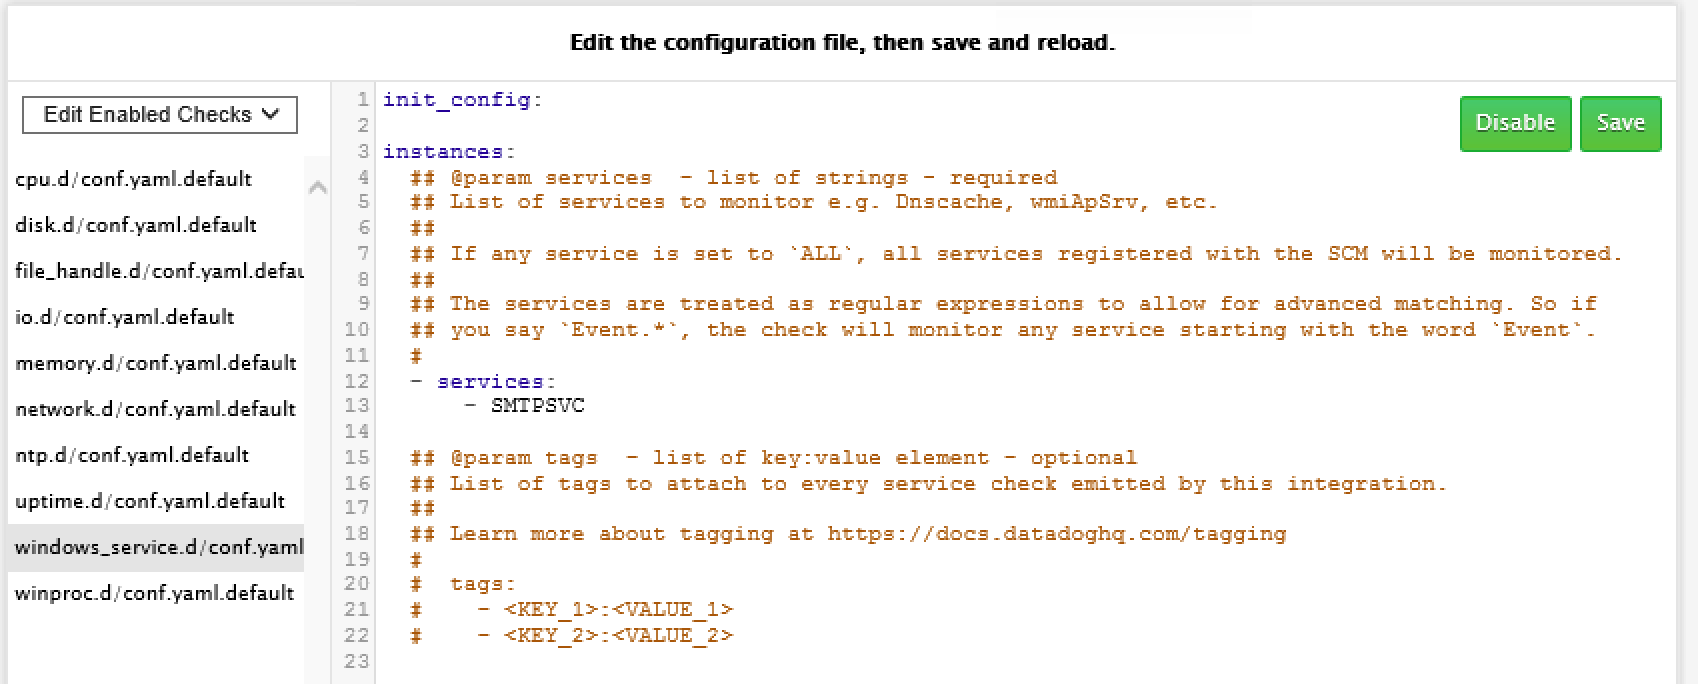
- 確認しておいたサービス名を設定して、Saveボタンで保存します(設定後のイメージは下記)
 - Datadog Agent ManagerからRestart Agentを実行します
- DatadogのコンソールからNew Monitorの作成画面を開きます
- Select a monitor typeでIntegretionを選択し、Windows servicesを選択します
- Pick monitor scopeのところで先程登録したサービス名(今回は service:smtpsvc)が選択できるようになります!
まとめ
タスクマネージャーのサービスタブに表示される左端の名前で死活監視を行うサービス名が確認できて、あとはDatadog Agent Managerから設定すれば監視設定準備完了です!
Active Directoryもサービス名も自分はADSVCみたいな名前かなぁと勝手に推測してましたが、結構違って(ntds)、へぇ〜ってなりました。
最後まで読んで頂きありがとうございました。 (・ω・)ノシ