はじめに
ノイズキャンセリングやボーカル抽出には音声の位相反転を用います。
今回はSwiftを用いて位相反転を行う方法を紹介します。
逆位相に関する記事はこちら
本編
使用するフレームワークはAVFoundationとAccelerateです。
AVFoundationで音声ファイルを読み込み、Accelerateで位相反転処理を行う、といった流れです。
今回は簡単にPlaygroundを使用して実装していきます。
1. 位相反転させたい音声ファイルを用意
位相反転させたい音声ファイルを用意します。今回はwav形式で用意しました。
2. 音声ファイルの読み込み
音声ファイルを読み込みます。
AVFoundationを使用するのでimportしてください。
Urlは各自読み替えてください。
import AVFoundation
let inputUrl = URL(fileURLWithPath: NSHomeDirectory()+"/Desktop/"+"input.wav")
let outputUrl = URL(fileURLWithPath: NSHomeDirectory()+"/Desktop/"+"output.wav")

let input = try! AVAudioFile(forReading: inputUrl,commonFormat: .pcmFormatFloat32, interleaved: false)
3. 音声データをバッファに読み込む
読み込んだ音声ファイルの中身を読み込むためのバッファと、処理を行った後に出力するためのバッファを用意します。
バッファを定義した後、実際にinputBufferには、先ほど読み込んだ音声ファイルから中身の音声データを読み込みます。
guard let inputBuffer = AVAudioPCMBuffer(pcmFormat: input.processingFormat, frameCapacity: AVAudioFrameCount(input.length)),
      let outputBuffer = AVAudioPCMBuffer(pcmFormat: input.processingFormat, frameCapacity: AVAudioFrameCount(input.length)) else{
    fatalError()
}

do{
    try input.read(into: inputBuffer)
}catch{
    print(error.localizedDescription)
}
4.バッファから音声データ配列([[Float32]])を取り出す。
取り出します。(正確にはUnsafePointer<UnsafeMutablePointer<Float>>型です)
配列はDouble型の二次元配列となっており、チャンネルごとに音声データの振幅値が入っています。
let inputFloat32ChannelData = inputBuffer.floatChannelData!
let outputFloat32ChannelData = outputBuffer.floatChannelData!
5.音声データを逆位相に変換
4で取り出した二次元配列に対し、チャンネルごとに音声データの配列のそれぞれの要素に-1をかければ、逆位相になります。
for文などで配列を走査してもできないことはありませんが、計算量が多く時間がかかりすぎるので、Accerelateフレームワークの関数を使うこととします。
vDSP_vsmulはFloat32型の配列に対してスカラー倍を行う関数です。
この関数の第4引数が出力したい配列ポインタを表すので、outputを指定します。
for channel in 0 ..< Int(inputBuffer.format.channelCount) {
    let input: UnsafeMutablePointer<Float32> = inputFloat32ChannelData[channel]
    let output: UnsafeMutablePointer<Float32> = outputFloat32ChannelData[channel]

    var scalar:Float = -1.0
    vDSP_vsmul(input, 1, &scalar, output, 1, vDSP_Length(inputBuffer.frameLength))
}
outputBuffer.frameLength = inputBuffer.frameLength
6.出力のフォーマットの設定
let settings: [String: Any] = [
    AVFormatIDKey: outputBuffer.format.settings[AVFormatIDKey] ?? kAudioFormatLinearPCM,
    AVNumberOfChannelsKey: outputBuffer.format.settings[AVNumberOfChannelsKey] ?? 2,
    AVSampleRateKey: outputBuffer.format.settings[AVSampleRateKey] ?? 44100,
    AVLinearPCMBitDepthKey: outputBuffer.format.settings[AVLinearPCMBitDepthKey] ?? 16
]
7.出力
先程のフォーマット設定に従って出力をおこないます。
すると、1で指定したoutputUrlの場所にファイルが生成されます。
do{
    let output = try AVAudioFile(forWriting: outputUrl, settings: settings, commonFormat: .pcmFormatFloat32, interleaved: false)
    try output.write(from: outputBuffer)
}
catch{
    print(error.localizedDescription)
}
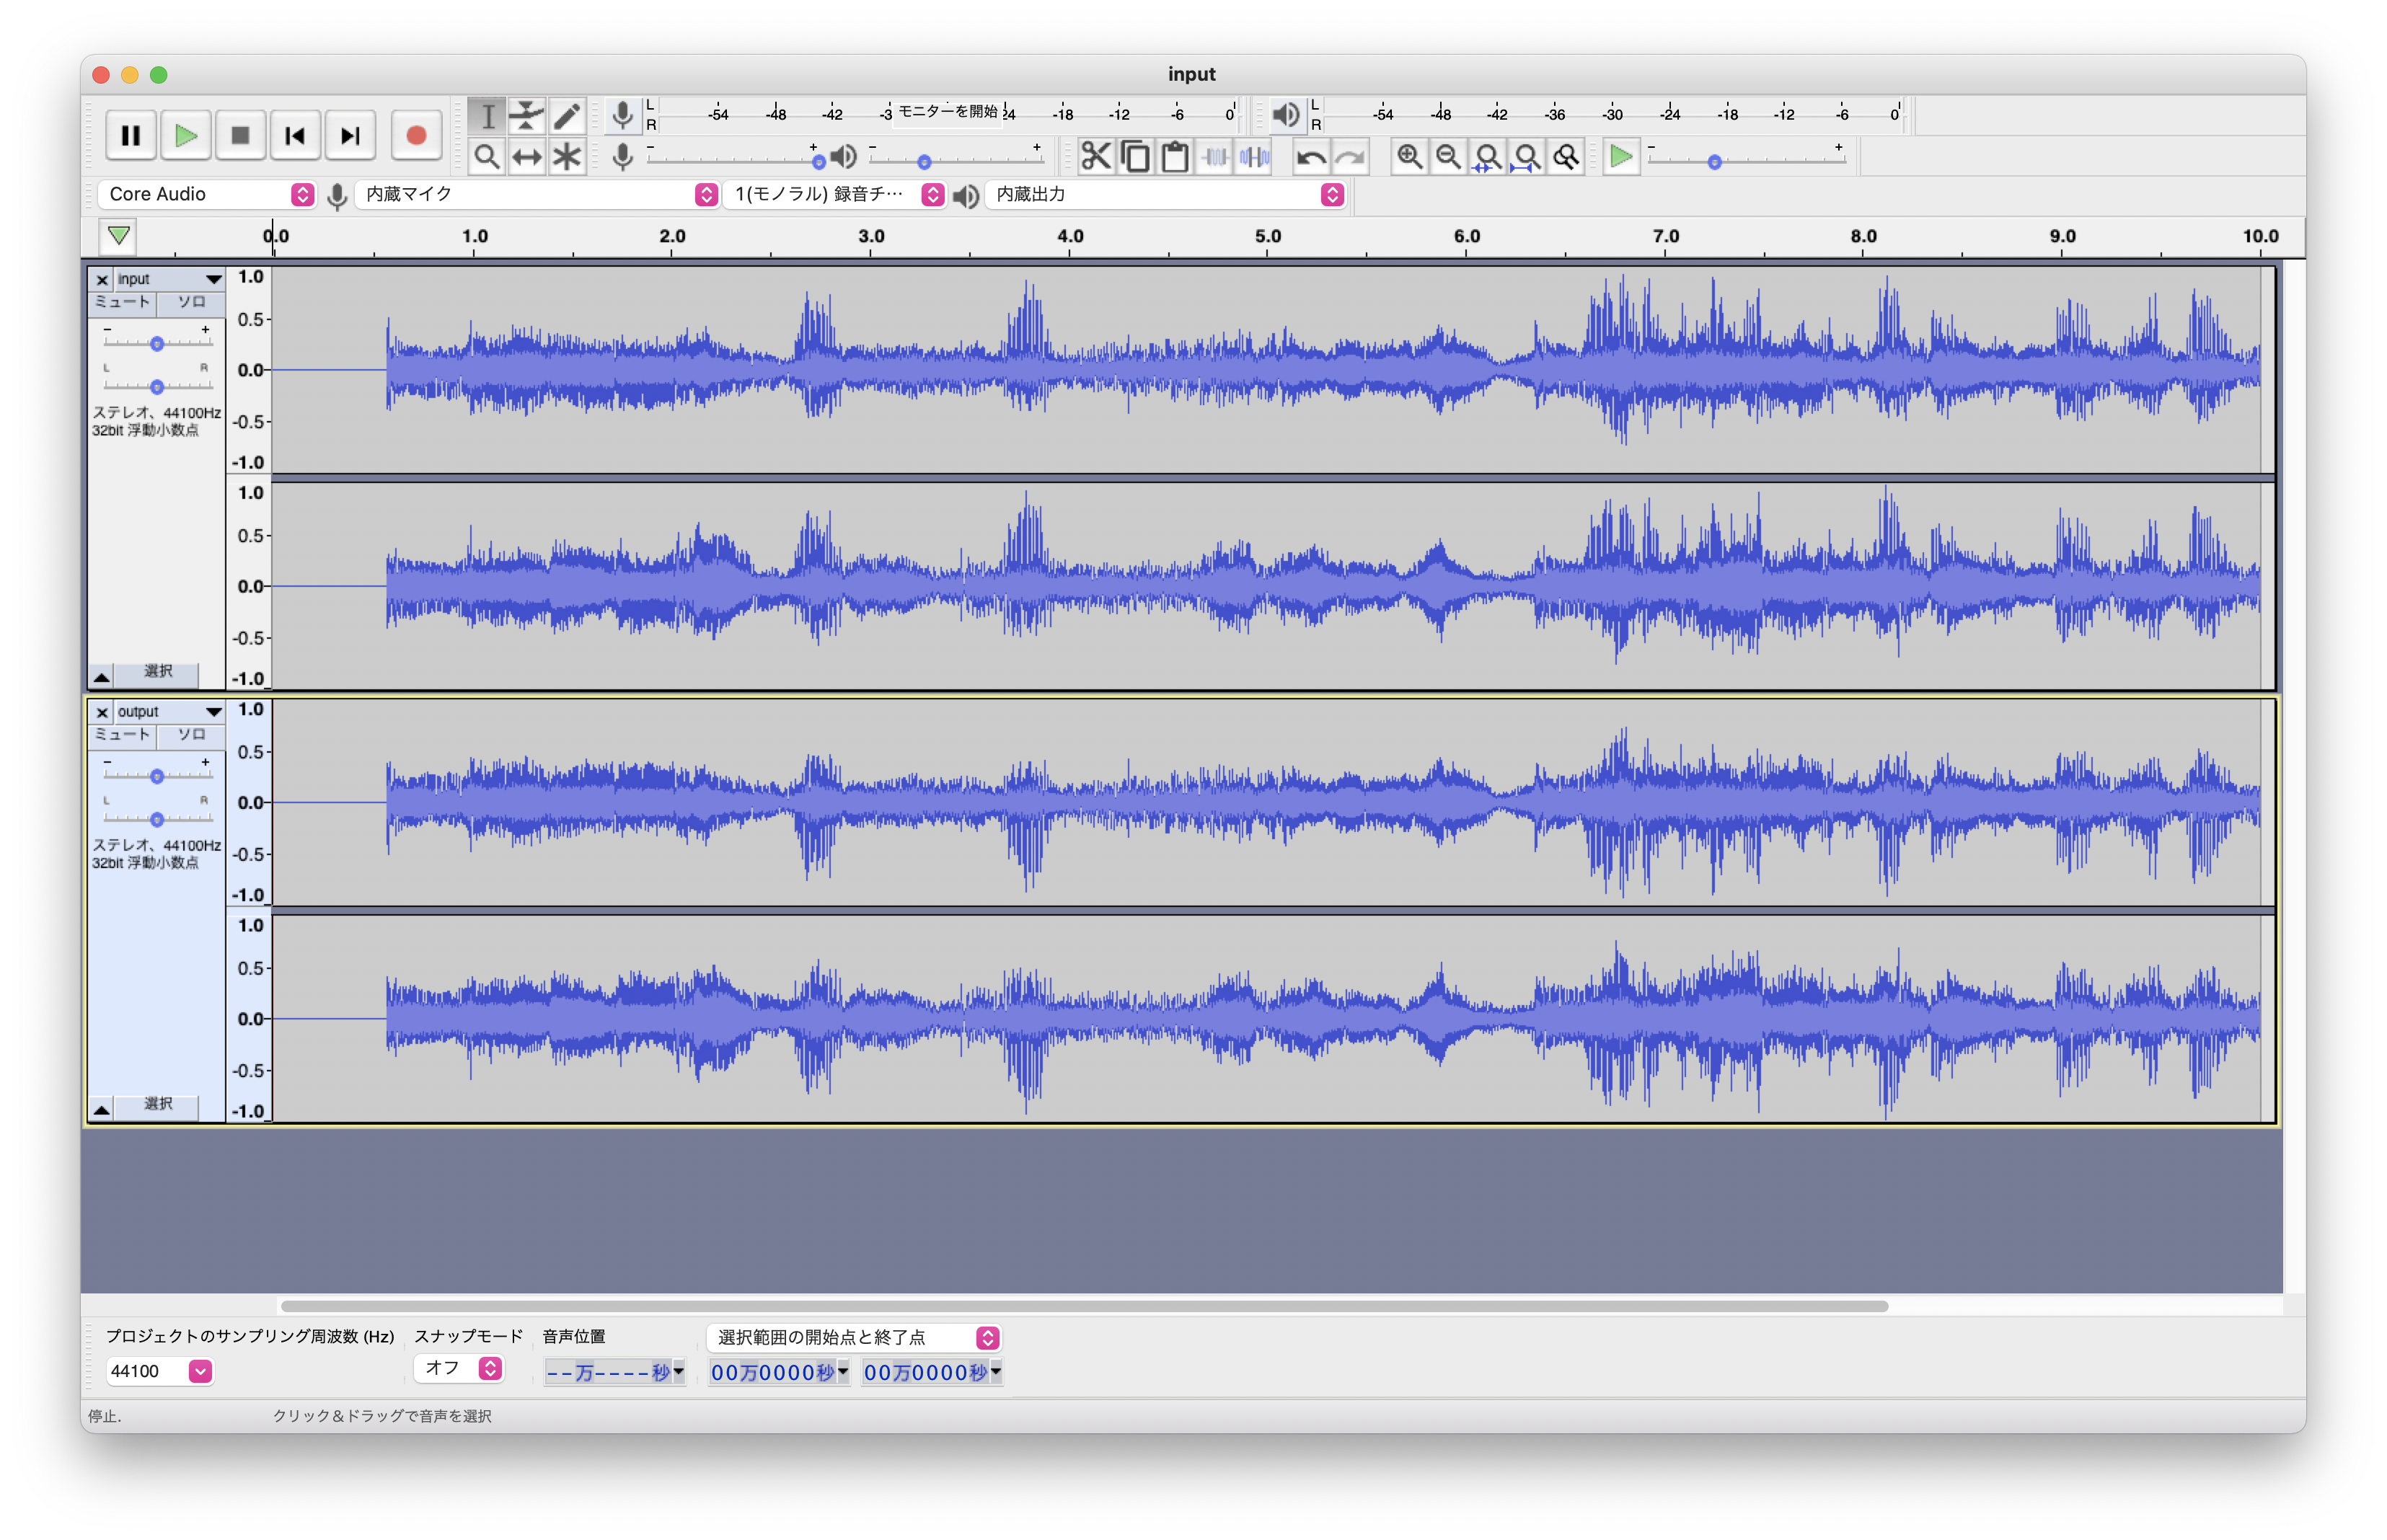
本当に逆位相になっているか確認
前の記事でも使用した、Audacityというソフトを使います。(winでもmacでも使えます)
Audacityにinputファイルと生成されたoutputファイルをインポートして再生します。
きちんと反転できていれば、音が打ち消しあい、何も聞こえません。
さいごに
読んでいただきありがとうございました。
今回作成したコードは、以下のリポジトリにあります。
https://github.com/p-x9/InvertAudioPhase